No Results Found
The page you requested could not be found. Try refining your search, or use the navigation above to locate the post.
In the first week of May I discovered the YouTube channel Daily Nature Journal and I was inspired to start a nature journal. Alex showed some pressed flowers that he was using in his nature journal and I was so interested, I decided to order a flower press for myself from Amazon. I plan to keep my flower press for years and eventually hand it down to my daughters as a family heirloom.
I chose a flower press from Berstuk.co.uk. This flower press is made with plywood, not compressed chip board, and brass bolts not mild steel (which will eventually rust) brass does not rust. You can get the same flower press which I purchased on this LINK.
The flower press came in a box, with instructions and included all the bolts, wing nuts and washers you need. There is a front wooden panel with a flower outline painted on and a plain back panel. You also get cardboard and blotting paper cut to size with chamfered corners.

This flower press comes with cardboard and blotting paper. You make a sandwich of cardboard, blotting paper, flowers, blotting paper, cardboard and repeat. You can have multiple sandwiches in the press. I hope to start pressing flowers soon.
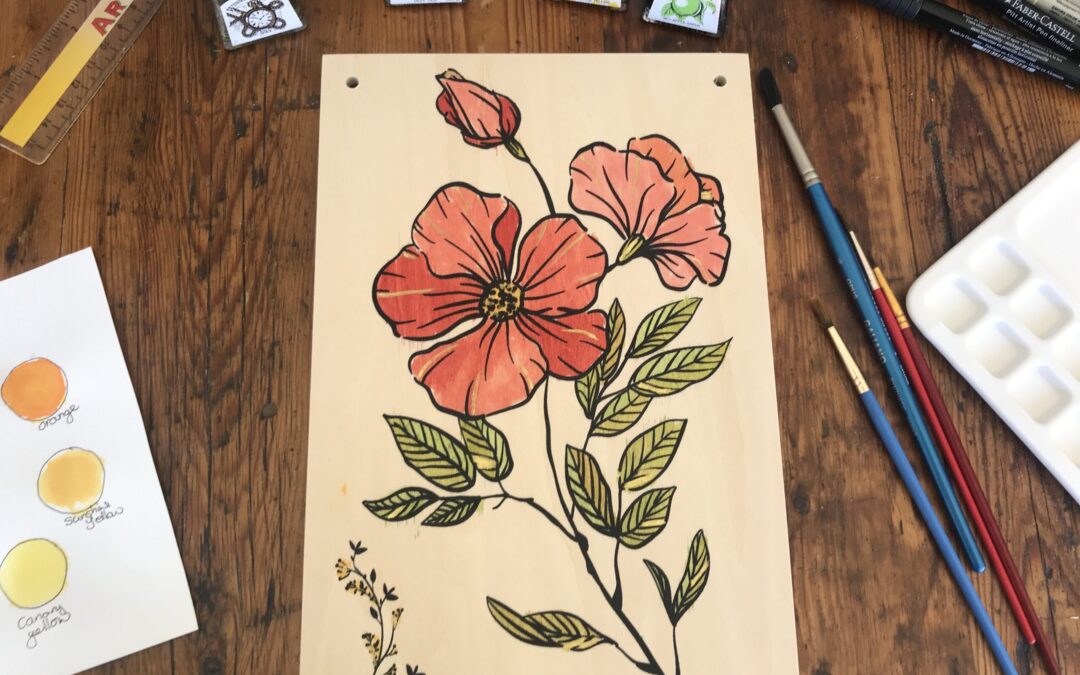
The colored inks I’m using are from Windsor and Newton. I recently got these inks and I’m enjoying learning to work with them.
The apple green is quite bright and needs to be toned down with a little yellow.
I chose canary yellow and this is used to mellow the green for the leaves. I also used the yellow for the centre of the flowers.
The red is called deep red. I thin the red down to make it more pink.
I so often use gold in my artworks that it seemed quite natural to do so here as well. Although I had not thought of doing so until the end.
First, I wiped the front panel with a damp kitchen towel to remove and dust or sawdust. Starting with the green I thinned it with water three to one and added a little yellow. This makes an olive green. I painted this on one side of a few leaves.
Next, I mixed more green and yellow and the second mix is slightly different to the first mix. I continue to paint the leaves with a few green and yellow mixes. I painted the center of the flower with yellow.
For the petals I took intense red and watered it down a little differently for each petal to give the flower some depth. Finally, I added a dash of gold ink here and there for highlights.
I let it dry overnight. I may varnish it later. I plan to keep it in the family like a family heirloom and pass it along to my daughters for their pleasure.

When you get your flower press paint the cover as follows:
Share your completed flower press cover with the hashtag #AHAflowerpress so we can all see what you have created.

Alison Hazel is a hobby artist and she shares her ongoing journey about becoming an artist later in life. She creates simple art that anyone can make. She hopes to inspire you to reach your creative potential in the area that suits you.
The page you requested could not be found. Try refining your search, or use the navigation above to locate the post.
How to paint your new flower press with colored drawing inks.
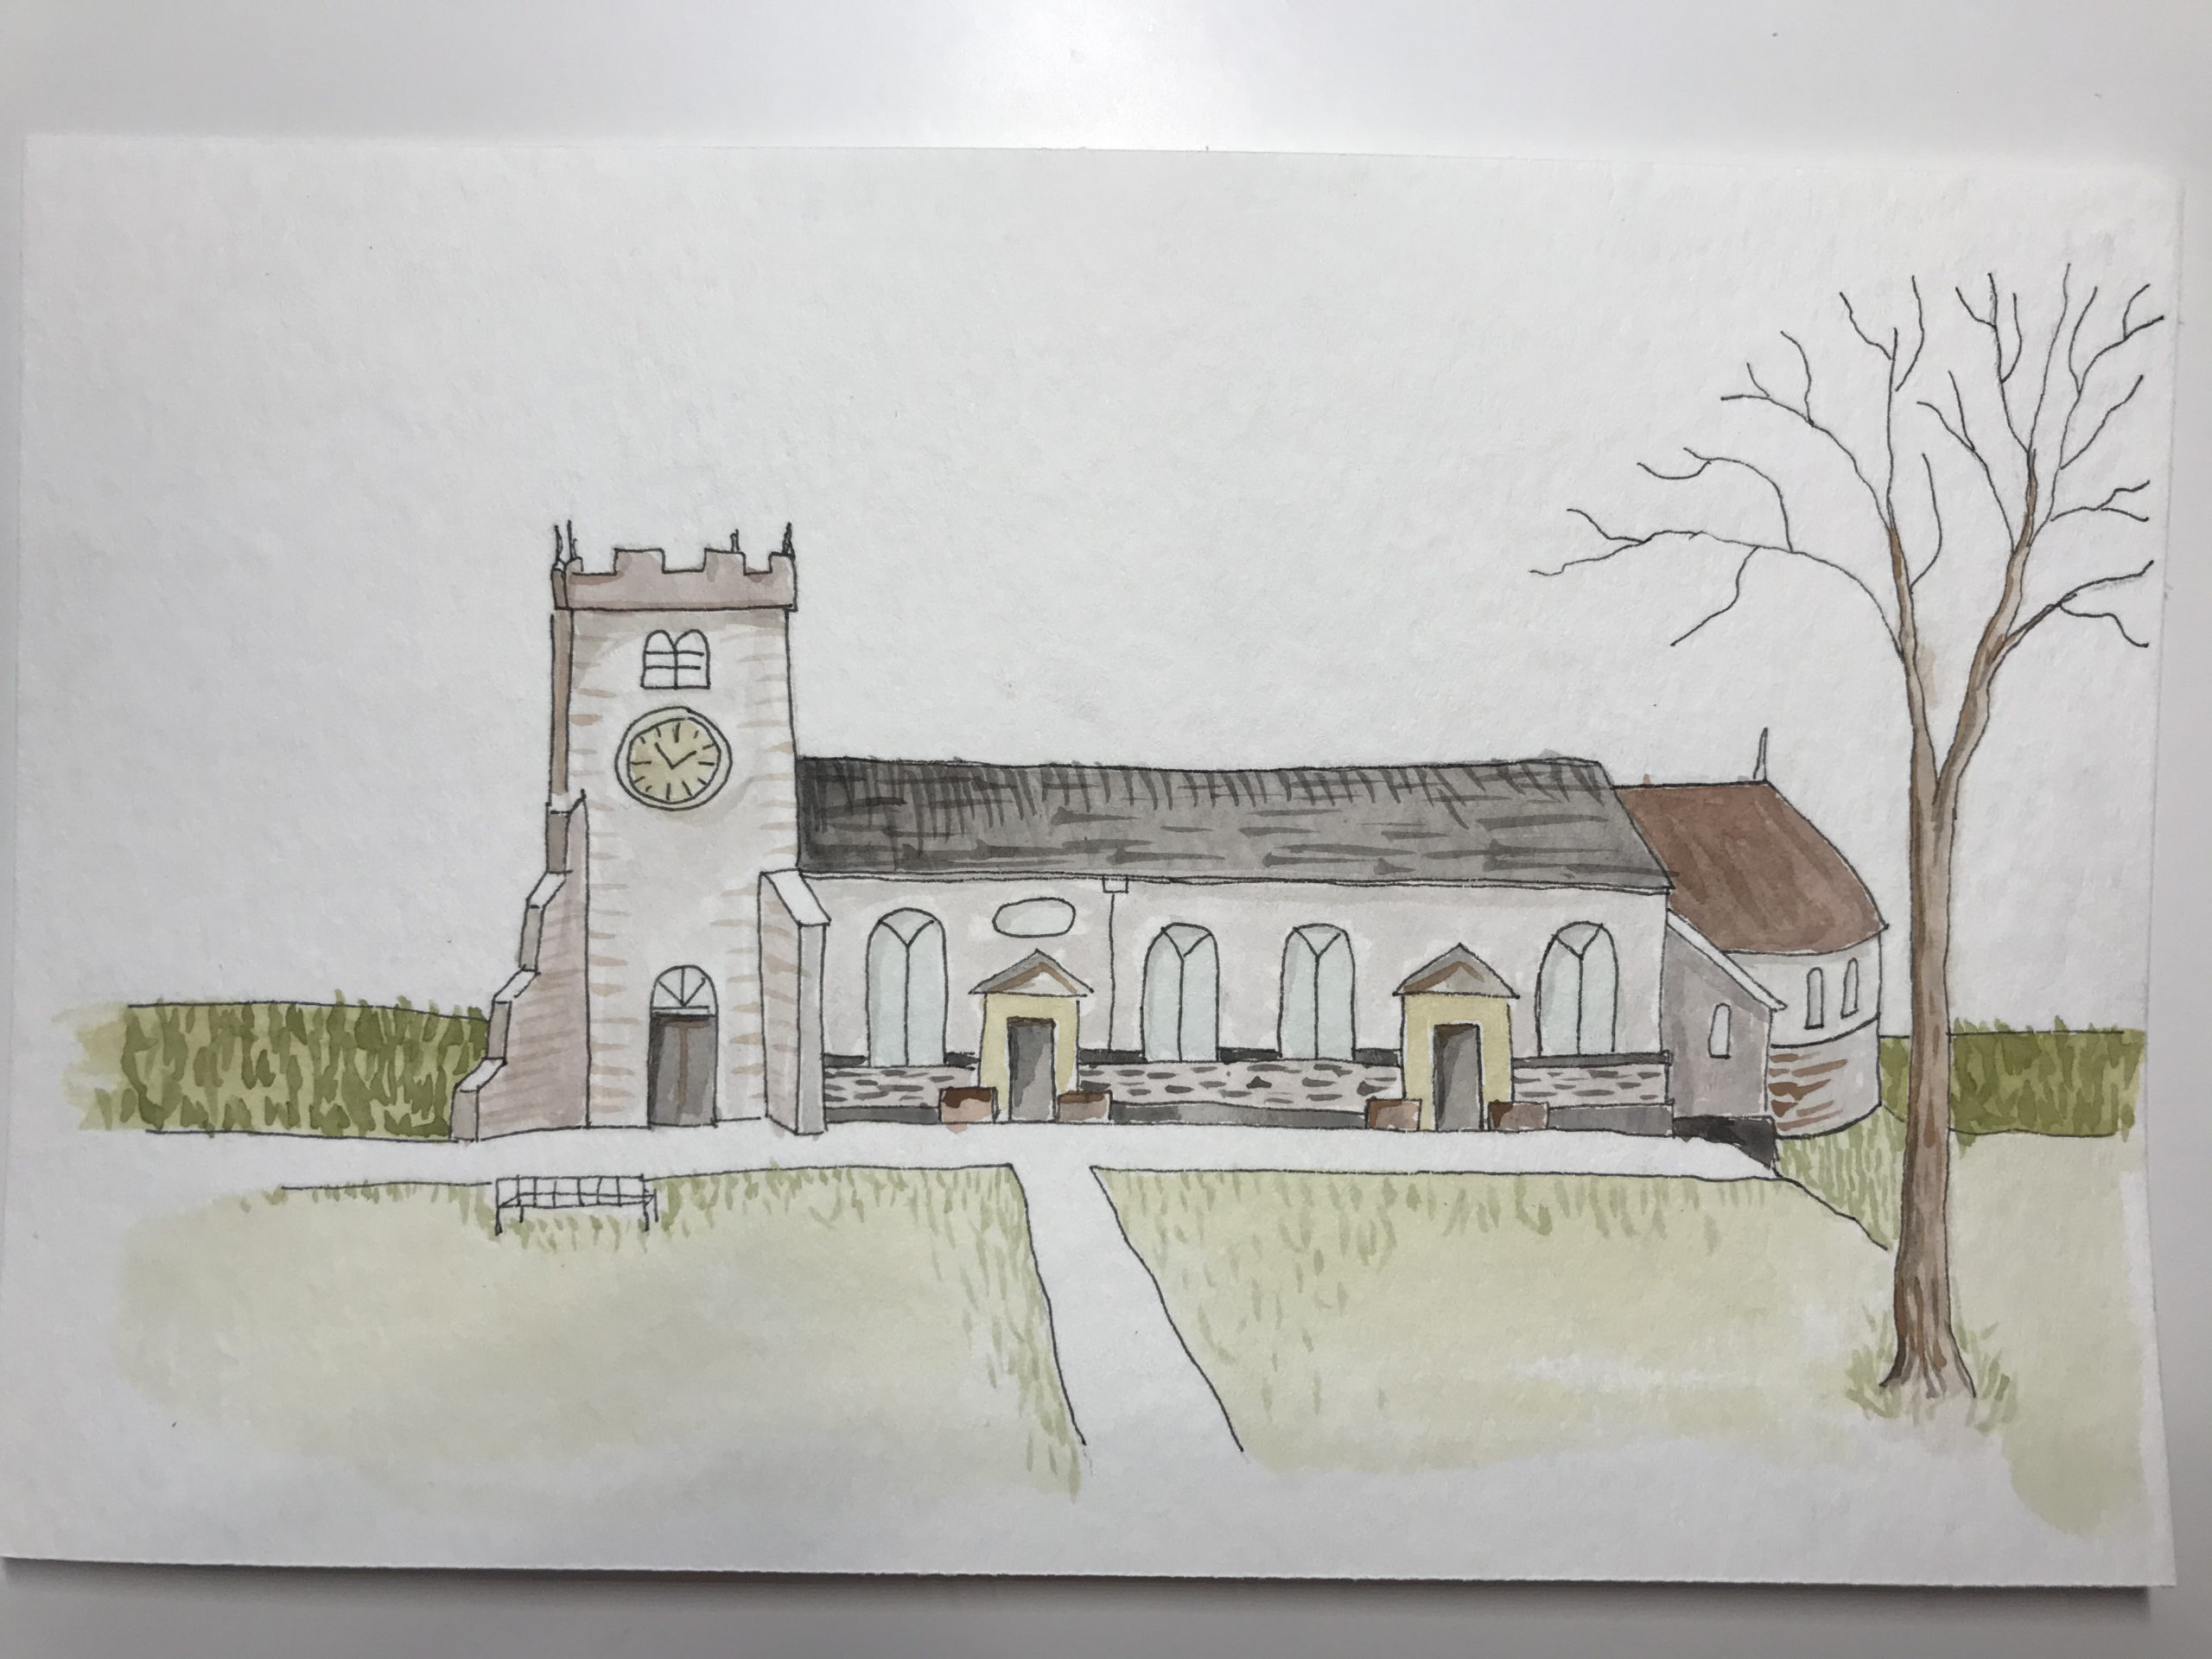
Read more about how I created this sacred places artwork of St. Chad’s Church with pen and ink and watercolor.