Art for Self-care

Art for Self-care

Art as Self-care

The use of art as self-care is well documented. Art can be therapeutic and many people say this is true. In a busy digital world, there is an urge to disengage from text-based connections with others. Drawing and sketching may help bring balance to the input your brain gets every day.

Healing

Personally, I turned to art at a time in my life when I could not deal with another conversation as I seemed to be going around in circles with the issue at the time. I’d wake up and immediately start ruminating about what happened yesterday and replay conversations and situations in my head.

I would think, “I should have said this or that” or “I should have done things differently.” There was no let up. I became weary and tired.

Art Journaling

I turned to my art journal and began again. 

I now write my thoughts on the right-hand page and draw a corresponding picture on the left-hand page. I am right-handed so it’s easier to write on the right-hand page and usually there is more paper underneath to support the pen. We used to do this type of work in grade school way back where it is still used as a learning aid.

Memory

You remember things better if you hear them, write notes about then and draw an image about them. Clearly you can go further and make a model out of cardboard or macaroni, dance it out, pen a poem, write song lyrics, sing about it or do a play.

Write and Draw

Let’s keep to the writing and the drawing. Words and image. Make notes and draw a picture about it. This technique is a basis of art journaling.

1. Aspiring Artist Activity

Art Journaling: Coffee Shop

Take your art journal, a pen and go to a coffee shop. Get a cup of coffee and settle down at a table. In your art journal please do the following:

Sketch

  • Sketch the cup and maybe the people at the other tables.
  • Add the coffee shop name and logo to the sketch.
  • If you have a croissant or other pastry, draw that in too.
  • You can add as much, or as few, details to your journal spread as you like.

Words

  • Write the time, date where you are enjoying the delicious coffee.
  • Note the coffee shop name.

You have now completed your first art journaling sketchbook entry.

Doodling

Doodling is the act of drawing squiggles and mini shapes and characters on the corner of a page. It is what you do when they put you on hold on a phone call with your pen in hand. Doodling can be lines, curves, faces or whatever. But it is an outpouring of what’s on your mind and in this way it can be helpful.

Daily Art Practice

If you look carefully, you can eke out a quarter of an hour each day for your daily art practice. Fifteen minutes of drawing daily can soothe your mind.

Draw Your Day

For my daily art practice, I have a special small A5 sketchbook just for my quick daily art drawings. These sketches are unlikely to ever see the light of day, but they can often be the basis for later more complex drawings that I create.

I like the idea of letting sketches incubate until they turn into something else. Simple objects around you are great subjects to draw.

Benefits of Daily Art Practice

To establish a daily art practice is of huge benefit for several reasons:

  • You get to improve your art.
  • You express your innermost feelings
  • You can express yourself through words and images
  • You can begin to create a body of work
  • You may realise what your favorite art medium is
  • You initiate the foundation of your art style

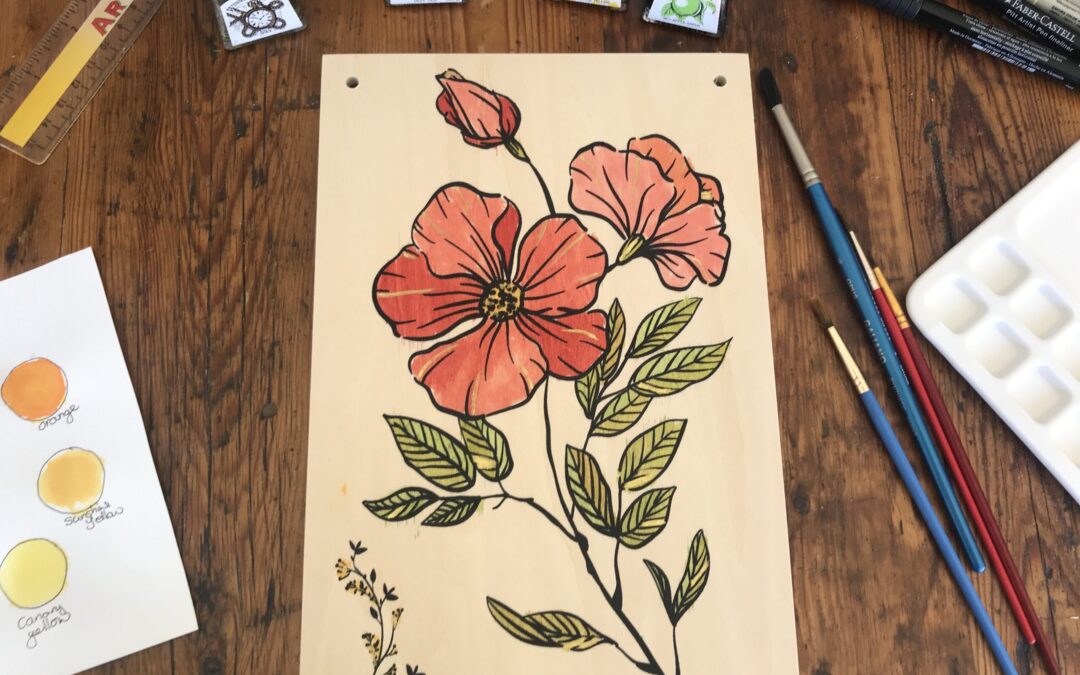
Daily Art Practice Examples

Here are some examples I did of daily art practice with pencil sketches of flowers:

Breath Drawing

Breathing, we all do it, in and out, in and out, in and out… Regular breathing tends to be shallow and has the same count for in and out.

You breathe in for a count of three and out for a count of three. Inhale one, two, three and exhale one, two, three. This is natural breathing.

2. Aspiring Artist Activity: Controlled Breath

A controlled breath helps to calm the mind and reduces blood pressure.

Breathe

Try this activity and the trick is to control your exhale.

  • Breathe in fully for a count of three, and out fully for a count of five.
  • In one, two, three and out one, two, three, four, five.
  • Fully empty your lungs in a slow controlled exhale.


Draw

On your paper and with a black pen please do the following:

  • Start at the left-hand edge and draw a line up when you breathe in.
  • Draw a line down as you breathe out.
  • Continue across the page.
  • Turn the page one quarter turn and repeat the line.
  • Continue filing up the page with your breath movement lines.
  • You will end up with an artwork that looks like neurographic art and now you can curve the intersections and color in.

Neurographic Art

Neurographic art is an art movement that I recently discovered as I was searching for art and mindfulness. I began with some basics and now enjoy making neurographic art.

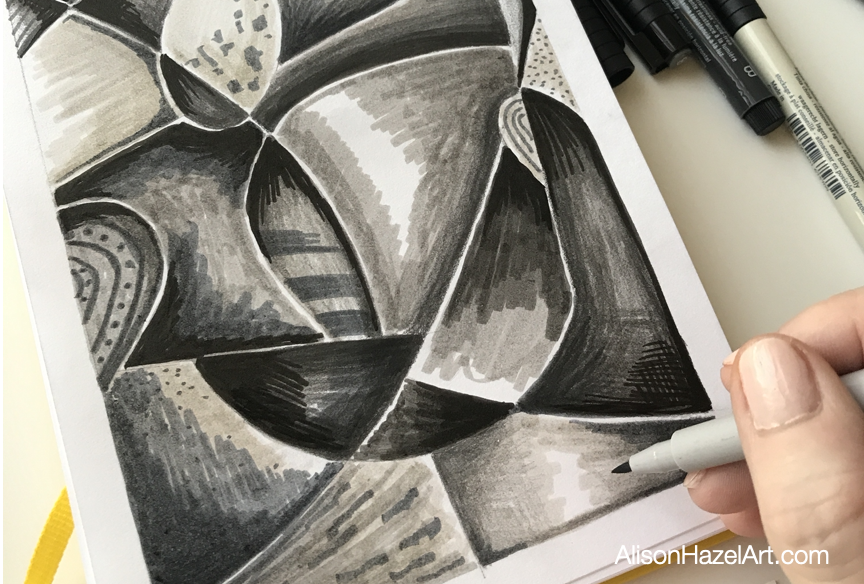
Neurographic Art Examples

Some examples of my beginner attempts at neurographic art are here:

Journaling

Journaling comes in several flavors:

  • Bullet journaling – to do lists and calendars
  • Art journaling
  • Sketch journaling
  • Morning pages journaling – Follow the guide of Julia Cameron and write three pages longhand every morning to dump your cluttered mind
  • Nature Journaling
  • Perpetual Journaling
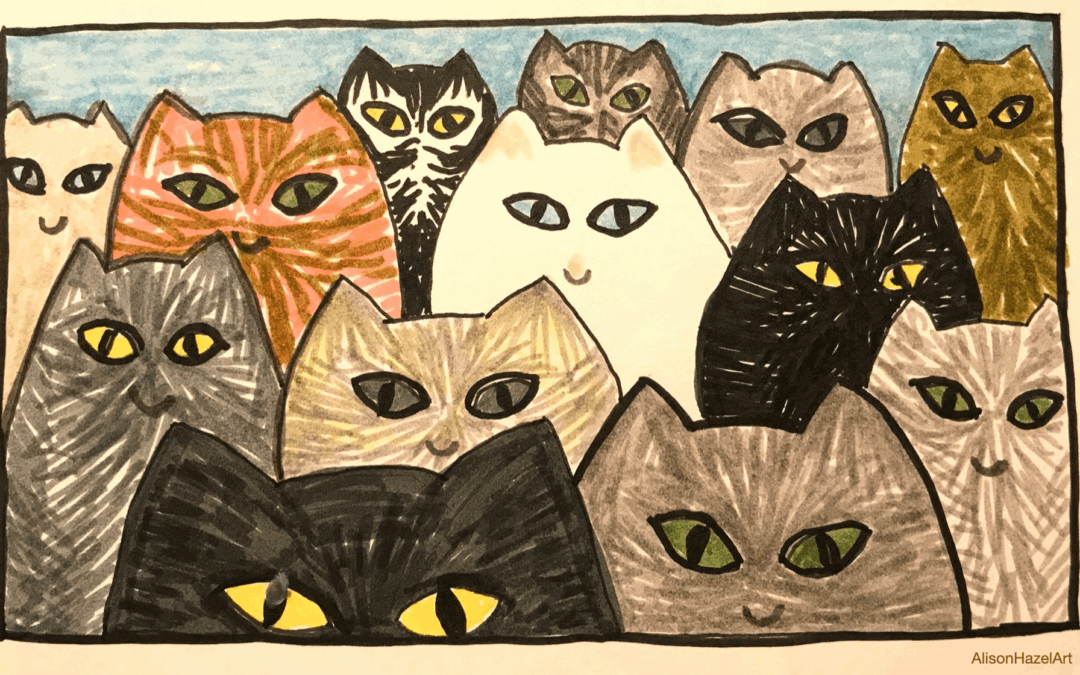
Art Journaling

Art practice sketches and thoughts. Some of my examples of art journaling are here:
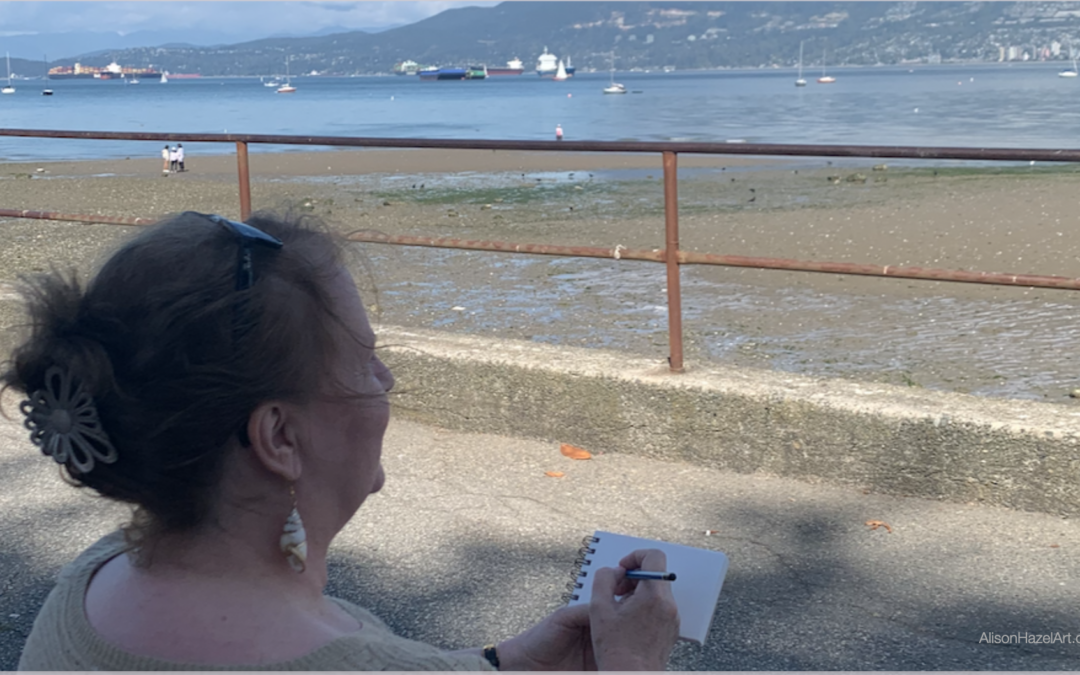
Sketch Journaling

To my mind, sketch journaling is drawing what you did and where you went.

Nature Journaling

Nature journaling is drawing the natural world. You would typically start with plants and insects in your own garden. This is a great activity to do with the kids or grandkids.

Perpetual Nature Journal

A perpetual journal is divided into twelve months and you capturing some images each month.

Example pages:

Pin this image to your Pinterest board.

Perpetual Anything Journaling

A perpetual journal could be for anything that interests you. The benefit of a perpetual journal is that it is evergreen and grows every month. 

Perpetual journals can easily become records of your life and can be handed down to the family like an heirloom. Think back to Edwardian women embroidering stitch samplers which show what they could do. These cloths are most desirable today as family records. Perpetual journals can be your legacy.

Perpetual Legacy Journaling

A legacy journal is one you leave behind for those that follow. Typically, it was a family history book containing the family tree, but it can be focused on what and who you are. Examples of a perpetual legacy journal that you could make are:

  • Family recipes
  • Our family Christmas book
  • Family tree
  • Family homes
  • Your gardening tips
  • Family anecdotes
  • A home book about the property and renovations you did

I’m sure you can think of many more perpetual legacy journals. 

Alison Hazel

Author Bio

Alison Hazel is a woman who shares her ongoing journey about becoming an artist later in life. She creates simple art that anyone can make. She hopes to inspire you to reach your creative potential in the area that suits you.

Read more about Alison’s story.

Send Alison a quick message.

More Articles

If you enjoyed this article on Art for Self-care you may like some other posts from our blog.

Sketchbook Flip Through

Sketchbook Flip Through

Sketchbook Flip Through Abstract Sketchbook Welcome to the vibrant realm of my latest abstract sketchbook, where colors and shapes intertwine in a dance of imagination. In this flip through, we will embark on a journey through abstract art, a world where the ordinary...

No Results Found

The page you requested could not be found. Try refining your search, or use the navigation above to locate the post.

Giving

Giving

We would like you to get to know us a little better, so we’re going to share our giving philosophy with you.

Neurographic Art – Basics

Neurographic Art – Basics

Author: Alison Hazel   –   Published: December 2021   –   Revised: January 2024

Read more about the neurographic art inventor psychologist Pavel Piskarev.


Thought, Word and Deed

Everything you do in life comes from the thoughts you have, the words you say and the deeds you do. There is a direct process from one step to the next. You cannot do something (such as make art) before you have thought about it. The practical decisions you need to make before you can create some art are to find a pen and get some paper. What you will draw is the magic that come through a neurographic art practice.


Benefits

The benefits of neurographic art are subtle, but many. Through creating a neurographic art practice you can:


  • Relieve anxiety.
  • Find peace.
  • Reduce stress.
  • Calm your mind.
  • Gain clarity.
  • Get things in perspective.
  • Help yourself.
  • Help others.
  • Use images to express your inner feelings.
  • Allow abstract thoughts to pop into your head.
  • Make fabulous art for your wall.

Principles

When you draw and make art, your hand holds the pen and your brain moves your hand. Thus, there is a direct connection between your hand and your thoughts.

Intuition

Neurographic art can be related to an intuitive scribble. A scribble has no form and just appears on the page. An intuitive scribble is brought forth when you focus on a problem or a decision you wish to address. Energy flows around you, through your body and in your brain. When energy is blocked it usually happens at a harsh wall or obstacle that you cannot overcome.

Three Methods of Neurographic Art

There are three main types of neurographic art, specific, popular and combination. There may be others as subsets of the above, but most artists will work in one of the three methods whether knowingly or not.

1. Specific Neurographic Artwork Method

To be specific when you create neurographic art you need to use the special neurographic line (see below). The neurographic line will tap directly into your mind and help you build new neural pathways in your brain.


Neurographic Line

The neurographic line is the best line to use for deep meditation, self-awareness and for anyone on a consciousness raising journey.


2. Popular Neurographic Artwork Method

The popular neurographic art method is to simply draw curves and swoops on the page, or even straight lines and shapes, in the artwork. Then you curve the intersections and you may add shapes and color.

This type of artwork is fun and good to start with. It is not strictly neurographic art as it may not carry the full mental health benefits of using the neurographic line. Additionally, you may add dots, flowers, stars or other exciting embellishments to yourr art piece.

The popular neurographic art method is suitable for kids and is often used in schools.


3. Combination Neurographic Artwork Method

Combination neurographic artworks employ smooth lines, neurographic lines, loose shapes and embellishments all mixed in together. This is where most people are at ease with neurographic art for their drawings.

The combination neurographic art technique can bring light meditation properties to the process and create a meaningful artwork as well. Even a small piece of the neurographic line will be of benefit in the combination art method.

Mindfulness

Be mindful of what you are trying to achieve.

Do you want:


  • Therapeutic mental health strengthening.
  • Casual feel-good art.
  • To have fun exploring a new and trendy art movement.

The Neurographic Line

Not all lines are created equal and the neurographic line is no different.

What Is a Neurographic Line?

  • A neurographic line does not repeat.
  • A neurographic line changes direction as soon as you are aware of its route.
  • A neurographic line does not end in the middle of the page, it either flows to the edge of the page or it blends into other lines or shapes like circles.


What is Not a Neurographic Line?

Let’s consider what does not constitute a neurographic line. A neurographic line is not:


  • A straight line.
  • A smooth, wavy or curved line.
  • A smooth shape like a circle.

3 Ways Neurographic Art May Benefit You

Let’s have a look at three ways that creating neurographic art can benefit you. Of course there will be many other ways as well, but these first three are the easiest ones to start with.

1. To Make Intentions

To make an intention with your neurographic art is to bring a focus to a situation challenge or issue that you are facing.

You would do this before you start the artwork.

For example, perhaps you are trying to decide whether you should quit your job and take a new position which has been offered to you and you’re not exactly sure what to do.

You can consider the pay increase, adjusted hours, a better commute or how it may improve your actual career prospects.

You also want to ponder over the action that you’re going to take on an inner level which you could certainly do with neurographic art.

How to Create Intentional Neurographic Art

Take a sheet of paper on which you’re going to make the artwork. On the back write one or two words that you need to focus on which clearly explain the dilemma you are facing.

In the example of, “should I take the new job?” you would simply write the two words “new job” on the back of the sheet. This intentional writing of the words is to focus your mind as you create the artwork. You are intentionally creating an artpiece that will help you decide whether or not to take a new job offer.

The idea is not to have a simple yes or no answer at the end, but during the course of creating the artwork (which would probably take you at least one or two or five or six hours) you will focus your mind on all of the options and permutations which taking the new job would entail.

Ideally at the end of the artwork you will have a clearer understanding of whether to take the new job and how you feel about it.

2. Neurographic Line

Neurographic Line in Neurographic Art

Using the Neurographic line when you create neurographic art. As you may know not all neurographic art uses the neurographic line.

The neurographic line is a specific line:

  • It does not repeat.
  • It is not a straight line.
  • It does not curve smoothly.
  • It generally wiggles along.

The idea is that as you draw this line, as soon as you become conscious of the direction in which you are going, you have to change direction.

Non-dominant Hand

One great tip when drawing a neurographic line is to use your non-dominant hand. That means that if you are right-handed, you would put the pen in your left hand and if you are left-handed you will hold the pen in your right hand.

Crossing the Center Line

By crossing the centerline of your body and putting the pen in the opposite hand you are forcing your mind to see these paths differently than it would through the automatic way that you naturally go if you are perhaps right-handed.

Signature: Sign Here

You can clearly see the benefit of working with your nondominant hand when you come to writing your signature. If you are naturally right handed, as you write your signature John Smith after years of practice you just automatically swish out all the letters and dash of your signature. It is very often not very clear to see, but because you have been writing it for so many years, your brain will automatically sign your name without thinking and you do it with your dominant hand.

However, if you put the pen in your non-dominant hand and you try to sign your signature suddenly your brain has to actually work. This means that you naturally tap into a new neural pathway as you think about what you are doing. It does not come naturally to you because you haven’t worn a pathway in your mind, so it’s something new for your mind to grapple with. You create new connections as you learn how to sign your name with your non-dominant hand.

3. Smooth Connections

Curves

Once you have the main lines down on your page, whether they be circles shapes, swoops, or the neurographic line, you are now at the point of smoothing out the connections.

How to Curve Your Connections

To smooth connections you take your black pen and draw curves where every line intersects another line. Generally, there will be four curves at each intersection.

How to Curve Intersections: Neurographic Art

One of the main principles of doing basic neurographic art is curving the intersections. The intersections occur where two lines cross or where a line crosses a shape such as a circle, an oval, or another shape.

Where two lines intersect there will be four curves required at that intersection. I’m going to share with you best principles for curving your intersections in neurographic art.

Intersection Meaning

As a reminder where two lines intersect in neurographic art, and you curve the intersections, these are the points where the new neural pathways are being built in your brain. This means is that this is an opportunity for new thoughts ideas and inspiration to come to you.

Pathways

It is a bit like tramping out a path in the woods. To start with you must hack through the undergrowth to create a new pathway. After you’ve been doing that for a week you can see a vague footprint footpath through the bush.

The more you walk the same path and use the same ideas the stronger the pathway will become and overtime it will widen. Eventually pathways which are used frequently will become well entrenched in your thought patterns.

The idea is that to branch out and create a new pathway means going in a different direction and make new connections. These lines and intersections in neurographic artwork are symbolic of new thought patterns, ideas and ways of thinking in your mind.

Plasticity

This leads to brain plasticity and a growth mindset.

Line Thickness

When creating neurographic art one must consider the thickness of the line you are drawing. If you use a very thin line, you will have smaller intersections and if you use a thicker line, you will have bigger intersections.

Circle Template

To understand how to curve connections in neurographic art you would technically use a circle template. This is not necessary, but to understand the principles of where the curves are coming from it may be a great guide.

You can eyeball the curves you need in your neurographic art and depending on the thickness of your line will depend on how large your circle diameter will be.

All intersections that are on the same drawing would technically have the same radius curve at their intersections. If your main lines are too thin, or your intersections are too big, the artwork looks a little unbalanced. If your lines are very thick and your intersections are very small, again the artwork looks unbalanced.

It is better to find a happy medium between the thickness of the lines on your drawing and the curves you make at your intersections. There are no hard and fast rules for this. With practice you will find your own individual art style when working with neurographic art.

art-supplies-on-a-desk

Read more >>> My Art Supplies

Basic Shape

In a basic two-line intersection, the lines will cross horizontally and vertically. The lines will be at 90° to each other. To curve the intersection, you would take your template and with a large radius describe the curves on each corner. Use the same size circle to create the curve for each connection.

Angled Connection

Where two lines intersect and are at sharp angles, your connection looks slightly different. Still use the exact same circle template with the same radius and draw out the four curves. This means that on the very wide, or oblique, angles the curve will be shallow and low. On the very narrow, or acute, angles, the curves will be deep and high.

Curved Intersections

When two lines that intersect are curved, there may be a variety of widths to the main connection. Take the circle template with the exact same curve and the same radius and draw in smoothly the curve on each of the four sides of this connection. This may result in a larger connection area that is all in black.

Multiple Intersection Hubs

If your drawing has multiple intersections, where more than two lines are coming together in the very small area, it will result in a far larger connection hub overall. There will be more than four radii being described out to smooth the connections, but it does depend on the artwork.

This is a very interesting situation as it allows a very large hub or node to appear in the drawing. This more defined intersection will become a higher focus for thoughts and ideas in the artwork. In the example below note that the inner triangle has been fully engulfed into the node. This increases the magnitude and focus of this connection.

Focus

To draw multiple connections on an artwork can be laborious. This is the moment where you have to take your time with your artwork as you bring focus to what it is you are doing.

The activity of drawing small curves soft curves onto the page is very meditative. Now you can consider the intention you wrote from step one and think about it as you, almost mindlessly. draw in all the curves on your artwork.

All Artworks

No matter what type of neurographic art you are doing whether it is simple basic or combined there will be connections to be smoothed. This is a very satisfying part of the art creation process and it is not to be taken lightly. As you are drawing each curve consider the question, issue or what you wrote on the back of your page. At this point you can let your mind wander to provide you with other ideas that you may not of thought about regarding your situation.

Explore more >>> Neurographic Art Coloring Book

Yes or No Answer? Probably Not

Again, you are not necessarily looking for a yes or no answer. What you are trying to do is to open your mind to further possibilities or other ways that this situation could be addressed.

Aspiring Artist Activity

Make a piece of art and bring all three techniques that benefit using neurographic art to the work. Get a piece of paper which you will be working on and some pens, paints or other art supplies and please do the following:

Intent

  • Write your intention on the back of the page this could be one, two or three words to bring focus to what you are trying to resolve.
  • Start your artwork with a black pen at this point you can do circles if you wish, but bring in neurographic lines and not only straightforward lines.

Connect

  • Curve all the connections and consciously focus on your intention. Take your time and let your mind wander.

Embellish

  • Continue adding colour and embellishments as you see fit to make a beautiful artwork of which you are proud.

Take Notes

When you have finished your artwork put it aside and make a note of ideas that popped into your head while you were crafting this artwork. 

Share on Social

Share your artwork with us under the hashtag #AlisonHazelArt

Alison Hazel

Author Bio

Alison Hazel is a woman who shares her ongoing journey about becoming an artist later in life. She creates simple art that anyone can make. She hopes to inspire you to reach your creative potential in the area that suits you.

Read more about Alison’s story.

Send Alison a quick message.

More Articles

If you enjoyed this article on neurographic art please explore our site and read some more from our blog by clicking the images below.


The Creation: 7-Day Challenge

The Creation: 7-Day Challenge

Author: Alison Hazel   -   Published:  January 2024 Inspiration I'm trying to do more Christian artwork on this channel. It occured to me just to go back to basics, so I thought I could just do some simple artworks that depict the Creation in Genesis for the very...

read more
Sketchbook Flip Through

Sketchbook Flip Through

Sketchbook Flip Through Abstract Sketchbook Welcome to the vibrant realm of my latest abstract sketchbook, where colors and shapes intertwine in a dance of imagination. In this flip through, we will embark on a journey through abstract art, a world where the ordinary...

read more

error: Content is protected !!