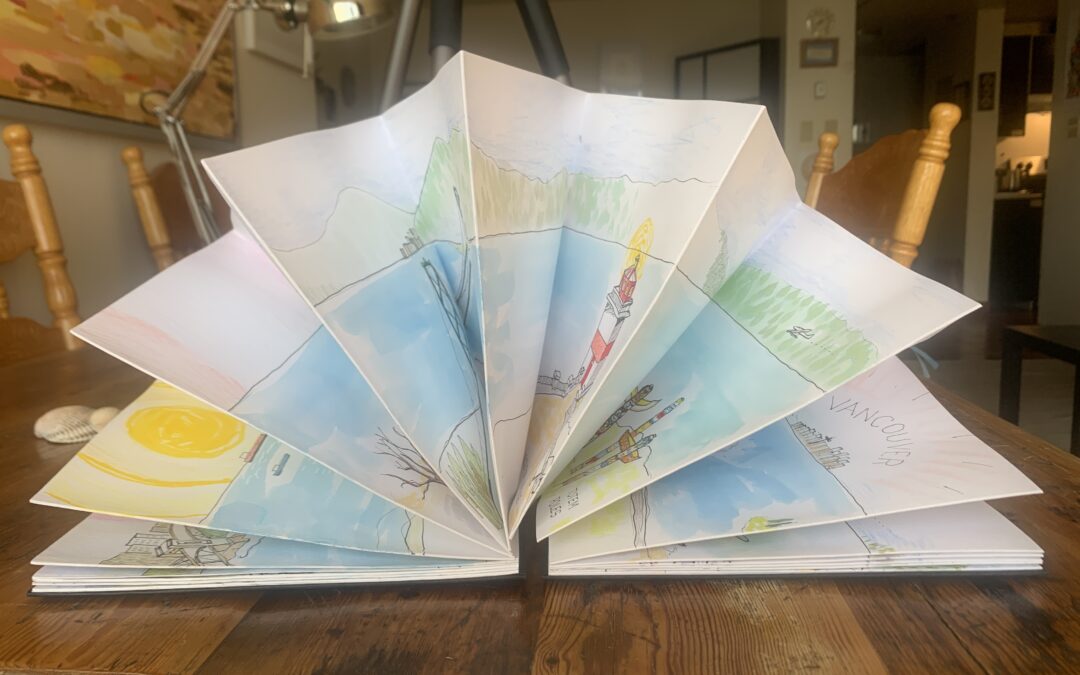
As a hobby artist, using a CONCERTINA SKETCHBOOK is a way to s-t-r-e-t-c-h your creative abilities and build your arty skills.

Sketch Journaling For Beginner Artists
Journaling
Journaling is a popular way to document your life-journey. There are several ways to create your own journals. Let’s have a quick look at some types of journaling.
1 Bullet Journaling
Bullet journals typically have bulleted points and lists of things to do. You can track what you did with mood trackers and habit trackers. Bullet journals can be done simply with a pen. I started my excursion into journaling with a bullet journal a few years ago.
2 Art Journaling
Art journaling is really when you paint a picture in a journal. Art journals can have collage elements that embellish the pages as well. For art journaling I prefer to use a watercolor book. With the better paper, you can paint what you see as you visit places like the beach or a new part of the city.
Art journals really are an extension of a sketchbook. I began art journaling when I joined my city “Urban Sketchers” group that used to meet once a month to draw specific building, bridges or public artworks. Groups like this offer you an abundant community of like-minded artists.
3 Sketch Journaling
Sketch journaling is more about the pen and ink sketch that can be painted or colored with pencil or markers and generally chronicles your day.
With sketch journaling each page is for a specific day or trip to somewhere like a city, sports event or restaurant that was memorable.
Sketch journaling usually features the date almost like a diary entry.
You can look back and see what you were doing on a specific day.
Sketch journaling is typically not done for every day of the year, but perhaps twice a week or twice a month for hey days and holidays.
Sketch Journal Challenges
Some dedicated sketch journalists will take up the challenge to sketch journal every day for a month or something like that. These challenges are good to get you in the habit of sketch journaling. We are organizing a “Seasonal Self-care Sketch Journal Challenge” later this year the details of which will be posted soon.
Sketch Journaling
Page Design Elements
Your journal page needs to have a few spaces to write your insights, quotes, notes and remarks. These comments can be around what happened that day, who you met, where you went, what you did and how you felt. You can also add the date, the temperature and weather conditions, day-in-the-life observations, meals shared and the food you enjoyed preparing.
Sketch Journal Page Process
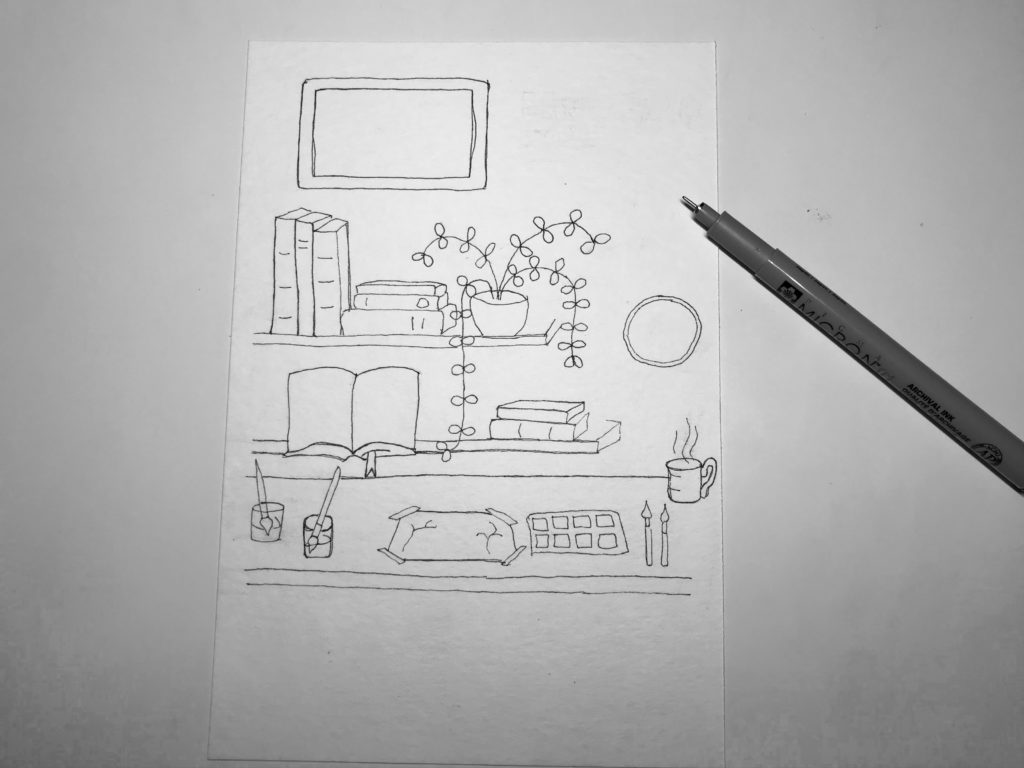
Pencil Sketch
Start with a light pencil sketch to give the bones of the drawing. Make three spaces for writing some comments. You will add these notes and observations later as the day unfolds. You will erase the pencil lines after you have completed the pen and ink overlay.

Pen and Ink Overlay
When you are happy with your pencil sketch, draw over the lines with a black pen. Start with the finest pen you have. I typically use a 0.1mm nib for the first ink overlay. The thin ink lines are used as a guide for the watercolor wash. I may go back in after the watercolor with a thicker nib pen like a 0.3mm or a 0.5mm pen to add definition only to certain areas of the drawing, but I won’t know this until later. When the ink is completely dry, gently erase the pencil lines with a white plastic eraser and brush the dirt from the page. Avoid using a sweaty hand to wipe off the erasing’s as this can add smears to the page. With a soft brush, sweep all erasing grime onto the floor and not onto your desk workspace.
Watercolor Wash
Add a light, very light watercolour wash to a few areas of the drawing. I like to use only two complementary color washes like yellow and lilac, blue and light orange (beige) or pink and green. When you use a limited palette, it produces a more sophisticated finished artwork. Keep all the colors light for the first pass. You can wash the notes areas as well.

Let the paint dry.
Now go back in with a smaller brush to color some highlighted parts of the drawing like the books on the shelf, coffee cup or plants.
Always work wet-on-dry and avoid painting two different colors right next to each other when the medium is still wet to avoid unintentionally blending the color.

You can repeat this step again for as many times you need to build up the color and to enhance the image.

Crayon and Colored Pencil
Allow the paint wash to dry. It can take until the next day for watercolor paint to dry completely. Go in with some sharp colored pencils in the same color palette you chose before, to add definition to the features in the drawing. Don’t overdo it and avoid the washed notes areas.

Gold Trim
Add some gold trim as a highlight. Take a gold gel pen or gold watercolor or gouache paint with a fine brush (perhaps a size 2) and add a few highlights to the important things in the painting. As tempting as in may be, do not overdo the gold. Allow your artwork to dry fully.

Comments and Notes
When all is dry, you can add some notes about the day. Perhaps write what happened, a book you read, who you had lunch with and how you felt.
Add a gratitude part as well for self-care. Here write a couple of things for which you are thankful.
You can add quotes that mean something to you or a line from a song lyric that resonates with you on this day.
This is your sketch journal, and you can write exactly what you want.
Your sketch journal may become a memory of your life. It can be shared with your children when they are bigger. That is up to you.

Back in the Day
In centuries past, women would embroider needlework samplers each year to show what they were working on and the stiches they had learned or perhaps a recipe they had mastered that year.
Needlepoint Sampler
These highly treasured and richly embellished fabrics are like the art and sketch journals of today, which many people are quietly creating at their kitchen tables and in their creator studios all over the world.

Self-care for This Year
You may be doing a bullet journal, art journal or sketch journal or perhaps a combination of all three types of journal rolled up in one. What really matters is the joy and peace you can achieve for yourself, and therefore those around you, through paying attention to your self-care needs and mental health as you work with color and create art.
Art Supplies
Gather Your Stuff
I believe that as artists or aspiring artists yoru probably have all the supplies you need. Reach for what you have and don’t let not having something specific stop you from creating something wonderful.
My Art Supplies
For clarity I have listed links to the exact art supplies I used to create this sketch journal page below.
- Pigma Micron 0.1mm black pen
- Faber Castell Pitt Artist pens
- Staedtler eraser
- Staedtler pencil sharpener
- Sketch book/journal Leuchtturm
- Strathmore watercolour paper pad of 12 sheets
- Sakura watercolour paintbox
- Faber Castell polychromas colored pencils – This is a tin of 60 colored pencils, but you can buy the colored pencils one by one which is how I do it now, so I can pick and choose the colors I want.
- Uniball gold gel pen 1.0mm
- Van Gogh Royal Talens water-colour paint tube, 10 ml – Deep Gold

Author Bio: Alison Hazel
Alison Hazel is a hobby artist and she shares her ongoing journey about becoming an artist later in life. She creates simple art that anyone can make. She hopes to inspire you to reach your creative potential in the area that suits you.
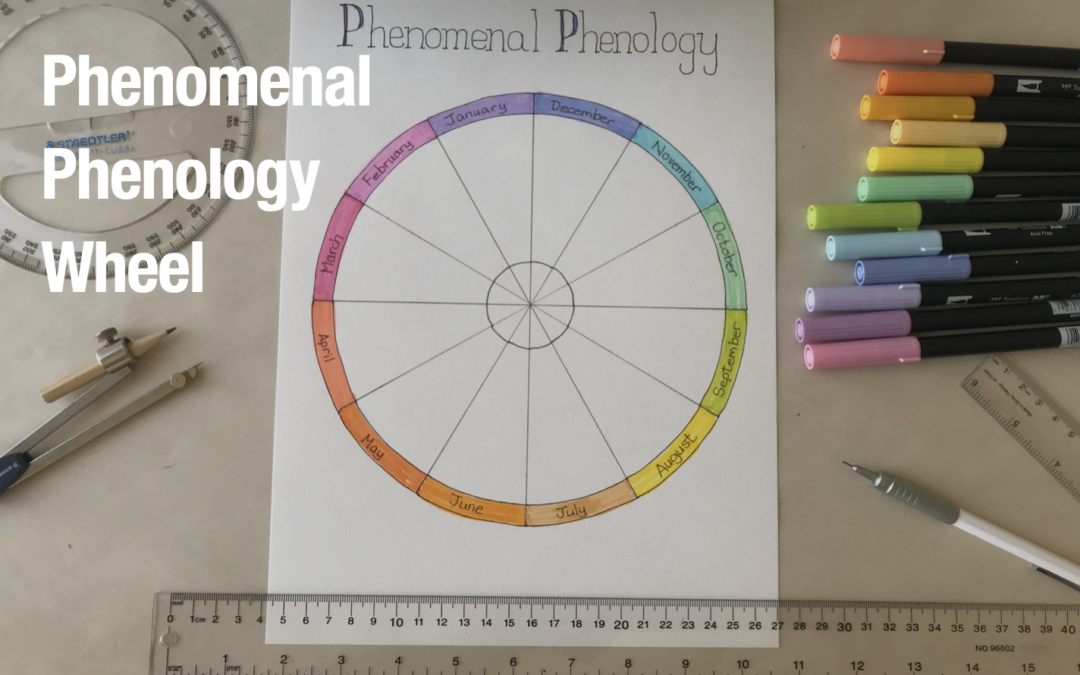
Phenomenal Phenology Wheel
How to create a yearly phenology wheel which is a fun self-care art project.
Artzlife Newsletter
Author: Alison Hazel - Published: December 2024 Artzlife Newsletter Creative art journal inspiration for hobby artists Welcome to a Place for Passionate Hobby Artists Are you a hobby artist seeking inspiration, connection and gentle guidance on your creative...