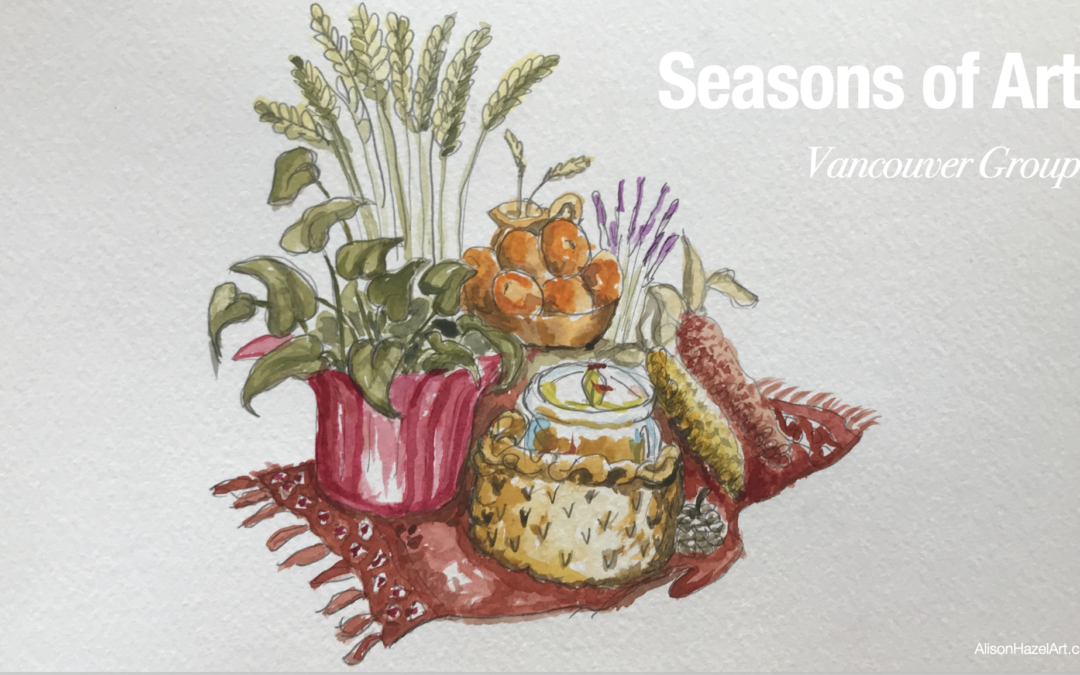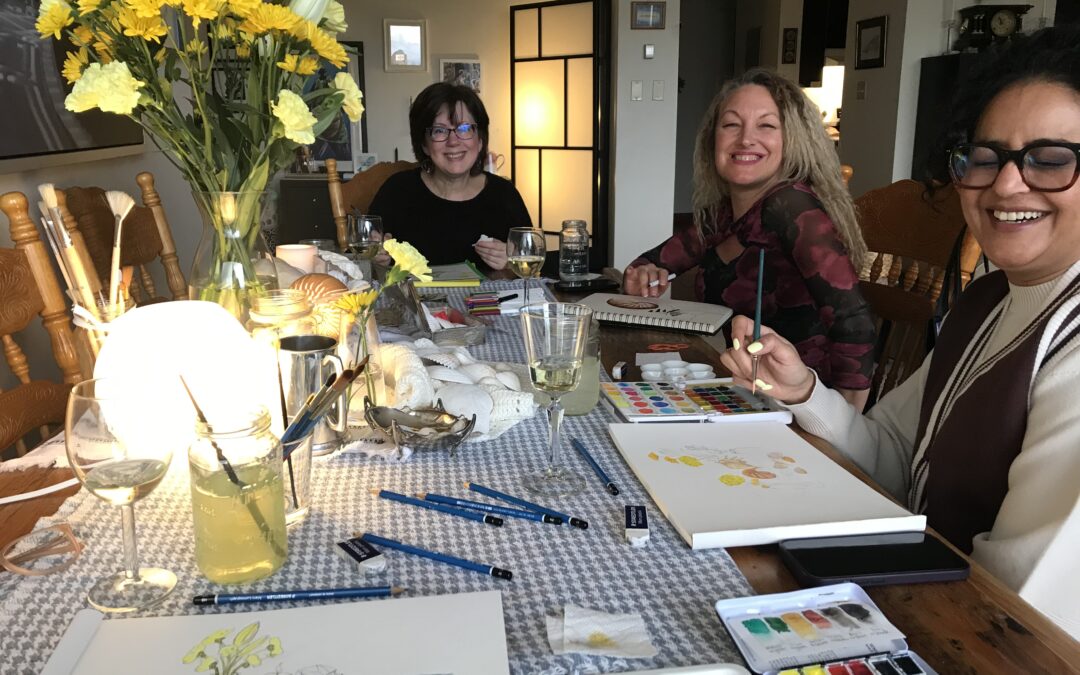
Seasons of Art: Spring 2023 Group Meeting Learn more about the recent Seasons of Art group meeting. See more about the Seasons of Art group here. Satvvir's Artwork Below is Satvvir's artwork (Instagram @theambivertsbb). She used watercolor and combined orabges...
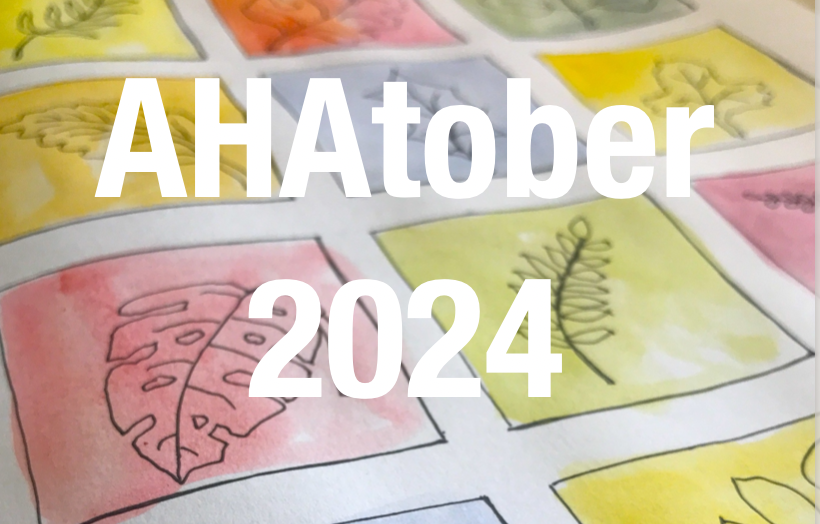
AHAtober 2024
AHAtober 2024
Welcome to AHAtober 2024!
AHAtober is a special event for meditative artists, inspired by the popular Inktober challenge.
This month-long journey is designed to bring calmness and creativity together, providing a space for artists to explore and express themselves through gentle and reflective prompts.
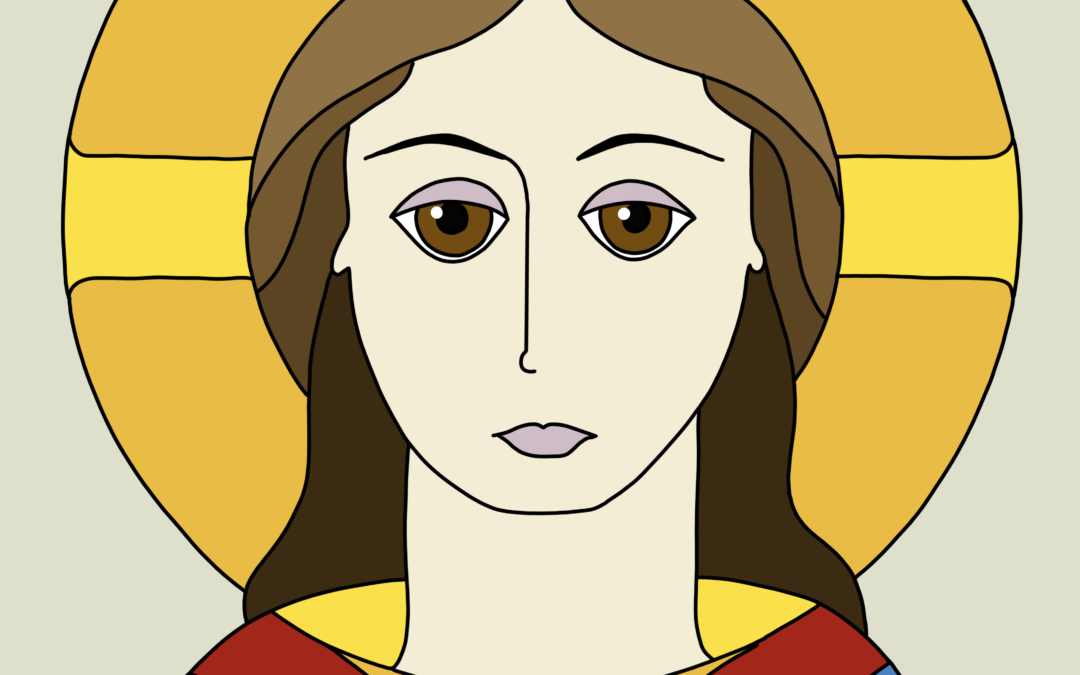
Acknowledgement
Inktober is an art movement devised by Jake Parker way back in 2009. To do Inktober you draw one ink artwork for every day of October. At the end you have thirty-one artworks.
What is AHAtober?
AHAtober is an annual event that takes place throughout the entire month of October.
Unlike traditional art challenges, AHAtober focuses on mindfulness and meditation, encouraging artists to create with intention and serenity.
Each day in October features a unique prompt, making a total of 31 prompts for you to enjoy.
Why Join AHAtober?
Many artists choose AHAtober over Inktober because it offers a softer, more introspective approach to daily art challenges.
The prompts are thoughtfully designed to inspire calm and meditative creativity, allowing you to connect deeply with your artistic practice.
Get Ready for AHAtober 2024
We are excited to announce that the AHAtober 2024 prompts will be released on September 1, 2024.
This early release gives you ample time to prepare your materials, set your intentions, and get ready for a month of peaceful artistic exploration.
How to Participate
Check the Prompts
On September 1, 2024, visit our website or social media channels to view the complete list of AHAtober prompts.
Gather Your Supplies
Prepare your favorite art supplies and create a cozy, peaceful space for your daily practice.
Create Daily
Starting October 1, follow each daily prompt and allow yourself to create with mindfulness and intention.
Share Your Art
Join the community of AHAtober artists by sharing your creations online using the hashtag #AHAtober2024.

Previous AHAtobers
AHAtober has been inspiring meditative artists for several years now, offering a unique and calming alternative to traditional art challenges.
Over the years, many artists have found joy and peace through participating in AHAtober.
You can explore my past AHAtober posts.
One inspiring story comes from a dedicated participant who completed the entire AHAtober challenge. Her journey is a testament to the transformative power of mindful creativity.
You can read her story and see her beautiful artwork.
I encourage you to dive into these stories and artworks from previous AHAtobers, as they offer a glimpse into the serene and reflective nature of this unique art challenge.
I hope you join us for this unique and enriching experience.
AHAtober offers a wonderful opportunity to slow down, reflect and create art that resonates with your inner calm.

Save this pin to read later.

Author Bio: Alison Hazel
Alison Hazel is a hobby artist and she shares her ongoing journey about becoming an artist later in life. She creates simple art that anyone can make. She hopes to inspire you to reach your creative potential in the area that suits you.
Art for Self-care
Read my journey on Art as Self-care. Get some tips and ideas on how you can add some journaling processes to your day.
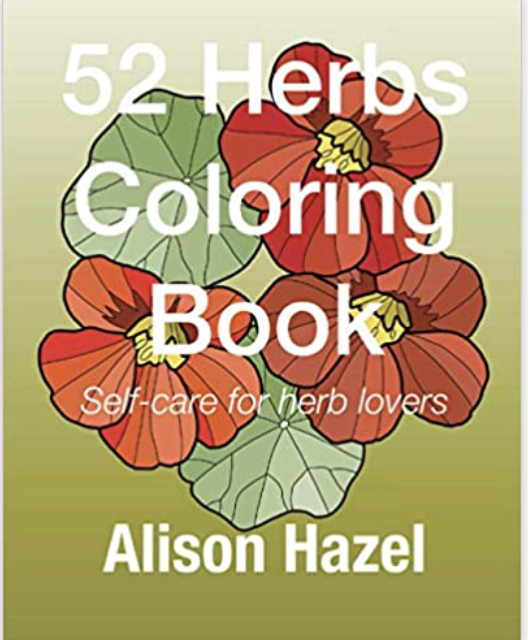
52 Herbs Coloring Book – Self-care for Herb Lovers
Get your 52 Herbs Coloring Book – Self-care for Herb Lovers with original artwork by Alison Hazel Art available from Amazon.