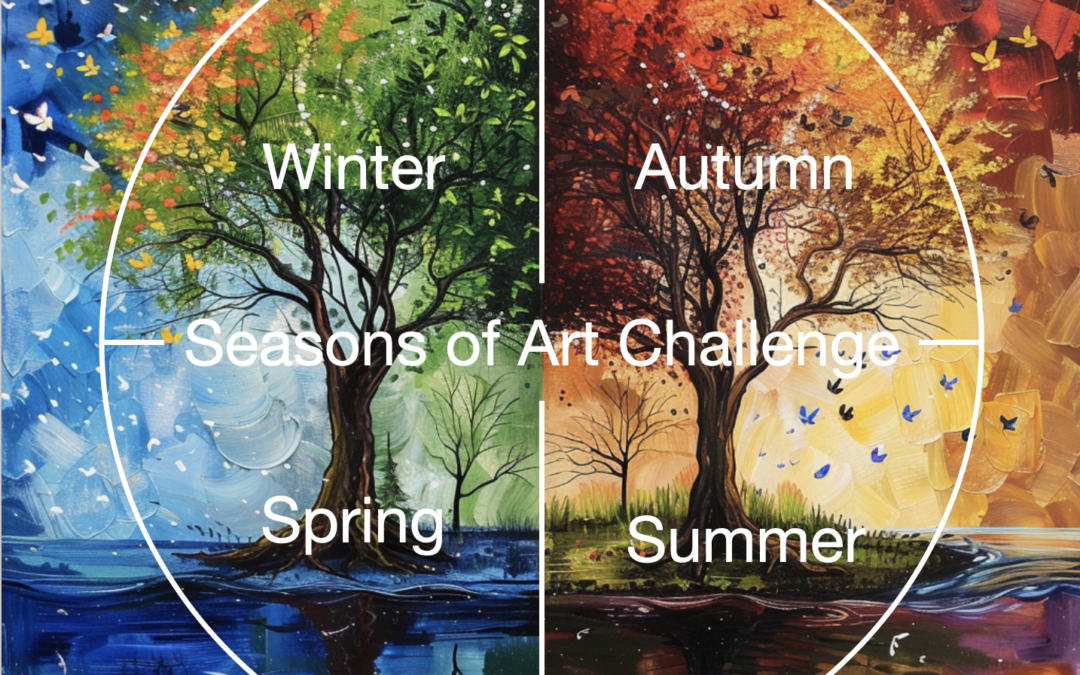
Join us for the Seasons of Art weekly art/drawing challenge. See what you can do in your art life.
Seasons of Art: Spring
Seasons of Art: Spring 2023
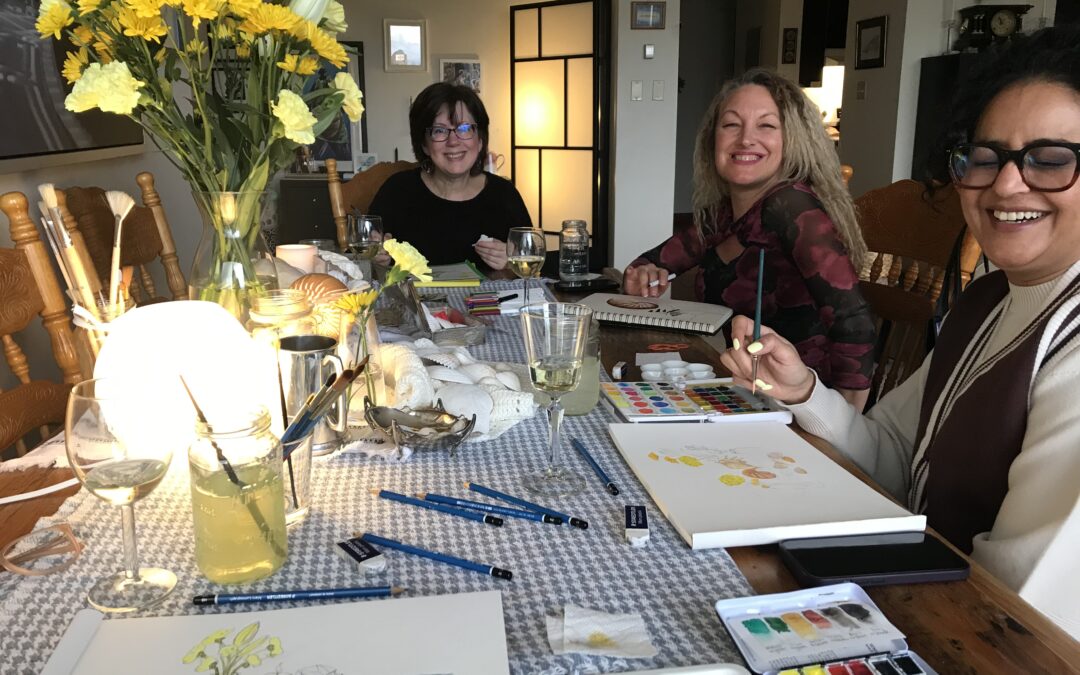
Group Meeting
Learn more about the recent Seasons of Art group meeting.
See more about the Seasons of Art group here.
Satvvir’s Artwork
Below is Satvvir’s artwork (Instagram @theambivertsbb). She used watercolor and combined orabges and yellows with a lot of texture in this piece.

Arwynne’s Artwork
Here is Arwynne’s finished artwork. You can see more of her work at IG @mspinkdotcom.

Gillian’s Artwork
Below is Gillian’s finished artwork. I first meyt Gillian when she led a watercolor class at the Elephant Studio in Vancouver. Follow Gillian at IG @gillianpearsonart.

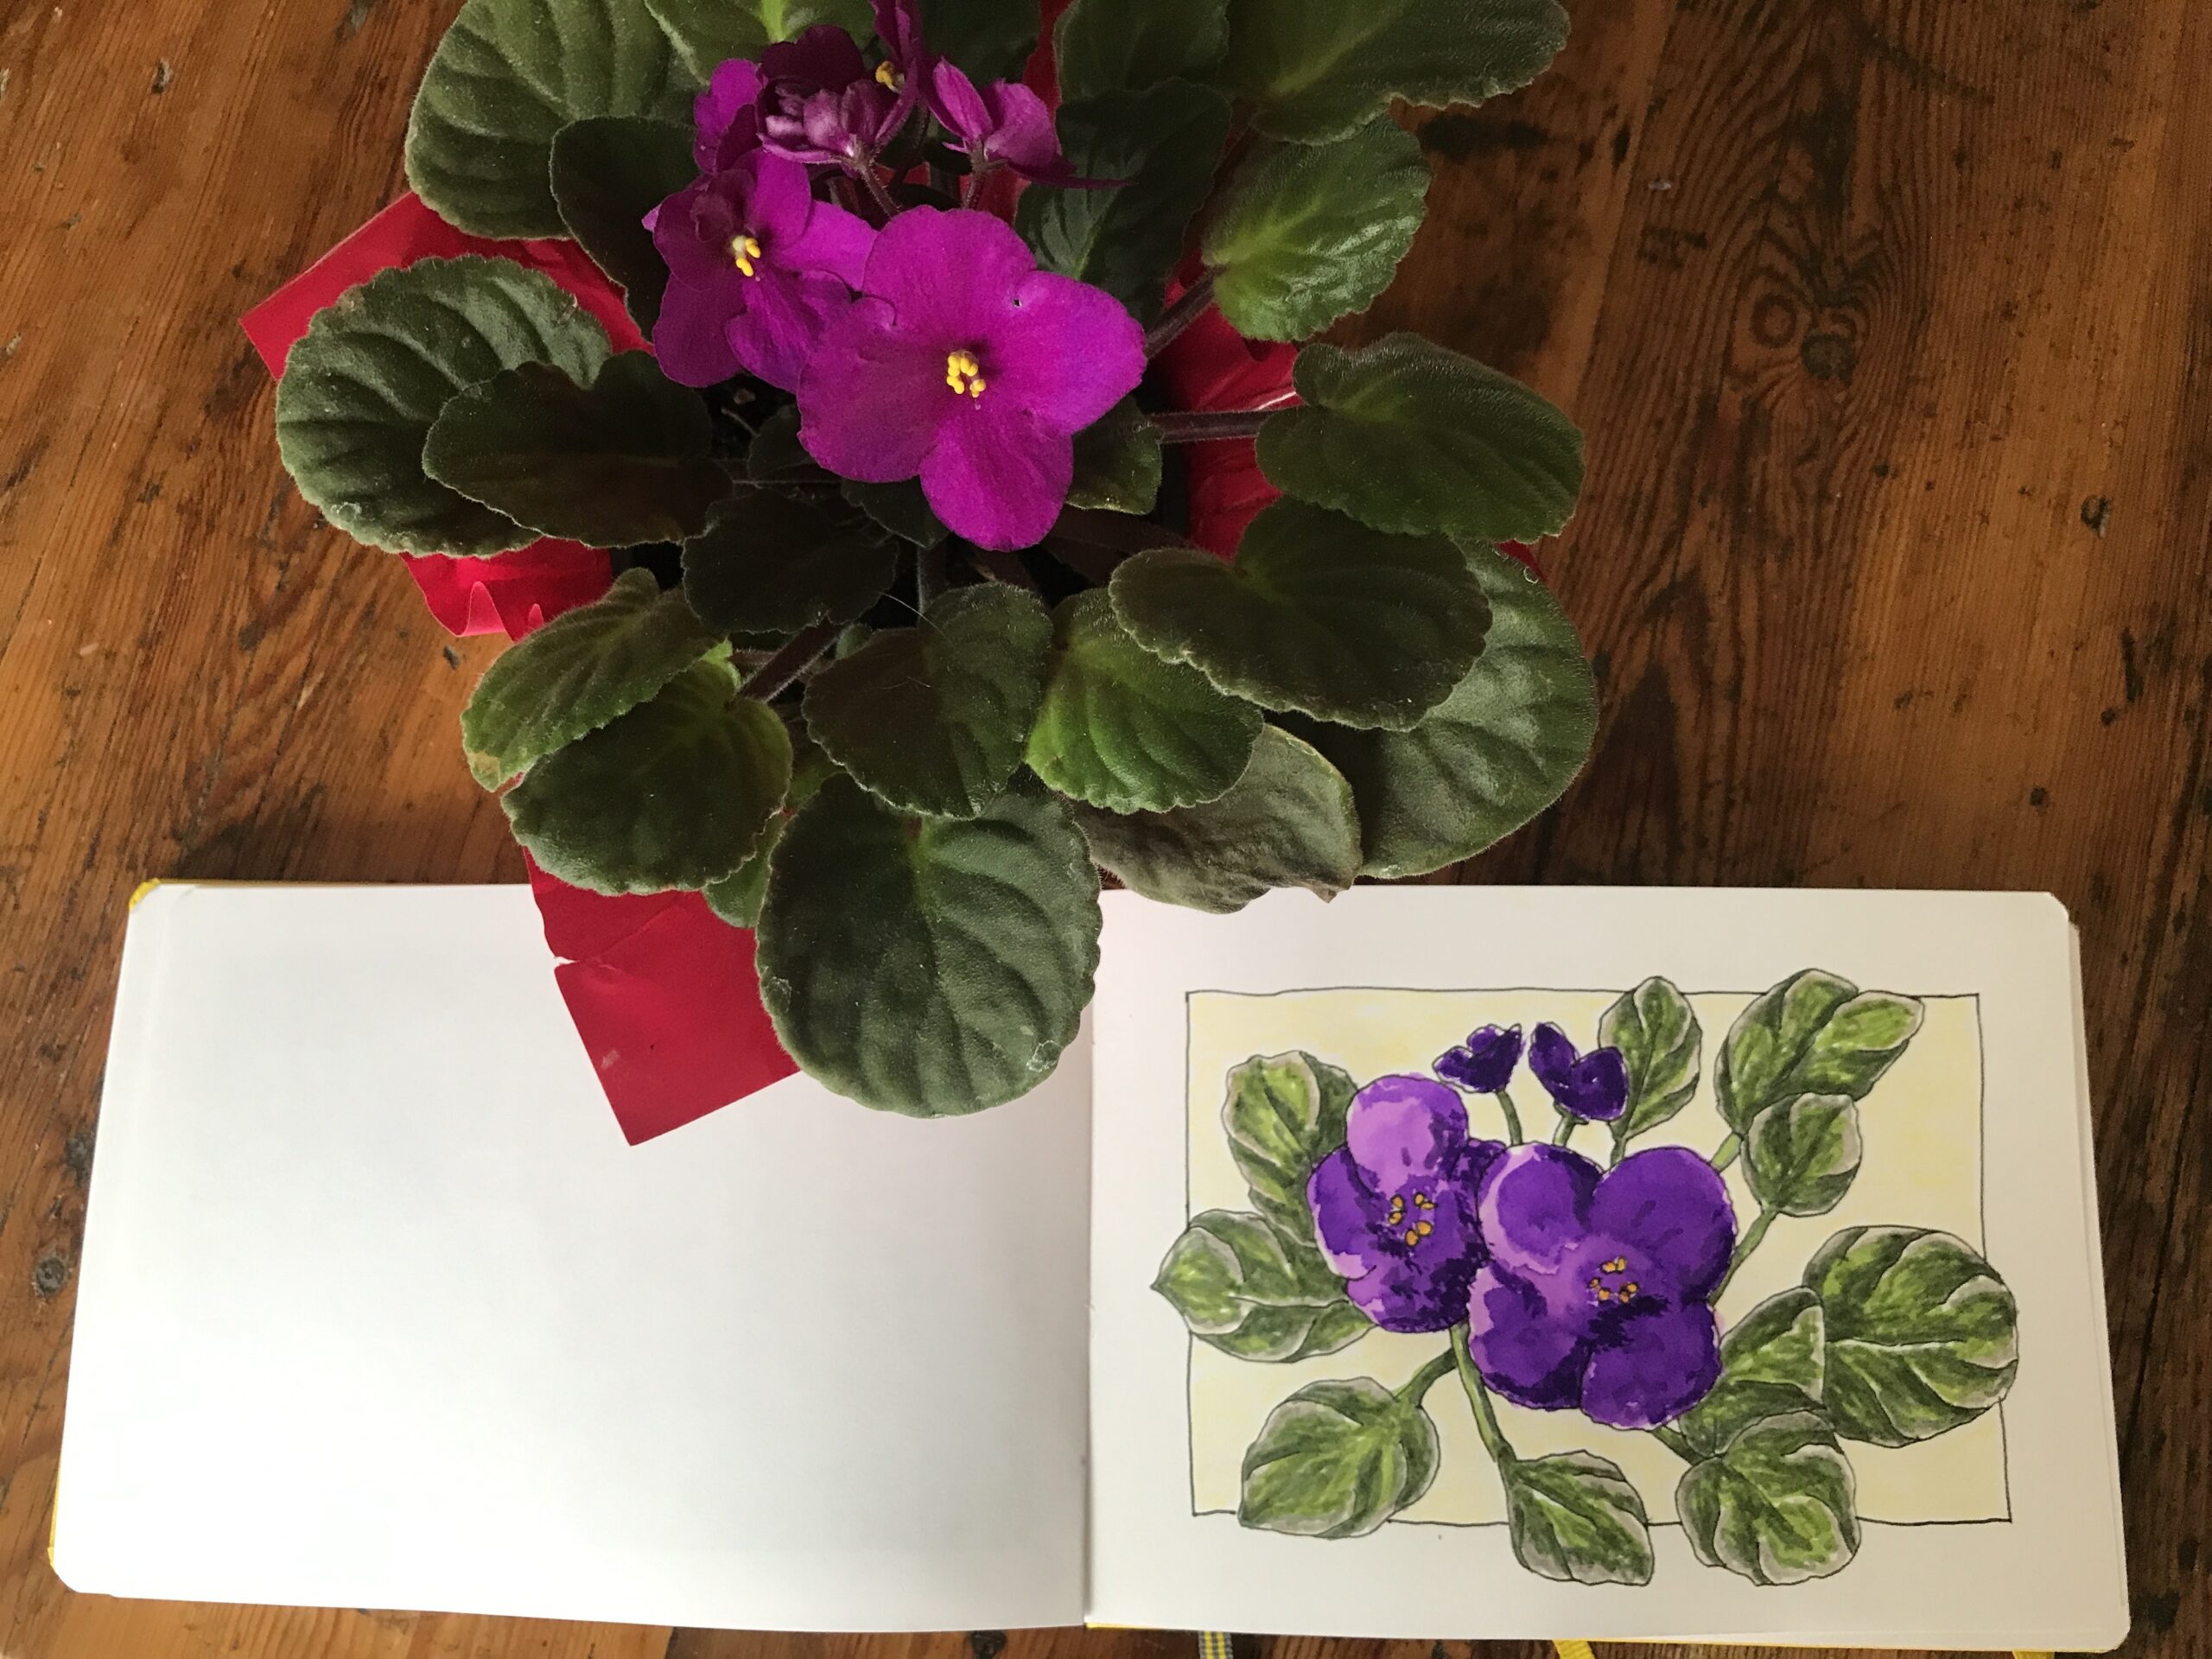
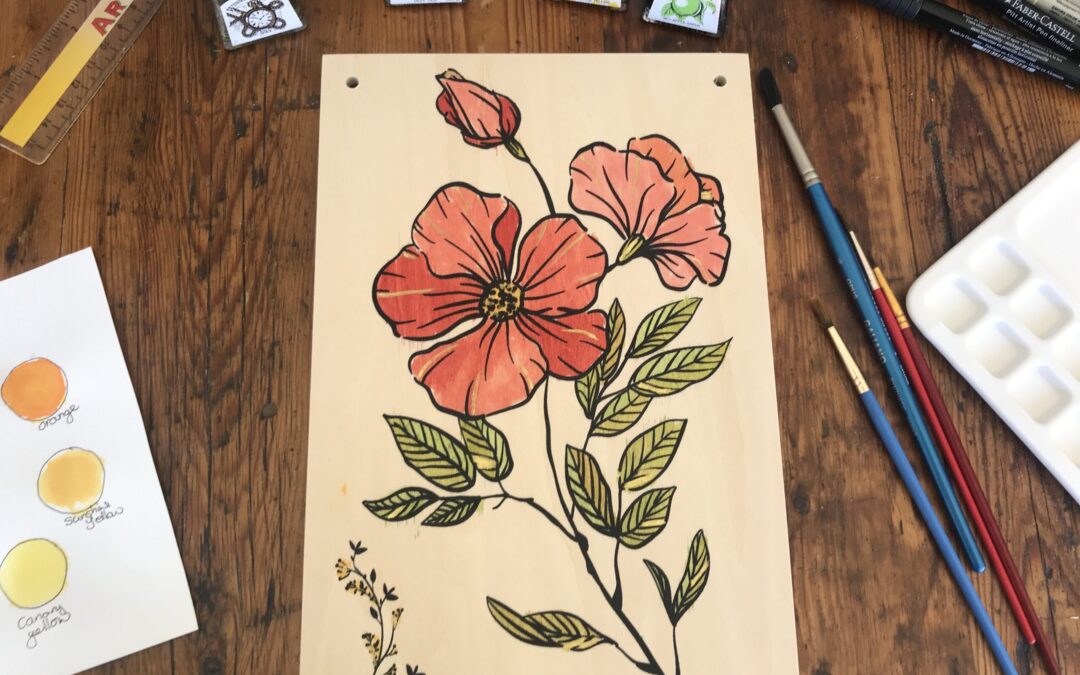
Alison’s Artwork
Below is my artwork of the still life done in watercolor. I tried to create something in the center which I couls later frame and hang on my wall. The main horizontal is slightly out which I adjusted when placing it in teh frame.

Seasons of Art Group YouTube Video
I complied a YouTube video of the evening’s activities and you can check it all out by clicking on teh video below.
Seasons of Art Group: The Gals
Our group photo taken at the end. frome left to right Gillian, Satvvir, Arwynne and Alison. We had a really nice evenign and I look forward to doing it again soon.


Author Bio: Alison Hazel
Alison Hazel is a hobby artist and she shares her ongoing journey about becoming an artist later in life. She creates simple art that anyone can make. She hopes to inspire you to reach your creative potential in the area that suits you.
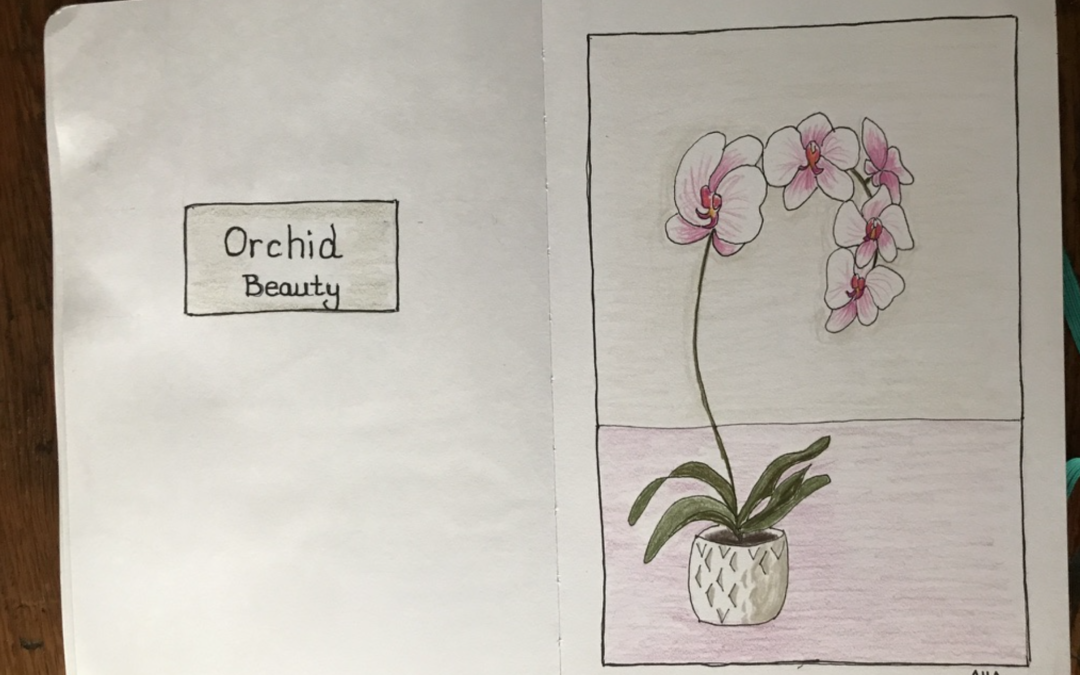
Sketchbook – Orchid with Colored Pencils
See how to draw step-by-step an orchid with colored pencils in your sketchbook. Learn the meaning of the orchid flower.
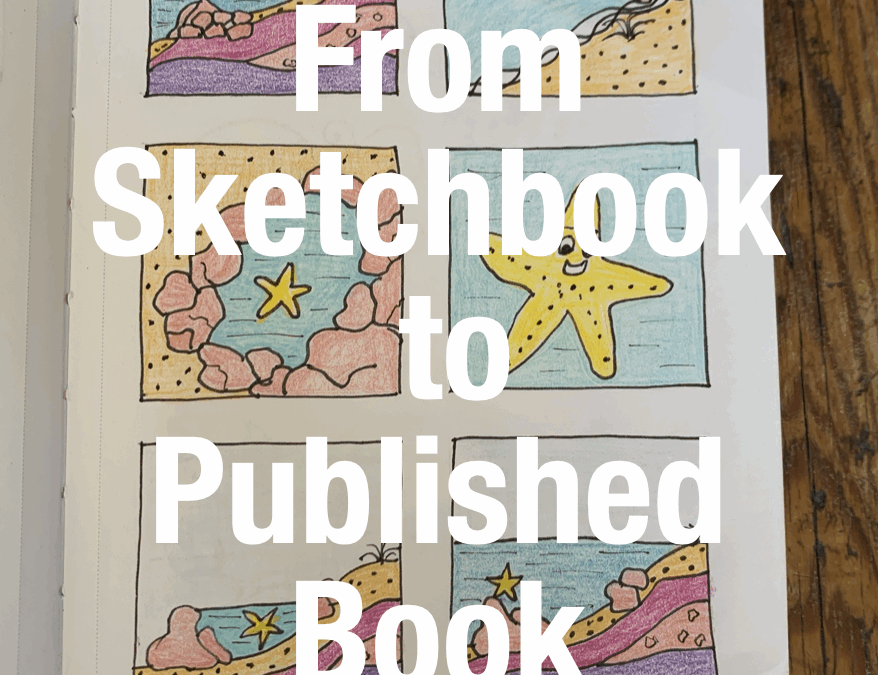
From Sketchbook to Published Book
Author: Alison Hazel - Updated: May 2025Coastal Inspiration You may know that I live on the west coast of Canada and I'm pretty close to the beach which I get down to probably once or twice a month. I have sketched many seascapes and features around the coast my...