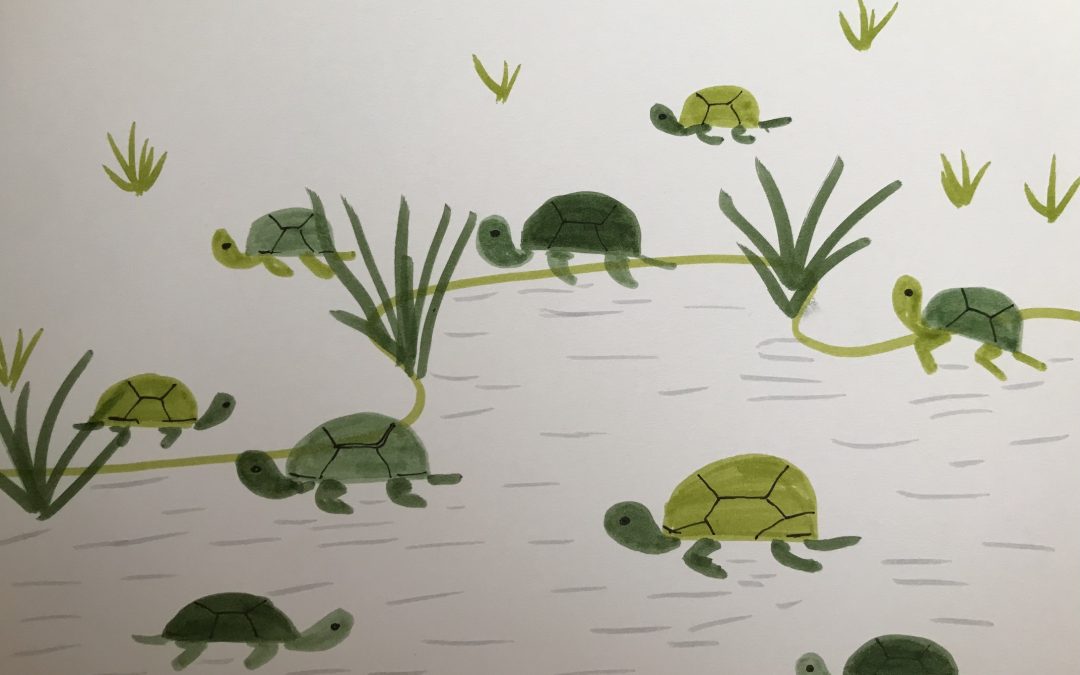
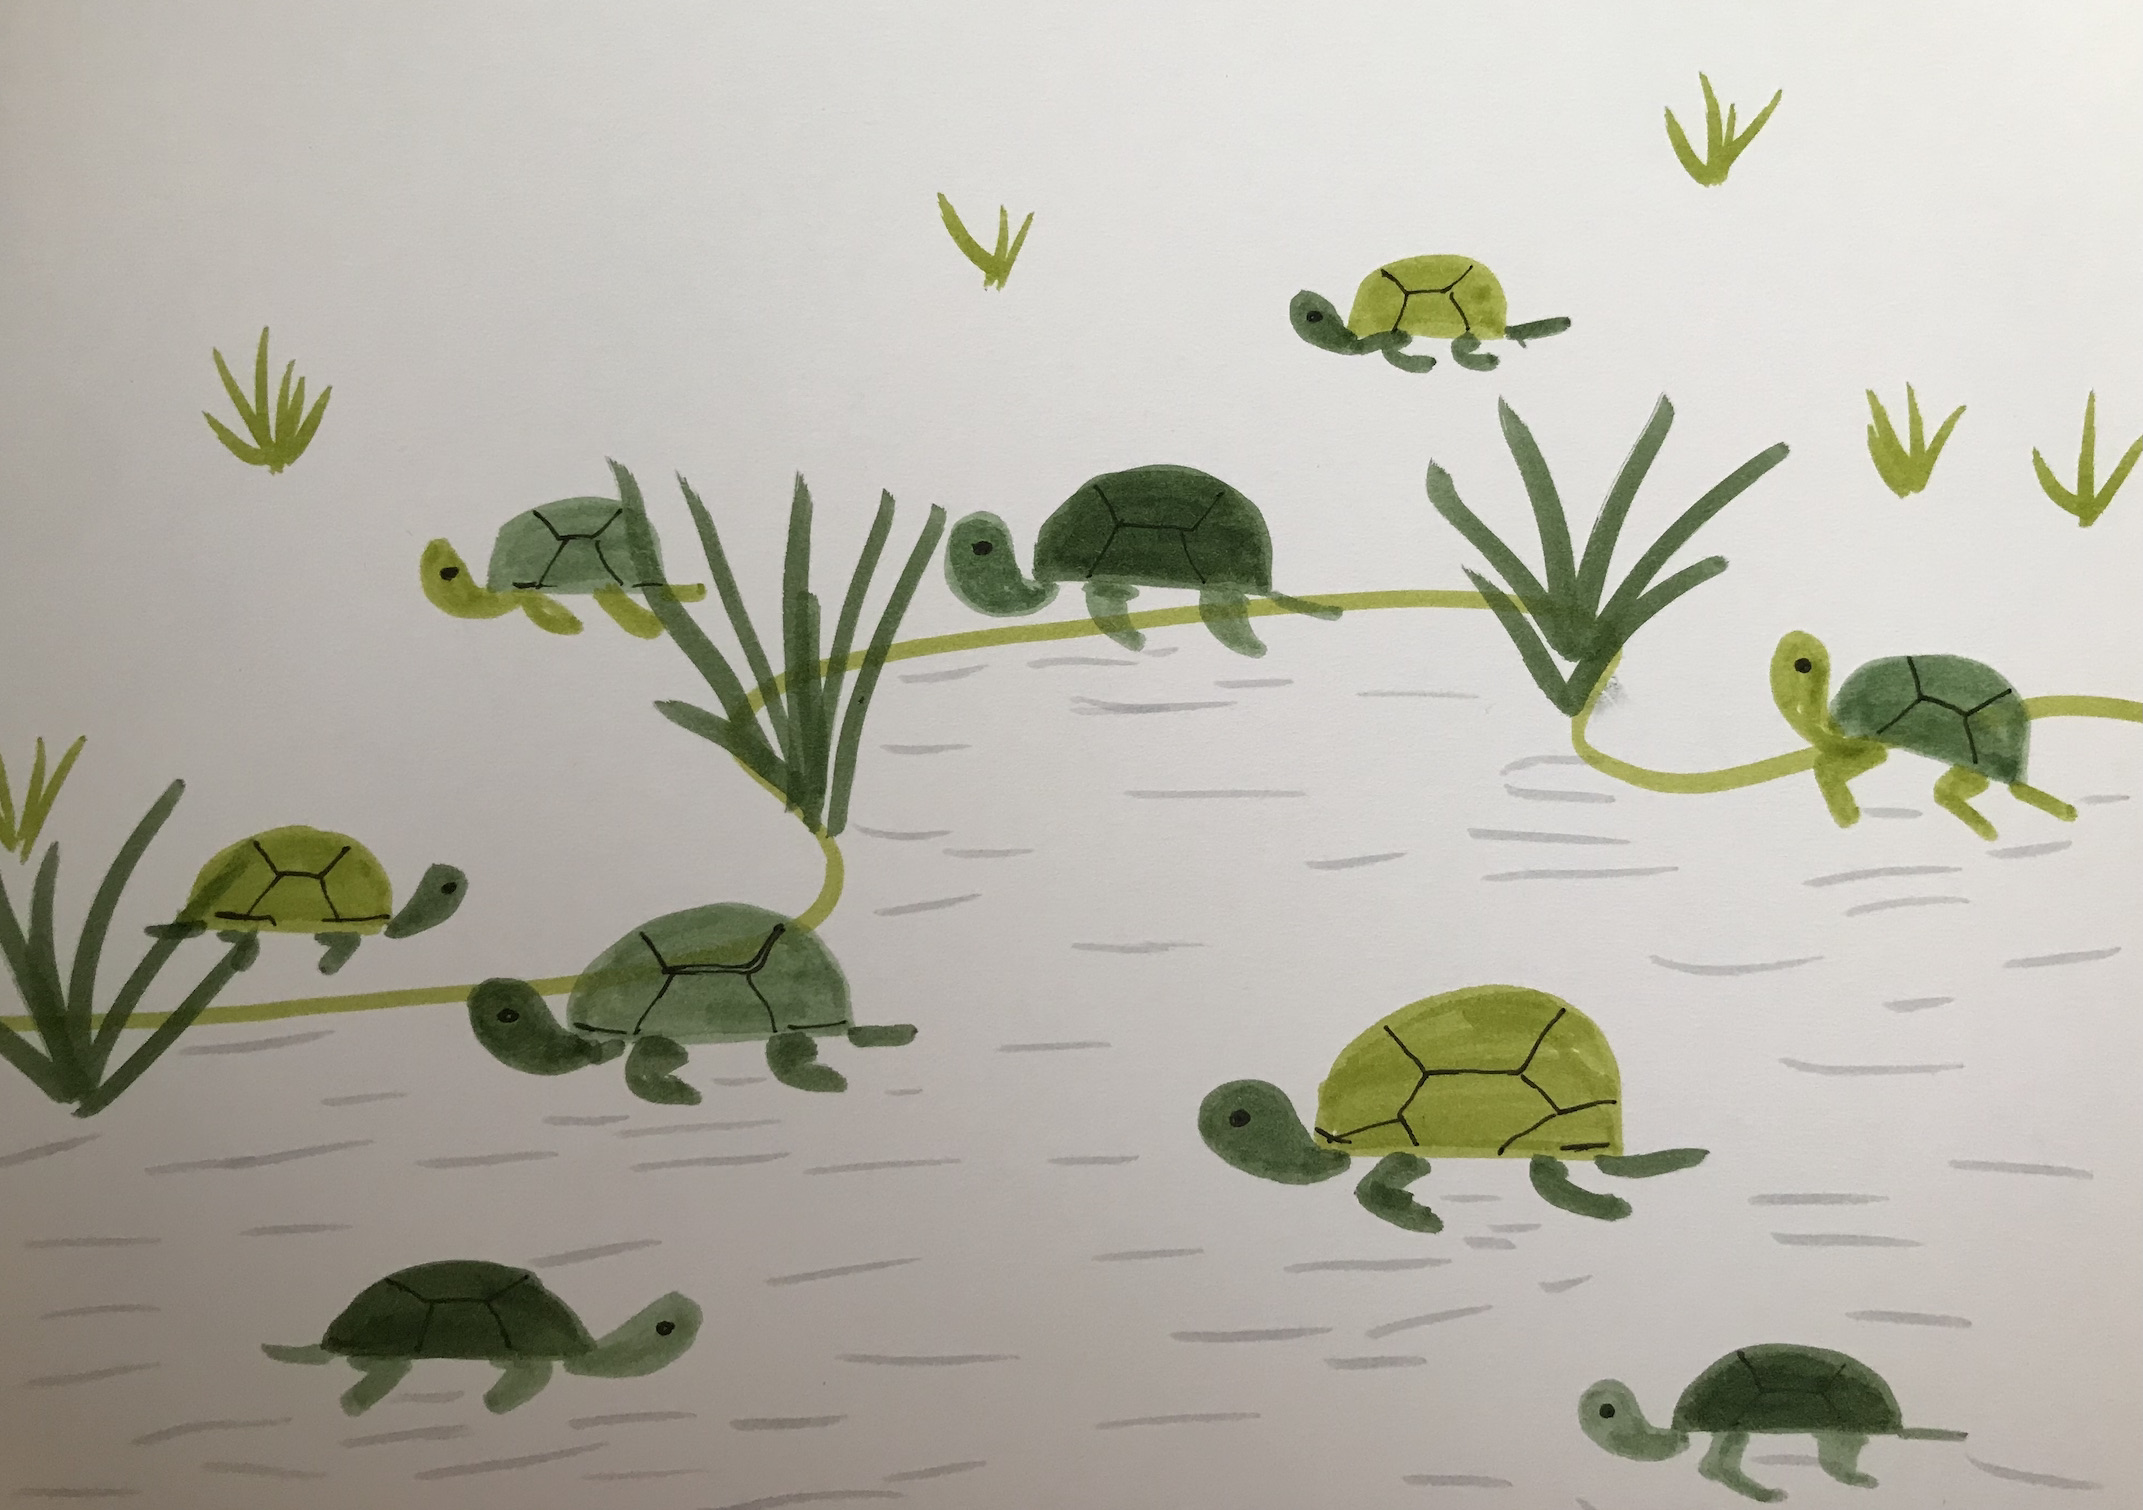
How to Draw Turtles and Tortoises

How to Draw Turtles and Tortoises

Introduction

This easy artwork is for anyone who wants to draw turtles and tortoises.

Turtles and tortoises look similar as they have a shell, both are cold-blooded reptiles.

A turtle can swim and lives mainly in water but can walk on land. A turtle breathes air and takes a huge gulp and holds its breath before diving down into its pond’s depths.

A tortoise lives on land.

Both turtles and tortoises lay their eggs on land.

Daily Art Practice

This is part of a basic shapes set of posts I am creating to help you get creative and build your daily art and drawing practice.

These simple drawings can be done with your kids.

Basic Shapes

Basic shapes are determined by the number of lines taken to make them such as circles, eggs or ovals which take one line, a triangle that takes three lines and a square that takes four lines.

The basic shapes are dots, lines, circles, ovals, eggs, semi-circle, vesica Pisces, triangles, squares, rectangles, pentagrams, hexagrams, and other polygons.

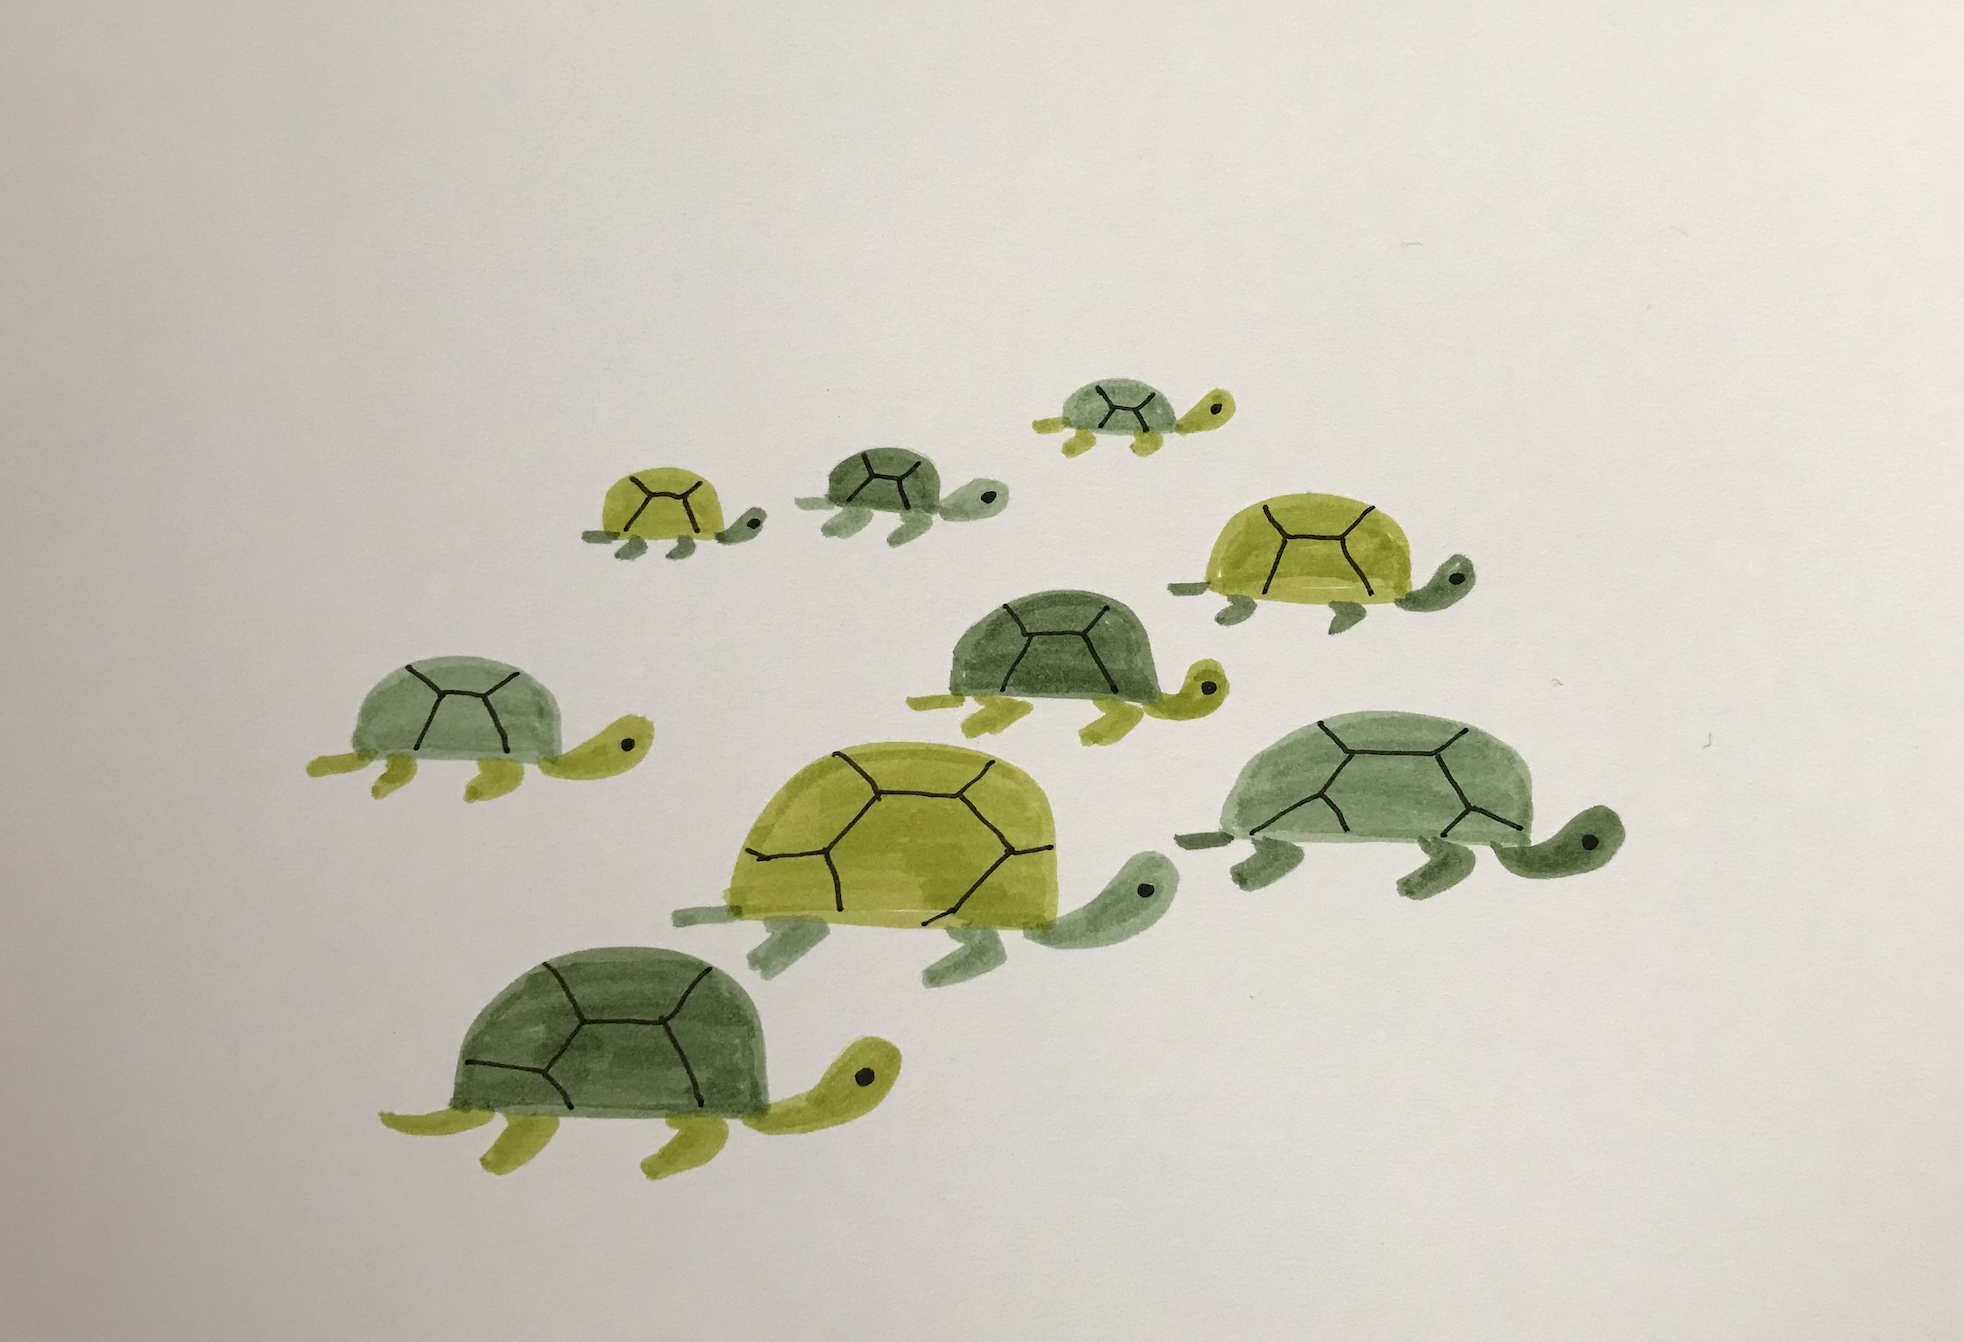
For the turtles and tortoises, we will use a basic two-line semi-circle shape.

Art Supplies

Markers

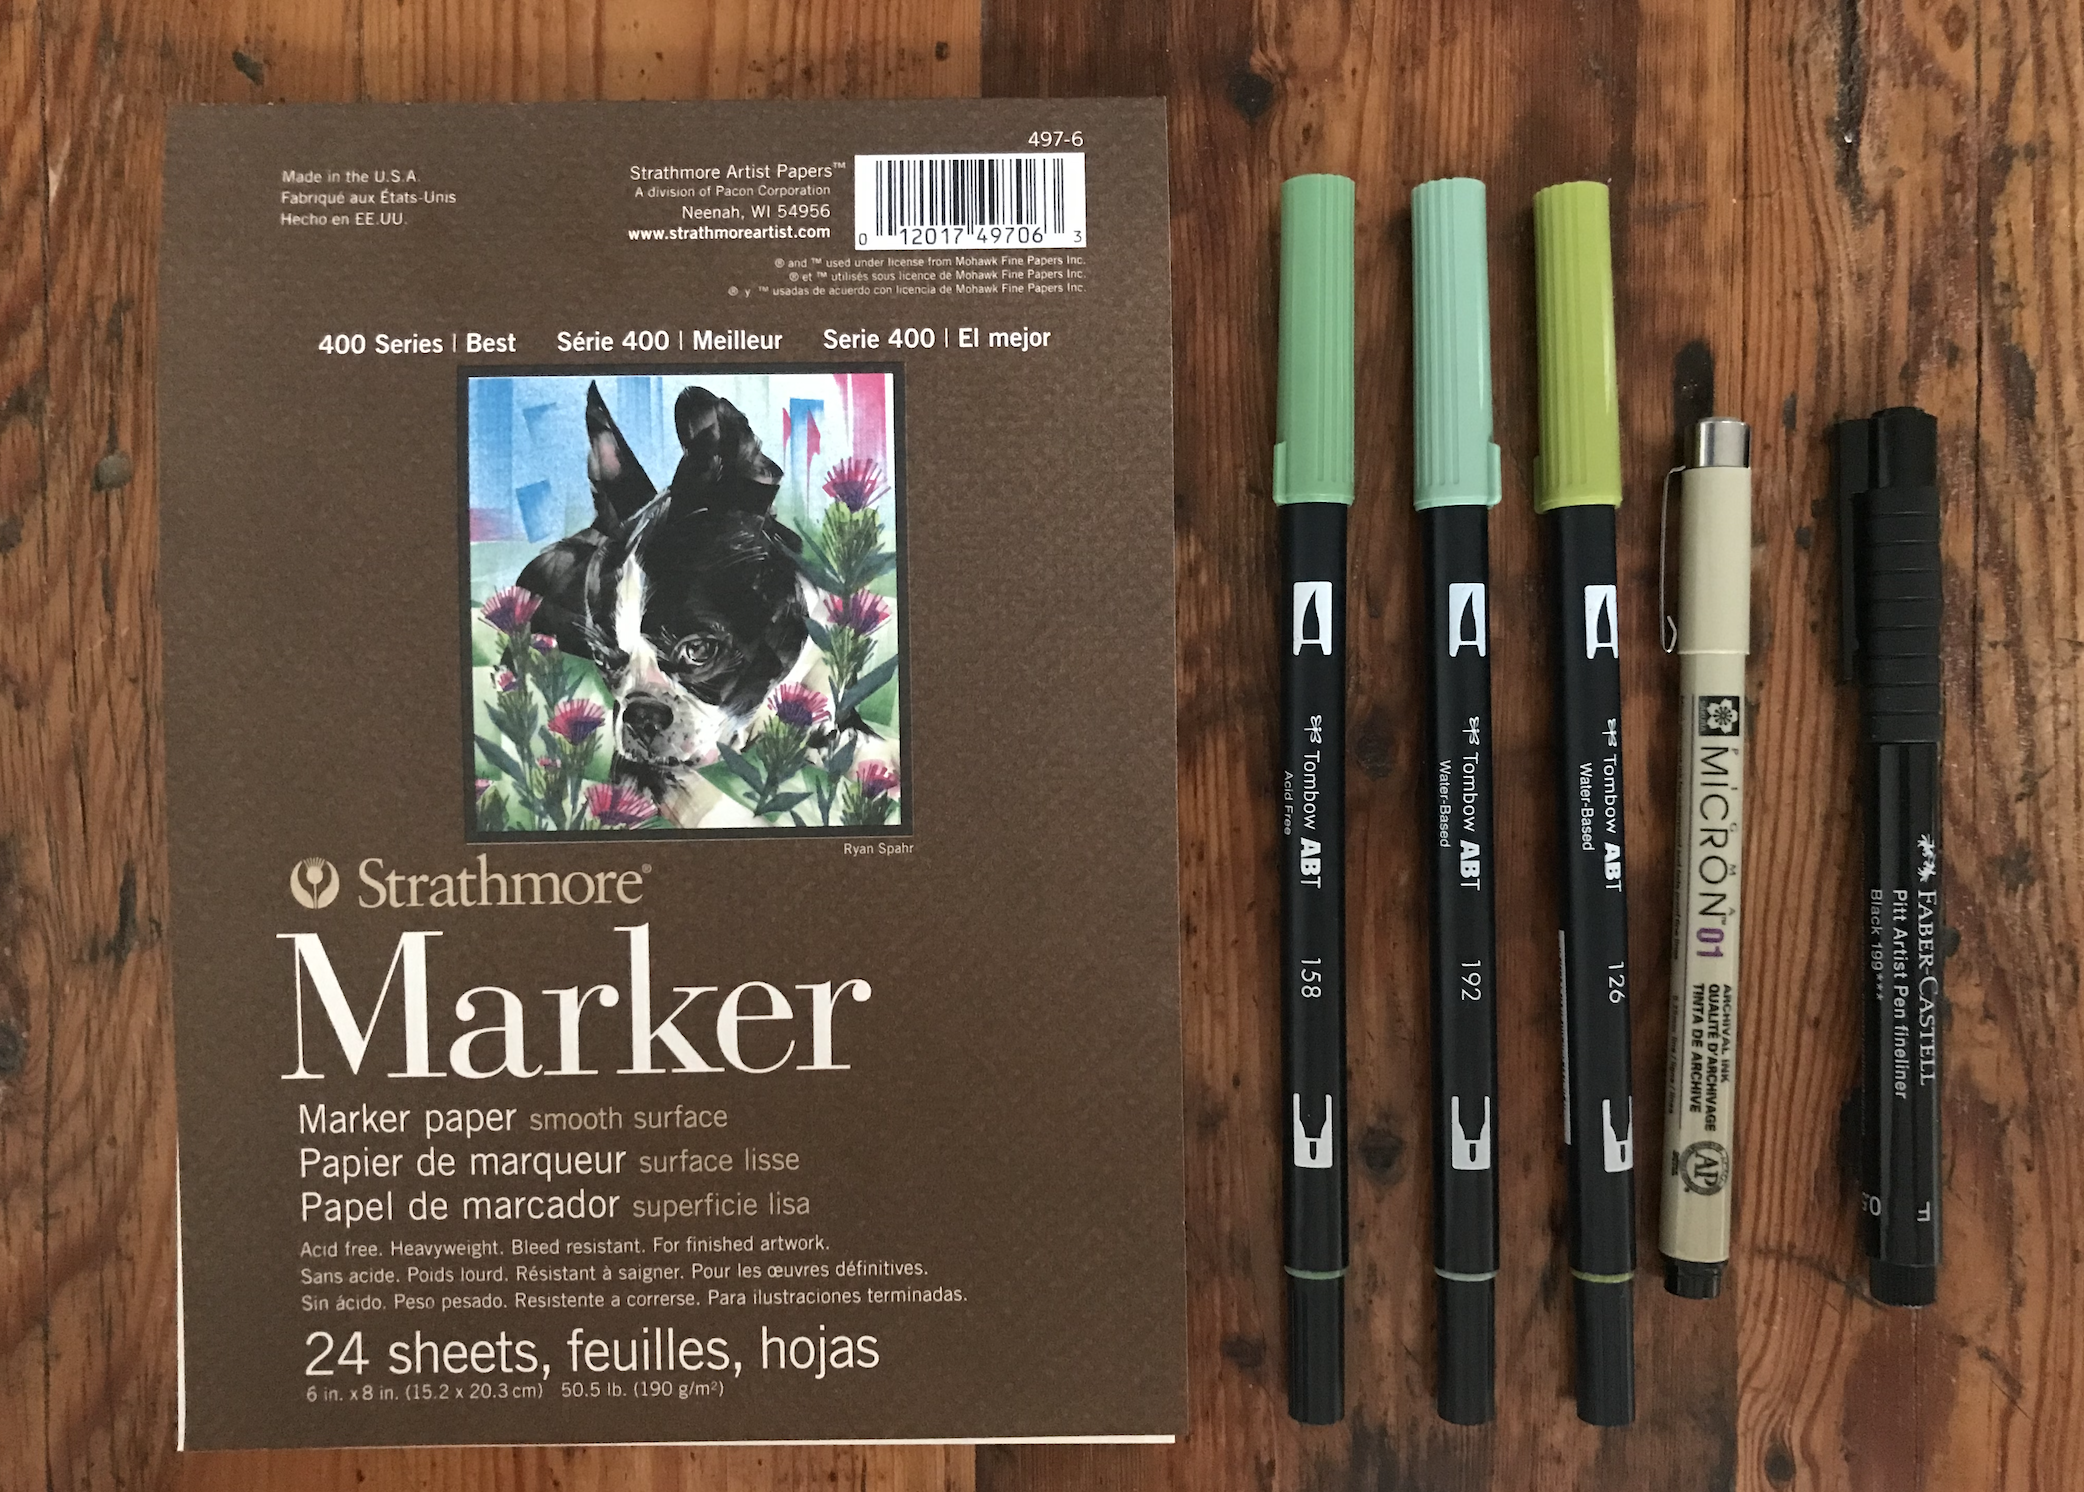
For this artwork I used Tombow markers, but you can use what you have at hand.

I wanted to have a grey tinge to the greens and avoided harsh emerald greens which are far too bright.

The three shades of green I chose were numbers 098, 133 and 126 from Tombow dual brush pens.

Pens

For the reptile details, I used two pens, Pigma Micron 0.1mm black pen and a Faber Castell 0.5mm Pitt Artist pen in black.

Paper

I chose marker paper from Strathmore, but you can use what you have at hand.

Do not feel that you need the exact art supplies which I employed to make this artwork, and this stops you.

Always use the art supplies that you have available right now in your home.

Note: For a full list of the art supplies I use please go here.
Drawing Composition

To create depth in your artwork, place the larger shapes in the bottom third, the medium figures in the middle third and the far profiles on the top third of the page.

If your tortoises are all the same size and the same shape, the final result could be dreary.

Alternatively, if you have a variety of sizes (with the same semi-circle shape), it adds interest to your composition.

Step One: Light Green

With the lightest green, draw a semi-circle shape in the middle of the page, make the base about 25mm, or one inch, long.

Draw a slightly smaller semi-circle higher and to the right.

Draw a still smaller semi-circle towards the top left.
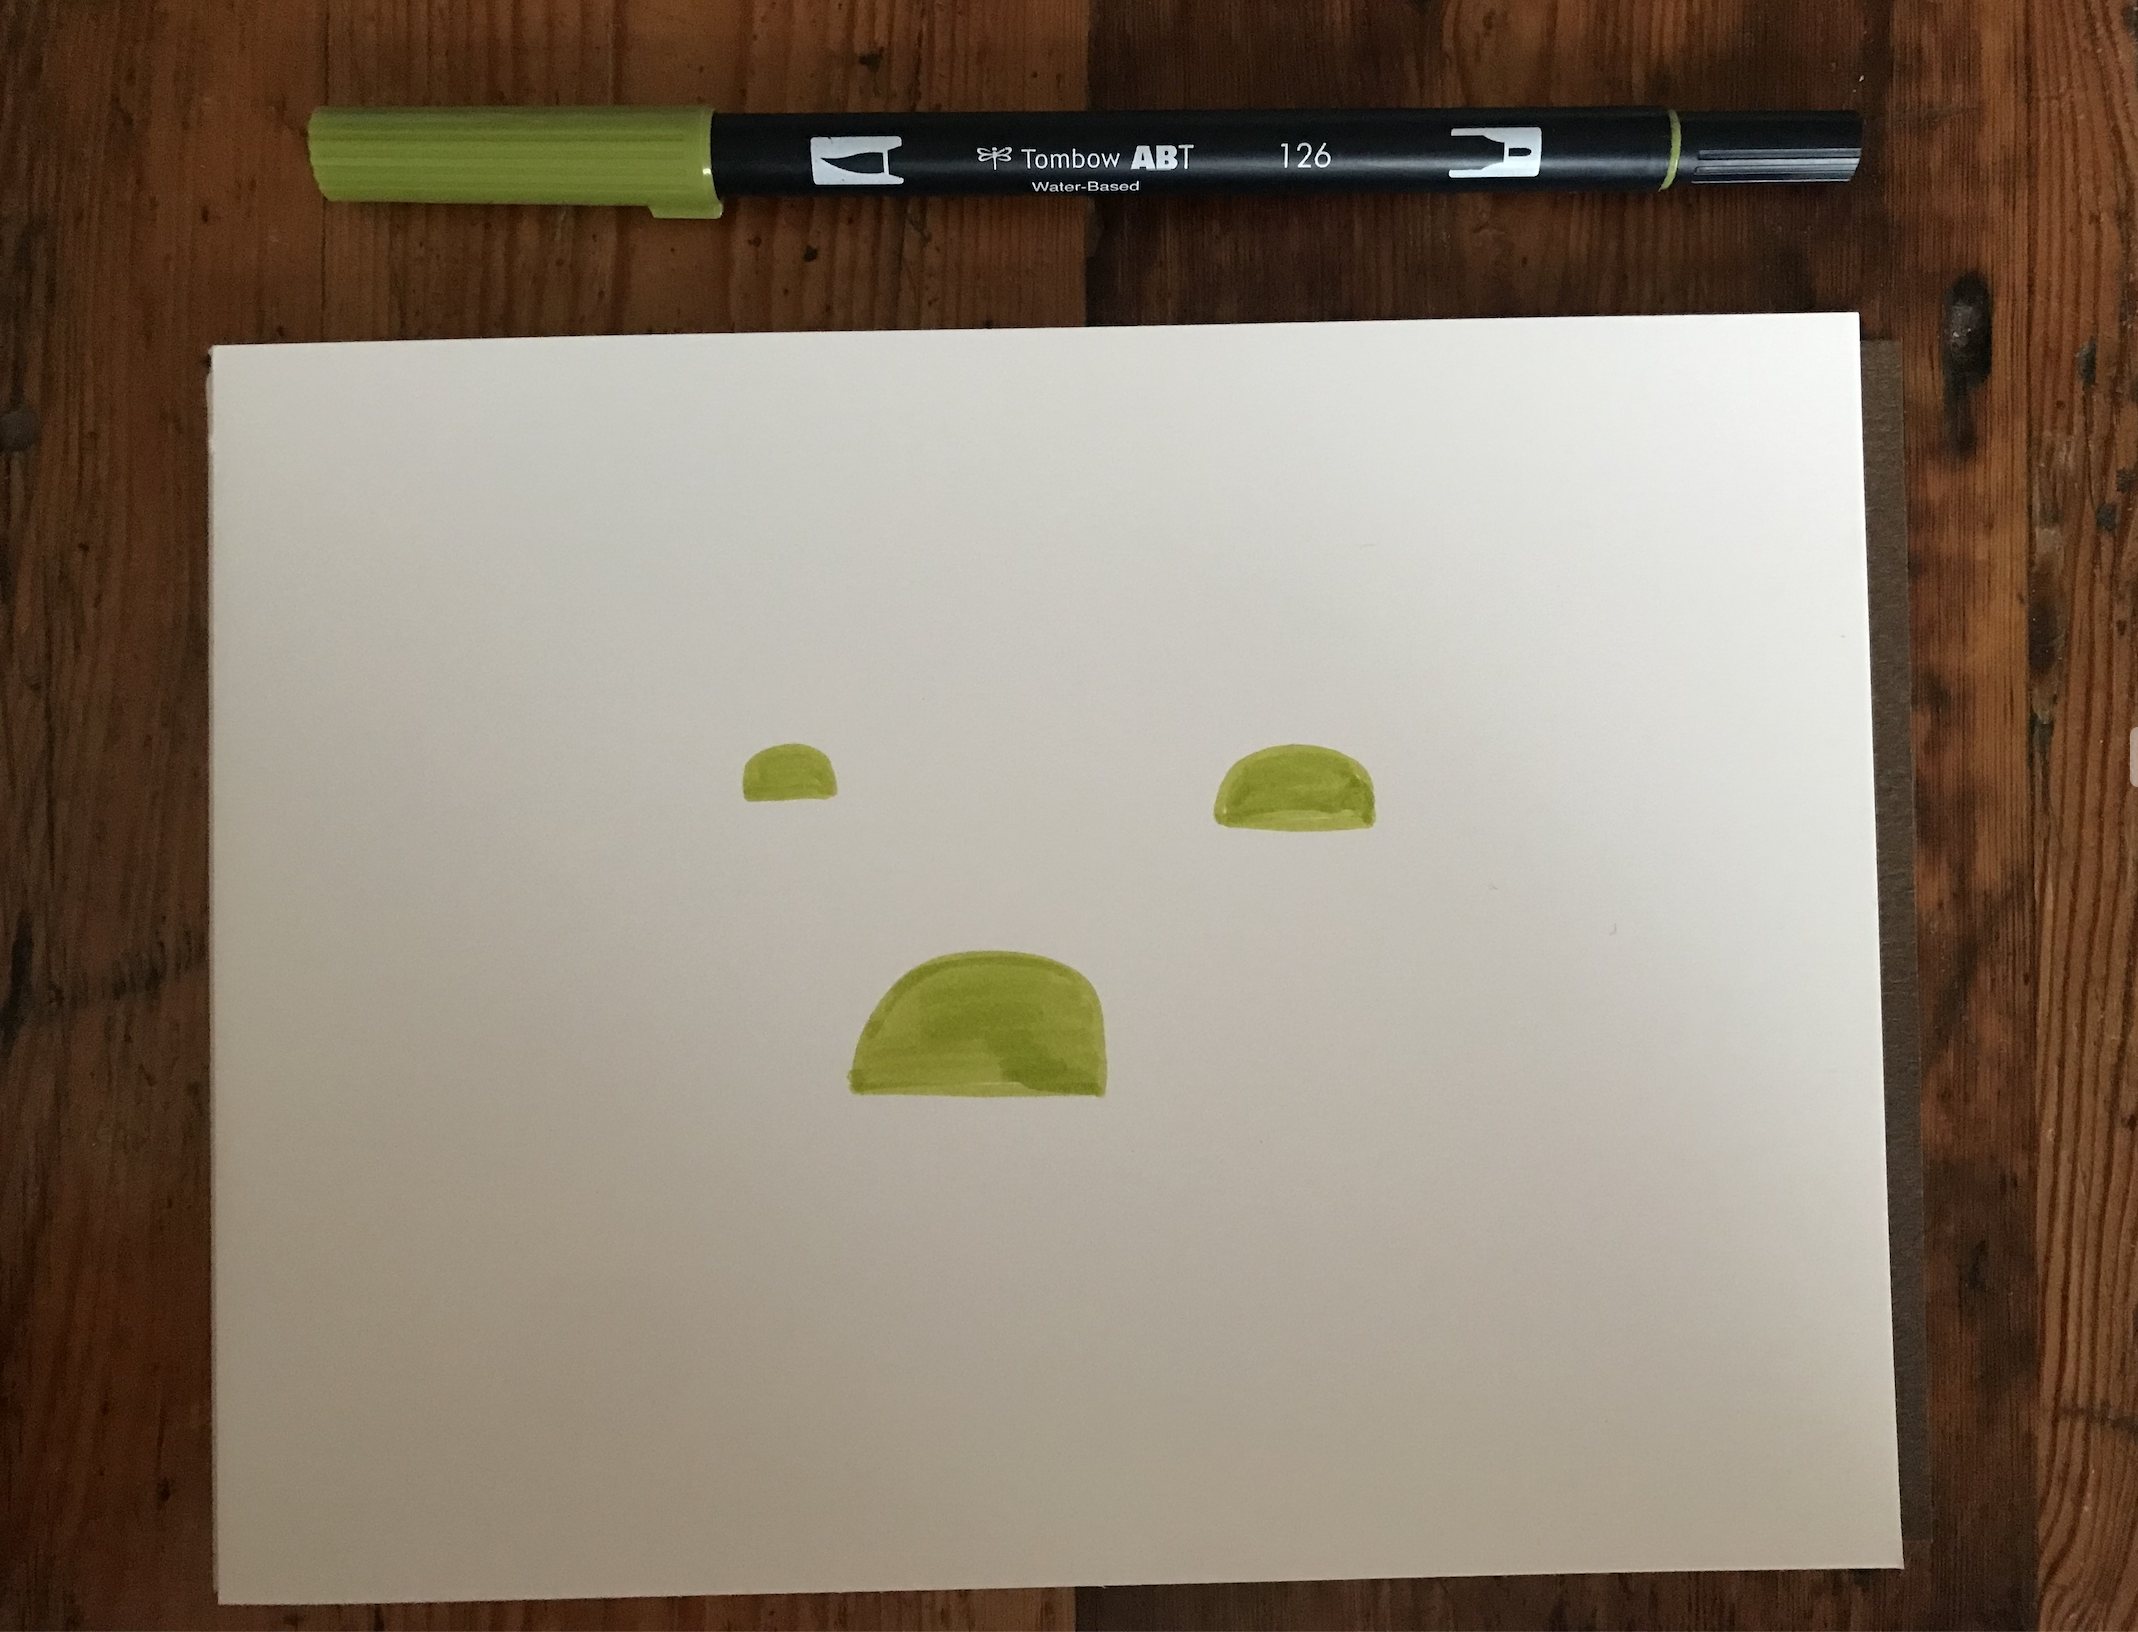
Step Two: Mid Green

Now choose the mid green and draw three semicircles with the large one at the bottom, the medium one in the middle and the smaller one towards the top.
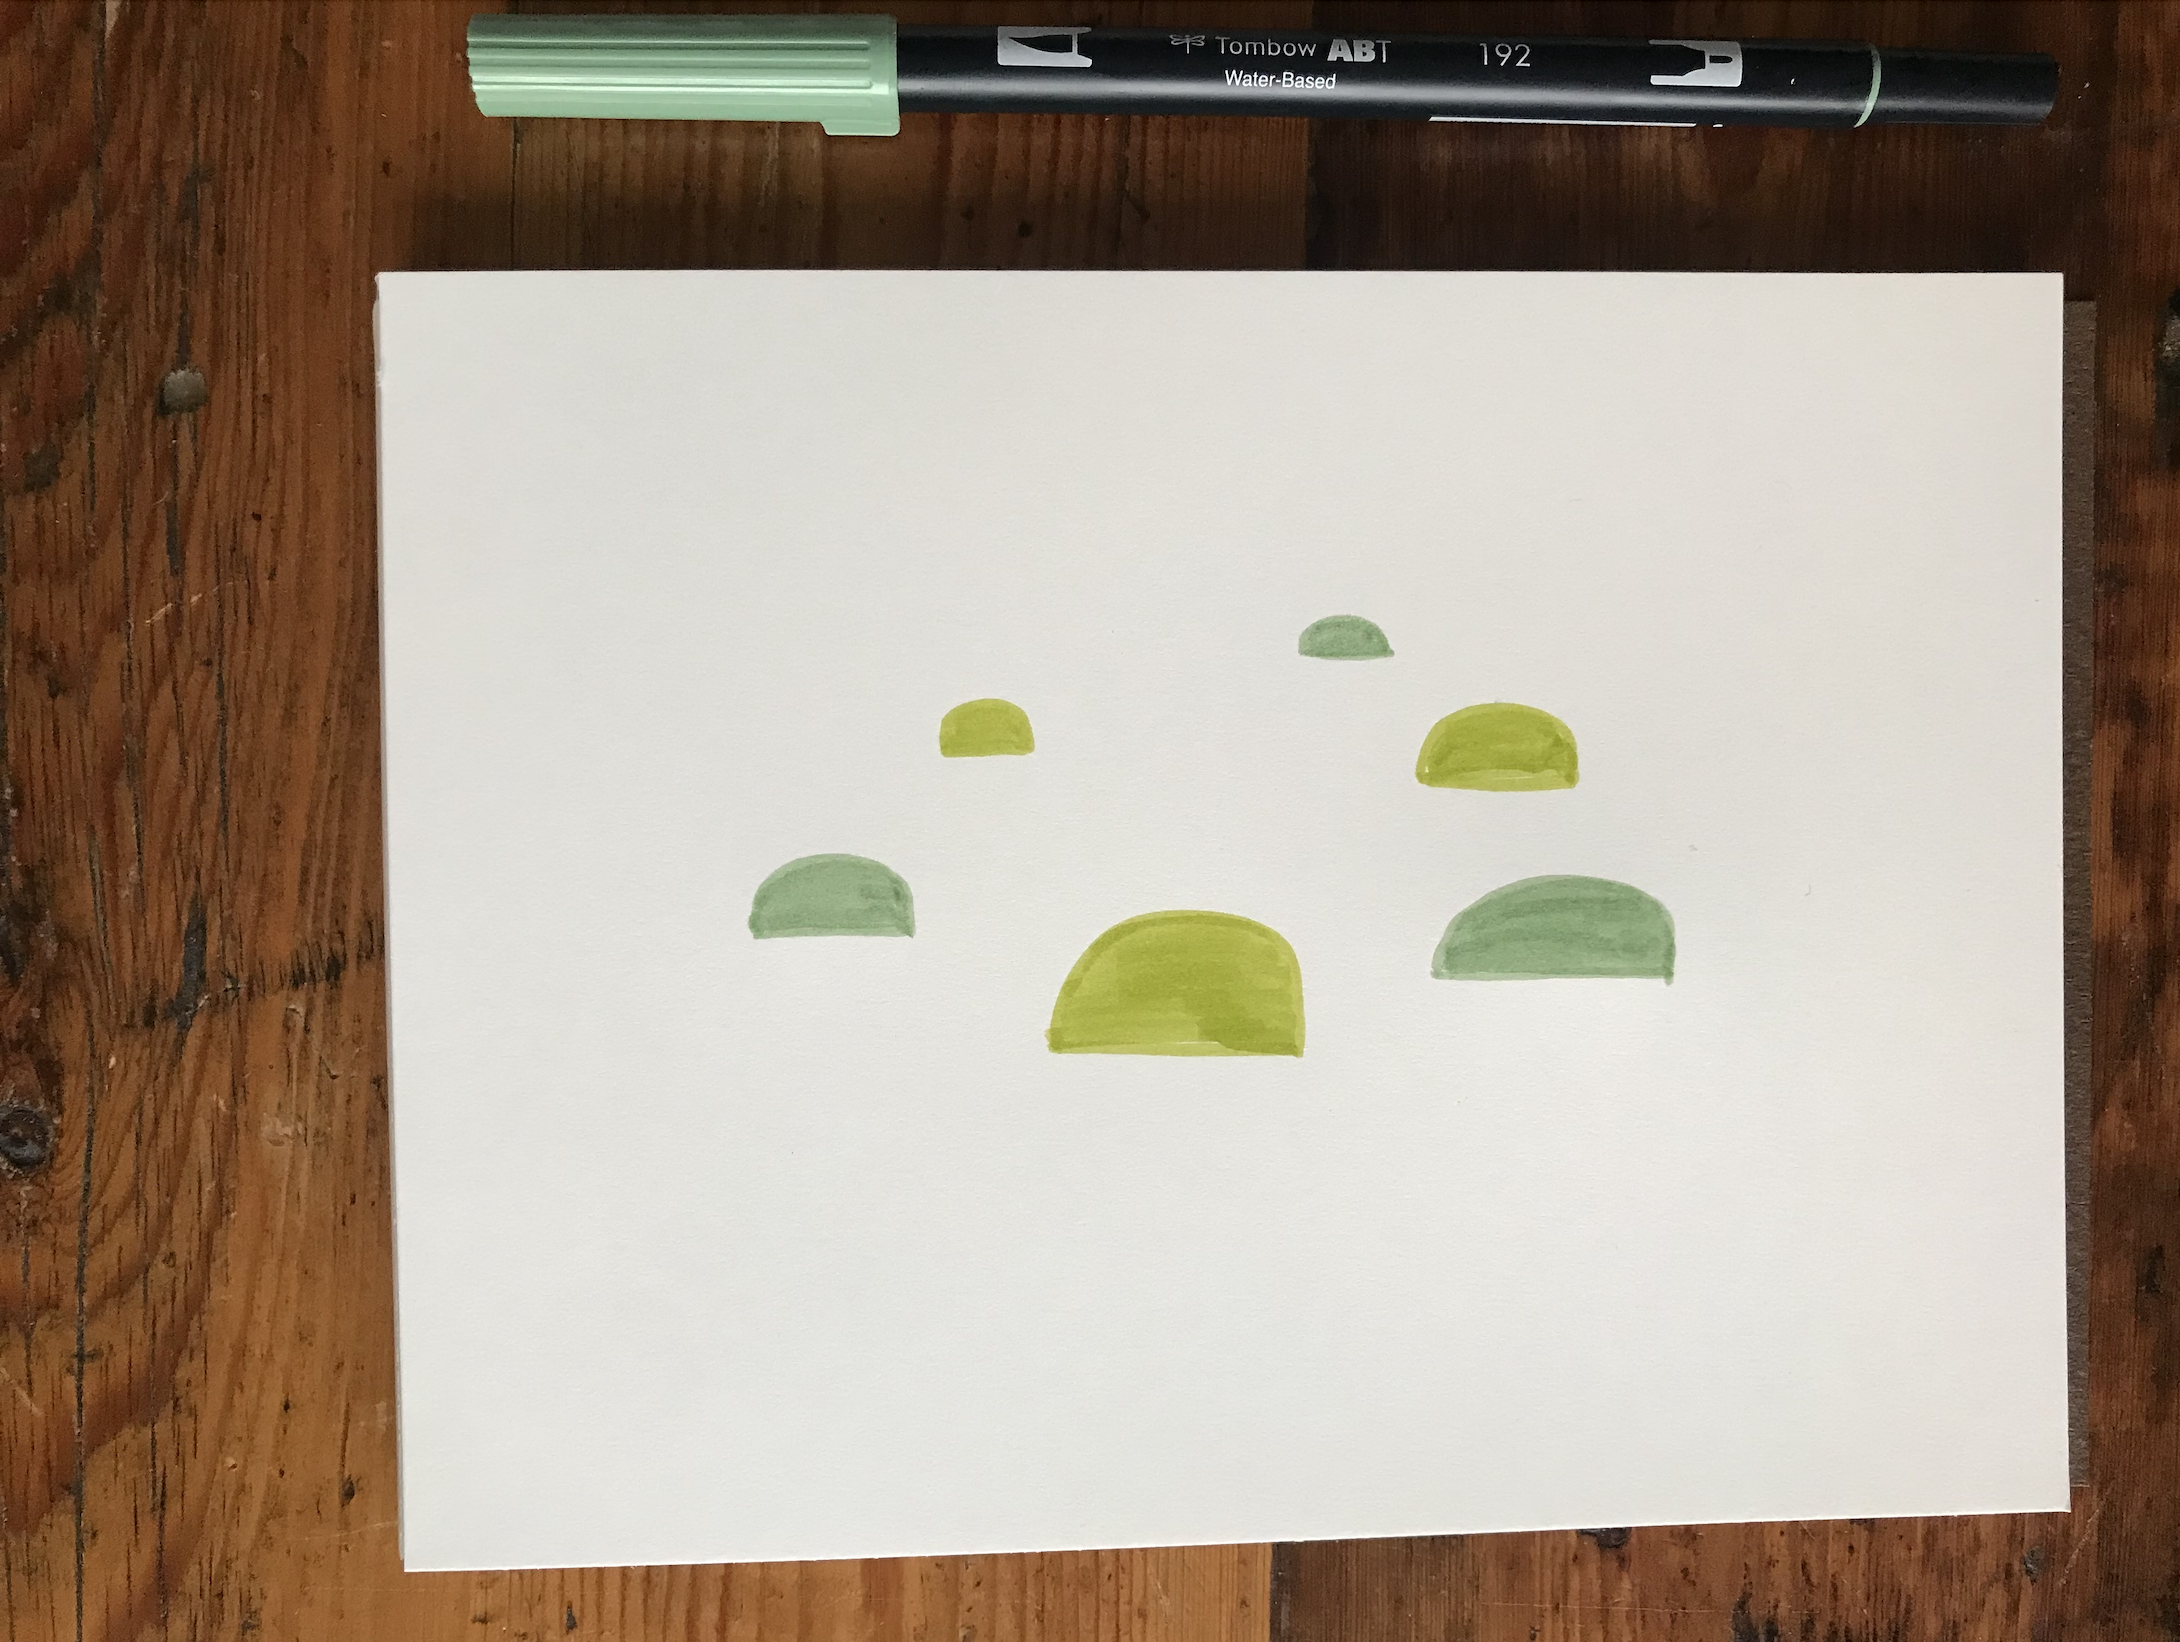
Step Three: Dark Green

Select the dark green and draw three semicircles with the larger shape towards the bottom, the medium one somewhere in the middle and the smaller one more towards the top.

Now you have nine semicircles on your page.
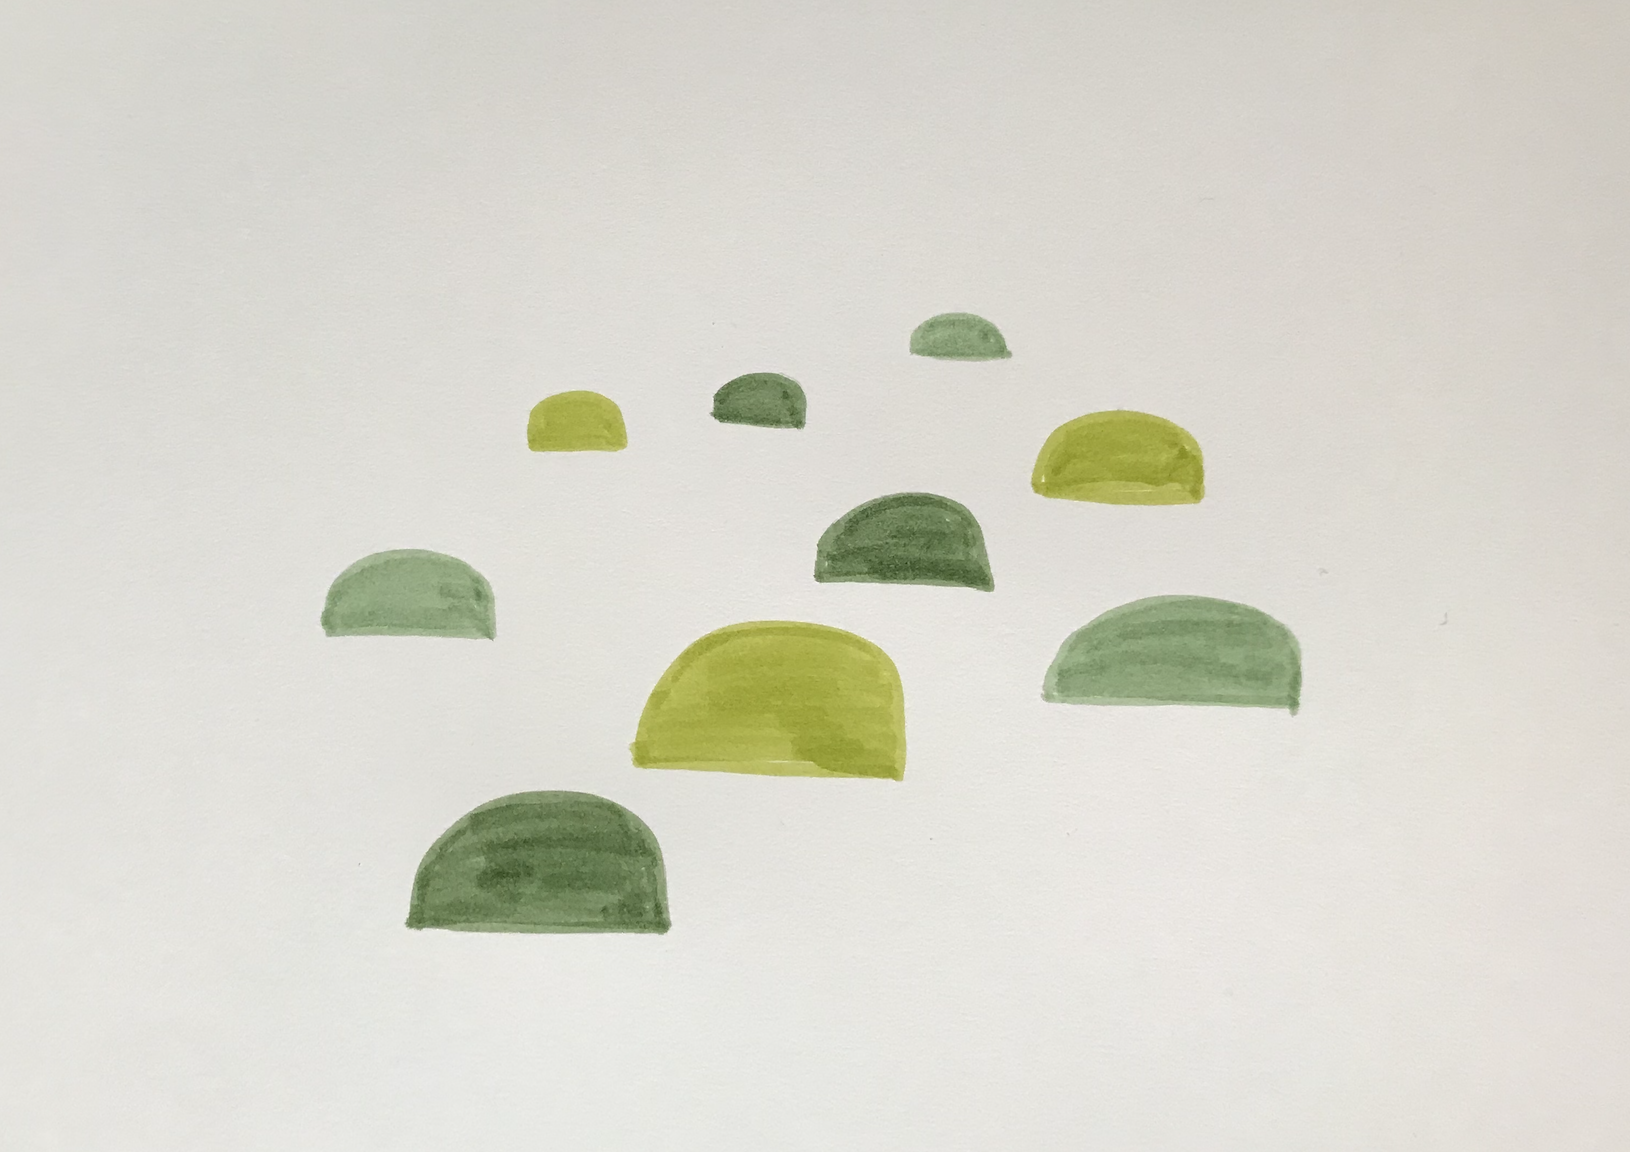
Tips

At this point you could add one or two more semi-circles if you like. However, try to keep the overall theme to an odd number of shapes as this practice results in a more pleasing composition.

You can also overlay one or two shapes to add interest.

Step Four: Head, Limbs and Tail

With a color not the same as the shell, draw in a head that swoops up from the shell.

Draw the head and neck one piece with the head slightly rounder than the neck.

Then draw the front legs and the back legs slightly bent with the knees and elbows pointing forwards.

Now add a little tail straight horizontally from under the back of the shell that tapers at the end.
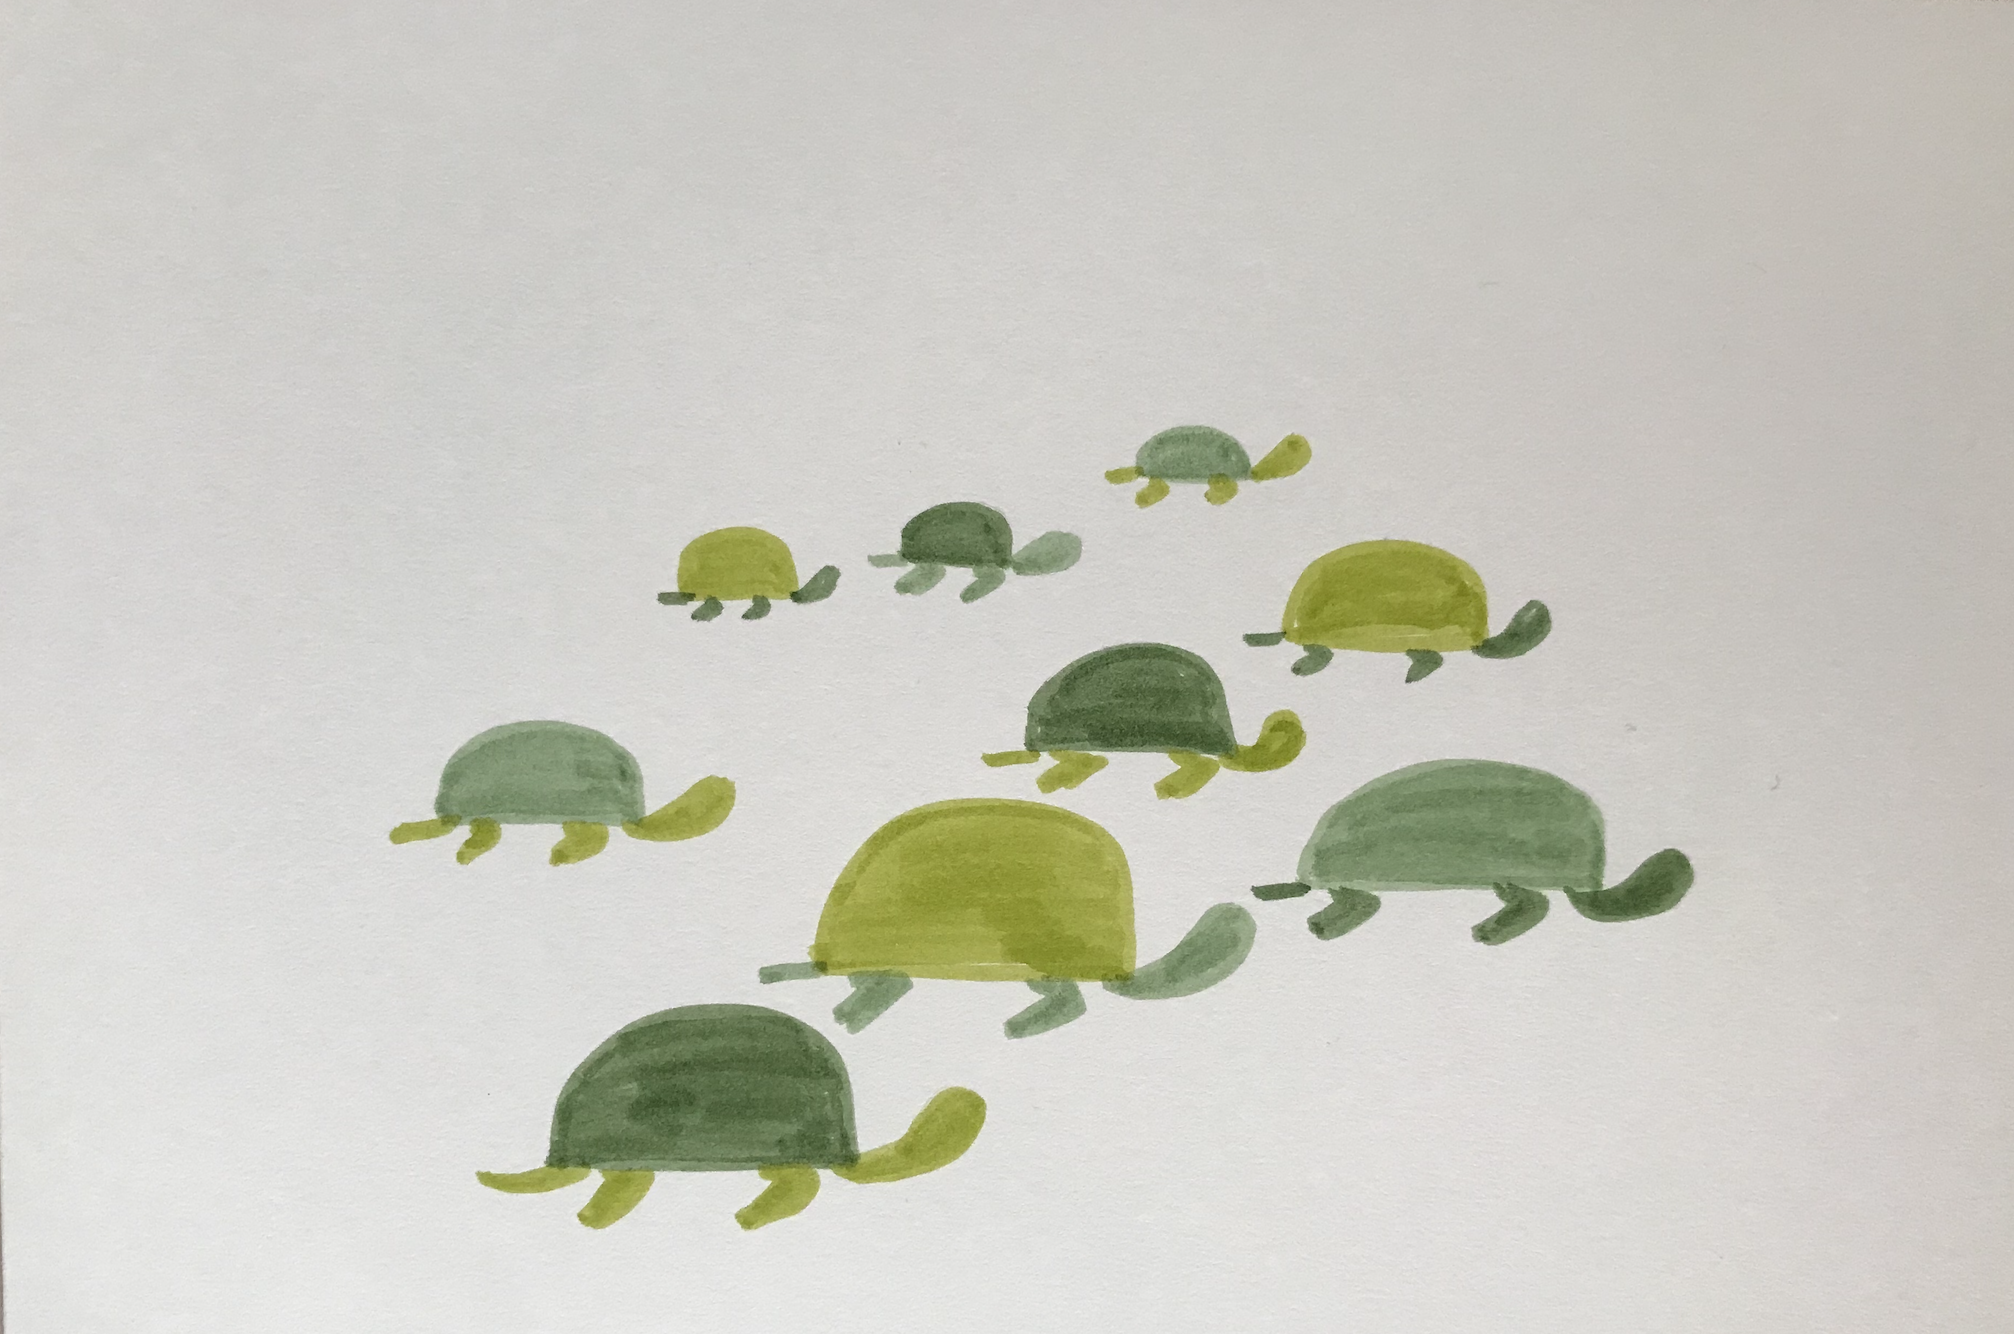
Step Five: Details

With the thin 0.1mm black pen draw the eyes as a dot.

Draw the lines on the shell in a hexagon pattern as shown.
How to Use This Art

  • Pictures.
  • Stickers.
  • Greeting cards.
  • Sketchbook doodles.

Aspiring Artist Activity: Turtles and Tortoises by the Pond

On a fresh piece of paper please do the following:

Background

  • Draw a wavy line to suggest the edge of a pond across the page two thirds of the way down.
  • With a dark green, draw some reeds in three clusters growing out of the pond at the water’s edge.
  • Lightly shade the water grey/blue (not too heavy now).

Add Wildlife

  • Draw three or four turtles in the water.
  • Draw three or four tortoises on the bank.
  • Add a ninth reptile, perhaps a turtle to balance the drawing and add interest with the odd number of animals. Choose to have this turtle climbing out of the water or right on the water’s edge.
  • Add any final details as you see fit. I like to add a little gold gel pen here and there.
  • Sign and date (month and year) your artwork in the lower right-hand corner of the sheet of paper discreetly with one of the markers or pens used. Never use a different pen to sign your artwork, always use one of the mediums used in the artwork.
 

Building Bridges in Art – Graphite Sketches – Aspiring Artist

Building Bridges in Art – Graphite Sketches – Aspiring Artist

Building Bridges

Bridges join two places together they bridge the gap between one side and another.

To cross a bridge is an important movement as we go from the known to the unknown.

It is easy to stay on your shore and not travel across a bridge both physically and intellectually.

You can reach out to new people and situations by building bridges, so you can grow in life in your mind and body and soul.

To try something new is a given in the act of building bridges.

During the design phase, an engineer will work out exactly what is required to build a particular bridge.

Each bridge requires a different blueprint.


Bridges in Your Art Journey

Find places in your art life where you can build a bridge to close a gap, chasms or abyss.

Do you stand on one side to watch and wonder about what happens on the other side?

Maybe you plan to do oil painting one day, I know I do.

Let’s see what that looks like.

Steps to Build an Art Bridge

First, I consider what things have to be in place for me to welcome oil painting into my life

For example, I will:

  • Require an oil painting class to show me the ropes.
  • Have to purchase oil paints and brushes.
  • Acquire new canvases.
  • Perhaps have to get, and store, some linseed oil and turpentine.
  • Need time as it take days to make a painting, because oil paints take so long to dry.


Beneficial Effects of Building a Bridge to Oil Paints

I’ll probably end up with quite a smelly studio so I’m going to make have to make sure that the windows and air-conditioning offer adequate ventilation.

The mess of oil painting the cost of the paints (and to be honest this is probably the most biggest blockage I have) two beginning with oil paints.

Questions I Ask Myself

Will the investment into all the equipment I will need for oil painting worth the result?

What if I’m no good at oil painting?

Should I concentrate on watercolors?

Who says I can even paint?

How I Built a Bridge to Art

I practice daily art.

I’ve even written about my current daily practice, and you can read more about that.

But the actual act of maintaining a daily art practice, is how I plan to prepare to build a bridge to further explorations of art, such as starting with oil paints.

I have never done oil paints, however I did one painting in acrylics and realized I wasn’t very keen on that medium which is why I chose with watercolor.

In the meantime, I still love pencil sketches and I have some of bridges near me that I want to share with you.

First Bridge over Niagara Falls

Let’s have a look at how bridges are actually built because they don’t just happen overnight.

This is the story of how the first bridge was built across the Niagara Falls valley between the USA and Canada.

Back in the day, a youth named Homan Walsh flew his kite, with a string attached, from the one side across the gorge to the other side where another person was waiting.

With the very first twine, they were then able to pull a lightweight rope over across the gap.

Next, they heaved heavier ropes which were ultimately made into a pedestrian bridge, and it began to be a substantial crossing point.

From that point on, they were able to heave wood and planks and eventually build the first wooden bridge that crossed Niagara Falls.

The point of this is that bridges are not just built overnight.

Bridges in Your Art Life

If you want to extend yourself by reaching over to an area of your life that is perhaps a little unknown, or of which you are unsure, it will take time.

You will be tentative to start with such as the kid with the string on his kite.

The first step for you to build a bridge in your life, to expand your artistic ability into whatever medium it is that you are considering going into, is to just begin.

For myself, I did take an art class in painting mediums which I had never used before.

At the art class, I used the studio’s art supplies and their products and was able to decide whether or not a particular technique was for me.

Such as with the acrylic paint, I didn’t like the way it moved and quivered, but I enjoyed the watercolor paint and the way the color pooled and puddled and how I could manipulate the colour with my brush.

That was what attracted me to do watercolor paintings to start with.

One day I may build a bridge to oil painting, but I don’t think it will be this year.

Graphite Sketching

When I began my art practice last year, I started with a pencil although I’ve subsequently realized the artists don’t talk about pencil drawings they talk about graphite

Graphite is actually what is inside the pencil.

As a child I was brought up believing that the grey stuff that was inside a pencil was lead and certainly it may have been many years ago, but these days it’s a substance called graphite.

Therefore, I’ll just talk about graphite sketches and that’s what I’m saying here.

Three Bridges in Vancouver

Recently I took my pencil and sketchbook out to three of the bridges that are nearby my home in Vancouver, Canada.

The downtown area of the city is built on a peninsula which is surrounded by water on three sides.

Vancouver has many bridges and each one is unique in its design.

Two of these bridges are within walking distance of my downtown apartment and the third structure was further away, but I went there for a day out sketching trip.

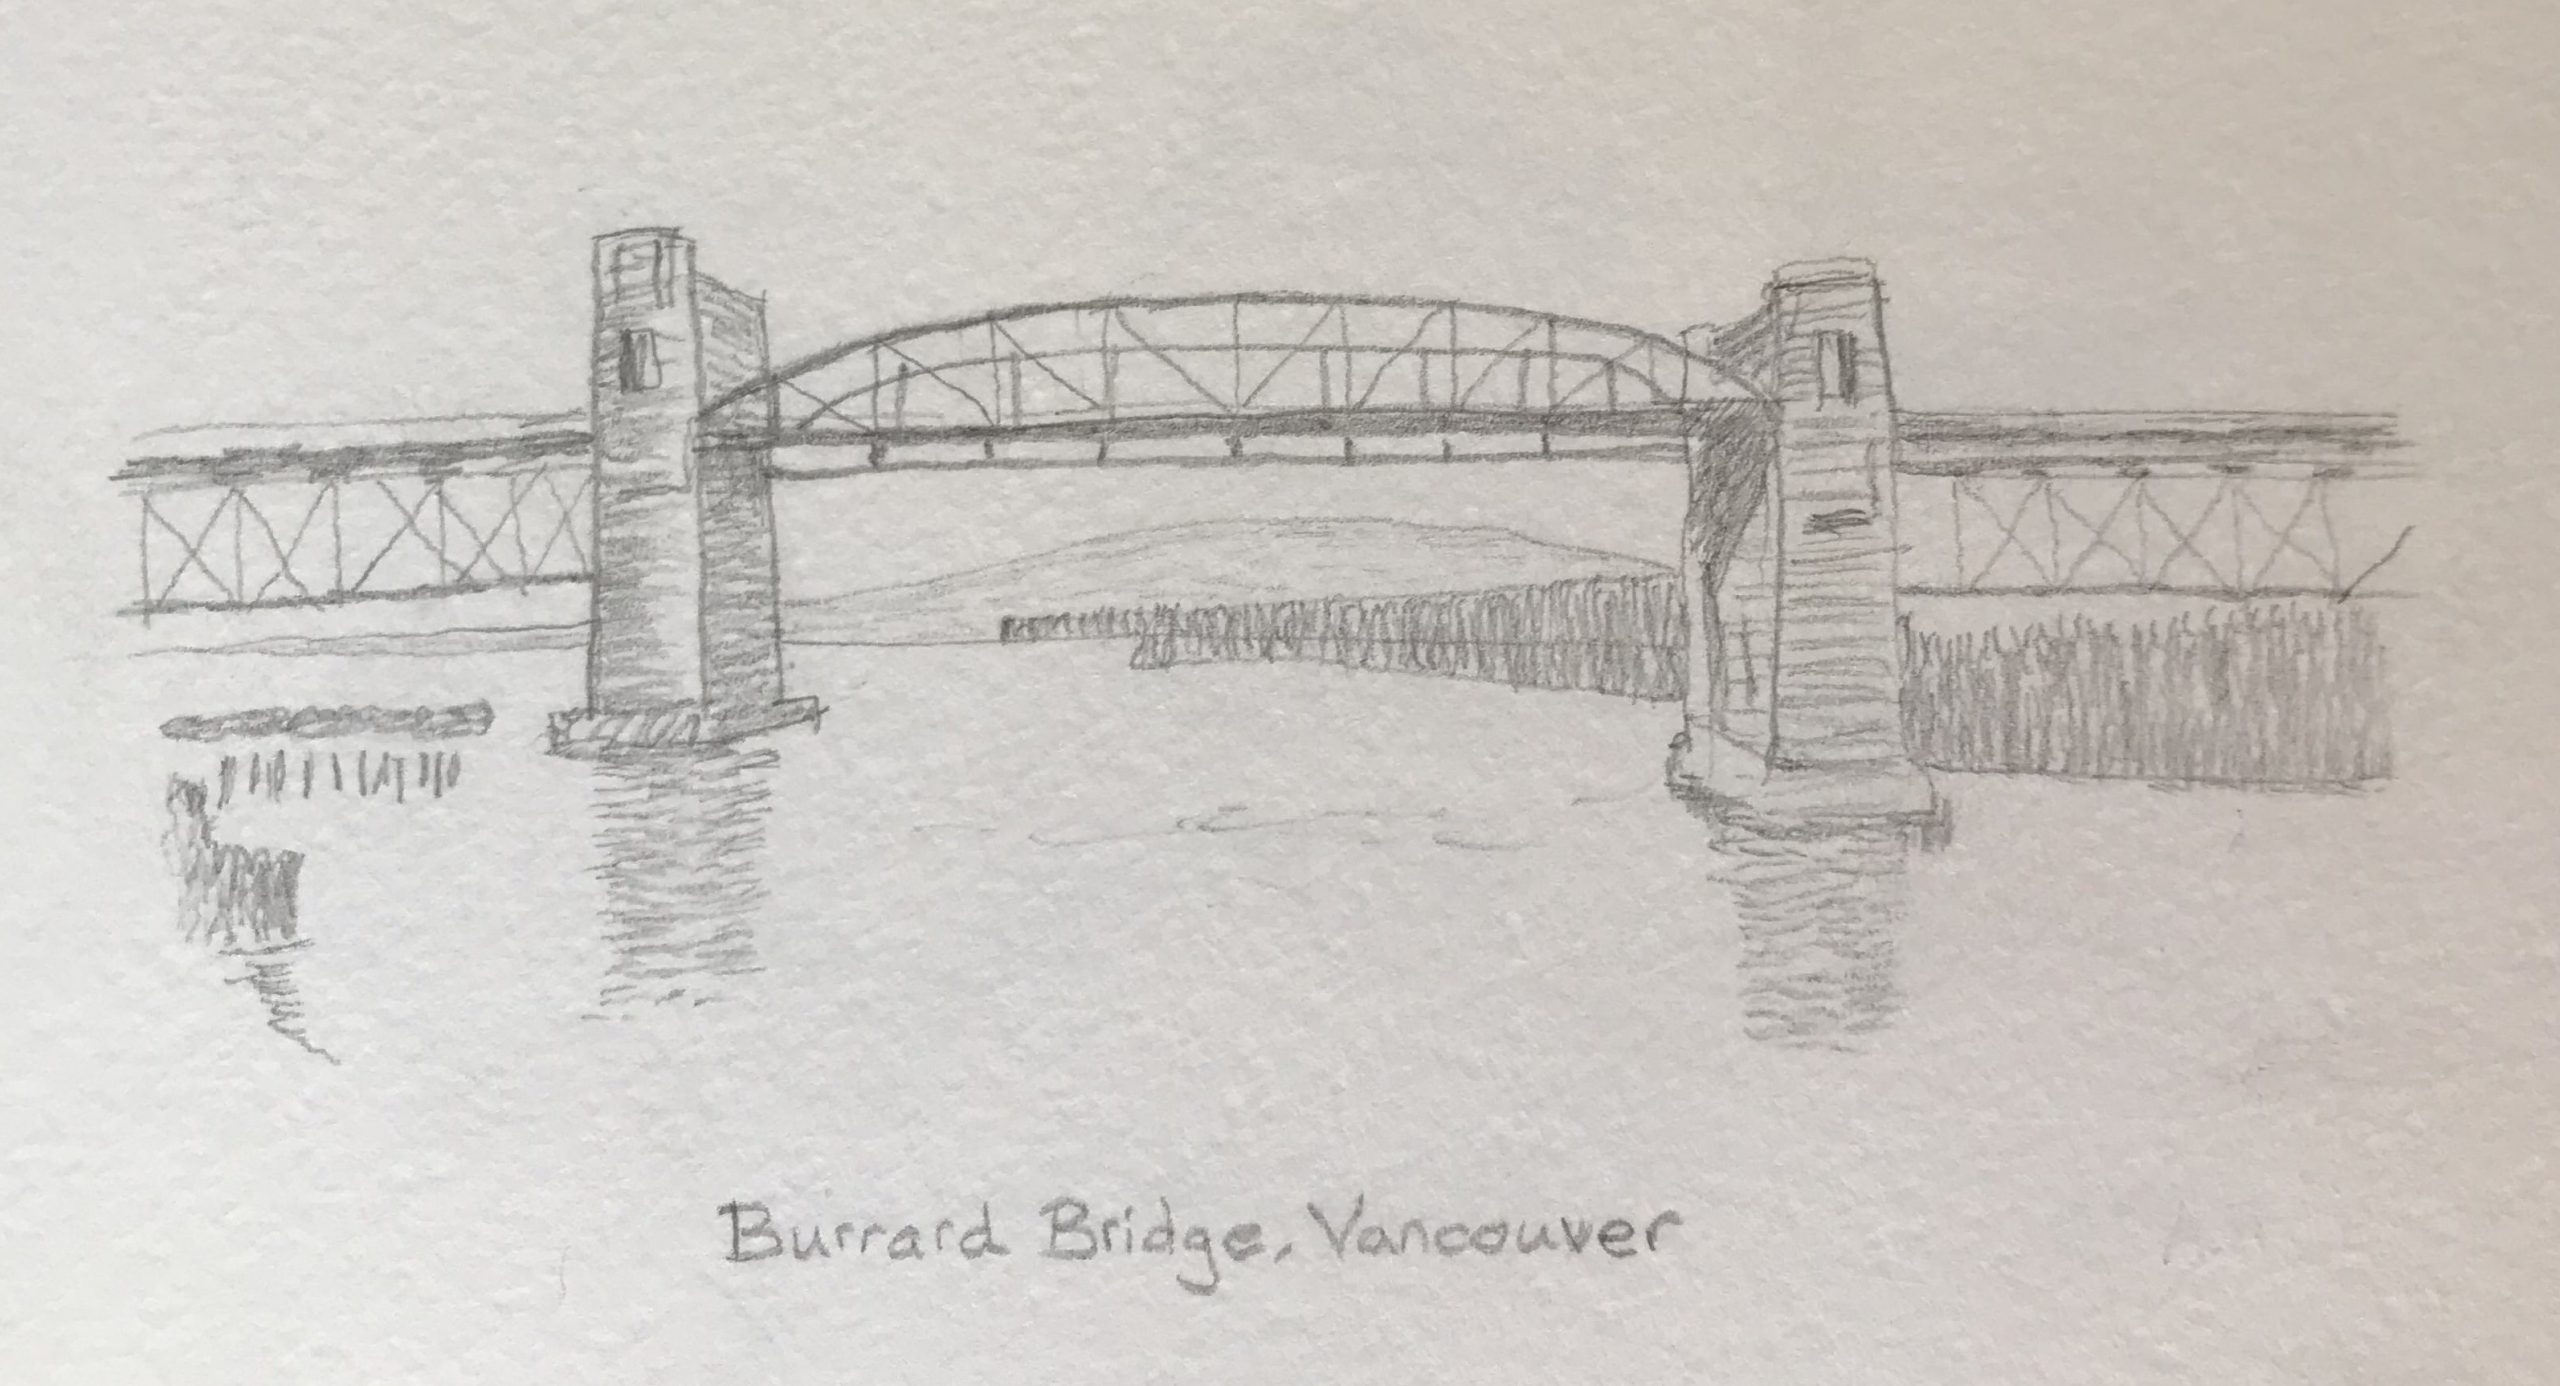
Burrard Bridge

This is an interesting bridge it was built many years ago and it has two concrete towers at each end with some kind of the superstructure in-between.

It is a highly used bridge which brings people into the city.

The way the municipal peninsula is formed, you can sit on the sand at Sunset Beach and see the Burrard Bridge which makes it ideally placed to be drawn by an artist and many do draw it.

This was an extremely interesting urban construction to draw.

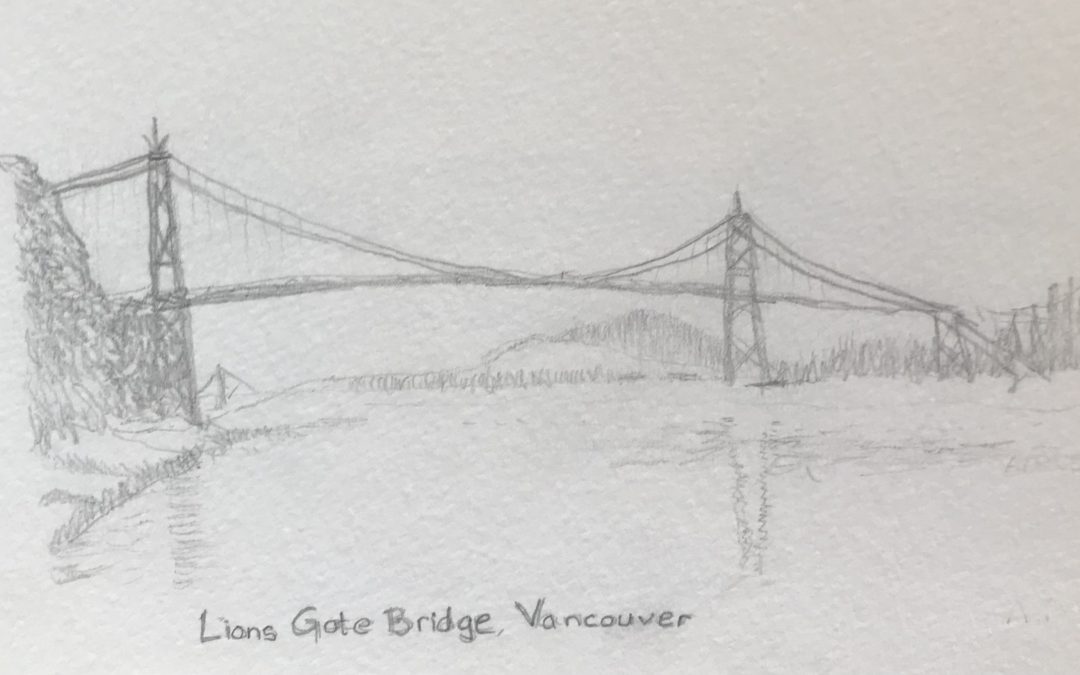
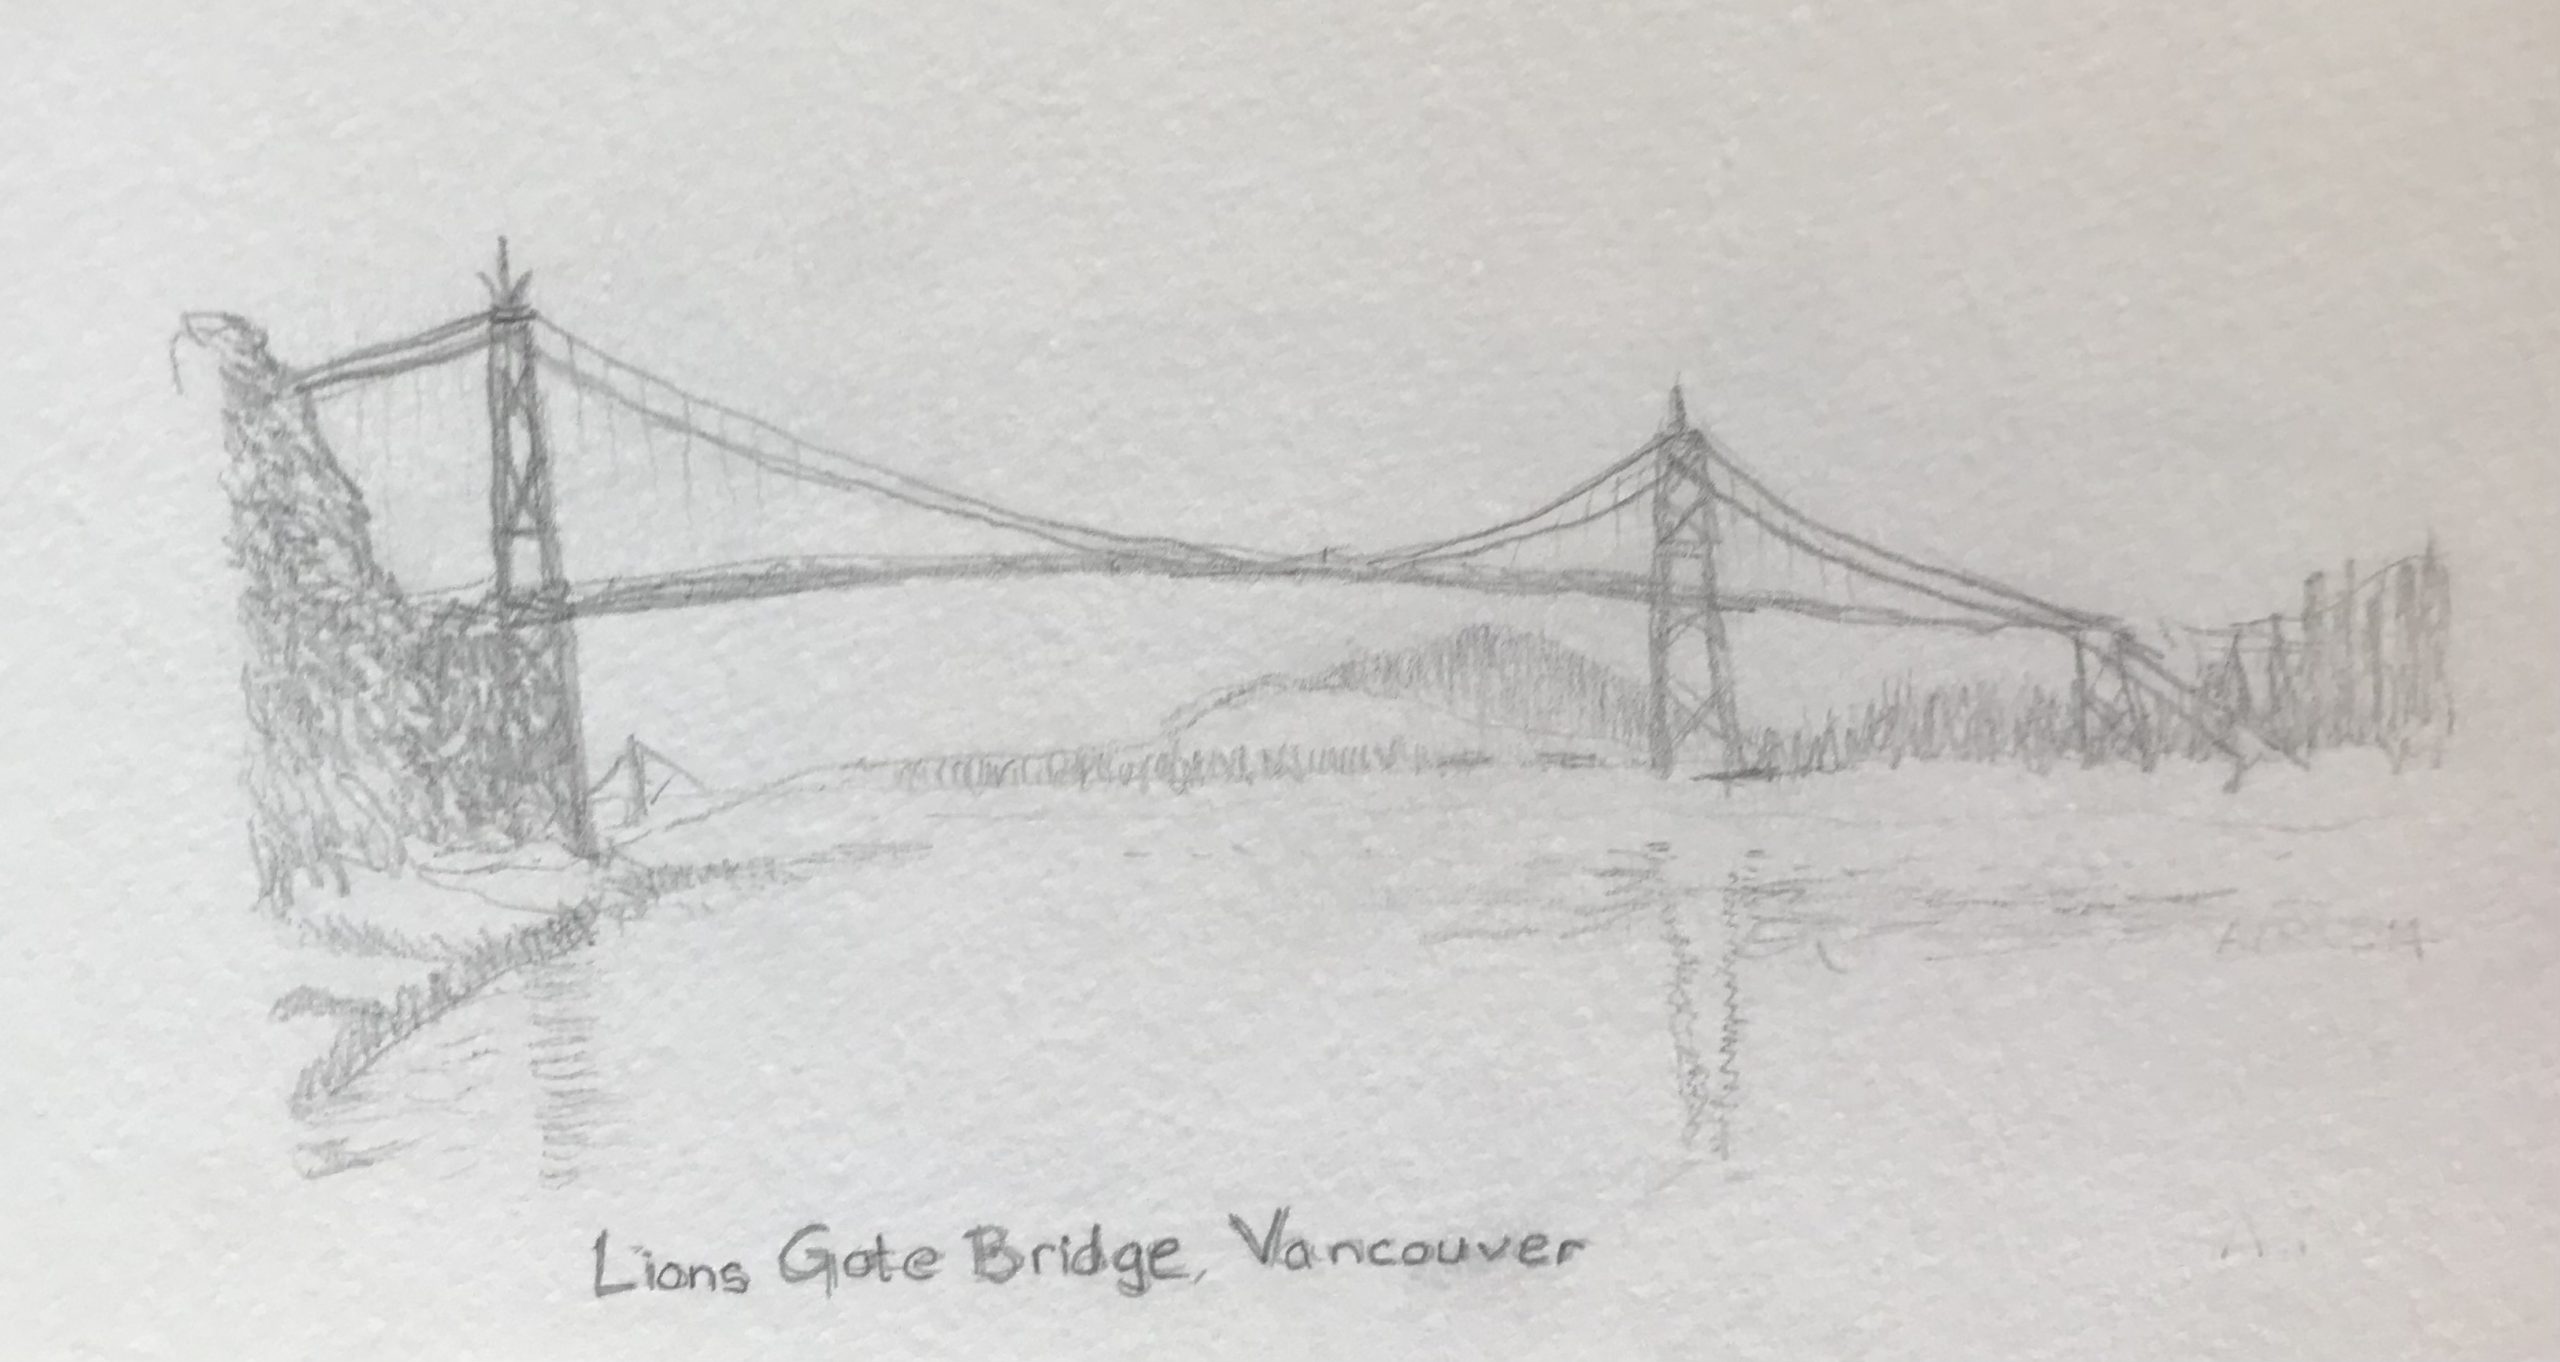
Lion’s Gate Bridge

The Lion’s gate Bridge was built years ago.

It is a huge artery to flow people from the north shore twin cities of West Vancouver and North Vancouver into the city of Vancouver proper.

The Lion’s Gate Bridge is part of the Stanley Park nature reserve and due to its huge presence, is easily observed and thus can be drawn from many areas of the city.

This particular sketch I drew from the Coal Harbor side of the peninsular.

The Lion’s Gate Bridge is a huge structure, and it does look very reminiscent of the Golden Gate Bridge in San Francisco although the Lion’s Gate Bridge is painted green and does not have the span of its bigger cousin.

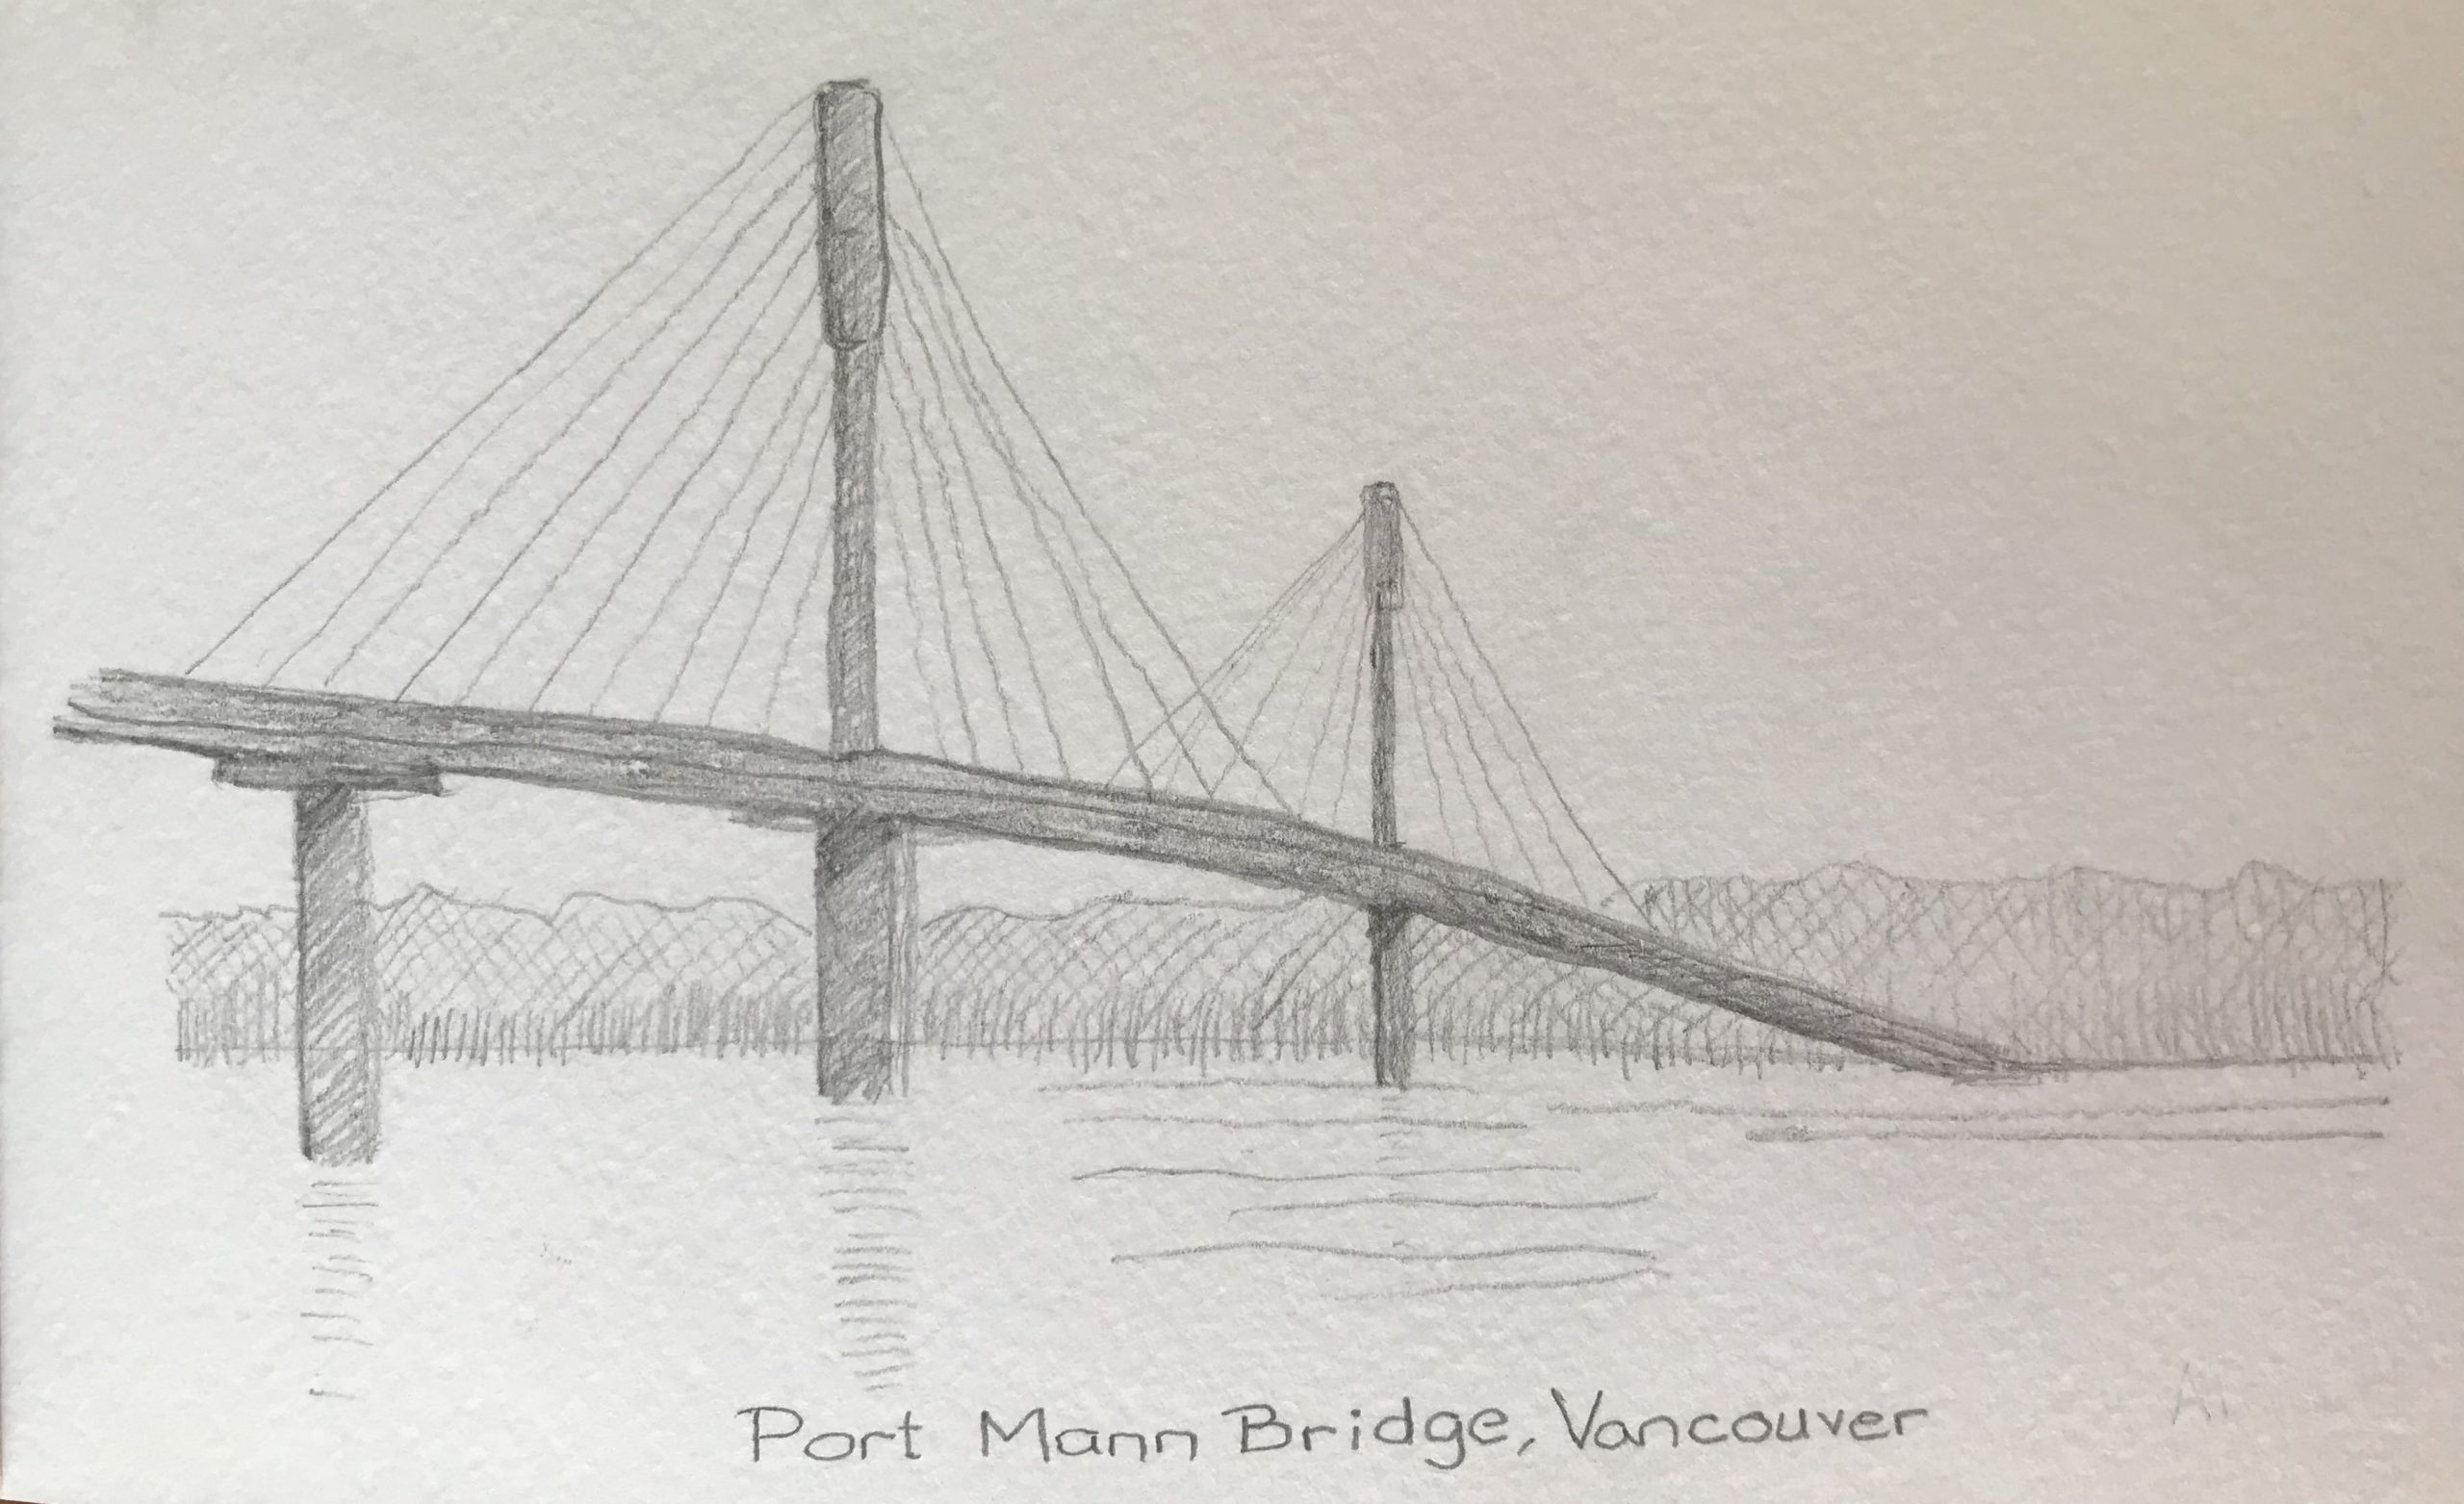
Port Mann Bridge

The Port Mann Bridge was only finished a couple of years ago and it replaced the smaller bridge that runs adjacent to it.

This was a very interesting bridge to sketch with lots of superstructure and cables holding it up that were remarkable to draw.

There are also two massive knobby things on the top of the pillars and I’m not quite sure what they’re about, but it was a very interesting silhouette to outline.

The Port Mann Bridge is the most recent bridge that has been built in Vancouver and it is very modern in its construction.

I went out to New Westminster one day for lunch and I was able to get into a position where I could draw this bridge in my pencil sketchbook.

Aspiring Artist Activity: Bridges to Art Mediums

In your art journal please do the following:

  • Write down any art mediums that you are thinking about trying in the future (graphite, watercolor, acrylic, oil, charcoal, collage, sculpture, mixed media etc.).
  • Choose one medium mentioned above, and list three blocks you have to bridging this gap.
  • List five steps that you can take to start your new art practice.
  • Over the next week, consider which will be the first step and think about when you can take this first step (next week, next month or next year).


Share on social with the hashtag #AlisonHazelArtAspiringArtist, so we can see the creations from your heart.

error: Content is protected !!