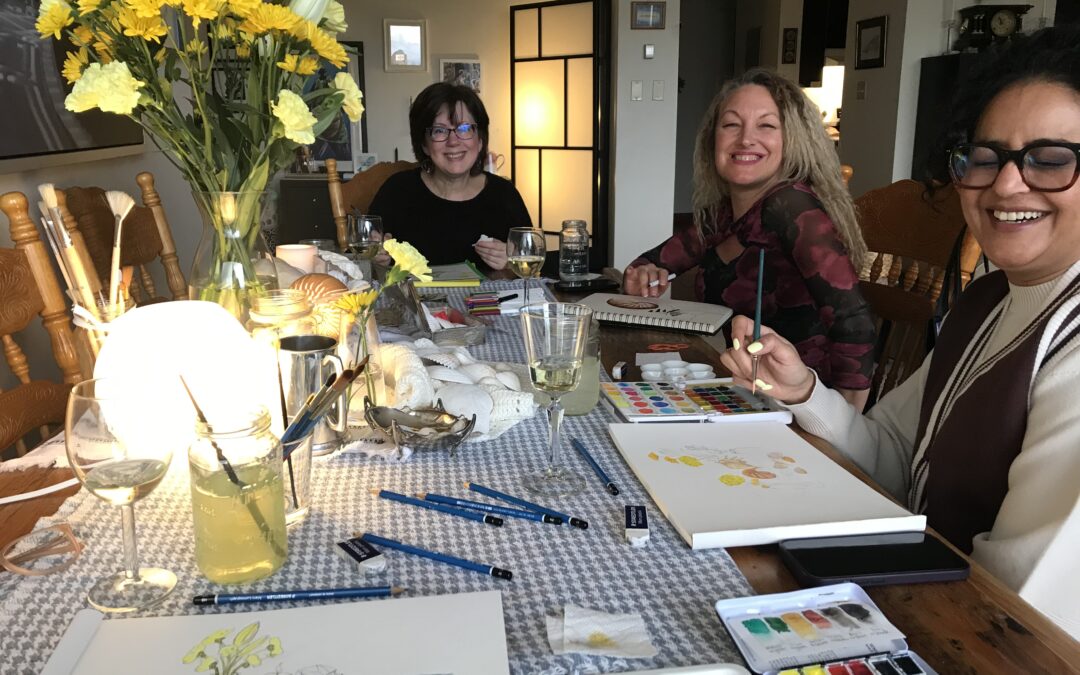
Seasons of Art: Spring 2023 Group Meeting Learn more about the recent Seasons of Art group meeting. See more about the Seasons of Art group here. Satvvir's Artwork Below is Satvvir's artwork (Instagram @theambivertsbb). She used watercolor and combined orabges...
How to Draw the Face of Jesus
Reference and Acknowledgement
Today I’m going to show you how I draw the face of Jesus as an icon. This is not my original idea as I am following along and referencing the work of Mikhail Fadi at UK Coptic Icons and you can see more of Mikhail’s work on his YouTube channel.
Watch >>> UK Coptic Items Video
Getting Started
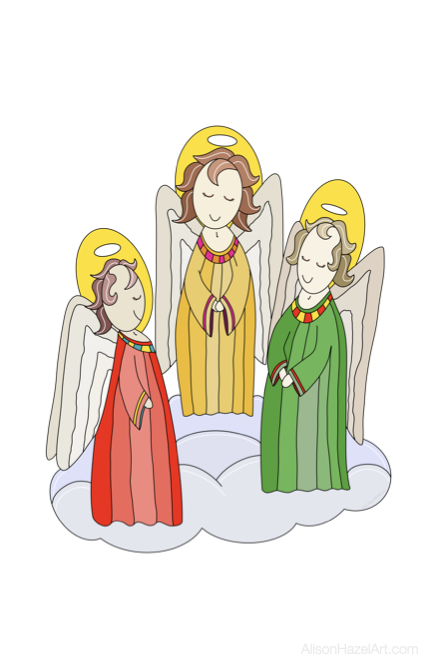
I plan to create more Christian art. It doesn’t have to be super religious, but calm and simple art that reflects what I believe. I’ve been trying more Christian art pieces recently.
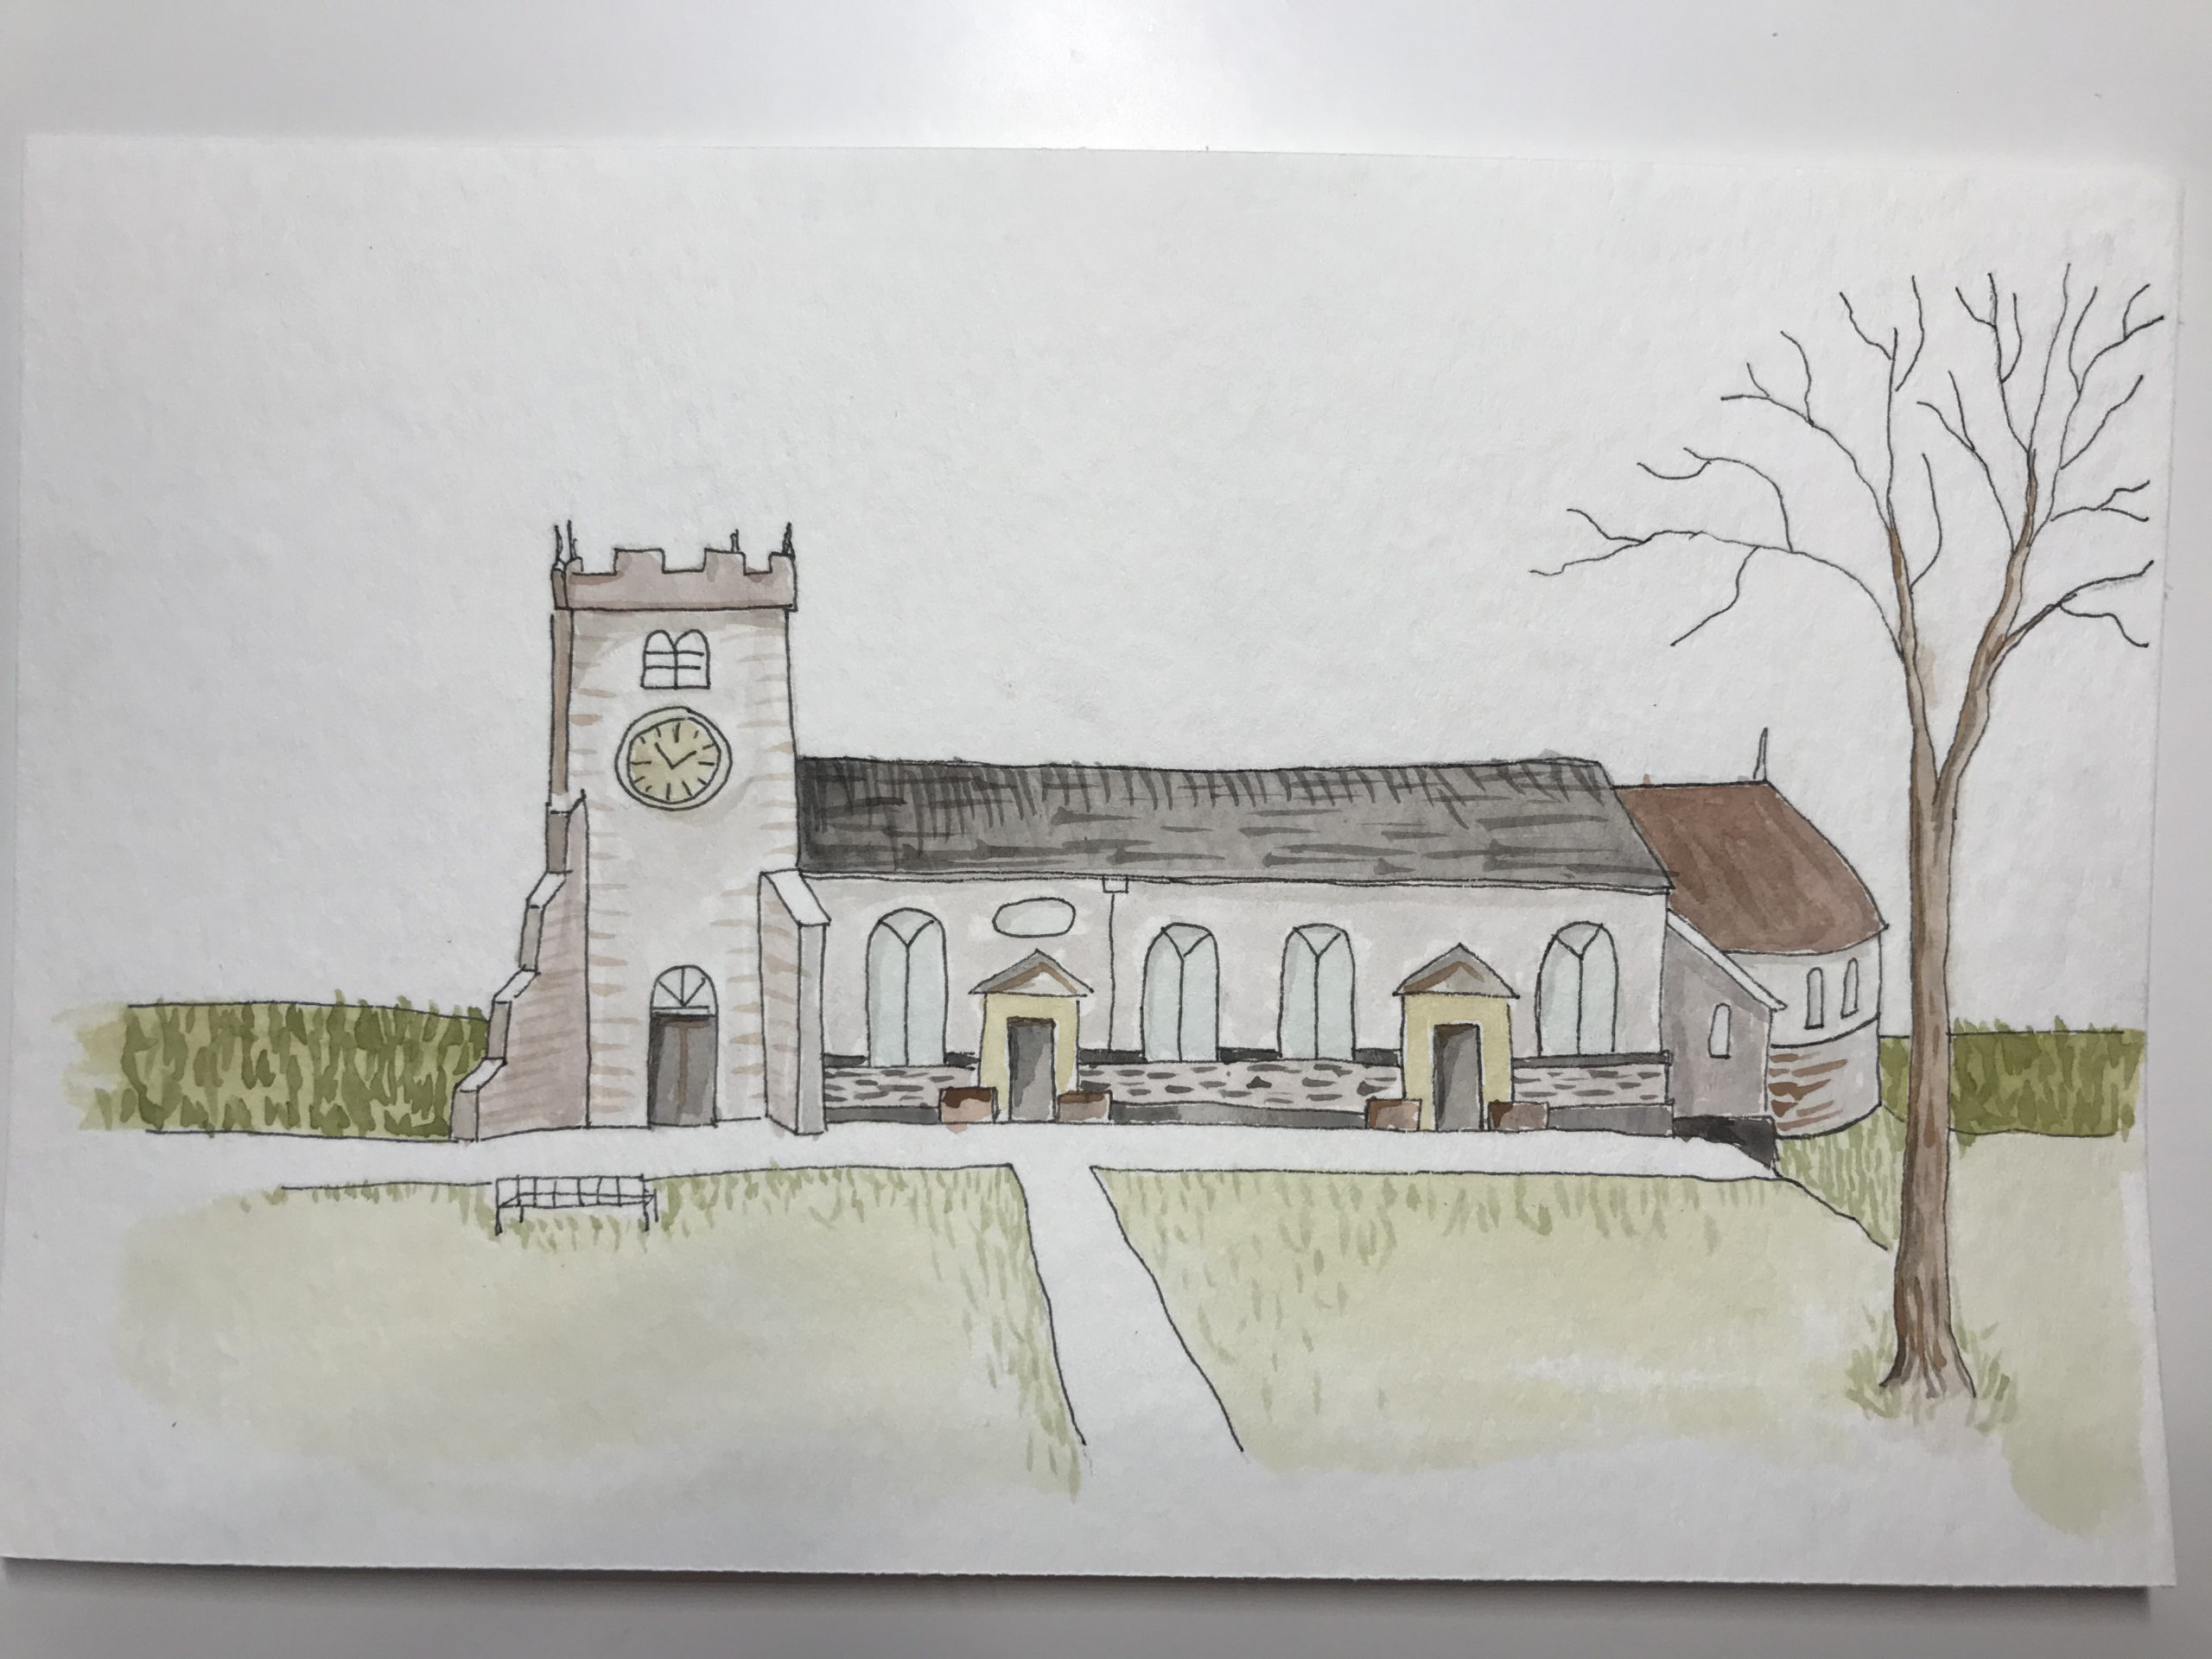
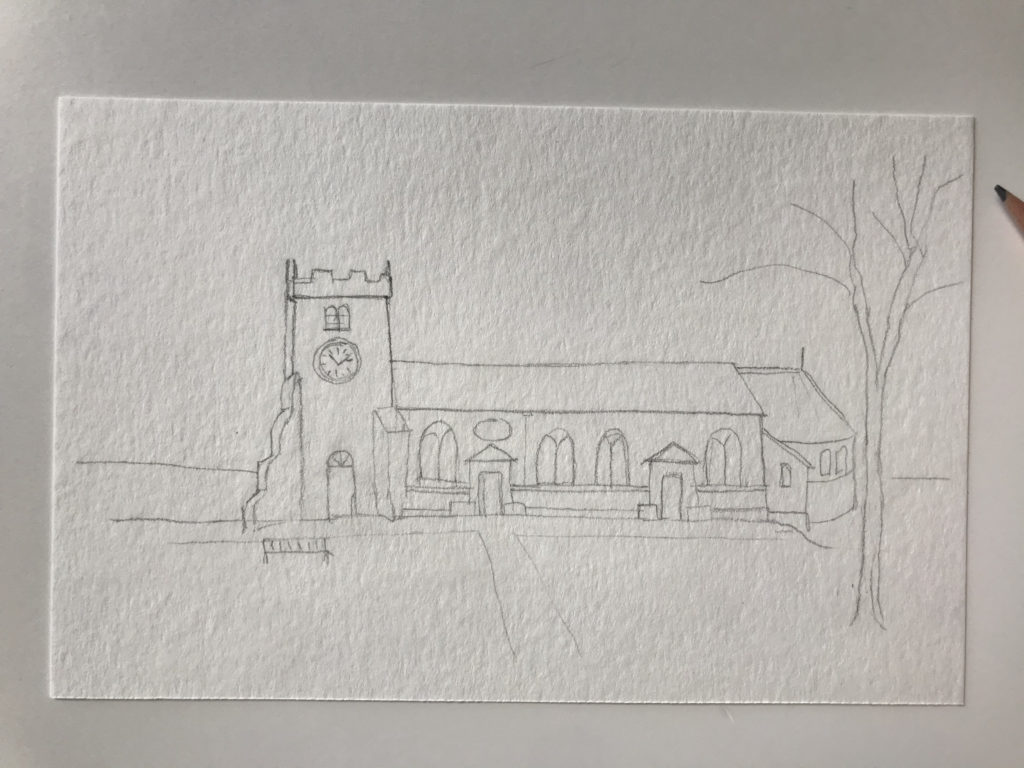
St Chad’s
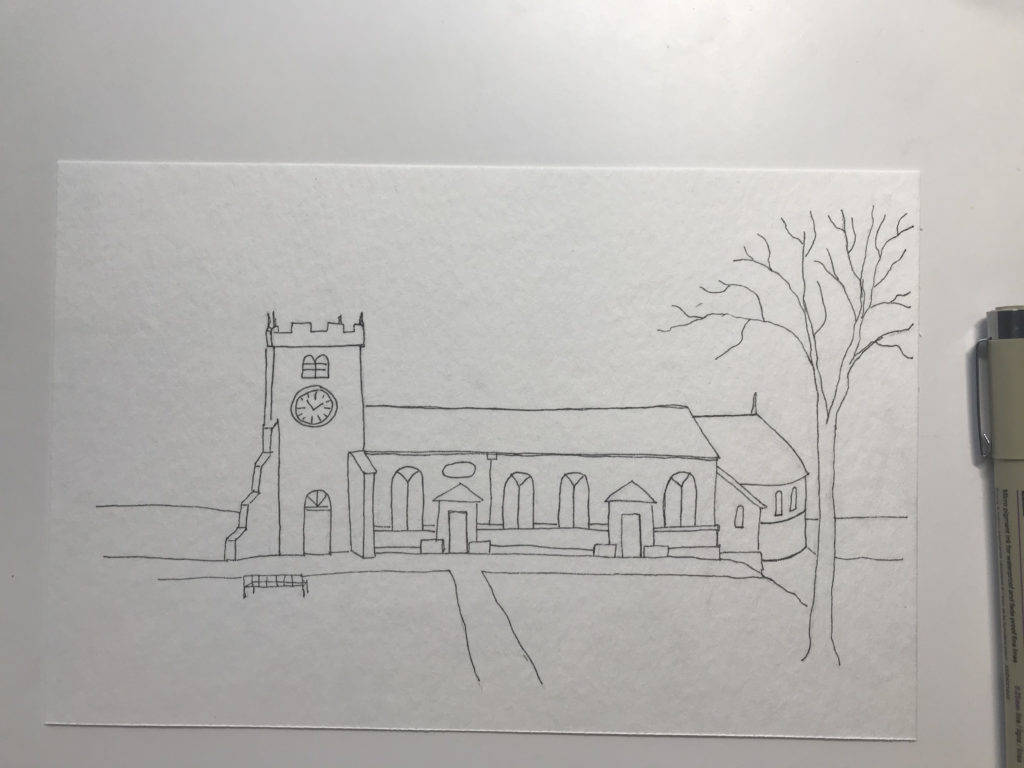
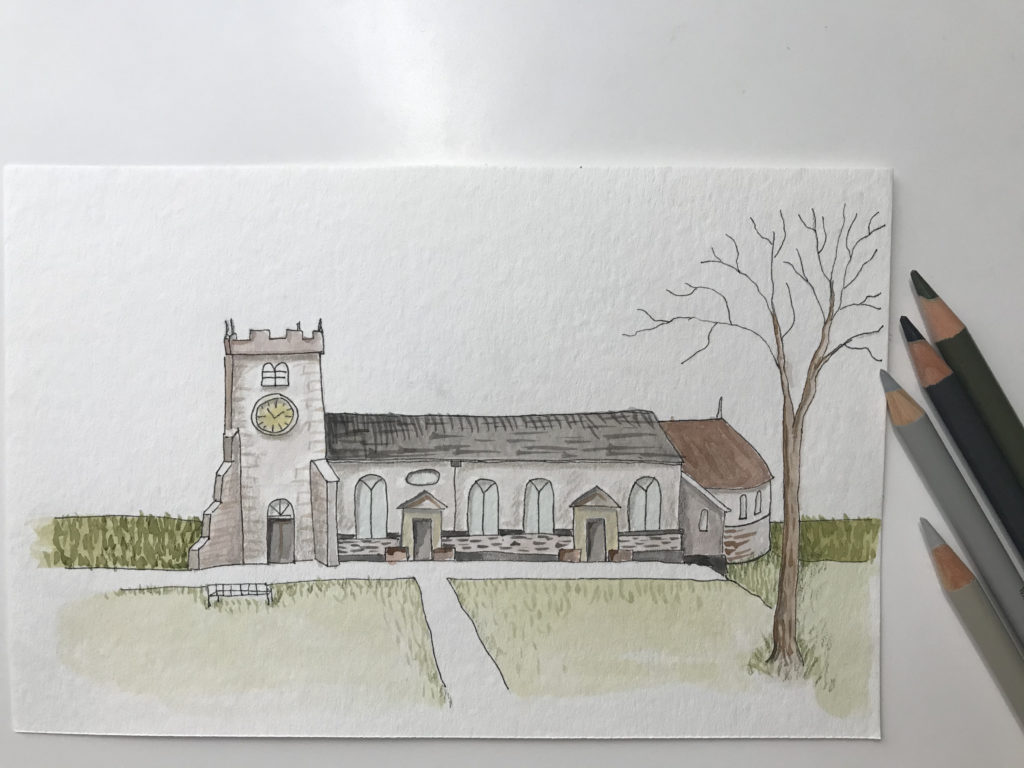
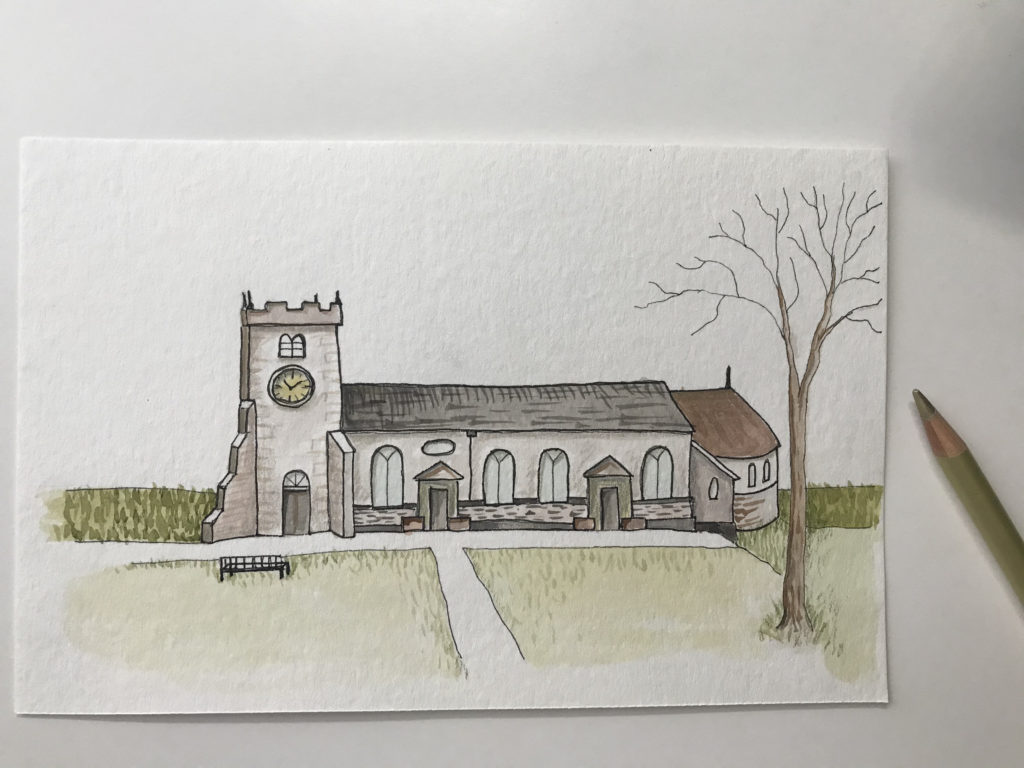
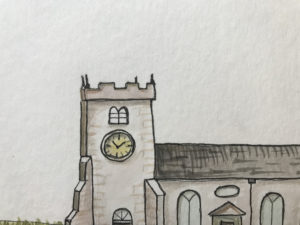
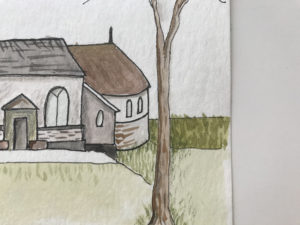
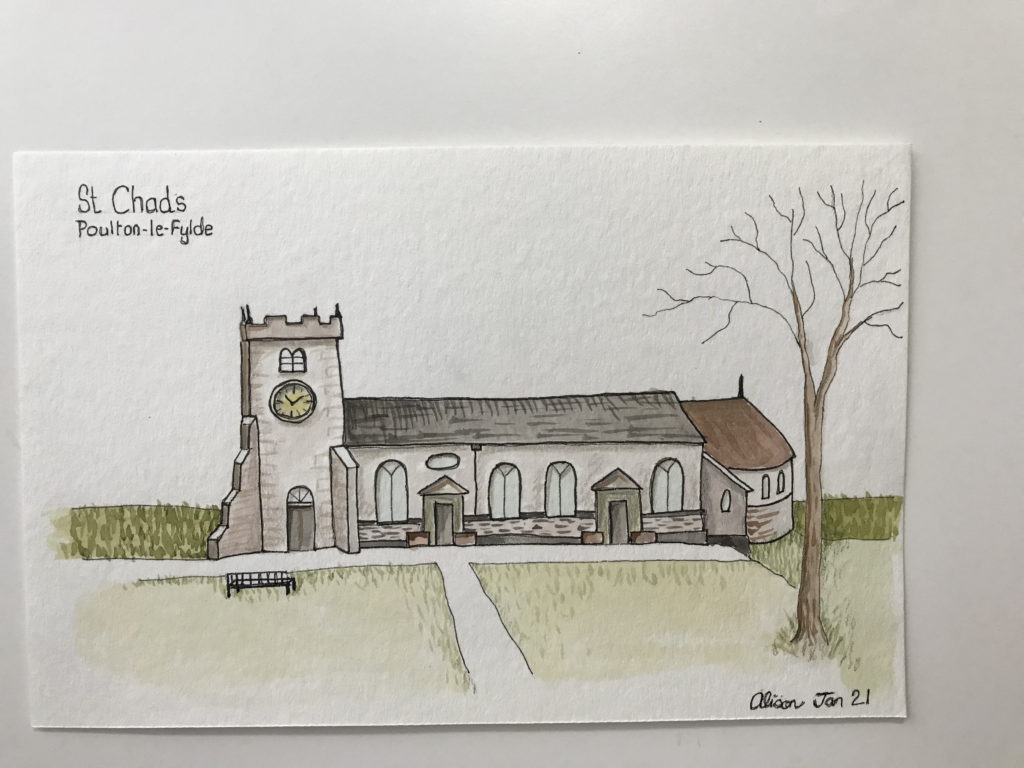
You can look at the watercolor I did of the church in which I was christened. This is trip down memory lane as clearly, I can’t remember the auspicious day. The place is a dim memory now, but still I enjoyed researching the church’s history as I tried to make a watercolor artwork. Watercolor is a medium that I do like, but I have not yet mastered. Maybe I never will and I certainly won’t get better if I don’t do more watercolor.
Read more >>> Ink and Wash: St. Chads Church
St Andrew’s
Then I did a pen and ink sketch of the church closest to my home here in Vancouver. St Andrew’s is on an extremely busy street in the heart of downtown Vancouver. I think it is on the highest point in the city. This makes sense as the early church builders want the churches to be visible for miles around. When churches are prominent on the horizon parishioners can see them and are moved to attend worship each Sunday.
Read more >>> Pen and Ink: St Andrew’s Church
Religious Sculpture Pencils Sketches
I’ve also been trying to sketch some religious sculpture such as la Pieta by Michelangelo. Which depicts Mary holding her dead son after they took him down from the cross. This is a sketch I did in graphite. I feel it requires some more darker shadows and I may do that to bring more depth.

Recent Project: Drawing the Face of Christ
Now I’ve turned my attention to religious icons and how they are styled. First up is my drawing of the face of Jesus. The layout is quite specific.
Paper Size
Here in Canada my paper size is letter which is 8 1/2 inches by 11 inches, but you can use A4 as well.
Art Supplies
To create this exact sketch, you will need a 2H pencil, a compass, a ruler and an eraser.
Read more >>> My Art Supplies
Guidelines: Crosshair
I use a 2H pencil for all my guidelines. Find the center of the page by lightly drawing a diagonal line from each corner. Draw a vertical line at the center. We will call this line A-B. Measure down from the top 110mm. Draw a horizontal line and we will call this line C-D. This creates a crosshair in the center of the face. We will create marks at specific points along these two guidelines A-B and C-D.

Christ’s Halo
Proportion
Typically, His face is two thirds the width of the halo. Draw a circle with a radius of 80mm for the outside of the halo.
Face
For the face, draw a circle with a 50mm radius. Where the face intersects the line C-D, mark the points as E and F and the center cross as H.

Eyes
On the lines E-G and G-F inside the face circle, divide both sides into three equal parts as follows:
- On the line E-G, divide into 3 and mark H and I.
- On the line J-K, divide into 3 and mark J and K.
Irises
The irises are at the two points of I and J. The irises are the colored parts of the eye. The irises diameter is 14mm diameter or roughly the distance between the chin and the nose (see later). Draw a circle for each iris at positions I and J.
Pupils
The pupils are 5mm diameter or about one third the diameter of the iris. Draw the pupils in the center of the iris.

Eyelids
Right Eyelid
Divide line H-I and mark with L. Divide line I-G and mark with M. For the right eyelid lower line, draw a soft curve from position L to position M and line up with the top of the pupil. For the top eyelid line draw a light curve from L just on the top of the iris to point M.
Left Eyelid
Divide line G-J and mark with N. Divide line J-K and mark with O. For the left eyelid lower line draw a soft curve from point N to O and align with the top of the pupil. For the top eyelid line draw a light curve from N to just on the top of the iris to point O.

Eyebrows
Eyebrow Guidelines
Place a P at the intersection of line A-G and the halo circle. Divide the vertical line G-P into 4 equal parts and mark with S, R and T.
- Draw a light guideline horizontally at position T.
- Draw a light guideline vertically at positions H, M, N and K. Where M and T intersect mark as U. Where N and T intersect mark as V.
Eyebrows Curve
The eyebrows curve from the above the eye, across the top of the eye and gently tail off slightly longer than the outside edge. The eyebrows begin directly above the inner eye position.
- Draw a curved line parallel the eyelid reaching the top curve at U and outwards to slightly past the outer eyelid (between H and L).
- Draw a curved line up to V outwards to slightly past the outer eyelid (between K and F). Slightly thicken the eyebrow where it is above the pupil and tail off at the sides.

Nose
Nose Guidelines
The nose is usually long and thin and in the center of the face. Starting from the inner eye position midway between M and G mark as W. From midway between positions G and N mark as W.
Nose Lines
- Draw two vertical lines down from W and X to as far as U horizontal.
- Softly add a soft curve as the point of the nose below.
- Lightly add two nostril curves on each side of the nose.
- You may wish to emphasize one side of the nose with a darker line for shadow (see later).

Mouth
Mouth Guidelines
At position V draw a light horizontal line. The mouth width lines up to just past the nostril curves.
Mouth Lines
The mouth is typically closed. The upper lip is thinner but wider than the lower lip.
- Gently add a generous rosebud curve to the bottom lip.
- Add the top lip peaking up twice for a natural look.
Do not to add a too small mouth as it can look pinched. Work on the mouth as this feature can give expression to the face. Ideally you want a generous expression.

Cheeks and Jaw
Jawline
- Draw a curved line from each side of the face to the chin.
Avoid a too sharp chin as this makes the image look pinched. Make sure both sides are the same evenly.

Ears
Ears Position
Where vertical H and F intersect horizontal U is the ear position X and Z.
Ear Shapes
Only the earlobes show in this image and not the full ear.
- Draw in a fishhook shaped earlobe on each side of the face.
The earlobes are nestled just below the hairline.

Neck and Shoulders
Christ’s Age
Depending on the age of Christ that you are drawing, the neck starts in different places. In general, younger men (and women) have thinner necks. Mature men have thicker necks.
Young Christ
For a younger Christ (and female Saints and Mary), draw a line down (from vertical L and O) in a slight curve from the edge of the face to the shoulders.
Mature Christ
For a mature Christ (and mature male Saints) start the neck at the full side of the face circle.
Shoulders
Sketch the shoulders in a gentle curve across the page. Again, a younger Christ (and female Saints and Mary) will have longer necks and slightly thinner shoulders. Whereas a mature Christ has a thicker neck and broader shoulders.

Hair
Hair Guidelines
At position R draw a horizontal guideline. The hair is drawn in three separate folds which gently curve in an “S” shape.
First Lock of Hair
- From position S, draw a soft curve to position E on the right of the face and to F on the left of the face (see diagram).
- Draw in more hair strands by following the original outside curves so each hair locks has parallel lines within it.
Second Lock of Hair
At the point where horizontal R intersects the first lock begin the second lock of hair.
- Draw a curve from under the first lock and gently curve in an “S” shape to the outside.
Third Lock of Hair
- Draw the third lock of hair from under the second lock starting at the earlobe and curve it outwards gently to cascade on the shoulders.

Halo
Halo Design
Only Jesus has a cross in his halo. This is so you can pick him out in a scene. People without halos are not Christ. You can draw a second halo line just inside the original sketch to add emphasis to the halo. In religious icons the halos are always gold.
Halo Cross
Only draw the halo cross in images of Jesus.
- Line up with the horizontal crosshair and draw a line about 20mm above and 20mm below.
- Draw the vertical lines 20mm to the right and left of the vertical crosshair.
You can gently curve or taper the halo cross towards the outside halo circle for artistic effect.

Clothes
Jesus Garments
Jesus’ clothes are usually blue with a red sash and gold trim. The three primary colors red, blue and yellow (gold) and are often all you need for an icon image. Of course, you can choose other colors to match the situation within the image.
Mary’s Robes
For example, Mary is always in blue robes and often baby Jesus is in white wraps. The trick is to avoid being too busy with your color palette.
Other Color Options
If you have a particular theme or place where this icon image will be displayed you can choose colours to suit. You may have a church with special color theme inside and you may wish to make the artwork feel a part of the whole.
Or perhaps you plan to hang the picture on a wall in a room with a color theme. You could change the robe colors to align with the decor. This will create a cohesive feeling for the space.

Backgrounds
Traditional and Plain
The backgrounds of icons should always be plain. You can choose a color that complements the robes of the icon. The backdrops must be simple and not detract from the glory of Jesus, angel, saint or religious figure in the portrait.
Backgrounds to Avoid
Avoid busy backgrounds with:
- Patterns
- Wallpaper
- Animals
- Furniture
- Landscapes
Keep the background as plain and simple as possible.
Finishing
Your Art Style
Your image of Jesus will be slightly different to mine. This is a natural expression of each of us and our own art. You are not trying to reproduce the exact same image every time. You can add some nuance to your artwork.
If you do this project with your children, they too will have different results on the look and shape of Christ’s face and this is okay. Everyone draws art in their own style, through their own hand and with their own brain. Individual artistic expression and interpretation is the beauty of each original drawing.
Darken Outlines
Continue slowly darkening the main lines to make the image just how you want it. You may carefully erase the pencil guidelines if you want to pen and ink the final image as I did.
Color
I have a digital image of Christ.
I have one with colored pencils to show you. The last one is the very first attempt I had of drawing the face of Christ. You can see the evolution of my style and skill with this drawing.

Where to Position Your Face of Jesus
In Your Home
Your face of Jesus artwork needs to be the focus wherever it is located. Place your icon either in a corner, in a shrine or hang it on wall where there are no distractions.
People who visit your home and see this art will want to take a moment to pause and appreciate the piece. Individuals will need room to sit, kneel, stand or pray. Give your artwork some space to be enjoyed. Let this art piece breathe.
Where Not to Place Your Face of Jesus Image
This art needs respect which is found by carefully choosing a place for it to live. Do not hang your face of Jesus in a complex wall gallery of other images from your vacation, your kids and your cat. Avoid unsuitable places like hot kitchens and wet bathrooms.
The Face of Jesus in Your Sketchbook
If you have this drawing of Christ in your sketchbook, place a sheet of tissue paper over the face to protect it. It is usual to have many practice drawings before you get the best one and these sketches may be in your sketchbook. Due to the importance of Jesus always slip in some tissue paper to protect the image and give respect.

Free Template
When I first followed along witrh the video I found that this was not an easy design to start with. I personally had many attempts at drawing the face of Jesus. To help you out, I have created a template with all the lines and shapes you need to draw the face of Christ.
This design can be used as a guide and you can pen over and color in to your heart’s content. I suggest you follow your intuition when working with this template.
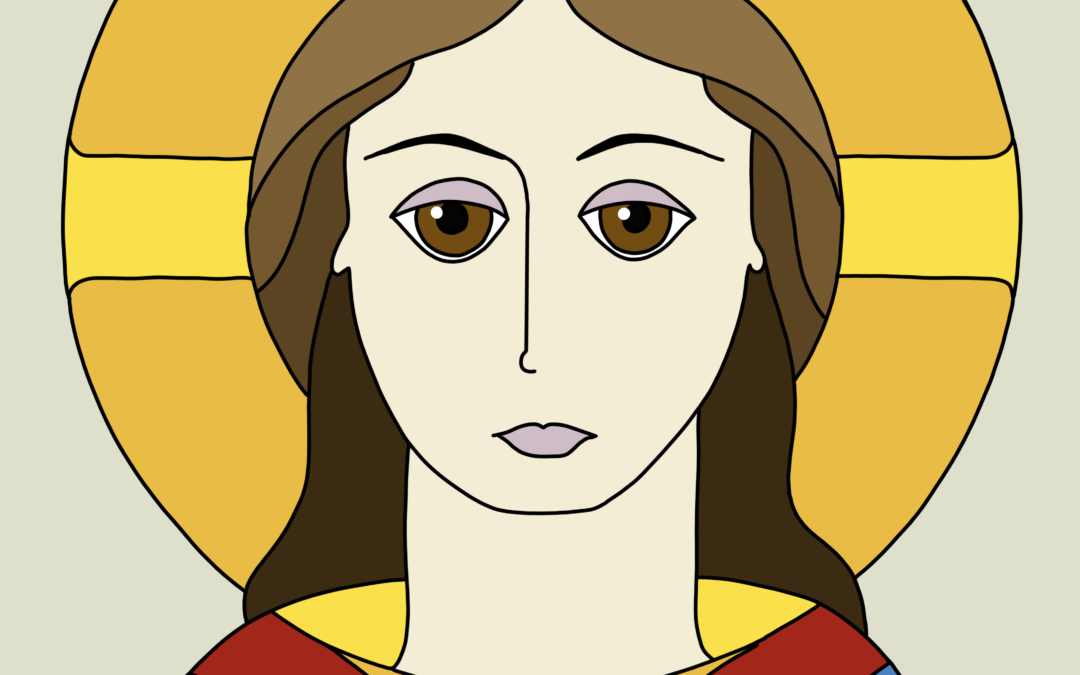
Final Image
Here is my final image. An icon of Christ colored in shades that I like with red and blue robes. I do like the cross in the halo. I will probably repeat this drawing in my sketchbook. It is one that needs time to be perfect. And it is what I want, a perfect drawing of Christ’s face. Let me know how you get on drawing the face of Jesus.

Older Christ
This is the saem drawing but with a moustache and beard. I also added some crow’s feet and brow furrows to add age.


Author Bio: Alison Hazel
Alison Hazel is a hobby artist and she shares her ongoing journey about becoming an artist later in life. She creates simple art that anyone can make. She hopes to inspire you to reach your creative potential in the area that suits you.

Art for Self-care
Read my journey on Art as Self-care. Get some tips and ideas on how you can add some journaling processes to your day.
52 Herbs Coloring Book – Self-care for Herb Lovers
Get your 52 Herbs Coloring Book – Self-care for Herb Lovers with original artwork by Alison Hazel Art available from Amazon.