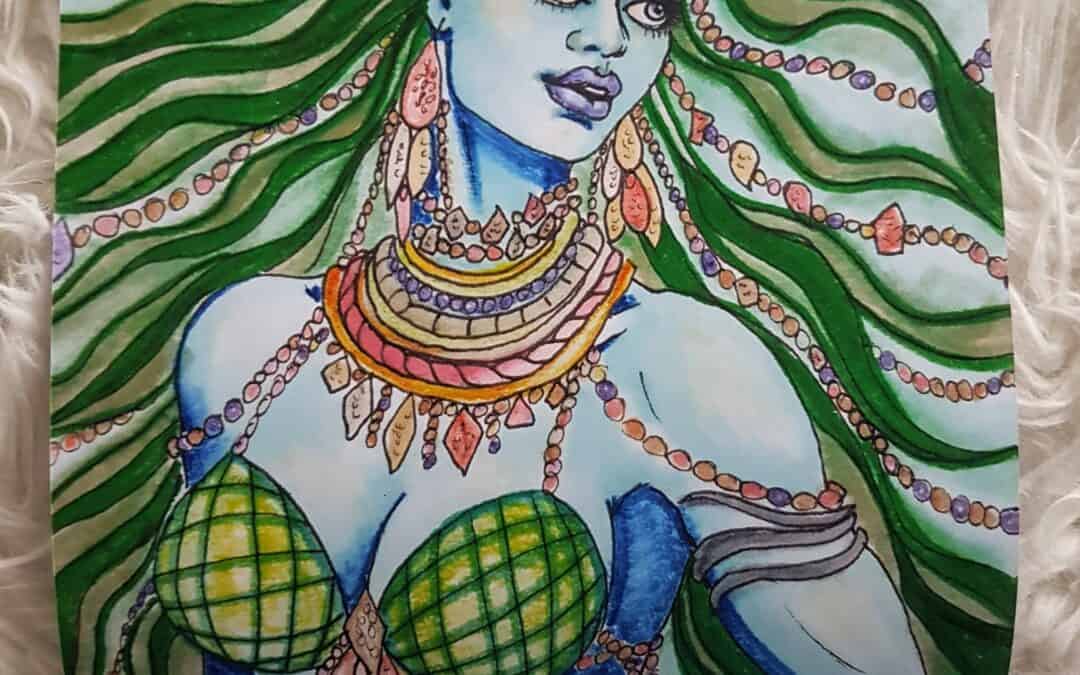
In this artist interview, meet ARWYNNE O’NEILL an artist and writer from Vancouver, Canada. Arwynne creates fantasy art with goddess themes.
How to Draw a Fibonacci Shell – Sketchbook Art
Drawing The Fibonacci Shell
Fibonacci Sequence
I’ve always been interested in symbols and patterns and particularly the patterns found in nature. The work we are about to draw is one of those natural patterns that pops up all over the place.
The Fibonacci sequence is 1, 1, 2, 3, 5, 8, 13, 21… and continues. The numeric pattern is created when the previous two numbers are added together to make the third number. So, 1 + 1 = 2, 1 + 2 = 3, 2 + 3 = 5 and so on.
The Plant Kingdom
The Presence of Fibonacci Numbers in Nature
The Fibonacci sequence, a captivating mathematical pattern, manifests itself prominently in the natural world. One notable illustration of this sequence is observed in the intricate designs found in sunflower heads.
Sunflower Heads
Upon closer observation, the arrangement of seeds on the head of a sunflower reveals a remarkable adherence to the Fibonacci sequence. The seeds are organized in mesmerizing whorls that spiral out in a manner consistent with this numerical pattern.
Spiral Symmetry
The Fibonacci sequence is renowned for its characteristic spiral symmetry, and this phenomenon is vividly demonstrated in the sunflower’s seed distribution. The whorls expand outward in a mesmerizing spiral, following the numerical sequence with precision.

Mathematical Harmony in Nature
This natural manifestation of the Fibonacci sequence in sunflowers underscores the profound connection between mathematics and the organic world. The inherent order and harmony found in these patterns contribute to the aesthetic beauty and structural integrity of sunflower heads, showcasing the intricate design embedded in the fabric of nature.
Functional Significance
Beyond its aesthetic appeal, the Fibonacci sequence in sunflower heads is believed to have functional significance. The arrangement optimizes the packing of seeds, ensuring efficient distribution and maximizing the sunflower’s reproductive potential. This mathematical precision serves as a testament to the evolutionary adaptations that enhance the plant’s survival and reproduction.
The prevalence of Fibonacci patterns in sunflowers extends beyond individual plants to impact broader ecosystem dynamics. As sunflowers play a vital role in various ecosystems, their adherence to mathematical principles influences the ecological interactions and relationships within their habitats.
The presence of the Fibonacci sequence in sunflowers also carries symbolic significance. It serves as a visual representation of order, balance, and mathematical elegance in the natural world, reinforcing the idea that mathematical principles underlie the beauty and functionality of diverse life forms.
Pineapple
Another example of the Fibonacci sequence in plants is found on a pineapple where knobby things cycle up one way with eight spirals and the other way with thirteen spirals called interlocking helices.
These are just examples of how the Fibonacci numbers come through in the plant world. In essence, the observation of Fibonacci numbers in sunflower heads and pineapples offers a captivating glimpse into the symbiotic relationship between mathematics and nature. It invites us to appreciate the precision and sophistication embedded in the seemingly simple aspects of the natural world, revealing the underlying harmony that governs the intricacies of life.

The Animal Kingdom
Nautilus Shell
A captivating illustration of the widespread occurrence of the Fibonacci sequence in the animal kingdom unfolds in the elegant spirals of the Nautilus shell. This seafaring creature, characterized by its distinctive shell, provides a striking example of mathematical precision as it meticulously follows the Fibonacci pattern in its growth and chamber arrangement.
The Nautilus, with its spiral shell, serves as a living testament to the intrinsic connection between mathematics and the natural world. Each chamber in the Nautilus shell expands in a precise sequence dictated by the Fibonacci numbers, resulting in a visually mesmerizing pattern that reflects the inherent order woven into the fabric of nature.
Personal Connection and Collection
I possess a small yet meaningful shell collection, prominently featuring a Nautilus shell. Acquired during a vacation in Mozambique, this particular specimen holds a special place in my collection.
The intricate chambers and the adherence to the Fibonacci sequence in its structure serve as a tangible reminder of the mathematical elegance present in even the smallest fragments of the natural realm.

Artistic Inspiration
This Nautilus shell, residing in my collection, has become the muse for a captivating sketchbook piece that we embark upon together today. The delicate curves, precise spirals, and the harmonious proportions dictated by the Fibonacci sequence provide rich inspiration for an artistic exploration that bridges the realms of science and creativity.
Drawing the Nautilus Shell
Through this artistic endeavor, we delve into the symbiotic relationship between art and nature, allowing the Fibonacci-inspired sketch to capture the essence of the Nautilus shell’s beauty. This creative process not only celebrates the wonders of the natural world but also serves as a means to express the harmony and balance inherent in the mathematical principles echoed by the Nautilus.
The Nautilus shell’s adherence to the Fibonacci sequence extends beyond aesthetic beauty; it holds scientific significance. The mathematical precision observed in its growth pattern serves functional purposes, aiding in buoyancy control and optimal navigation through ocean depths.
Starting on this artistic journey inspired by the Nautilus shell invites us to explore the connections between mathematics, nature, and creative expression.
It is a celebration of the intricate beauty found in the animal kingdom and a testament to the awe-inspiring wonders that unfold when science and art intersect.
Supplies
I’m listing the art supplies I used to create this drawing, but I always urge you to use anything that you have at hand. You do not have to go out and get these supplies. You will probably have plenty of pens and papers in your home with which you can draw this sketch.
- Sketchbook
- 2H pencil
- Eraser, kneadable eraser
- Ruler
- Pencil compass
- Protractor
- Tombow dual brush markers and Faber Castell brush pens.
You Have What You Need
Don’t feel that you have to have all of this equipment and if you don’t you can’t do it. Use the supplies that you have to hand. You are an artist that’s why you are here. Get your stuff out and let’s get started.
Drawing the Grid
We are taking the two numbers five and eight from the Fibonacci sequence. We are going to draw a rectangle with that is eight blocks wide by five blocks deep. It will depend on the size of your paper, but in my sketchbook, I drew a rectangle that was actually 2 x 8 which is 16 centimeters wide and 2 x 5 which is 10 centimeters deep.
If you are using inches, it might be easier to draw your box 8 inches by 5 inches or any combination of those numbers. When you have your rectangle centred on your page it’s time to draw the grid. Divide your rectangle into eight columns wide and five rows deep.

Drawing the Blocks
Look at my diagram to see how to further divide up your blocks. On the left-hand side draw a thicker line after five columns. Now looking on the right-hand part, which is now 3 columns wide, draw a thicker line 3 rows down.
From the bottom right corner draw a thicker line two rows over and two rows up. Finally divide the last two into one cube each. Keep looking at the block diagram to make sure that you are dividing your rectangle into the squares correctly.


Drawing the Curves
When drawing the lines with your compass make sure to press lightly. You just want the line to be a guide we are not engraving on the page. The pencil I have in my compass is a 2H pencil. Make sure the tip of the compass point and the tip of the pencil are at the same place (when the compass is closed) before you start.
Steps
- With your pencil compass place the point at the origin position shown by the red dot and draw two quarter circles over the one cube blocks.
- Move your compass point to the origin position marked with the dot and draw a curve two blocks wide as shown.
- Move your compass point to the third origin position shown and draw a curved line over three blocks.
- Move your compass point into the final five block origin position and draw an arc five blocks wide as shown.
Number 1 Block
See below.

Number 2 Block
See below.

Number 3 Block
See below.

Number 5 Block
See below.

Dividing Into Segments
Now we are going to divide each of the number blocks one, two, three and five into segments (like an orange) to indicate the growth of the shell.
Number One Blocks
The number one blocks do not get divided as they are just one.
Number Two Blocks
The number two block division is from the origin point (where we put the compass in) draw a line at 45 degrees dividing the number two block into two segments.

Number Three Blocks
Considering the three blocks, place your protractor crosshairs at the origin point (where you put your compass point in) for the number three blocks, remember to reference the drawing.
We’re going to divide the number three block into three, so that will be 90-degrees divided by three will result in 30-degrees per segment. Make a light mark at 30-degrees from the horizontal and 60-degrees from the horizontal on your page. With a ruler, join the origin point for the number three blocks with the 30-degree and 60-degree mark lightly in pencil. Do not extend the line past the curve.

Number 5 Blocks
We are going to divide the number five blocks into five segments. Place your protractor cross hairs at the origin point for the number five block. To divide 90-degrees by five each segment will be 18-degrees wide. Counting up from the horizontal, make a light mark at 18-degrees and then one at 36-degrees (2 x 18 = 36).
Next, counting left from the vertical, make a light mark at 18-degrees and one at 36-degrees. Take your ruler and lightly draw a line from the origin point to the marks you have just made. You will draw four lines here thus dividing the five block into five segments. Do not draw these lines past the curve of the shell.

Erase Marks
Lightly erase any pencil marks that are now unneeded and unnecessary before you start to color. I also used a kneadable eraser and lifted quite a bit of the graphite from the page just leaving faint lines there as a guide.
Read more >>> Sketching English Bay Beach: Vancouver
Read more >>> Art Supplies Suggestions
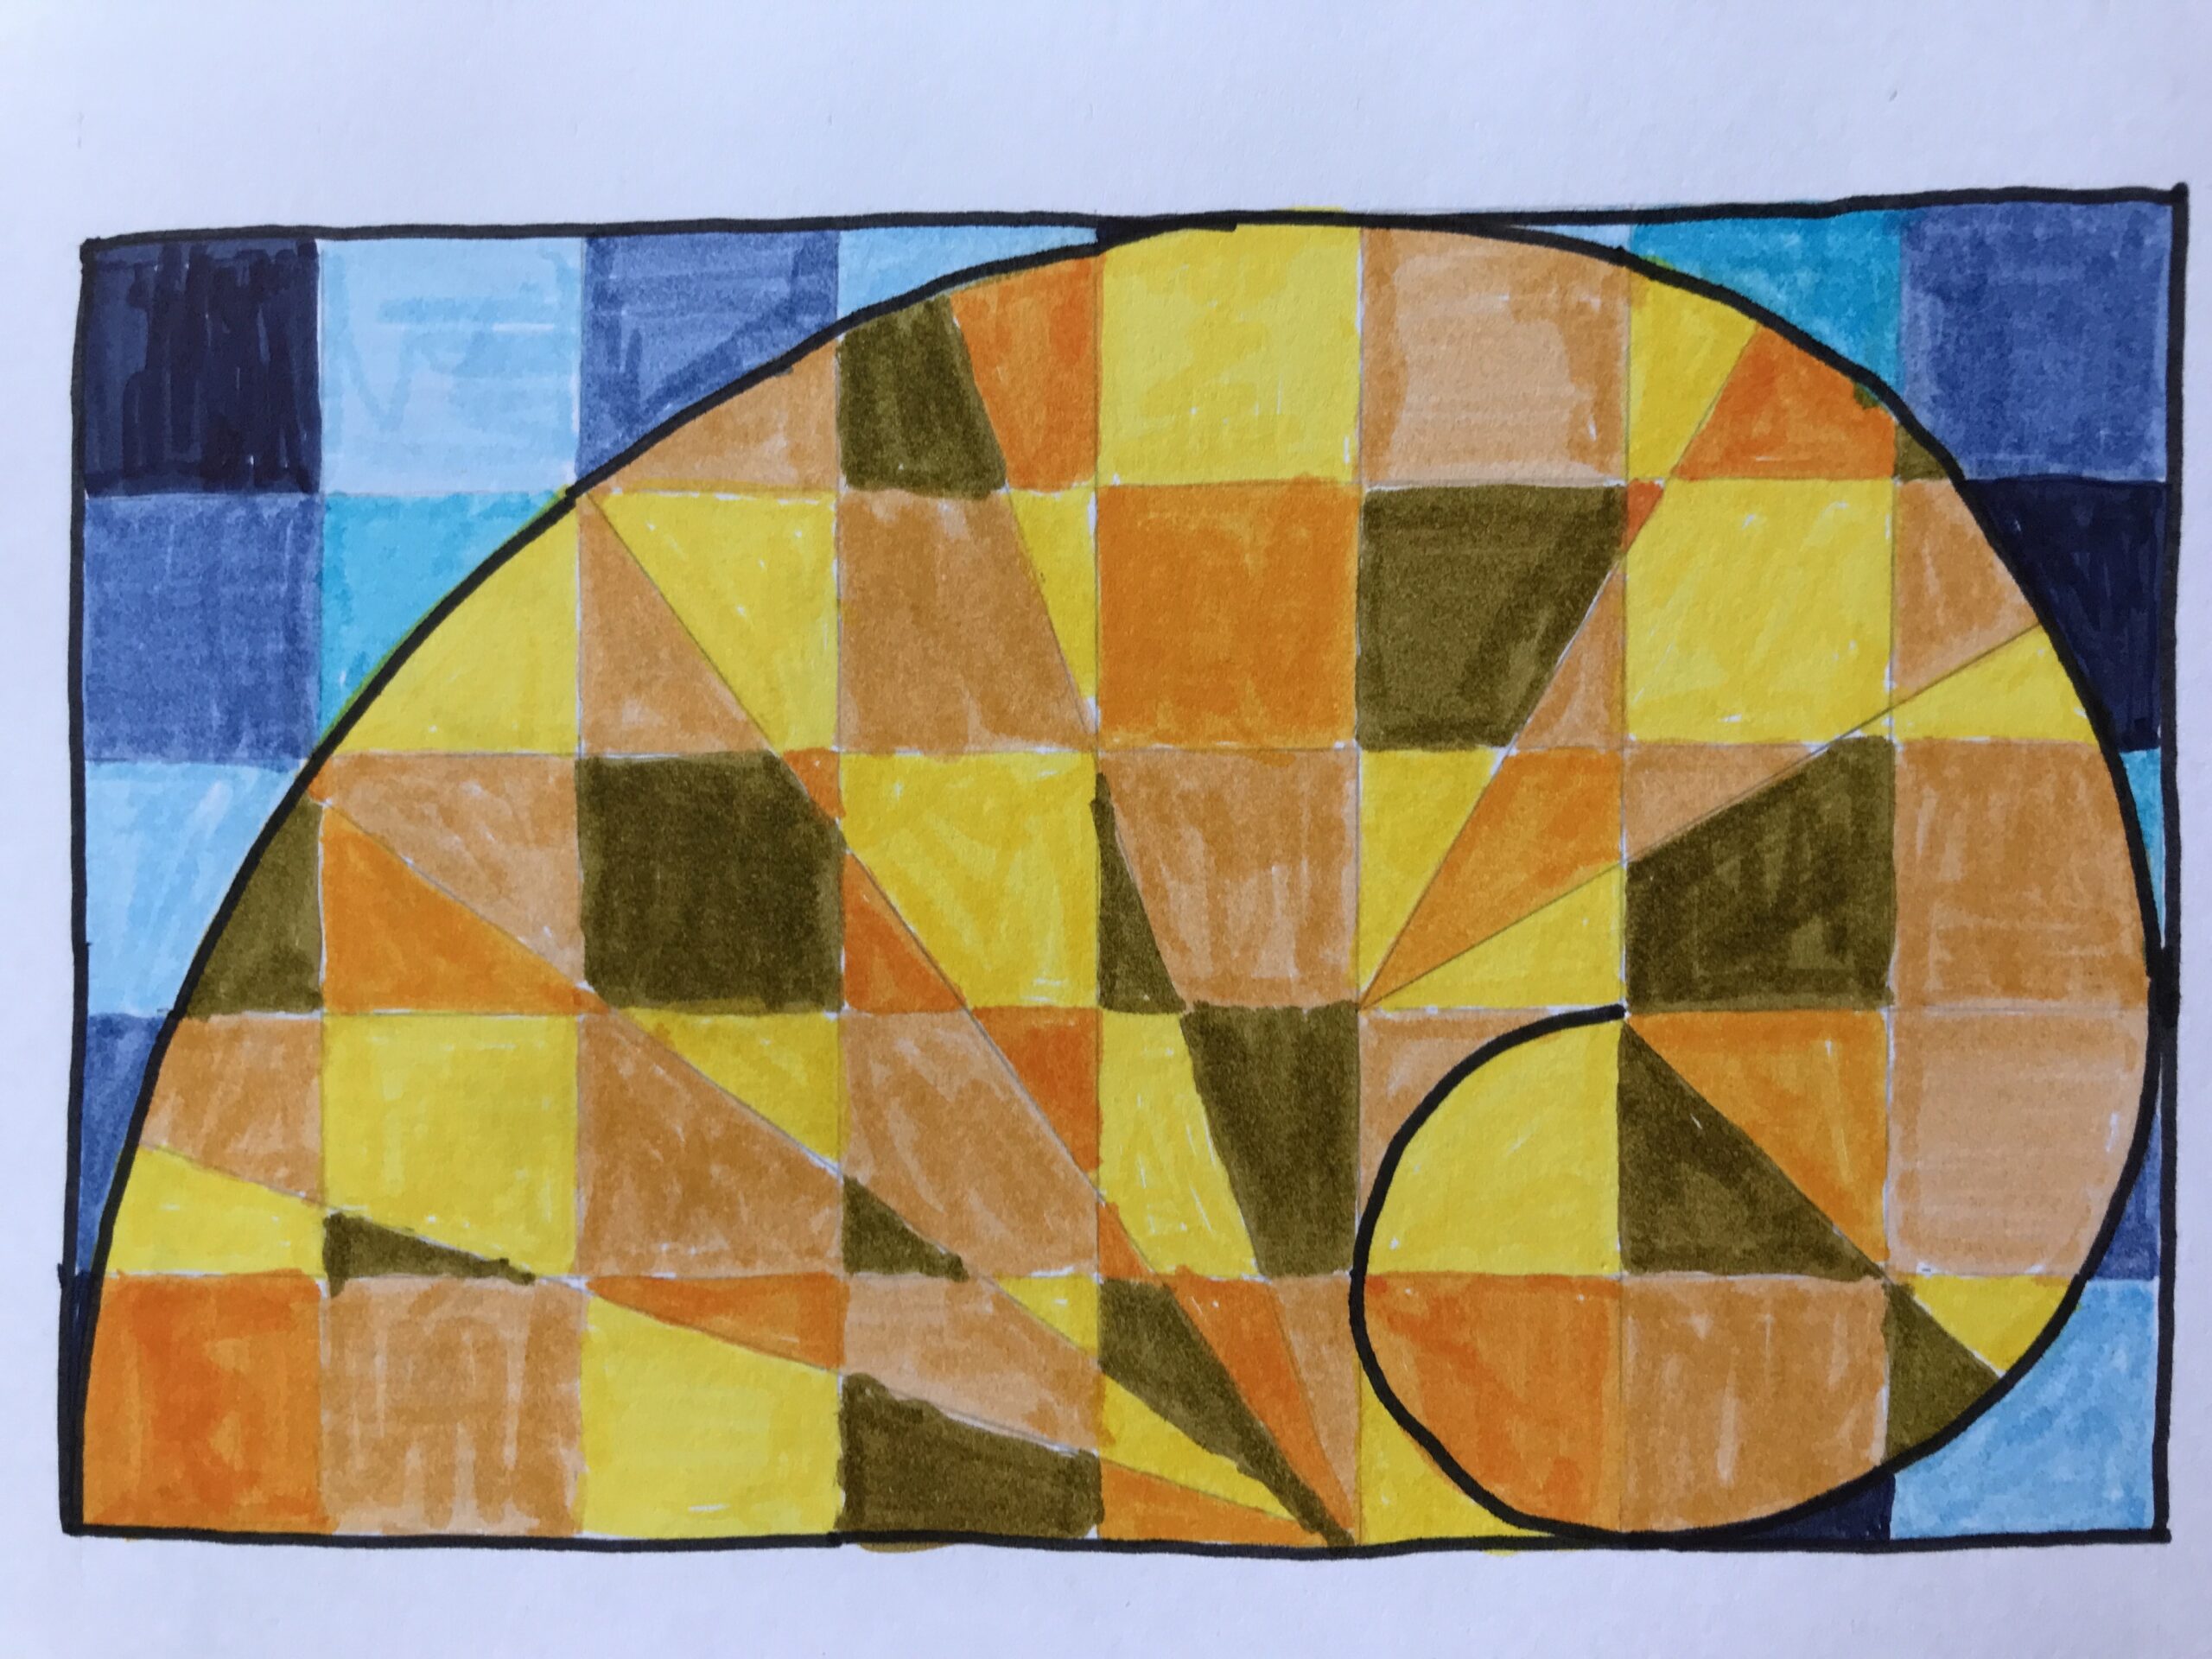
Coloring the Shell
I chose to colour my Fibonacci shell in tones of yellow and the background in tones of blue. Yellow and blue is always a great color combination to use in artwork and you can see this to great effect in Van Gogh’s “Starry, Starry Night” painting.
Take your time as this is the fun part. Color in the background with different colors of blue. Relax and color in each little segment withing each block carefully. There will be many triangles and slivers of block now. Finally, I went over with a heavy black pen and redrew the curve of the Fibonacci shell and the artwork outline.

Completed
Voila, and there is your completed sketch. It is a fascinating shape as the Fibonacci shell continues to spiral outwards from the centre point. This shape resonates with us as it is part of the natural world.
What Not to Do
When I first started drawing the Fibonacci shell, I couldn’t get it quite right because it’s quite a tricky pattern. I tried several times, over a few days, to divide the shell because I wanted to you to see the striations and stripes on the shell which is how the actual Nautilus shell looks.
Now I’m going to show you my first few original efforts, so if for some reason you do make a botch, you will be happy knowing that it happens to everyone.
These first two drawings are examples of what not to do when trying to draw the Fibonacci shell. The third one is correct.


Save this pin to read later.
Below is the correct one.
Aspiring Artist Activity
In your sketchbook, please draw the Fibonacci shell by doing the following:
Aspiring Artist Activity
In your sketchbook, please draw the Fibonacci shell by doing the following:
- Measure the blocks carefully.
- Draw the curves carefully.
- Divide the segments carefully.
- Colour in and embellish your artwork as you see fit.
Share
Share your artworks on social with the hashtag #AHAFibonacci.

Author Bio
Alison Hazel is a woman who shares her ongoing journey about becoming an artist later in life. She creates simple art that anyone can make. She hopes to inspire you to reach your creative potential in the area that suits you.

Artist Interview: Claire
In this artist interview, get more inspiration and meet Claire, a graphic designer and founder of Price Design Studio.
Third Age Art for Women
Get some ideas on finding your unique creative art expression as a woman in the Third Age of life through a journal activity.