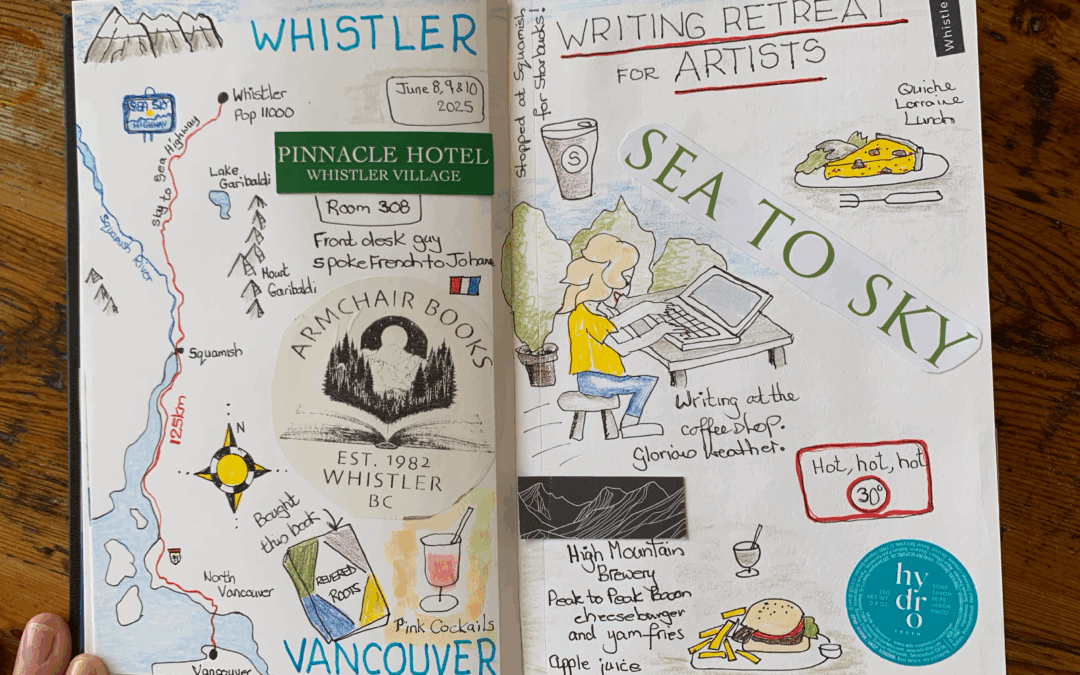
How to make 12 neurographic art Artist Trading Cards which are easy, super fun and quick to do.
Being Creative When You LIve Alone
Author: Alison Hazel – Updated: January 2026
Being Creative When You Live Alone
Gentle Company
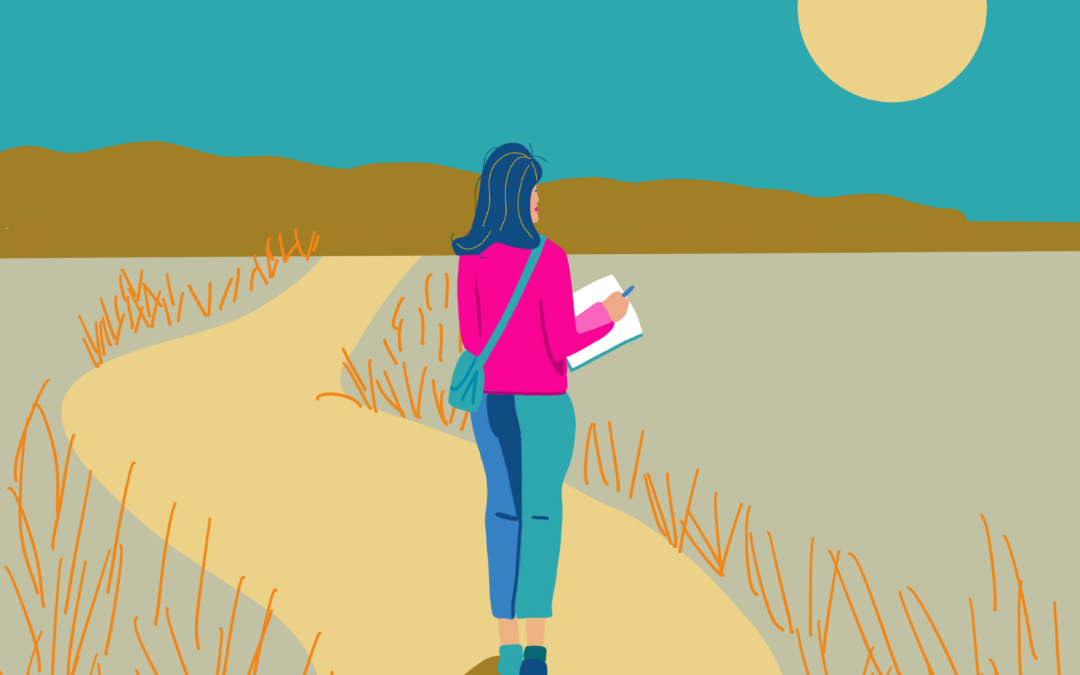
In this article I’m going to look at how art can become gentle companionship and not just yet another thing on your to-do list.
This is for you if you live alone and some days feel spacious while others feel a little too empty.
Living alone can be a gift.
It can also feel very quiet.
There is no one to notice the small moments of your day. No one to say “Oh that’s lovely” when you place a flower in a jar or make a nice cup of tea. The hours can stretch out, especially in the evenings, and boredom can sneak in wearing the clothes of loneliness.
This is where creativity can become something more than a hobby. It can become gentle company.
Art as a Soft Companion
When you sit down with your sketchbook, you are not just making something.
You are having a quiet moment with yourself.
I have noticed that even on days when I feel flat, my sketchbook never seems to mind.
I see your sketchbook as something that:
- Listens without interrupting
- Does not judge your messy pages
- Welcomes you whether you are feeling energetic or tired
- Is happy to see you for five minutes or fifty
I think there is a kind of comfort in opening the same book each day and knowing something familiar is waiting for me.
Creating Small Rituals in a Quiet Home
When you live alone, I believe that rituals can actually matter more than routines.
Routines can feel heavy.
Rituals feel kinder to me.
Here are some gentle ritual ideas you can try.
- A cup of tea and one sketchbook page in the evening
- Drawing what you see from your window each morning
- Lighting a candle, taking a breath and pausing before you open your sketchbook
- Playing the same soft music while you create just like you have your own creative song
These small acts give shape to your quiet time.
They turn “another long evening” into “my creative moment”.
The hardest part of living alone is not the quiet itself, but rather it’s the feeling that no one is witnessing your days.
Let Your Sketchbook Witness Your Days
When you live alone, it is easy to feel like your days blur together.
Your sketchbook can become a quiet witness to your life with a quick sketch of:
- A drawing of your breakfast mug
- A leaf you noticed on your walk
- A line about how your day felt
- A colour which matched your mood
Over time, you will see that your life is full of many small moments worth noticing.
Your sketchbook remembers them with you.
You’re Not Doing This Alone
Even though you may physically live alone, you are not alone in wanting to create.
There are other women who are:
- Starting again
- Feeling rusty
- Making imperfect pages
- Sitting at their own kitchen tables with their own cups of tea
When you draw, you are quietly joining a wider circle of people doing the same small brave thing. Choosing to create a little life for themselves.

When Motivation Comes and Goes
Some days, living alone feels peaceful.
Other days, it feels flat.
On low energy days do this:
- Open your sketchbook
- Make one mark
- Close it again
That counts.
You showed up for yourself.
Creativity does not have to be loud to be meaningful. Sometimes it is just a soft whispered “I’m here”.
Your Art Keeps You Company
Over time, something subtle happens.
Your sketchbook starts to feel like:
- A friend who knows your moods
- A place where you can be honest
- A quiet corner of the world that belongs just to you
You begin to look forward to your own company and that is not a small thing.
This is not about becoming more creative. It is about letting creativity keep you company.
Over to You
A Gentle Invitation
If you live alone and feel a bit bored, flat, or disconnected today, then try this tonight:
- Sit down with your sketchbook
- Draw one small thing from your room
- Write one kind sentence to yourself beside it
That is enough for today.
You are not filling time, but rather you are keeping yourself company in a kind creative way.
This kind of gentle creativity is something I return to again and again and it lives throughout this space.
#quietcreativity

Author Bio: Alison Hazel
Alison Hazel is a hobby artist and she shares her ongoing journey about becoming an artist later in life. She creates simple art that anyone can make. She hopes to inspire you to reach your creative potential in the area that suits you. Read more about Alison’s story. Get her newsletter.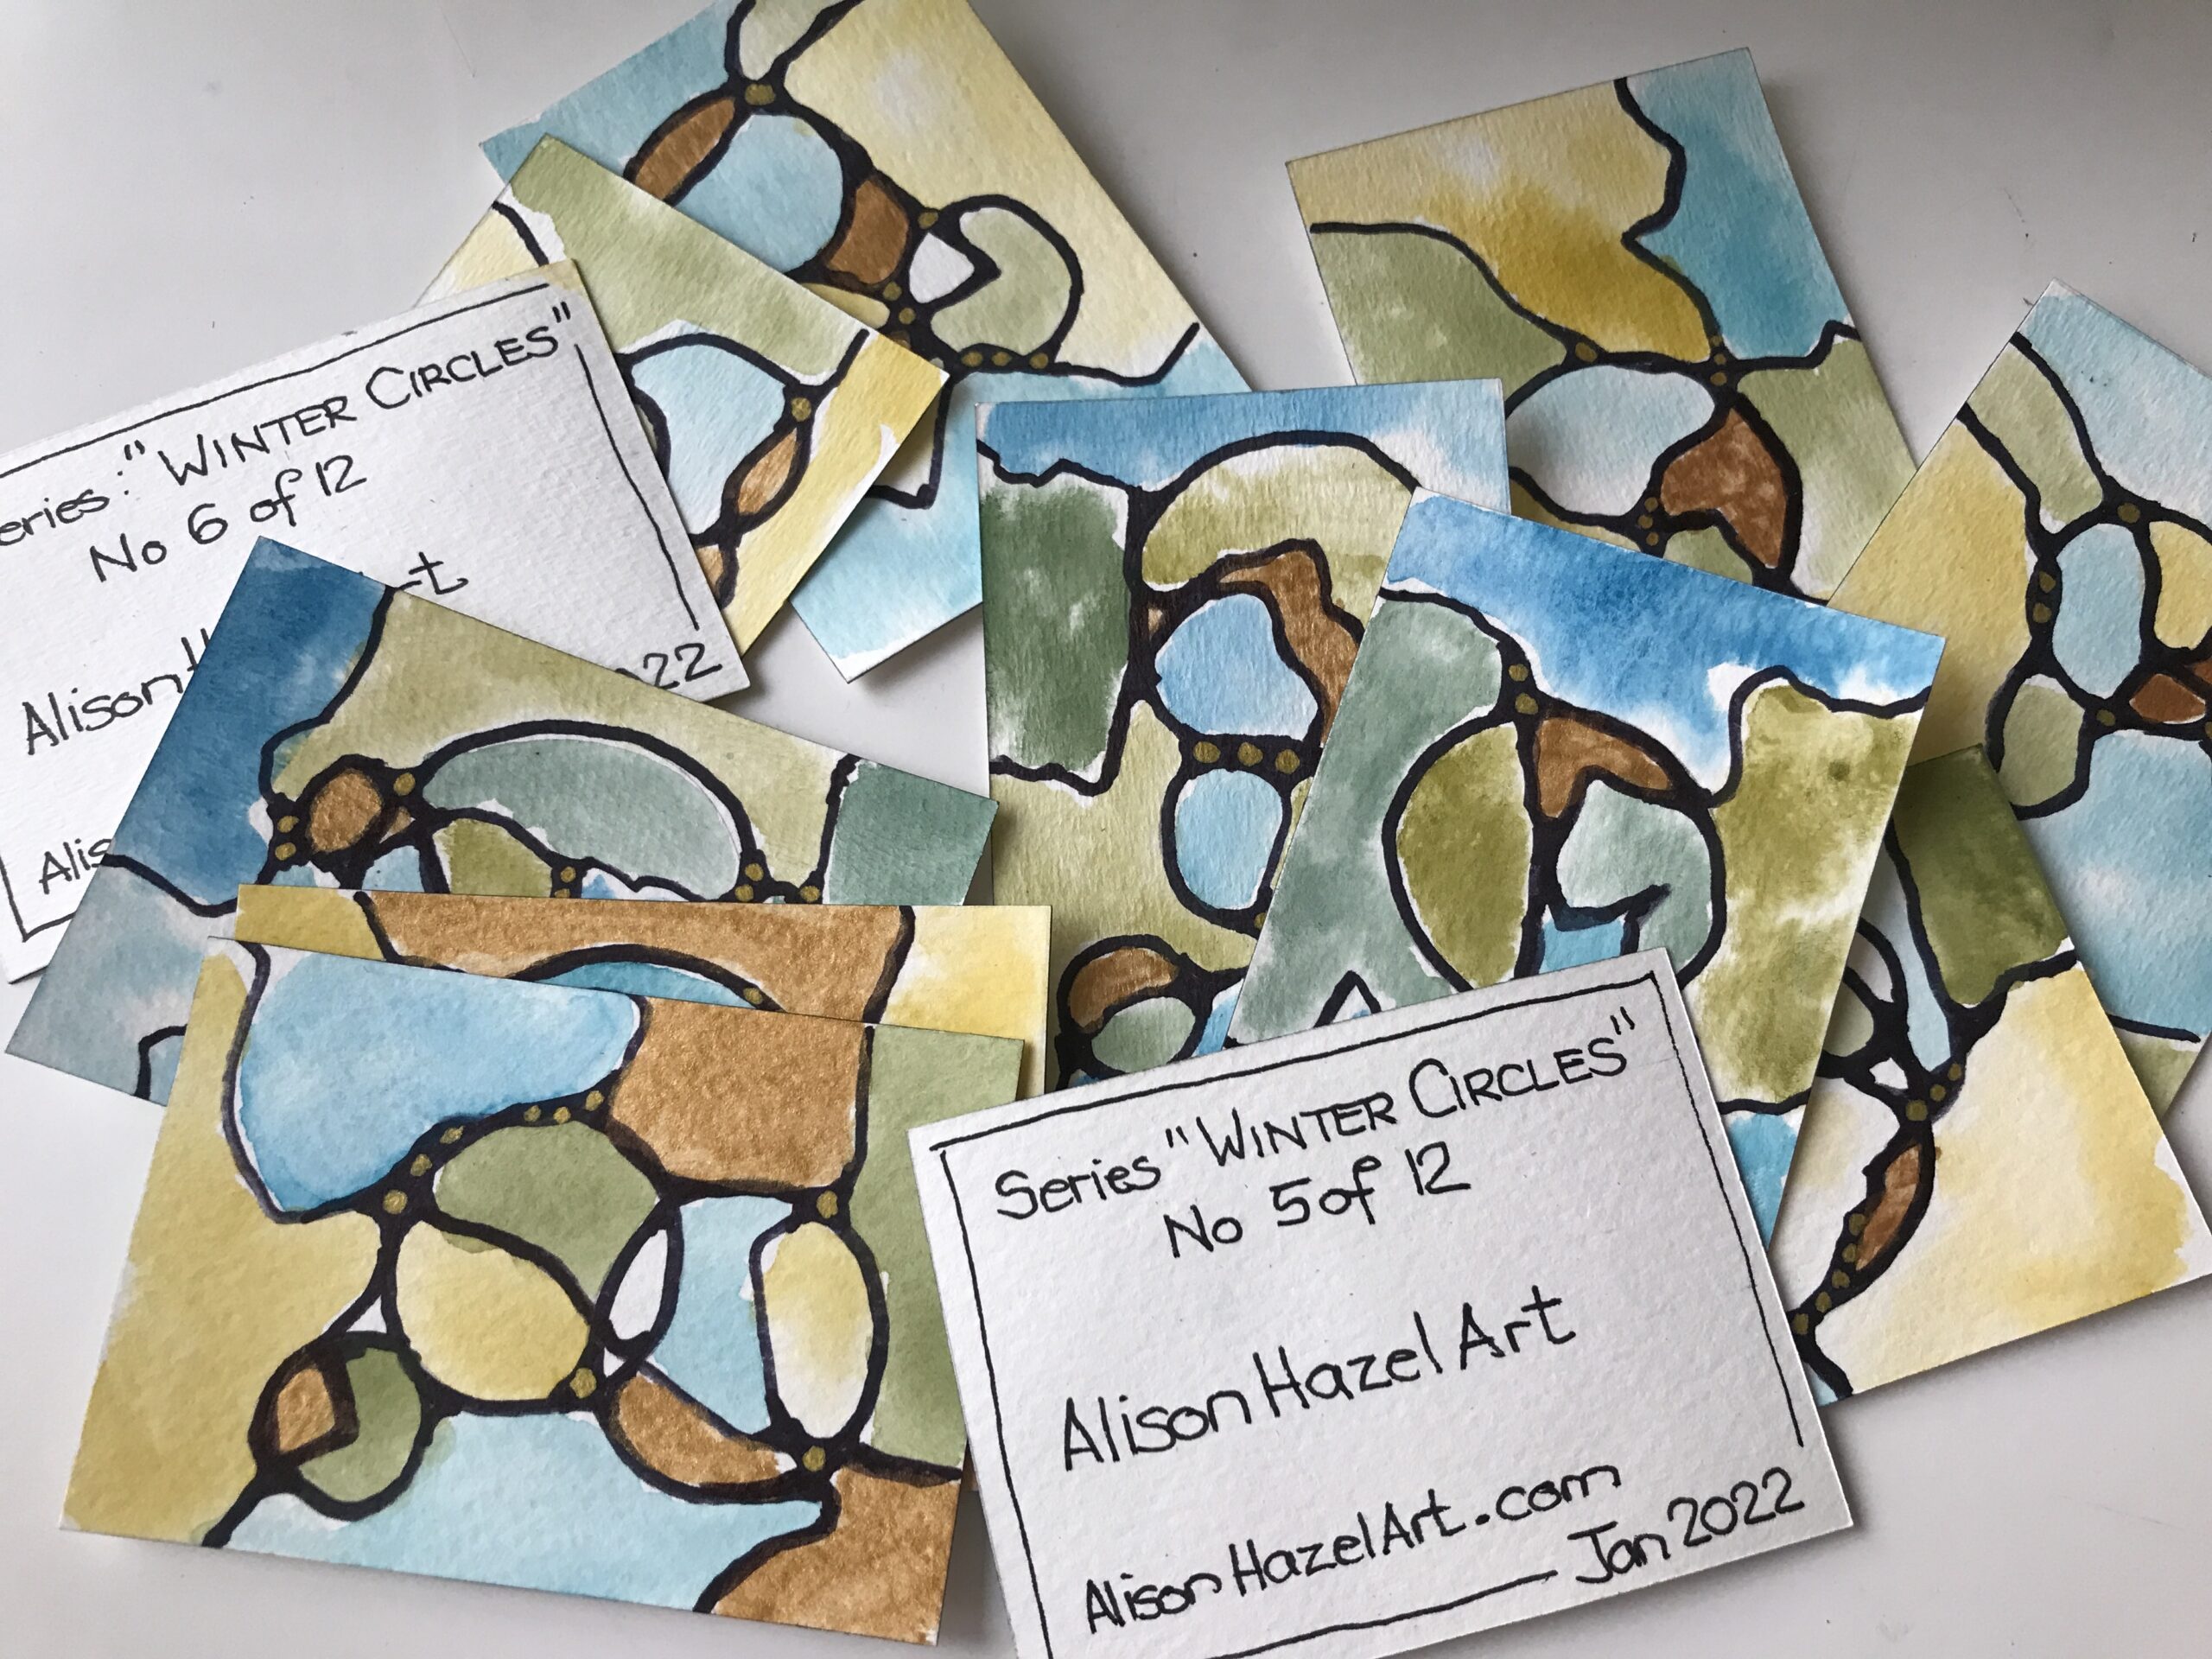
How To Make 12 Artist Trading Cards with Neurographic Art

Neurographic Art – Basics
Learn the basics of Neurographic Art so you can benefit from this easy meditative art movement.
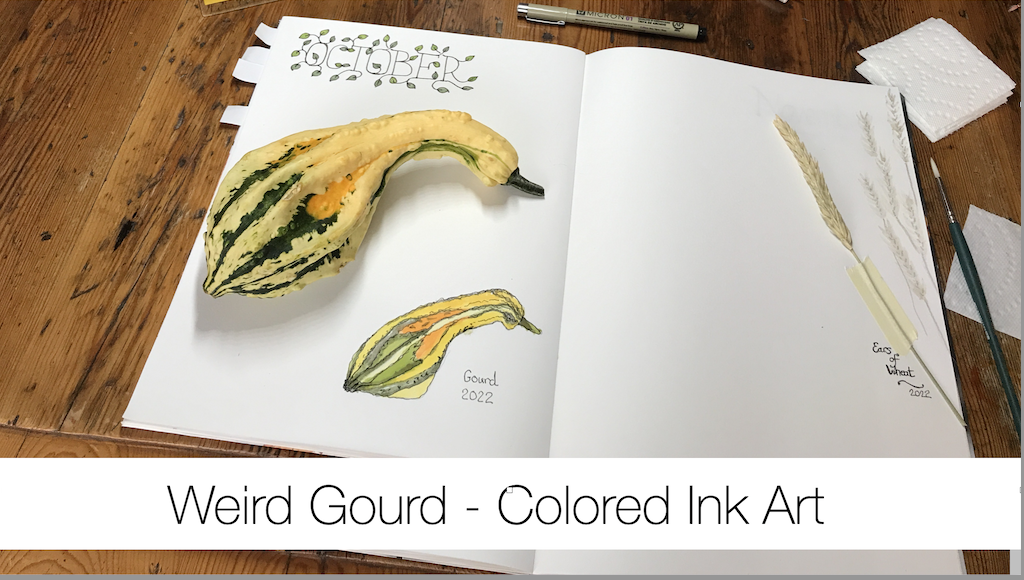
Weird Gourds – Colored Ink Art
Join me as I sketch, draw and paint a weird autumn themed knobby gourd using colored ink as a hobby artist.

Aspiring Artists
Discover what it takes to be an Aspiring Artist and see where you fit in and call yourself and artist. Some mind shifts may be required.
Artzlife Newsletter
Author: Alison Hazel - Published: December 2024 Artzlife Newsletter Creative art journal inspiration for hobby artists Welcome to a Place for Passionate Hobby Artists Are you a hobby artist seeking inspiration, connection and gentle guidance on your creative...