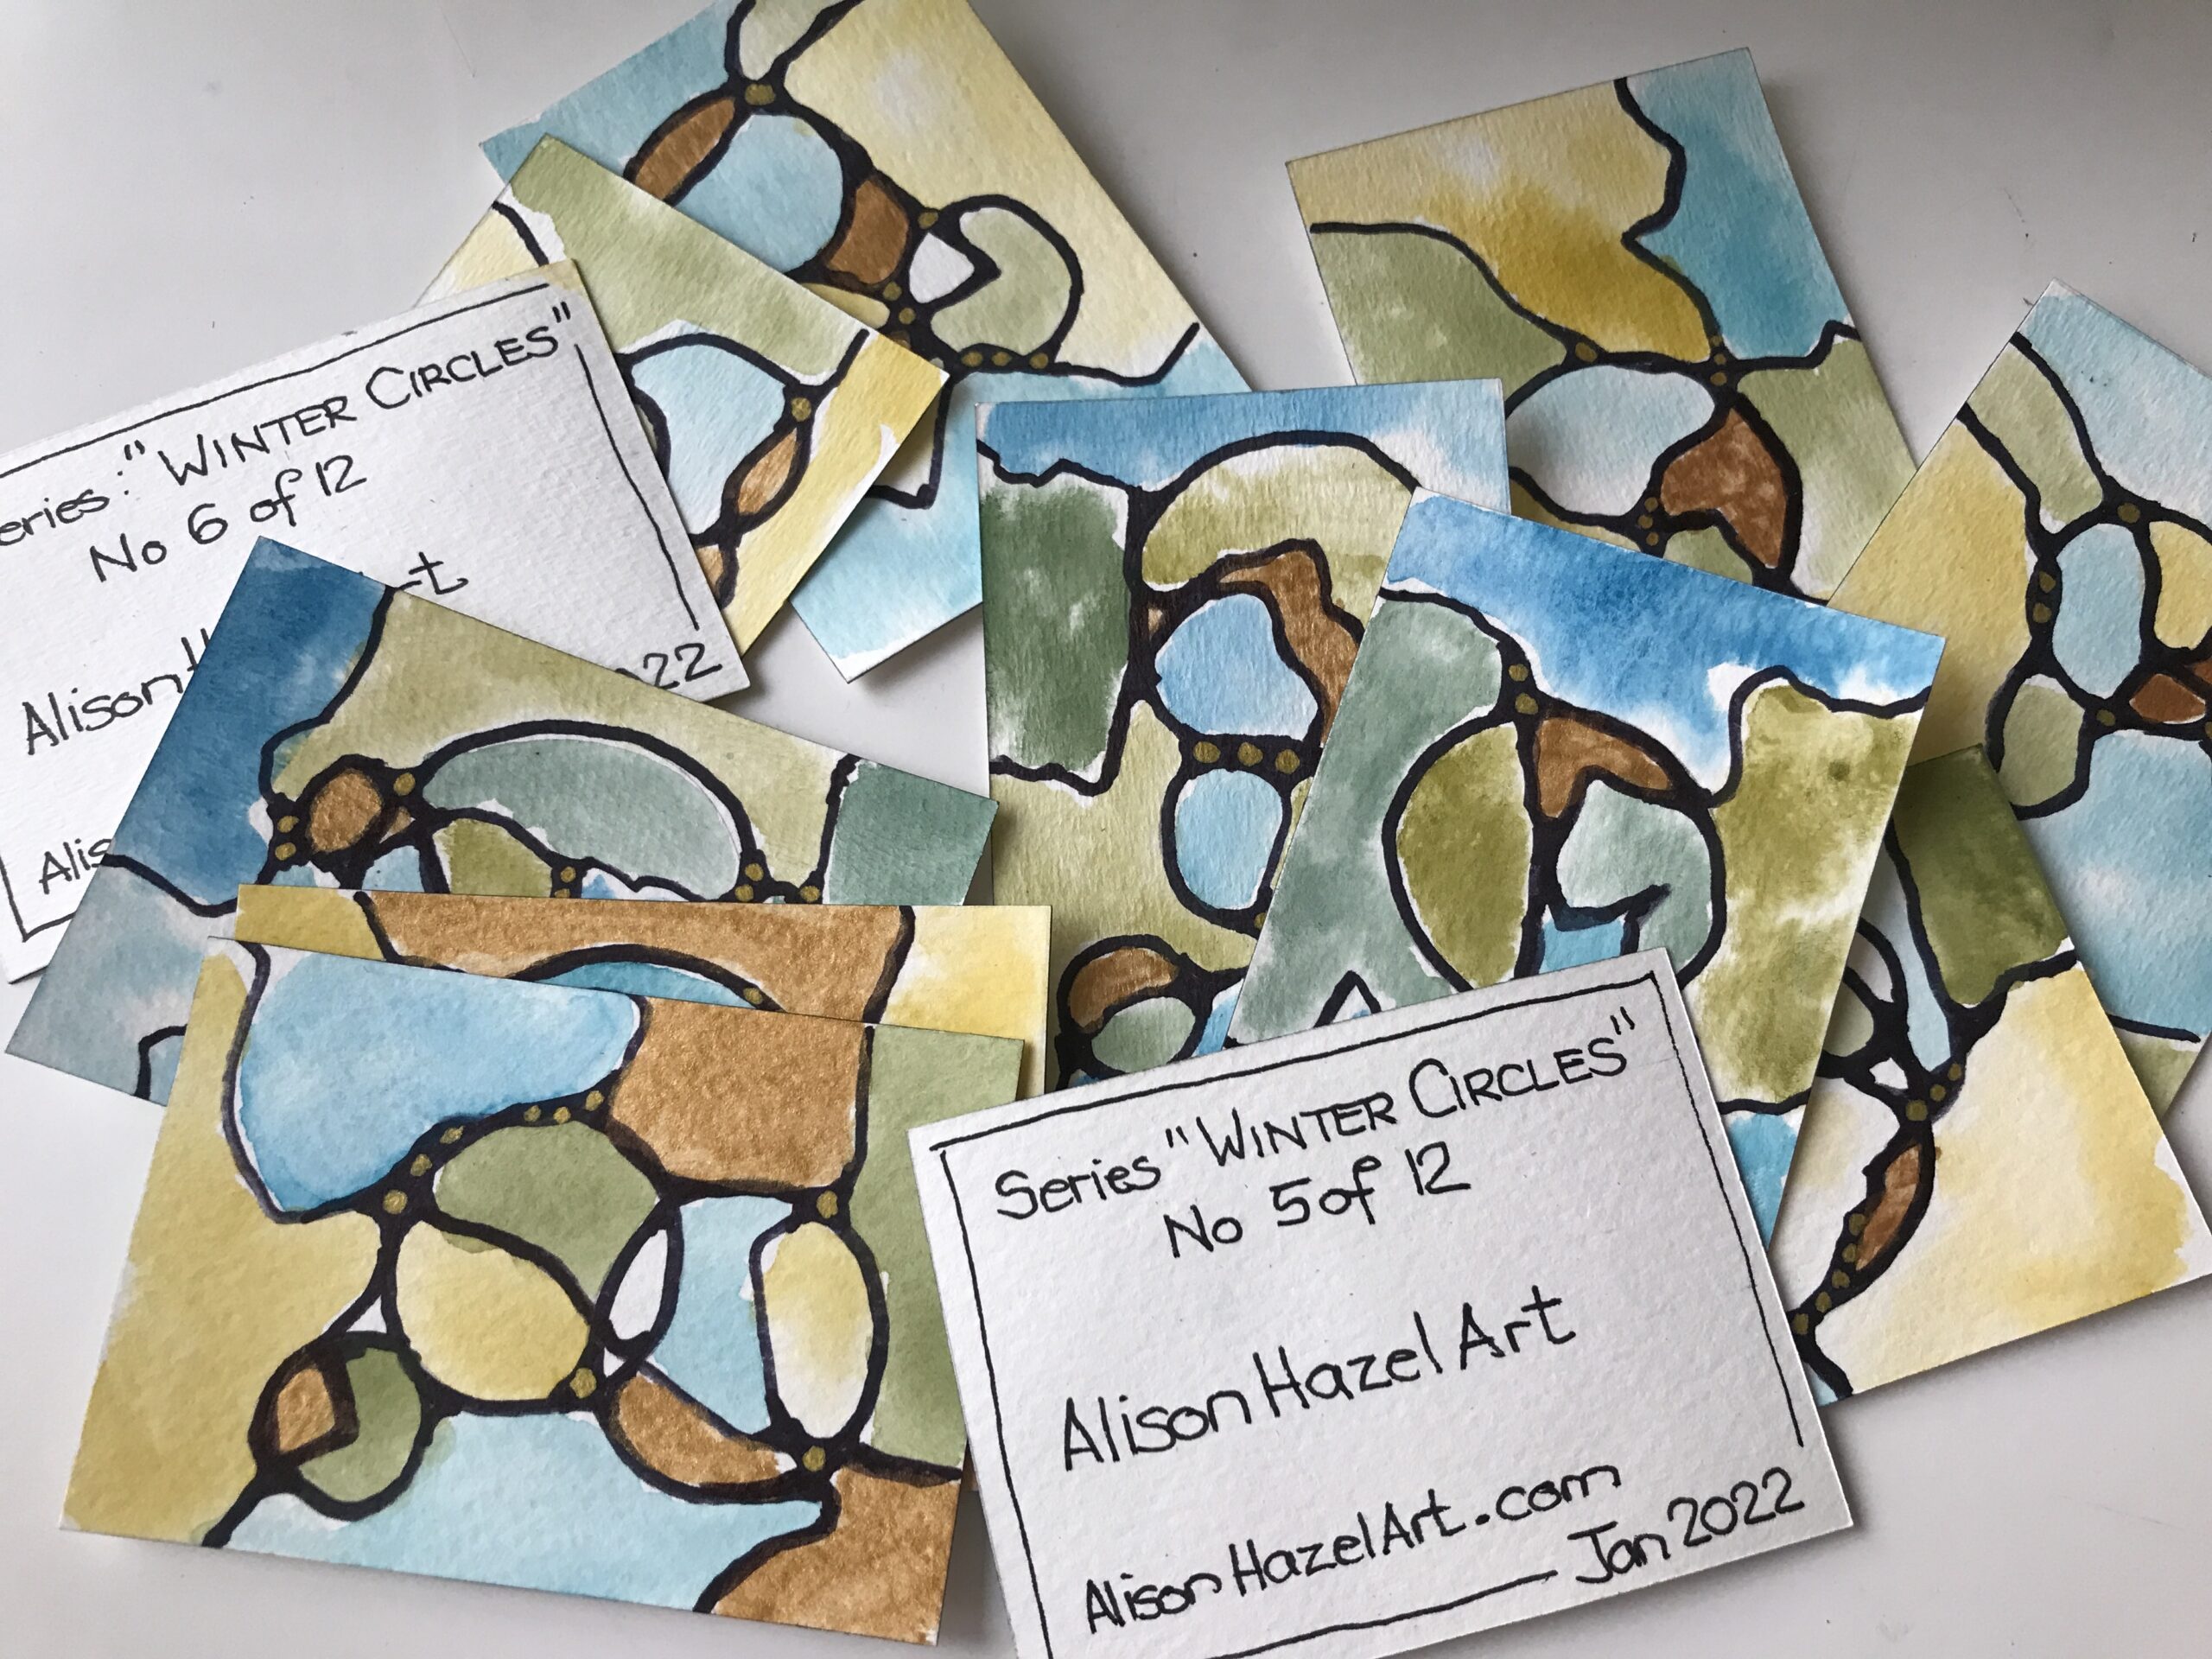
Author: Alison Hazel - Last updated: January 2025 Artist Vision Board Over the years, your creative energy and passion for art will no doubt ebb and flow. Hopefully it will evolve as well. Sometimes it's hard to stay motivated. You might not have any creative...
Monday’s Child Poem – Digital Art Time-lapse
Reference
I am referencing Emma H Baldwin MFA Emily Carr university, Vancouver on the website PoemAnalysis.com where she says that this poem was first recorded by A.E. Bray’s Traditions of Devonshire published in 1838.
Thank you, Emma.
Monday’s Child Poem
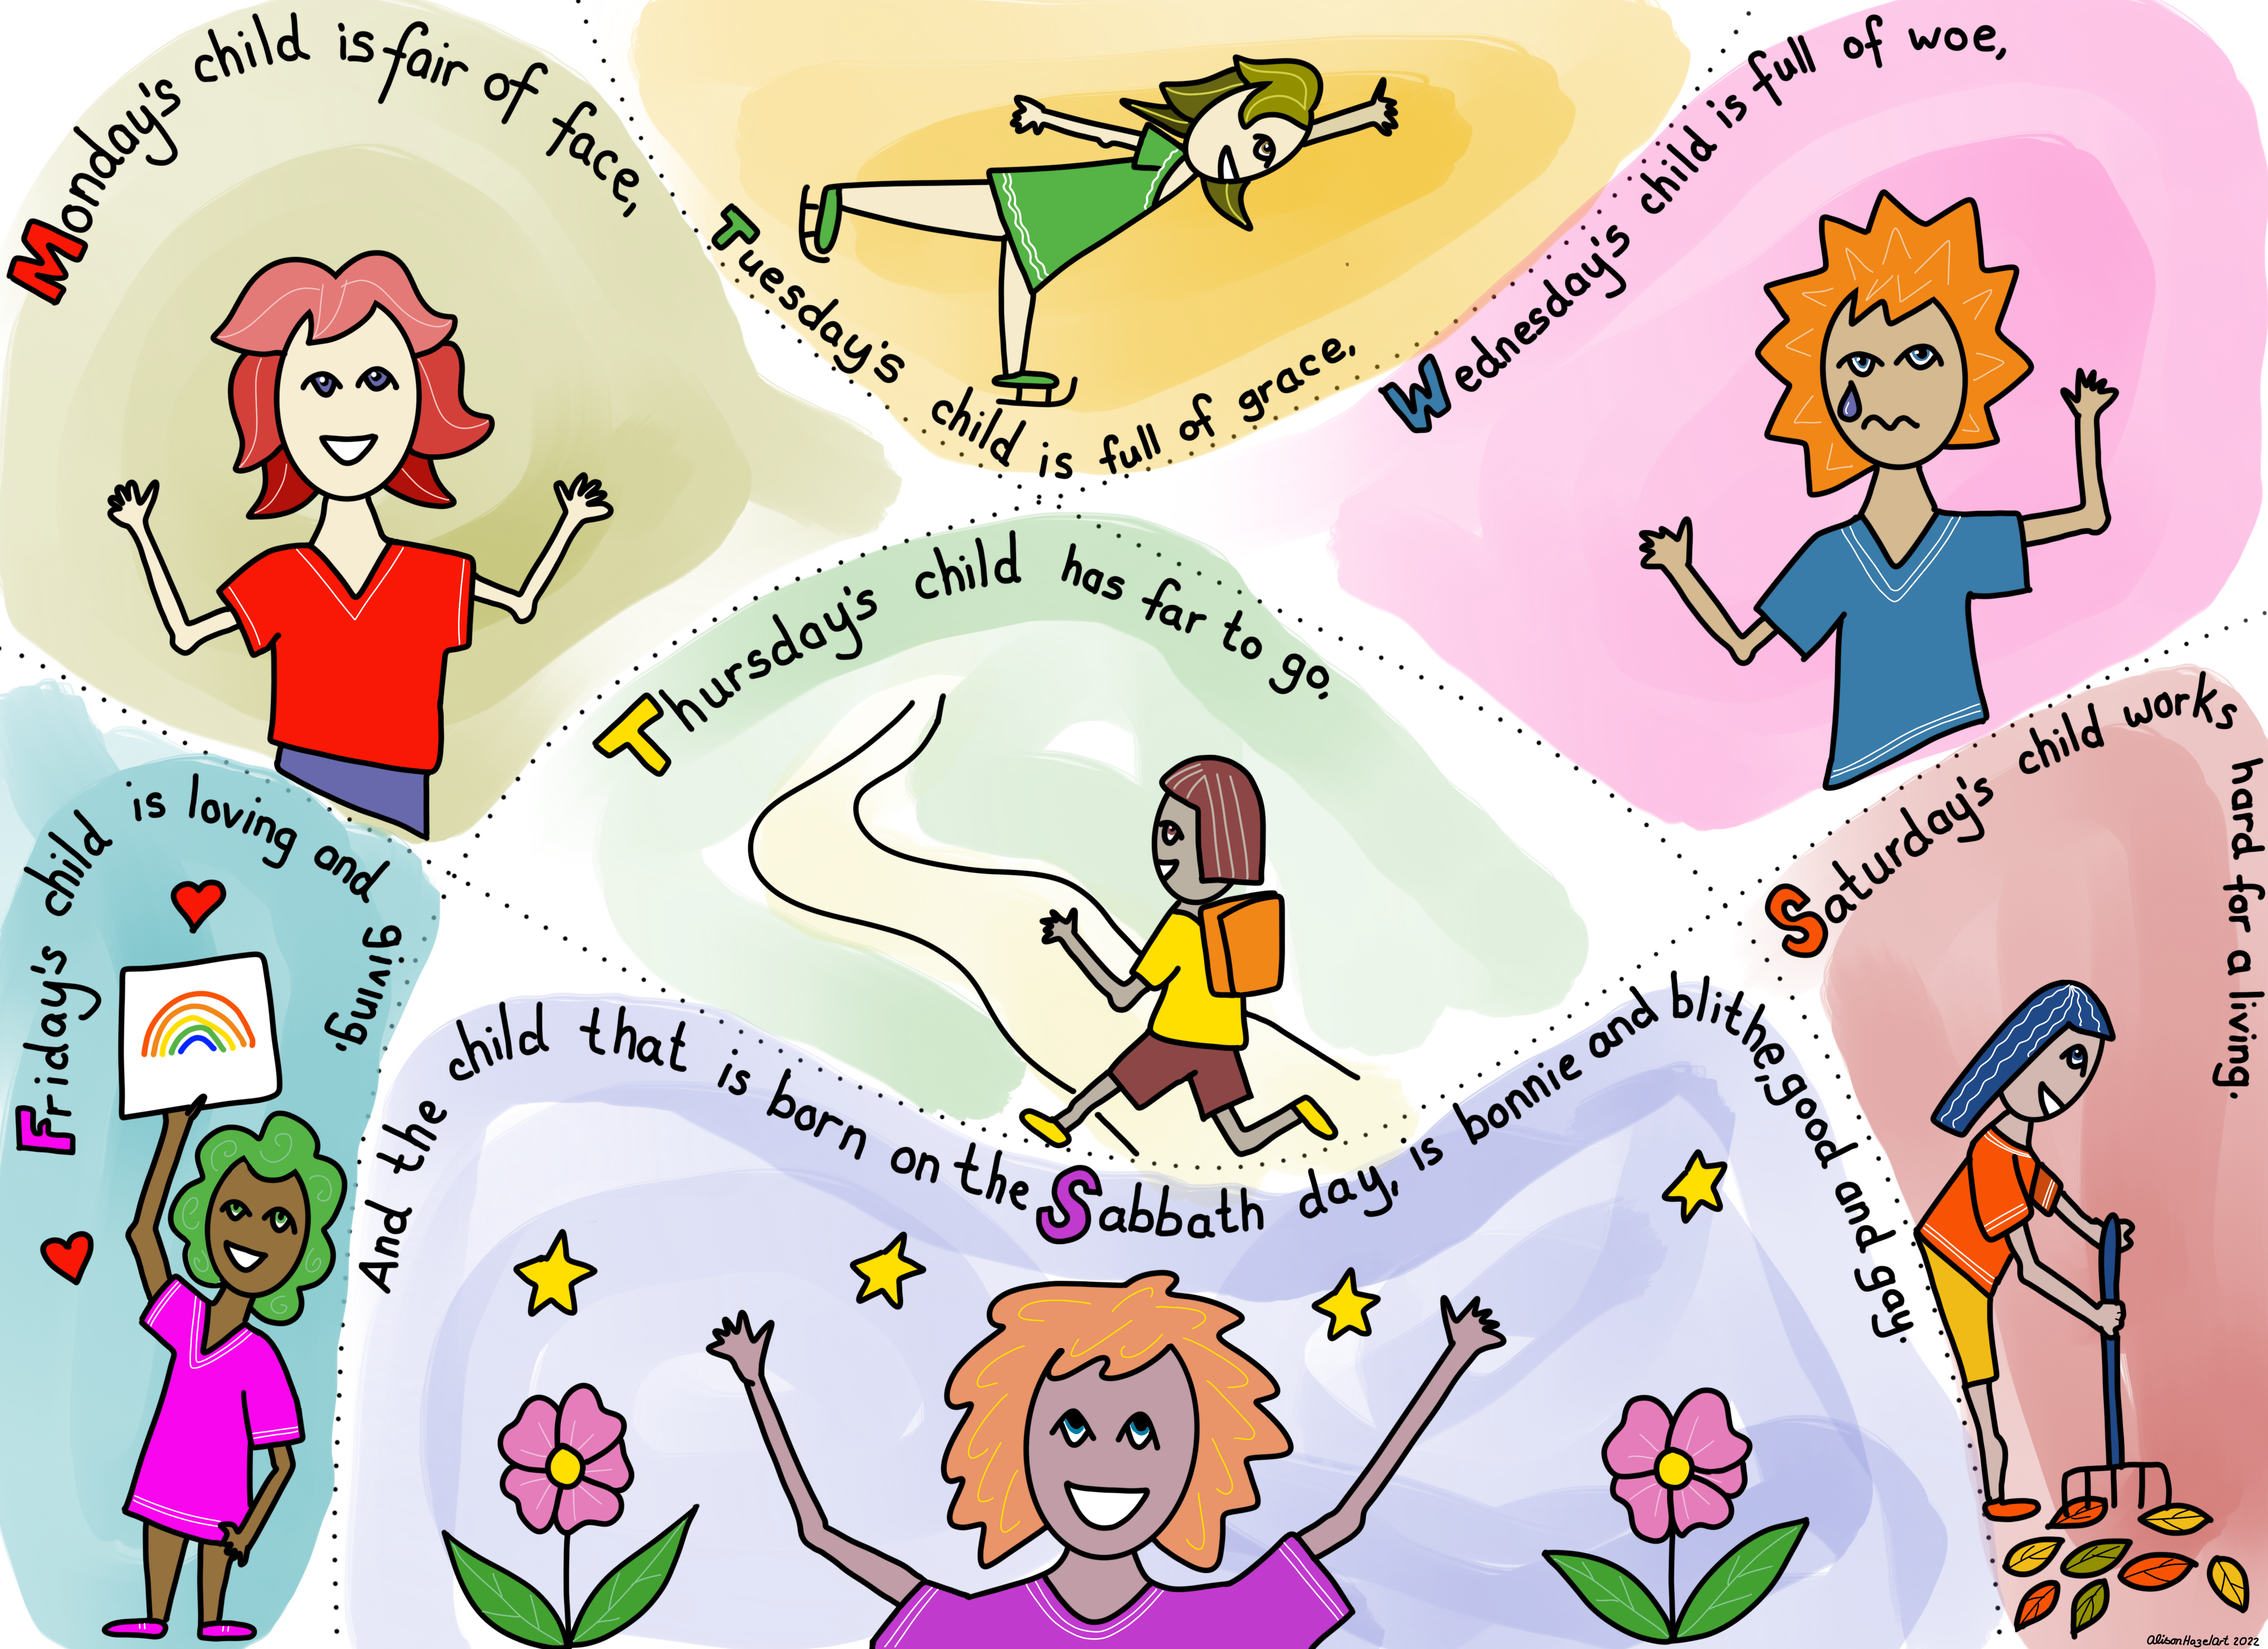
Monday’s child is fair of face,
Tuesday’s child is full of grace,
Wednesday’s child is full of woe,
Thursday’s Child has far to go,
Friday’s Child is loving and giving,
Saturday’s Child worked hard for a living
And the child that is born on the Sabbath day
Is bonnie and blithe and good and gay.
Inspiration
When I was a young girl growing up in the 60s the poem Mondays Child everybody knew it.
We learned it along with all the other nursery rhymes of the day.
They say that things you learn when you are very young you can recall easily when you are older and this is very true.
Seven
I’ve always been fascinated with numbers and the number seven pops up in many areas the first one that comes to mind is the seven colours of the rainbow and of course the one we’re working with her the seven days of the week.
It seems that there are seven days in the week because it they are related the one month cycle of the Moon which is around 28 to 29 days.
Seven Days of the Week
We all know that there are seven days in the week I always understood that Sunday was the first day of the week and I certainly use my calendars in this format.
However, in Monday’s Child poem it starts on a Monday and builds up to the Sabbath which is Sunday.
What Day Were You Born On?
As a kid this poem had everyone scrambling to find out what day they were born on as some days are clearly more fun, or desirable, than others.
I was delighted to discover that I was born on a Tuesday which apparently makes me full of grace.
My father was born on a Saturday and yes, he did work hard for a living all of his life.
Creating the Monday’s Child Digital Artwork
Seven segments
First, I divided the page into seven segments by drawing three lines as follows:
- The first line is from the bottom left up towards the top right.
- The second line is from the bottom right up towards the top left.
- The third line is middle left swooping down and then ending on middle right.
This creates a wobbly triangle in the middle.
I used the same method to divide the page on my neurographic art basics drawing.

Day’s Layout
I decided to layout each day starting from the top left for Monday, Tuesday and Wednesday.
Thursday is in the middle space.
Then going back to the lower left for Friday.
Saturday is on the lower right.
Right at the center bottom is Sunday.

Monday
“Monday’s child is fair of face,”
To be fair of face implies that the child has an open and smiling countenance.
For this drawing I did a happy child waving and smiling.

Tuesday
“Tuesday’s child is full of grace,”
To be full of grace means that you move well have poise and balance.
For this drawing I did an ice skater twirling and looking elegant and graceful.

Wednesday
“Wednesday’s child is full of woe,”
To be full of woe means that you have troubles or cry a lot or have many challenges.
For this drawing, I drew a child having a meltdown, shedding a tear and being a little frustrated.

Thursday
“Thursday’s Child has far to go,”
To have far to go means that you either have a very long journey of life or you have a lot to accomplish this child is likely to keep going all the time. For this drawing I drew a kid with a backpack starting along a path that has a journey going over the mountain.
Here I think the journey is more important than the destination.

Friday
“Friday’s Child is loving and giving,”
To be loving and giving sounds like a perfect child.
It suggests the child gives back more than they receive and probably is grateful for everything they have including their family.
For this drawing I drew a child giving the gift of an artwork to their mother to stick on the fridge.
This child looks like they have the gift of giving which will benefit them throughout their life.

Saturday
“Saturday’s Child works hard for a living,”
To work hard for a living means what it says that a lot of effort is expended to earn the money to live on.
It suggests that this person may be a workaholic but has a great work ethic as well and they probably never take a sick day.
This child looks like they’re going to be busy with lots of activities in their life.
For this drawing I drew a child raking the leaves and working in the garden.

Sunday
“And the child that is born on the Sabbath day is bonnie and blithe, and good and gay.”
To be bonnie means to be attractive.
Being blithe suggests an easy going and somewhat casual indifference to life.
To be good and gay is someone who may be the life and soul of the party.
This child looks like they’re going to be easy-going and welcomed everywhere they go.
For this drawing I drew a happy welcoming and perhaps even stylish person who everybody loves.
Aspiring Artist Activity
The Monday’s Child poem would be a great addition to any child’s nursery.
You could create re-create this drawing on paper and hang it in a frame on the nursery or you could do a digital version as I did.
This would be a great artpiece to do with your children.
- On a plain piece of paper draw three lines that result in a wobbly triangle in the middle and seven segments in all.
- Starting on Monday write the words of the poem in the segment.
- Draw a small artwork or doodle that reflects the meaning of these words as you see them.
- Colour in and embellishments as you see fit.
- Complete the other six days of the week.
- Sign and date your artwork in the lower right-hand corner.
- Frame and hang on the nursery wall.
Share
Share your completed artwork on social with the hashtag #AHAMondaysChild, or send me a copy and I’ll add it to the gallery at the bottom of this post.


Get this Artwork
I decided to put this artwork onto greetings cards and posters and if you’re interested you can get them at Redbubble on this link
Love,
Alison (Tuesday’s Child)
More Articles
If you enjoyed this post see more of our creative adventures on these blog posts.
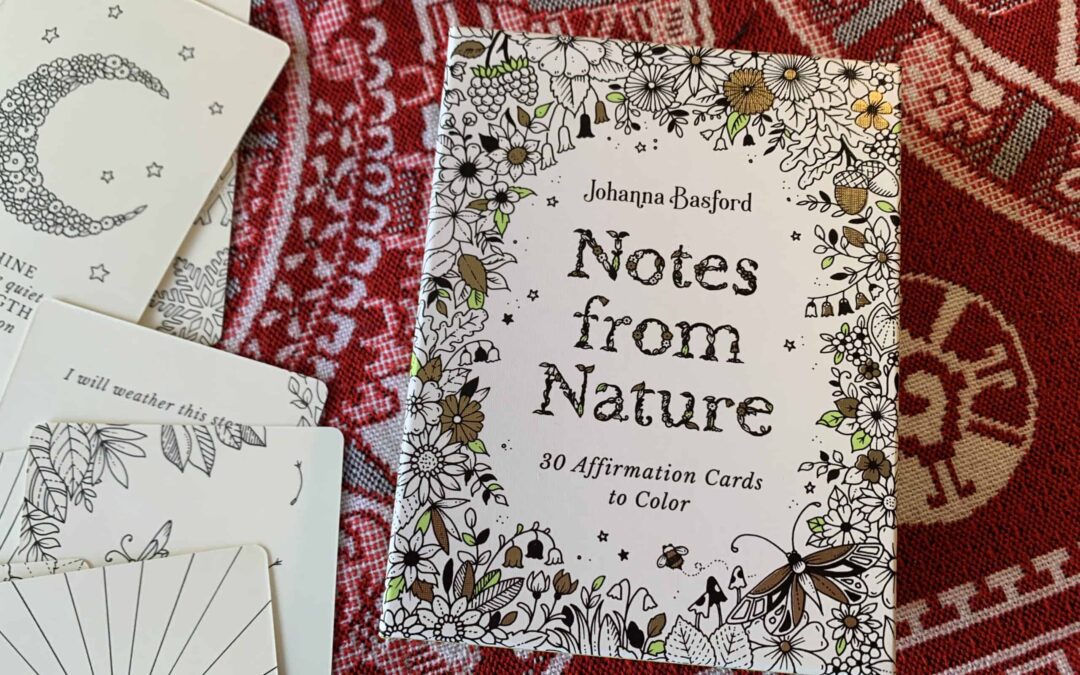
Notes from Nature
As a hobby artist, working with affirmation cards can be a great way to get your daily art practice in without overwhelm.
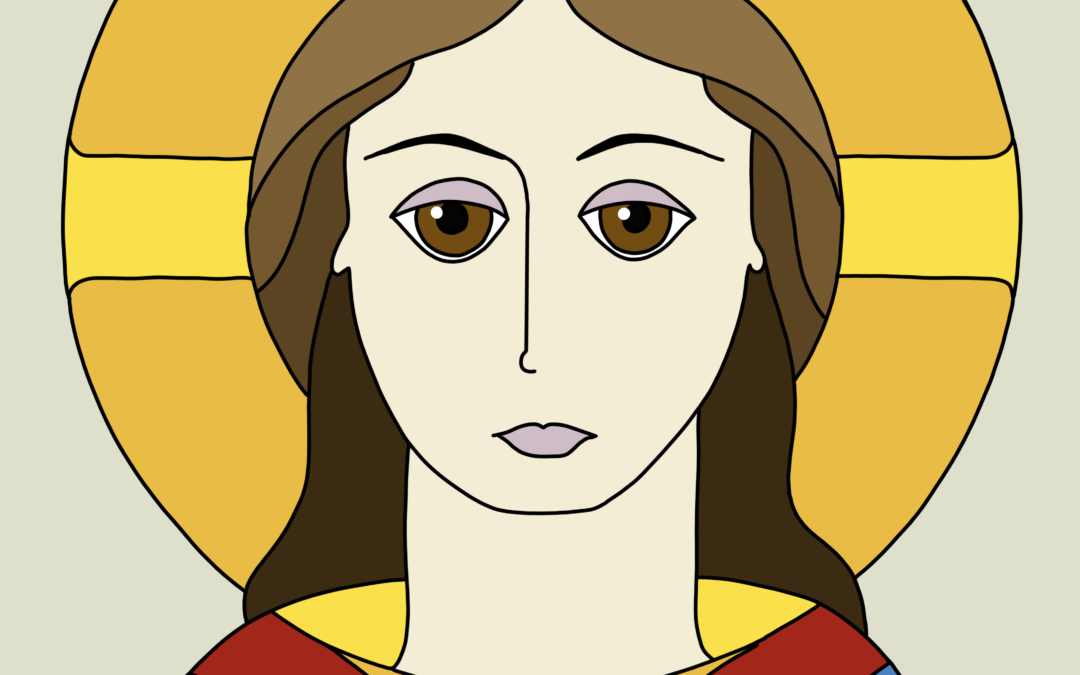
How to Draw the Face of Jesus
Author: Alison Hazel - Published: February 2024 Reference and Acknowledgement Today I'm going to show you how I draw the face of Jesus as an icon. This is not my original idea as I am following along and referencing the work of Mikhail Fadi at UK Coptic Icons and...

The Creation: 7-Day Challenge
Author: Alison Hazel - Published: January 2024 Inspiration I'm trying to do more Christian artwork on this channel. It occured to me just to go back to basics, so I thought I could just do some simple artworks that depict the Creation in Genesis for the very...
Christian Art and Sacred Places
Learn to draw some simple Christian and Sacred Places art, images and symbols to add richness to your life.