No Results Found
The page you requested could not be found. Try refining your search, or use the navigation above to locate the post.

Author: Alison Hazel – Updated: May 2025
As a hobby artist, adding SIGILS is a creative way to begin weaving words and meaning into your artwork without using traditional text.
Sigils are symbolic representations used to focus intention, store meaning or convey secret messages. The word sigil comes from the Latin sigillum, meaning seal. These mystical markings have evolved over time, weaving through ancient magic, religion, art and modern spirituality.
The roots of sigils can be traced back to the earliest human civilizations. Ancient peoples used symbols and marks to represent divine beings, magical forces and protective energies. Throughout earliest civilizations, people created symbolic languages to represent the unseen forces that shaped their world.
Though not called “sigils” at the time, these symbols functioned in similar ways to convey power, protection, identity and spiritual meaning. I’m just going to take a closer look at three influential sources.
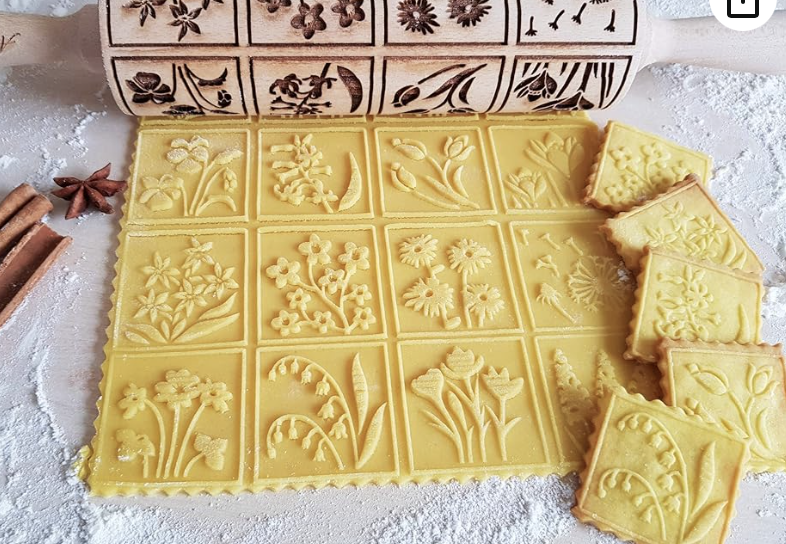
In ancient Mesopotamia (circa 3500 BCE), artisans carved intricate designs into small cylindrical stones. These cylinder seals were then rolled across soft clay to stamp a unique imprint, often used to sign documents or secure goods. These cylinder seals are much like those fancy embossed rolling pins used for shortbread at Christmas to add thistles and other simple designs.
Each seal was personal, symbolic and sometimes featured deities, mythical creatures, or scenes of high ritual significance. They functioned both practically, as legal signatures and magically, believed to invoke divine protection or authority.
The repeated use of these symbols did create a kind of ritualistic magic to embed intention and identity in the daily act of sealing (or baking). These seals are some of the earliest known examples of humans using symbolic designs for both earthly and spiritual purposes.
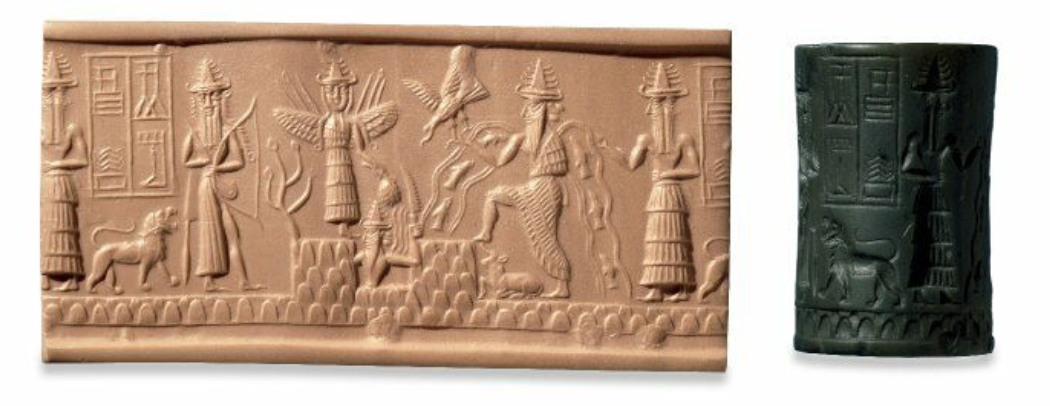
Photo credit: Armstrong Institute of Biblical Archaeology
The ancient Egyptians developed one of the most sophisticated symbolic languages in history which are the hieroglyphs. Hieroglyphs were used from around 3100 BCE and each hieroglyphic character held multiple layers of meaning: literal (a sound or word), symbolic (a concept) and spiritual (an energy or deity). These symbols were often used in tombs, temples and amulets to invoke blessings, guidance, or protection in the afterlife and they were encased in cartouches for people’s names.
See Cleopatra’s cartouche below.
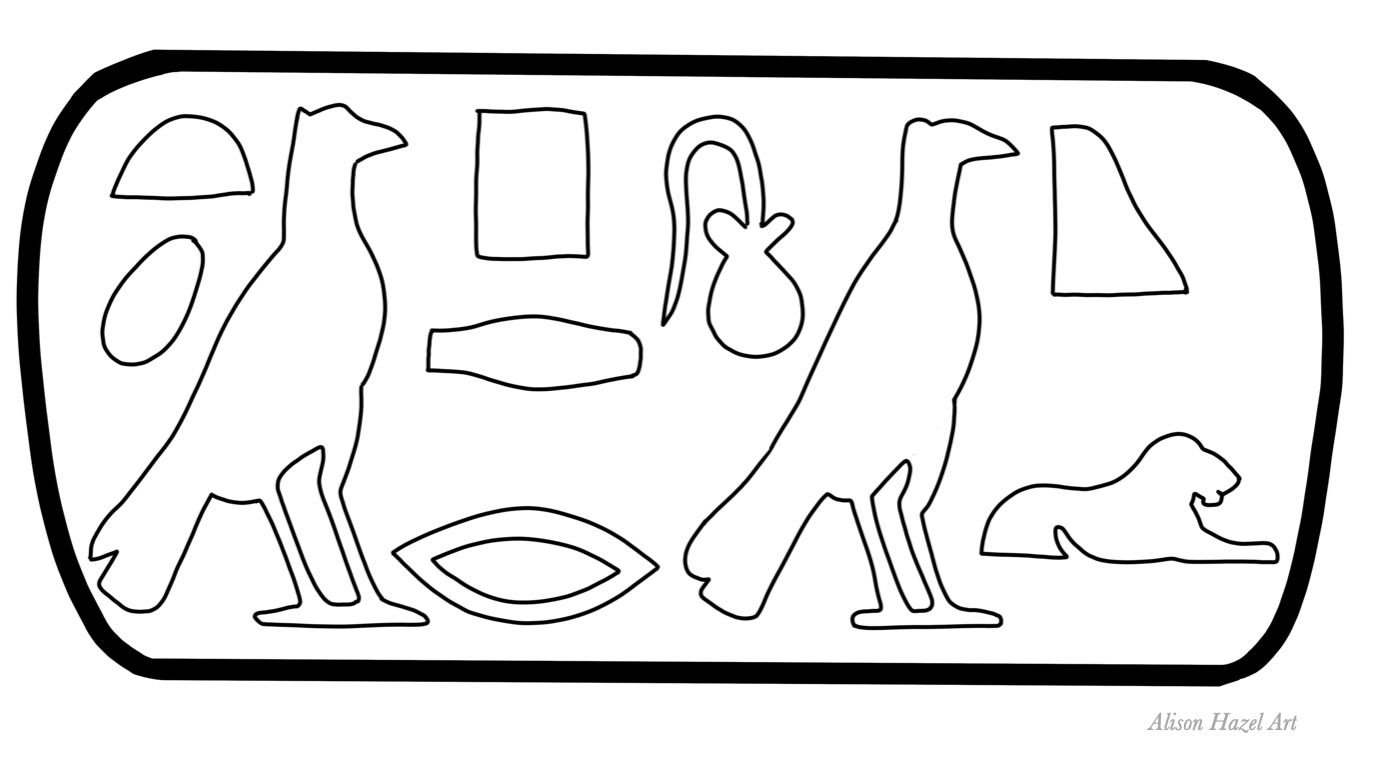
Hieroglyphs weren’t just writing as they were seen as living symbols, infused with the creative power of the gods, particularly Thoth, the god of writing and magic. Certain hieroglyphic combinations were crafted as protective spells or powerful names, acting much like modern sigils in their intent and energy.
The runic alphabet used by Germanic and Norse peoples from around 150 CE consisted of characters called runes, each representing both a sound and a spiritual concept. Runes were carved into wood, stone, bone and metal for use in divination, magical protection and sacred communication. Each rune was more than just a letter.
For example, Fehu (ᚠ) stood for “wealth” but also symbolized abundance, success and fertility.
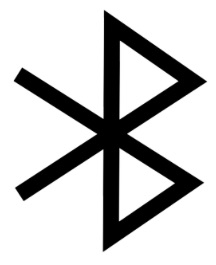
A rune you probably know is the one for Bluetooth which began as a code name for the actual software but the name stuck.
Runes were often arranged into bindrunes which are two or more runes combined into a single symbol, much like modern sigils, to concentrate and amplify their power. Runes were used in rituals, worn as amulets and etched onto weapons or tools, imbuing everyday life with mystical significance and divine intention.
Though these ancient systems that I’m mentioning emerged in different cultures and continents, they share a deep, intuitive understanding with three highlights:
These early symbolic languages laid the foundation for sigil-making as we know it today. Sigils is a way to transform ordinary letters or images into sacred signs which carry energy, will and wonder. These early symbols were often used in ceremonies, rituals and written charms to invoke protection, prosperity or guidance.
In the Middle Ages, sigils took on a more formal role in some Western occult traditions. They were sometimes used by magicians and alchemists to represent angels, demons, or spiritual entities. Grimoires (magical textbooks), like the Lesser Key of Solomon, included elaborate sigils to summon and control spirits used sigils. Herbalists and astrologers use sigils to encode rituals, names of power and cosmic forces. These sigils were often believed to shrink divine or magical energy into a visible form.
In the 20th century, sigils were revived and reimagined by modern occultists especially in the movement known as Chaos Magic. Pioneered by practitioners like Austin Osman Spare, this new approach simplified sigil creation. Spare taught that a sigil could be made by writing a statement of intent (like “I am confident”).
Another way is to remove the vowels and repeating letters, so Johanna becomes JHN and Alison becomes LSN.
Additionally, you can rearrange the remaining letters into an abstract design. At this point you can see the reflection in many business logos as well. This design (the sigil) was then charged with energy through meditation, ritual, or focused visualization and left to work on the subconscious mind. This method focused on personal intention and creative expression.
Today, sigils are experiencing a renaissance but not just in magical practices but also in art, design, tattoo culture and personal growth.
People create sigils to:
I like to use techniques like sigil maps to blend order (like the alphabet) with creativity and perhaps spiritual meaning.
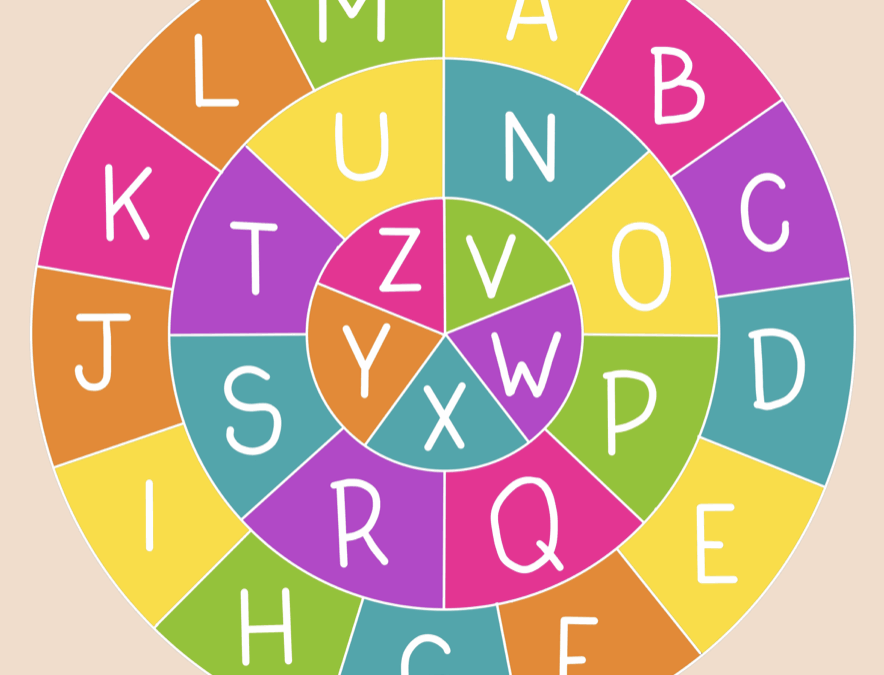
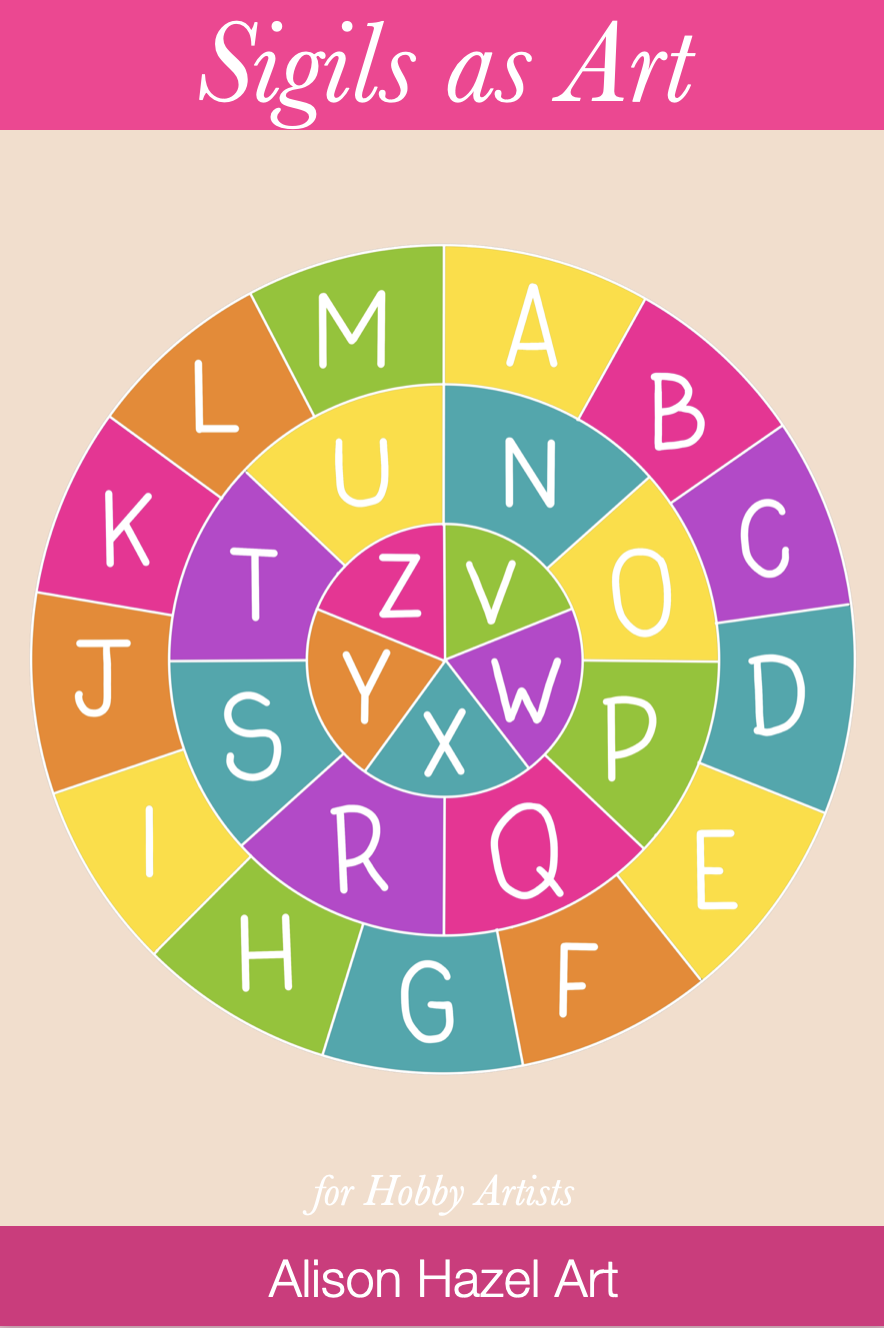
A sigil map is a creative tool that transforms words into unique symbols by mapping letters onto a series of circles. It’s a simple yet magical system like a visual code where each letter of the alphabet has its own place, allowing you to draw a sigil (a symbolic design) that represents a word or phrase.
To start, draw three concentric circles, one inside the other, like a ripple in a pond.
These numbers 13, 8 and 5 are part of the Fibonacci sequence which I’ve spoken about before and is a pattern found throughout nature, from flower petals to pinecones. Using this natural sequence brings an organic and natural harmony component to your sigils.
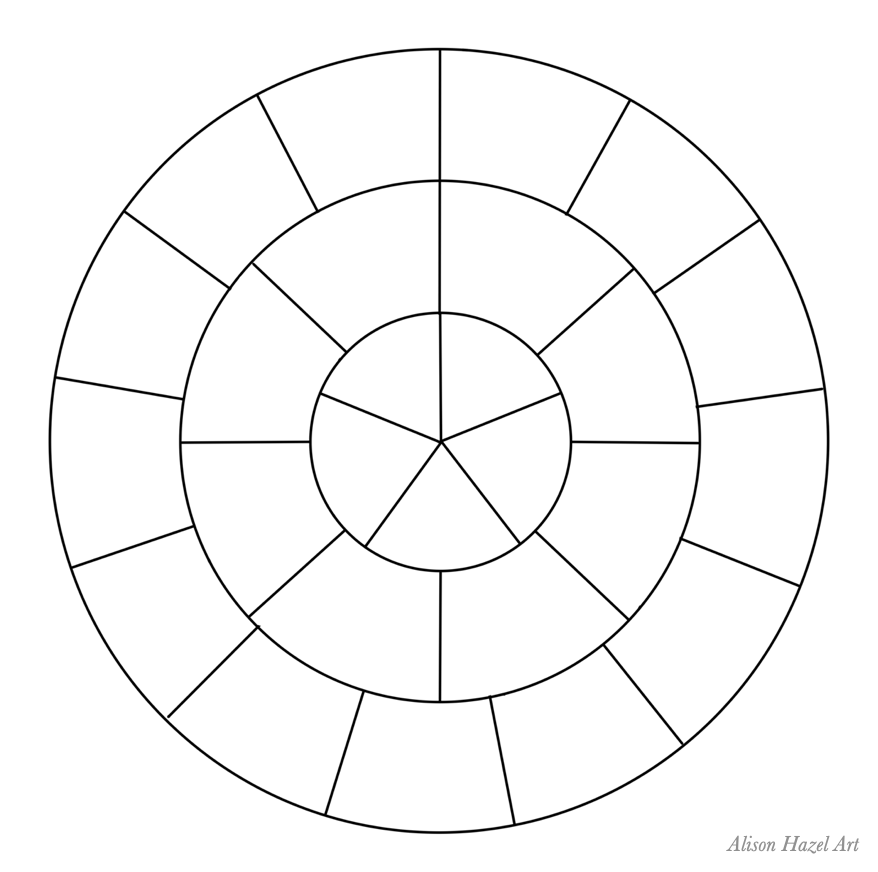
Now, assign the 26 letters of the English alphabet to these segments:
Each letter now has a unique place on the map. You can check your diagram against my sigil map.
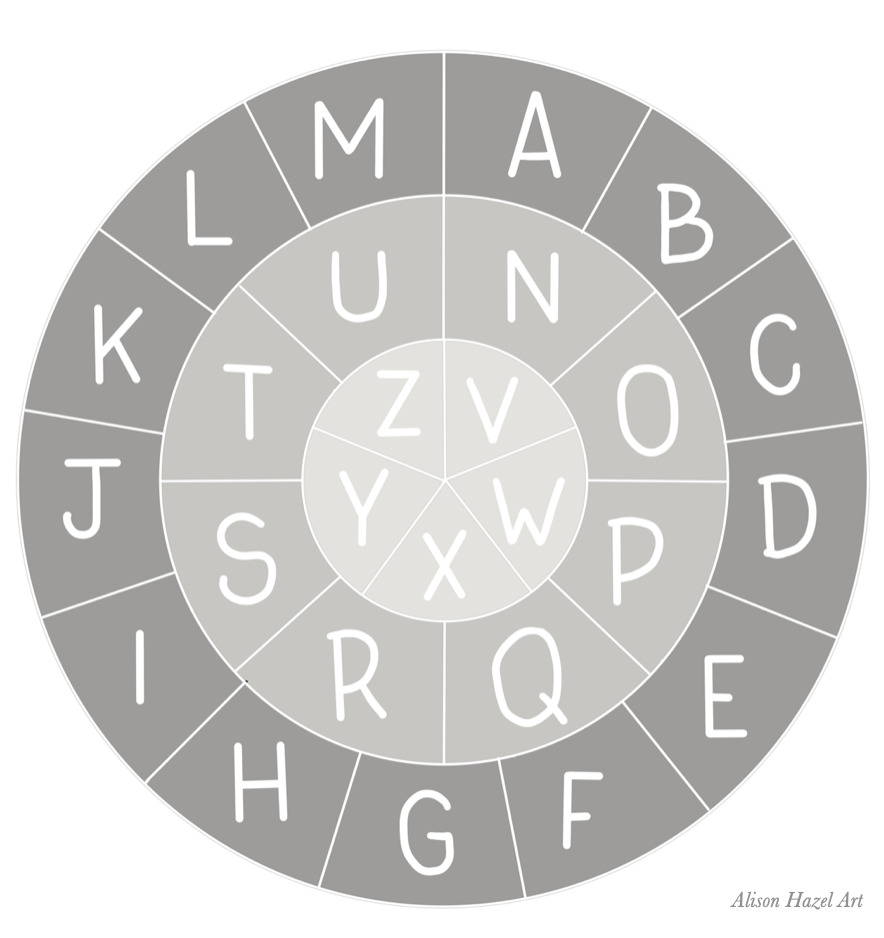
To create a sigil from a word:
You can keep it simple with lines, or add curves, dots, or embellishments for a more artistic touch.
Sigils are powerful additions to spiritual or meditative rituals. They can help you focus your intention and anchor your energy. In intention work, a sigil can be drawn on paper, carved into a candle, or written with herbs or water as part of a ritual. In meditation, you can gaze at the sigil to quiet your buzzing mind and tune in to the frequency of your intention. You might burn, bury, or release the sigil after the ritual by symbolically letting go and trusting the universe to carry your message.
Because sigils are abstract, they make excellent secret symbols. Maybe you can weave them into your life in subtle ways that others won’t recognize. Leave a sigil in a letter, a notebook margin, or even on a wall as you mark. Perhaps you could stitch one into your favorite clothing or write it in invisible ink. Possibly you can use sigils to encode affirmations, memories, or even your computer passwords in visual form. This is a beautiful way to embed meaning into the mundane, turning everyday life into a personal ritual.
In general, you would do a one-word sigil perhaps of your name. So, here I’m showing you what my name, Alison, looks like as a sigil using this particular sigil map.
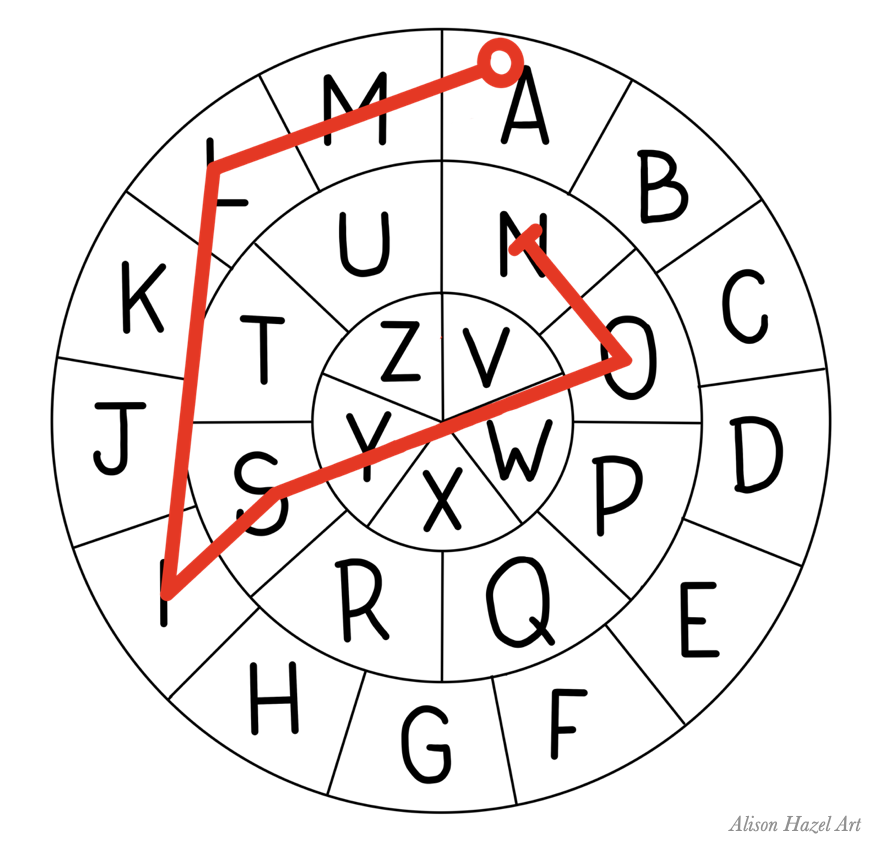
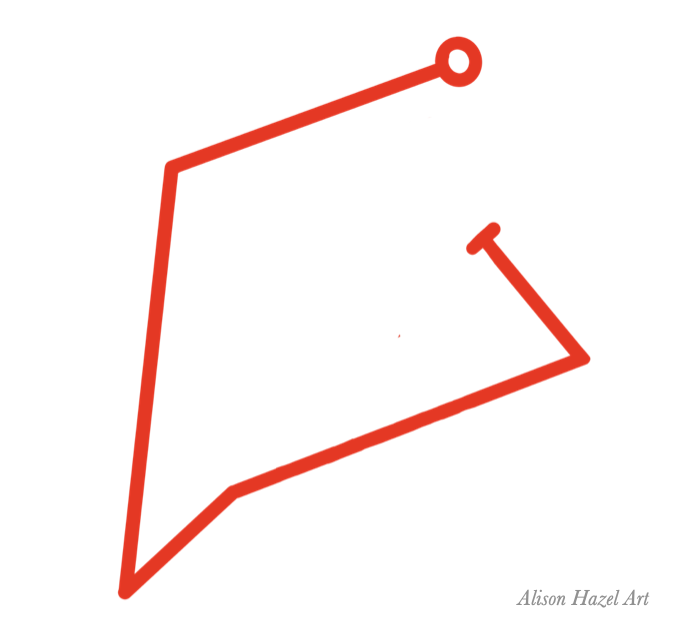
You could do a motto or motivational phrase as a sigil. Sayings like, “no pain, no gain” or “fortune favors the brave” make good phrase when sigils. If you have a family or company motto you can do a sigil for that as well.
How about trying a phrase like, “I love you” which will look like this?
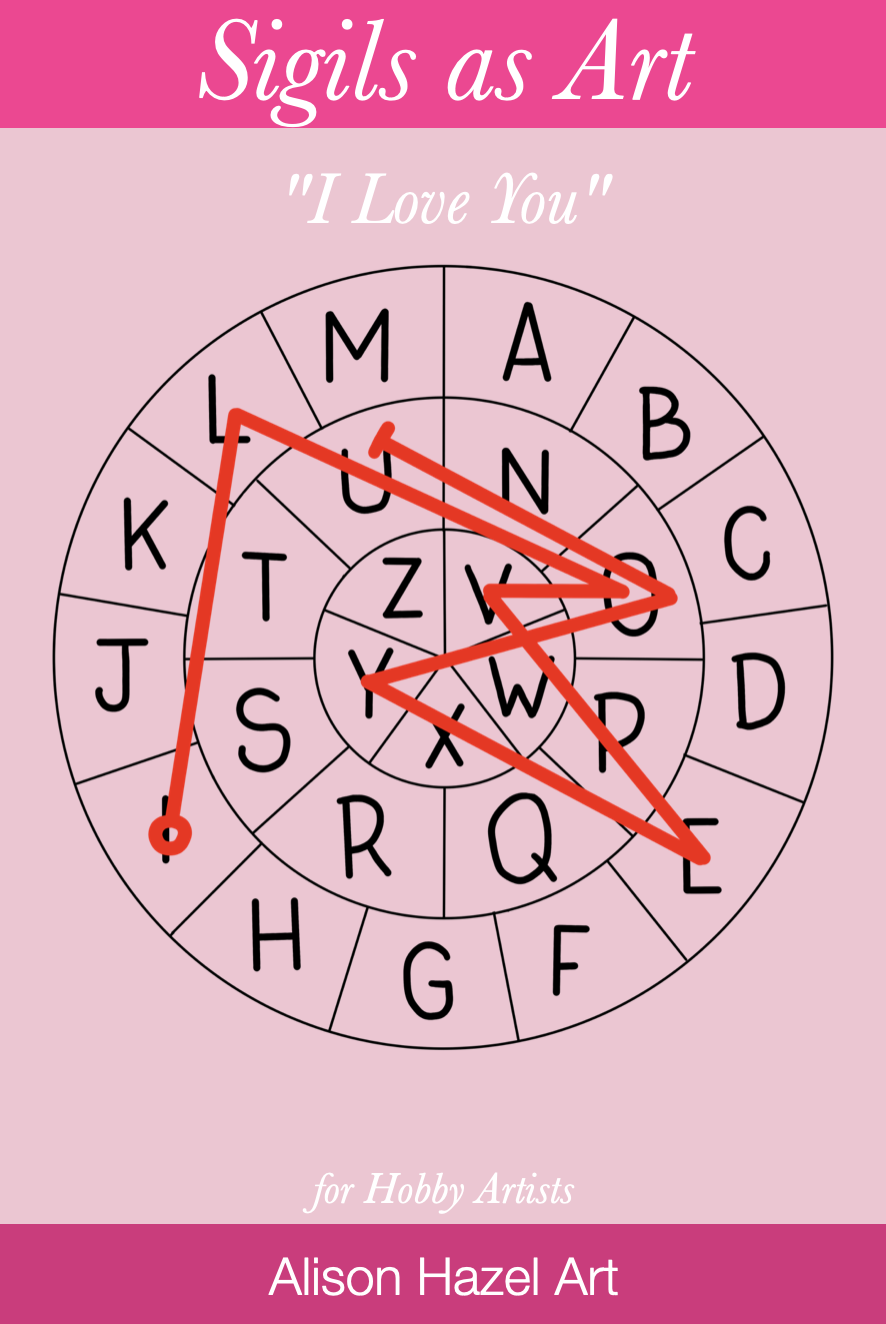
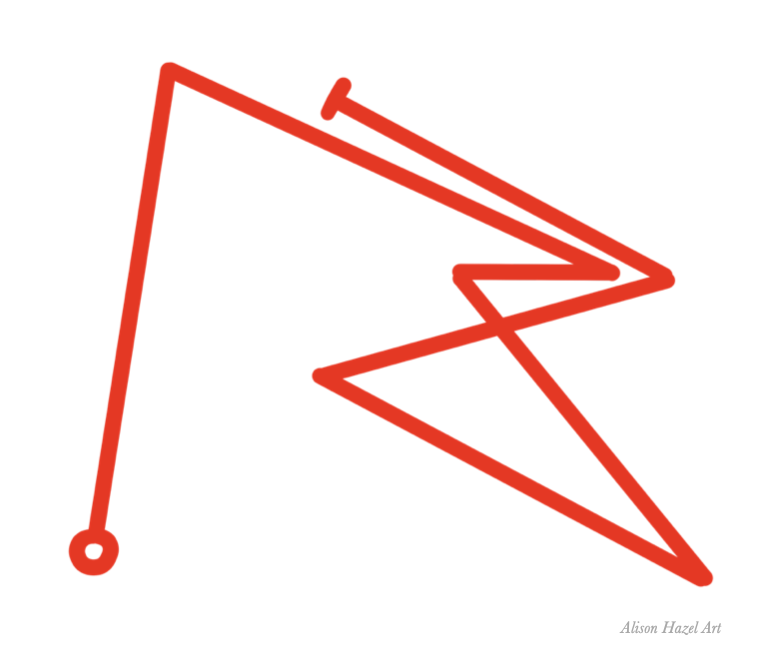
Sigils are not just abstract symbols, but rather they are tools of intention, creative expression, and personal power. Once you’ve created a sigil, you can place it in meaningful spaces to amplify its purpose or keep it close as a quiet reminder of your inner magic. Here are some inspired ways to use your sigils:
A sigil tattoo can easily serve you as a permanent affirmation, a protective charm, or a hidden mantra that lives on your skin. Because sigils are abstract, only you (or those whom you choose) may know what they mean. You might ink a sigil tattoo for strength, self-love, healing, or a deeply personal word that’s transformed into art. Placing the sigil on a meaningful part of your body can enhance its symbolic value over the heart, the wrist, the spine, or anywhere that feels significant.
Instead of signing your name in the usual way, you can use a sigil as your artistic monogram. This creates a unique identity for yourself and adds a layer of mystique to your work. It allows your energy or message to be embedded in your creations without revealing everything to the viewer. Whether on canvas, digital art, sculpture, or craftwork, a sigil-signature makes your work feel more intentional and sacred.
Use your sigils to decorate or mark your journal pages, sketchbooks, or planners. You can draw a sigil at the top of a page to set an intention for the day. Perhaps add one to an art journal entry to seal your thoughts, like an energetic lock. Include sigils in your vision boards or creative brainstorms to direct the energy you want to silently call in. This quiet, consistent practice adds can offer depth to your self-reflection and creative life.
Sigils have been, and are still, kept alive across the centuries is likely their powerful combination of meaning and mystery. They allow us to hide something precious in plain sight like a word, a wish, a truth and turn it into something beautiful and uniquely ours. Perhaps you can bring a sigil into your art practice. Let me know how you get on.
Save this pin to read later.
Alison Hazel is a hobby artist and she shares her ongoing journey about becoming an artist later in life. She creates simple art that anyone can make. She hopes to inspire you to reach your creative potential in the area that suits you.
The page you requested could not be found. Try refining your search, or use the navigation above to locate the post.
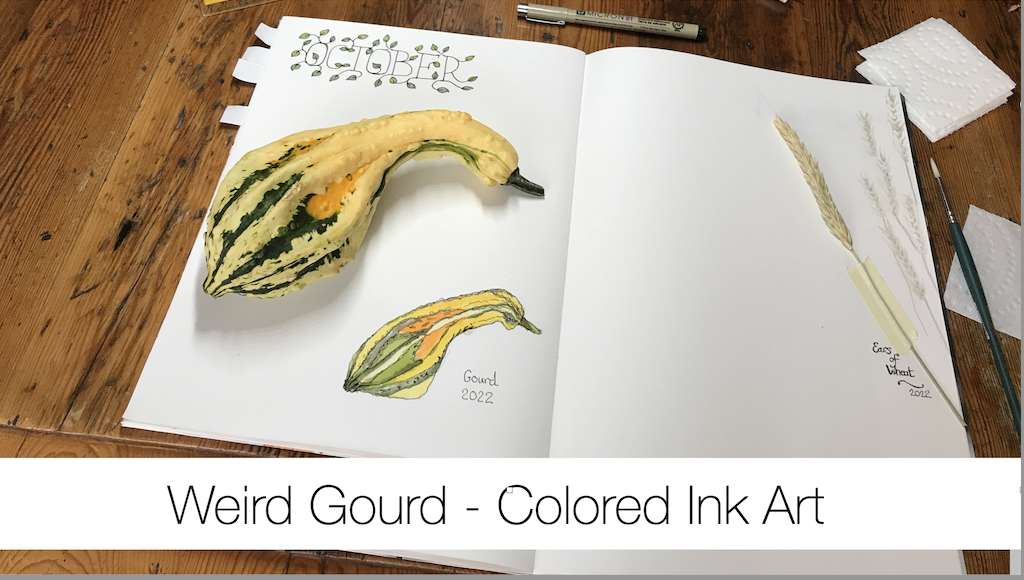
Join me as I sketch, draw and paint a weird autumn themed knobby gourd using colored ink as a hobby artist.
The page you requested could not be found. Try refining your search, or use the navigation above to locate the post.
Author: Alison Hazel – Updated: May 2025
Recently I have been talking about our writing retreat for artists which we organized this summer.
If you haven’t been following along, you can go back and read:
In this article, I’m sharing my favorite tips on what to pack in your pencil bag, yes, the writing tools you’ll actually use, plus a few thoughtful extras to bring along for any kind of retreat, whether it’s for writing, art, or a mix of both. But I’ve got more to share (because let’s be real, packing for a creative getaway means bringing more than just pens and notebooks).
I cover everything from what kind of luggage works best, why having a handy city bag is a total game-changer, and what to tuck inside it. I’ve also included comfy yet creative outfit ideas that can take you from daytime doodling to evening journaling, including jewelry, makeup and the toiletry bits you’ll be glad you didn’t forget. Plus, I’ve added a few thoughts on tech and must-have accessories to keep your creativity flowing no matter where you are.

A writing retreat happens when you go away for a weekend of two to three nights, or three to four days to clear your mind and do some writing. It could either be a weekend, mid-week, or a shoulder-week where you’re partly in the weekend and partly in the main week, it doesn’t really matter.
This summer with my friend, I’m planning a two-night three-day writing retreat for artists. I’m going to share with you the best things to take and what to pack without overloading you bags and hauling unused or unwanted stuff around. I will have more to say about our actual retreat experience later.
You’ll need clothes for three days. You’ll be travelling up on the first day and travelling back on the third day, so you really want travel clothes for those two travel days.
On arrival day, you’ll want to wear your comfortable clothes and these you can also wear on your departure day on the way home.
Once I’ve arrived at my destination, I’m happy to remain in my travel clothes for the bulk of the day, through lunch and into the afternoon. But in the evening, I do like to change into something better. On our particular weekend away, we are having dinner in the restaurant, so I want to have a nice top to wear, even though the pants were kept simple.
The middle day when you’re at the hotel is more flexible. In the morning and afternoon, you can wear your casual middle day outfit. Then you could just swap out the top for dinner, add some extra jewelry. Your pashmina and you’re ready to go.
If your weekend away is more rustic or in the woods and you don’t feel like putting on clean clothes just for dinner then of course you don’t have to, but I like to. So that’s why I like to take an extra top for the two evening dinners. Typically photographs will be taken in the evenings, so it’s nice to look your best. If you don’t mind being snapped in the same outfit for the whole weekend, that’s fine.
In this social media age, it tends to be the case that pictures will be taken. I don’t like getting caught in the same top or, I don’t like getting caught in the same clothes, so particularly it’s the tops you need to change. The bottoms don’t really matter as much.
On departure day, you’re going to wear the clothes you wore up on travel arrival day. This keeps things simple.

When I went to Europe a few years ago, I had a monster suitcase full of stuff. I was only going for a week and yet for some reason I thought I needed mountains of clothes, shoes and who knows what was in my suitcase. When I checked in at my home airport at Vancouver, I was already overweight and had to pay a fee before I’d even started.
Finally, I arrived in London and I had to catch a coach up to Oxford. My suitcase was so heavy the guy couldn’t lift into the hold of the coach and he turned to me and said rather loudly, “Have you got a body in here, madam?”
My journey continued, I dragged the suitcase to my hotel. The day I arrived the elevator wasn’t working and I was on the 4th floor so I had to pay the bellhop to carry this suitcase up the stairs. It was so heavy they needed two of them. Anyway, I pushed on.
I bought souvenirs, knickknacks, gifts for my kids, some books, who knows what. To take home with me. In the end, I had so much stuff that I had to actually buy a second monster suitcase to stuff in all the stuff that I had purchased whilst I was in England. Back at Heathrow for my flight home and of course, I was overweight but this time on both suitcases and had to pay another set of fees.
I finally got home after dragging tons of junk around the world, and half of it I never even used. I made a pact with myself that I would never ever check a bag again. What this really meant is that I only ever take cabin sized bag wherever I go.
That was back in 2013, over twelve years ago. Every time I’ve traveled since then, I have only ever taken the small cabin sized suitcase which you can put in an aircraft cabin above your head.
My packing policy now is that if it doesn’t fit in my little suitcase, it doesn’t go. The cabin bag I have is the Rimowa and this one is similar. I’m not sure of the exact dimensions, but it actually fits in an aircraft cabin above the seats. It’s a hard shell in a dark ruby red and I’ve had it probably since 2014 and it’s still going strong.
Now people say to me, “Is that all you’re bringing?” and I say, “Yes” because I can travel with my little suitcase whizzing around cities, on buses, on trains and on planes. It’s so small it just can never be that heavy. If you pack less, you may discover that it is liberating to haul less and use a smaller suitcase.

Choose elasticated trousers, pants or joggers which are not too tight. You’ll be sitting in the car for nearly two hours, and you want to be in something comfortable. Currently, I enjoy traveling in these joggers as they are light and comfortable. I have them in both black and khaki and I like to travel in the olive green / khaki ones because they really don’t show the dirt.
I like to wear layers when I’m traveling. On the top this means a bra, a camisole and a T-shirt and additionally, perhaps a soft hoodie. I have this Hanes hoodie. If things get too hot in the car you could take off the outer layer and if things get cooler, you can put a layer back on. Even if you are traveling in the summer, you never know if the vehicle is going to breakdown and you have to stand at the side of the road for three hours as it gets dark and rains.
I once went away for a week to Europe, and I took seven pairs of shoes. For that whole week of travel, I only ever wore my trainers. The other shoes lay in the suitcase, never to be used, but I had to haul them in my massive heavy suitcase all around in taxis, on planes, on trains and buses. It was exhausting. After that trip, I decided to cut my footwear right down.
The best shoes to travel in are your trainers which are comfortable. In general, I prefer Nike sneakers for travel. Make sure the laces are not done up too tight or get slip ons. You can wear these on day one travelling up and definitely for on day three traveling back home. Your trainers do not go in your suitcase, you wear them.
If you are staying in a hotel, you really don’t want to be walking barefoot, in your room, in the shower, in the corridors or around the pool. One way to overcome this is to have flip flops to go to the pool and in the public areas within the hotel and then you can have some soft slippers to wear in your bedroom. I find that the solution to this problem is to have some neutral-colored furry slippers that look like slides which you can wear in your room, in the hotel or by the pool. Maybe not in the shower but then I stand on a towel that does not cover the drain.
You will probably need sandals or strappy pair of shoes to wear on one of the middle days. Personally, I like a flat sandal which is strapped to my foot. So, not flip flops or slides, but a pair of sandals that is secured to my foot. I like to choose my sandals in a neutral colour like beige, tan or olive which will co-ordinate with my whole outfit’s colorway. I like sandals which coordinate with my city tote bag too.
You will need three pairs of socks, one for each day. Personally, I prefer a low-cut white sock which fits neatly into my sneakers and are comfortable. I usually take white socks only when traveling. If you have room in your travel bag, then take an extra pair of socks. Socks can be worn in your room if you don’t have flip flops or slippers.
It depends how many middle days you have. On our two-night getaway we had one middle day which was, well, the middle day. The middle day (or days) is when you want you to wear something appropriate and comfortable. Here I’m offering you three options for your middle day, depending on the type of retreat you’re going on.
This is my favorite look for middle days, white T-shirt and some casual loose pants. The white T-shirt must be white and you don’t want something that’s three years old and been lying in the bottom of the dog basket. If you can’t get your white T-shirts white, then wear a coloured one.
I like to keep my T-shirts plain and simple and so I avoid logos where I can. Wear a skin tone bra underneath your white tee so it doesn’t show. For the loose pants, these could either be palazzo, a cotton pant, a cargo pant or some loose jeans.
The second option is the same white T-shirt, but now we’ve got the addition of a wrap skirt. A wrap skirt is usually made of light fabric, so it has drape and is easy to wear. They are usually thin and do not take up much room in your suitcase. Your wrap skirt could either be in a darker colour or highly patterned so it can double up as your sarong when you go to the pool. There are many styles, but I have this neat skirt and it has shorts underneath with a pocket for your phone.
My third option for you is a dress. For many women, a dress is a great choice as it can be in any colour or pattern, it can be a mini or midi, and whatever length you’re comfortable in. If I do decide to take a dress, I prefer to have one that’s got pockets in it. Additionally, I like my dress to coordinate with my hoodie from earlier and my pashmina.

A pashmina, or light wrap, is a great item for travellers. You can also take it with you in your city bag on the car journey both back and forth. It doubles up as a wrap for the evening. Your pashmina can be flexible enough that you can also use it as a sarong when you go to the pool if you don’t want to bring a separate sarong along.
I like to use what I call a city bag when I’m traveling. This is a large bag and it can be a tote bag which is big enough to contain your laptop and iPad and all your travel documents. Personally, I like a structured city bag which is open at the top and one that maybe has a couple of zip pockets for the smaller things. A city bag is easy to put over your shoulder. Your city bag will also stand on the top of your suitcase, hooked over the main luggage handle.
When you leave home, your city bag does not contain your laptop and iPad, all your tech that’s in your suitcase. It will have your travel documents, make up, cash and wallet and maybe you can tuck your pashmina in there as well.
Once you are at your destination, and you are doing your writing as we will be doing in the coffee shop, your city bag is where you put your laptop, cables, iPad, your journals and pencil case. Suddenly your city bag gets heavy, but as you are just hauling it around the hotel, going to the coffee shop, going to the writing room and going to the business center it’s okay.
Make sure you do not travel in the car with all the weight in the city bag from the start. Only load in the bulk of your tech and books when you are at your destination. An option to a city bag is a tote, but I find totes quite floppy and irritating to use in general.

Note: If you don’t wear makeup, you can skip this section.
In my makeup bag I have a few essentials:
If you don’t straighten your hair, skip this bit. If I let my hair air dry, I then call it my thatched roof look. As someone who has slightly frizzy hair, I do find a flat iron can help, but I don’t want to take my monster size industrial strength from home because it’s just too big and clunky. I choose to take my mini travel hair straightener which is about five inches long. It is lightweight, but gets the job done.
You have three options:
A basic hairbrush for blow drying your hair. Hint: Wrap 5cm (3″) strips of black electrical tape around the hairbrush handle. Use the tape to cover the peep hole on the inside of your hotel door and if your shoes rub your heels, use this tape on your skin instead of a Band-Aid.
A comb if you use one.
I carry a micro first aid kit because I may require something when I’m out and about. Pack any prescribed medications that you are taking, but you don’t need to take the whole bottle. What you do need to do is take enough for your trip.
My first aid checklist looks like this:

If you are someone who never wears jewelry as a matter of course, then you can skip over this section. Let’s be quite clear what I’m talking about when I say jewelry and travel. I’m not talking about your finest gold chains, diamond rings or heirloom strings of pearls from granny — you can leave those precious baubles at home. What I am talking about is some lovely costume jewelry that will elevate your outfits and show your personality when you travel.
Costume jewelry can be very tricky to collect.
There is a fine line between cheap and nasty junk jewelry and artisan handcrafted, responsibly sourced natural jewelry pieces.
Here are some tips on what to look for and how to choose costume jewelry.
Personally, I like to wear simple fine gold hoops as earrings. However, I will take an optional pair of big jazzy earrings that I could wear on one of the evenings. I usually purchase my evening earrings at Walmart, as it doesn’t matter if they get lost.
Necklaces will finish off your look even when you’re traveling. For a three-day trip, I would probably take two or three necklaces and all of them are costume jewelry. To make things easier, I like to have necklaces that coordinate with my whole travel wardrobe colour palette which is mainly neutrals and earth tones.
Typically, and mainly for the evenings, I will take two, what I call statement pieces, which are larger chunky jewelry pieceswith perhaps bigger and brighter beads or crystals or they have something fabulous dangling off them. During the day I’m likely to wear a light beaded necklace that fits the season and where I am. I have a couple of necklaces which I picked up at Walmart over five years ago for $9 that I’m still wearing because they still look good.
One or two bangles and bracelets can add interest to your look. Typically, I will take an elasticated beaded stone or crystal bracelet, or a wooden bangle or two, so I can pick and choose how to coordinate everything once I’m there.
Of course, you would never swim in your fine jewelry, nobody does. You would not get into a chlorinated pool wearing a string of pearls or some fabulous gold chain which you received from your great aunt. But when you are swimming or lounging by a pool, you’re not really wearing very many clothes and this is the time when accessories can add to your look.
When I’m reclining by the pool, I will wear earrings and a necklace. I may or may not wear a bangle. These pieces are all costume jewelry and often have wooden beads which are not valuable whatsoever.
I’ll let you into a secret, I’m also a crocheter, and I have crocheted several necklaces. specifically, to wear at the poolside and in the water. Here’s a photo of me in Mexico last year wearing a handcrafted crocheted necklace, admittedly at dinner, but I still wore it in the pool earlier in the day.
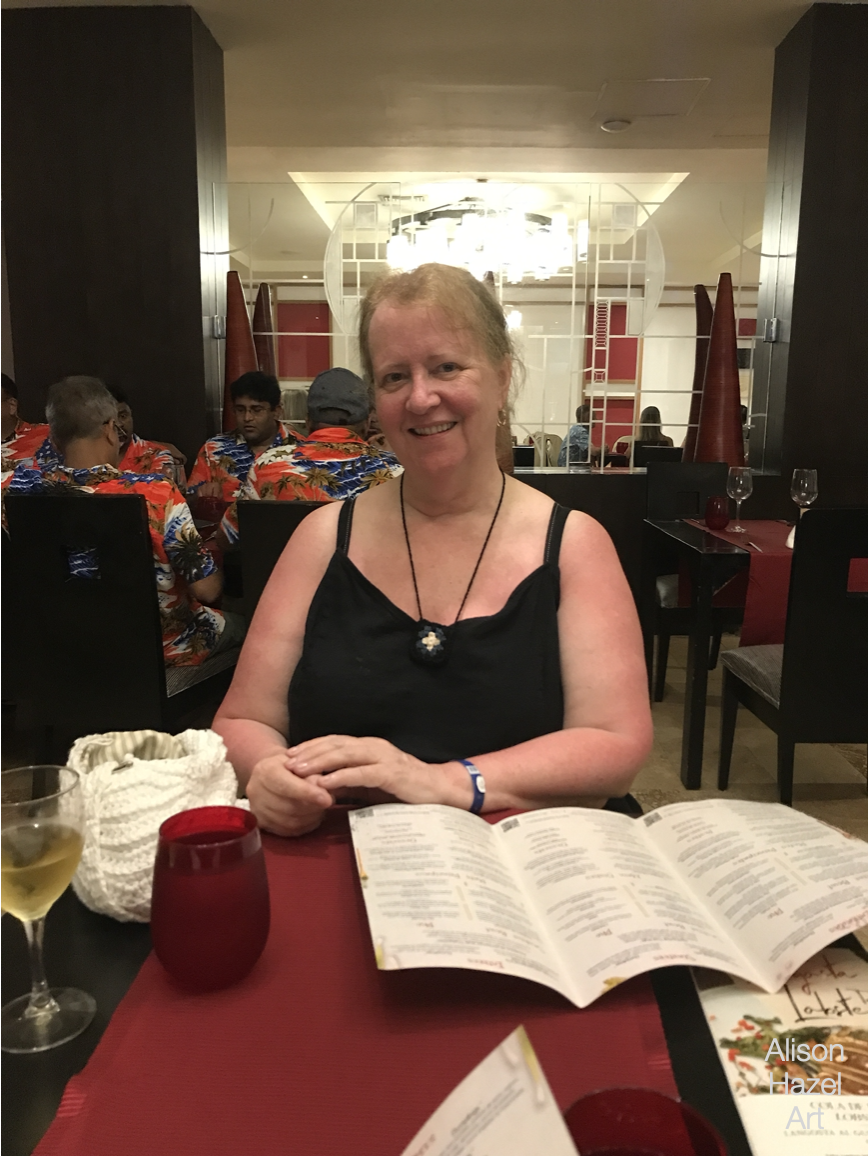
Remember that jewelry is a way to elevate your look, finish off your outfit and it says something about who you are as a person as well. I believe that it is important for your self-esteem to make the best of yourself.
I like to put my costume jewelry in little plastic bags so nothing gets tangled up and I can see exactly what I have.
If you have a pair of sunglasses, take them with you. I only have one pair of Ray-Ban Wayfarer sunglasses (not cheap) which I wear all the time, so definitely in the car traveling back and forth and probably went outside if it’s a sunny day.
If you have reading glasses or glasses in general, of course you would take them with you.
I like to take a very small clutch bag which is small enough to only hold my cell phone, my credit cards and my room keys. This is the micro bag that I’m likely to use after the day is done and when we go for dinner. I don’t want to be hauling my city bag around with all that it contains all day and then into the night. A small clutch bag does not take up much space in your luggage.

It really depends on who you are and where you’re going whether or not you would need a city hat. So, a city hat is not a ball cap, not a visor and it’s not a wide brimmed beach hat. Beach hats have massive brims to keep the sun off your shoulders, whereas your city hat is much smaller
Typically, a city hat has a narrow brim, and it could also be a fedora or a Panama hat. I like them in straw and perhaps with a ribbon. This year I saw a fabulous city hat at Free People which was crocheted from straw and had a copper edge which was great because it was the only hat that fit me.
It seems I actually have a large head so a small or medium just doesn’t cut it. Sometimes the large hat doesn’t fit me either they just perch on top of my head, so it is tricky to find a hat that actually fits and just pops straight on. Ideally, I need an extra-large because I don’t want the brim gripping my head either as that just gives you a headache.
If you are someone like me who actually lives in a city, then the city hat makes sense. It’s small enough when you’re traveling on the bus so you’re not bashing into other people and hitting the bars and whatnot as you go about your day on public transport. So far this year I am still looking, I may go back to Free People and pick up the hat I saw last week.

For a writing retreat you’re going to need to take something to write on, and typically it’s going to be your laptop. I write in Word and have my pages set up before I leave home. And if you are going away with your laptop, it is always best to restart it and clear the cache before you leave home. The main thing here is to make sure that you remember to take the charging cables.
As I do digital art, I also like to take my iPad so I can work on some ideas as they crop up. This is not essential, but if you have one, take it.
Along with this, I’ll have to pack my Apple Pencil too so I can draw with Procreate and do digital art on my iPad. Nothing worse than being away from home with your iPad but not with the Apple pencil Because you can’t. You just can’t draw anything.
It may be obvious, but for sure, you’re going to take your phone with you. It’s got all your information on it. It has your payment methods. It’s got your hotel booking details. Your phone is what you’re probably going to take most of your photographs with unless you have a camera.

When I’m traveling, I like to take my travel journal. This is an A5 sketchbook which I will often layout ahead of time with my destination title page and other details like the date. Typically, I will pencil sketch something each day that interests me. This can be what I did, or where I went, or what I ate, but these are definitely sketches. they’re not finished art pages.
I also like to add stickers or cards or images from flyers or brochures, perhaps from the hotel with their name and logo, or restaurant’s business cards where ate. I use the glue stick and this is where my pencil bag and markers come in and you can see more on that below. I will only finish my travel journal pages once I get home.
As a hobby artist. I like to take my sketchbook everywhere with me and it really does depend what I’m doing when I’m traveling which size of sketchbook I would take.
For example, if I was doing a sketch weekend, I would take my big A3 sketchbook. However, for our Writing for Artists Summer Weekend Retreat I will probably take my A5 sketchbook with multimedia paper from Strathmore. None of the sketches which I will do when on my travels will be finished on the journey, I will generally finish them off when I get back to my home studio.
On a writing retreat, I’m going to be taking my writing journal. So, for this particular summer writing retreat I am working on a manuscript for a book. I’ve probably been occupied with this project for the past two months and which I envisage it will be published sometime next year.
I use my writing journal exactly how I see the book unfolding. I segment it out into sections and chapters and add tabs on the side so when I come across ideas or thoughts about certain areas of the book, I can insert them in the appropriate space.
My writing journal is a working document stuffed with images and ideas of what I want to put into my book. My current writing journal is the Leuchtturm 1917 A5 dot grid with a pale dove grey cover. I love this journal.

I like to use a simple pencil case and the one I have is a great net version from Muji.
I carry three ballpoint pens in black, blue and red. I also have some black Pigma Microns, typically in a 0.3mm and 0.5mm sizes.
I travel with two graphite pencils. I prefer Staedtler 2H and HB as good solid pencils.

When travelling I only take a few of my Faber Castell polychromos coloured pencils.
To travel I pack about five colours:
I’ll probably take three markers in red, blue and yellow. I like the Tombow dual brush markers. Typically, I will only use these for writing a restaurant name or place where we went.
I use a Staedtler white plastic eraser.
I usually have a six-inch ruler in my pencil bag. Sometimes I will also take a full maths set including a protractor and a 45° and a 60° set square.
Depending on how much stuff I’m already packing in my bag and how long I’m traveling for, I may pack a compass as well to draw circles.
I take a glue stick and I usually get these in bulk from Amazon. I use the glue stick to attach small pieces of paper like menus, receipts, stickers and other bits and bobs as memories of my travels.
I may take one or two rolls of washi tape and typically they will be in neutral shades or in the theme of the place where I’m going to. For a beach getaway I would take a seaside styled washi tape and for a writing retreat perhaps something simpler.

I don’t always take my watercolors with me, but if I do, I take my travel watercolor set. I have the Schmincke Horadam Aquarelle watercolor travel set with twelve half pans and it is only five inches long.
I use synthetic squirrel brushes. I pack two paintbrushes, a fat brush size 10 and one thin brush size 4.
If I’m traveling somewhere and I think I’m going to be painting, I will take my Strathmore watercolor sketchbook which is slightly larger than an A4 (11 x 15 inches).
Below are all the basic clothes to which I have linked in this article. Generally, these are items which I have personally bought and wear myself. Most of these you can get from Amazon.
Elasticated beaded stone or crystal bracelet
Staedtler 2H and HB pencils
Tombow dual brush markers
Staedtler white plastic eraser.
Synthetic squirrel paintbrushes
Schmincke Horadam Aquarelle watercolor travel set
Strathmore watercolor sketchbook
Alison Hazel is a hobby artist and she shares her ongoing journey about becoming an artist later in life. She creates simple art that anyone can make. She hopes to inspire you to reach your creative potential in the area that suits you.
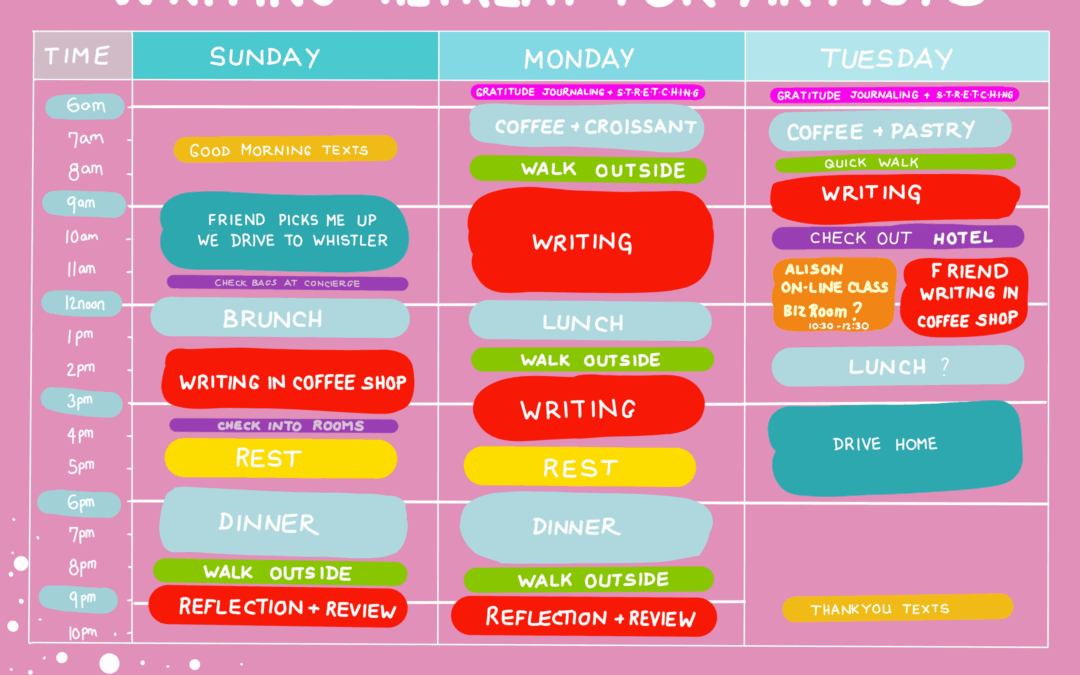
Author: Alison Hazel - Updated: July 2025 Catchup Recently I have been talking about our writing retreat for artists which we organized this summer. If you haven't been following along, you can go back and read: Part 1: What to pack for a writing retreat. Part 2:...
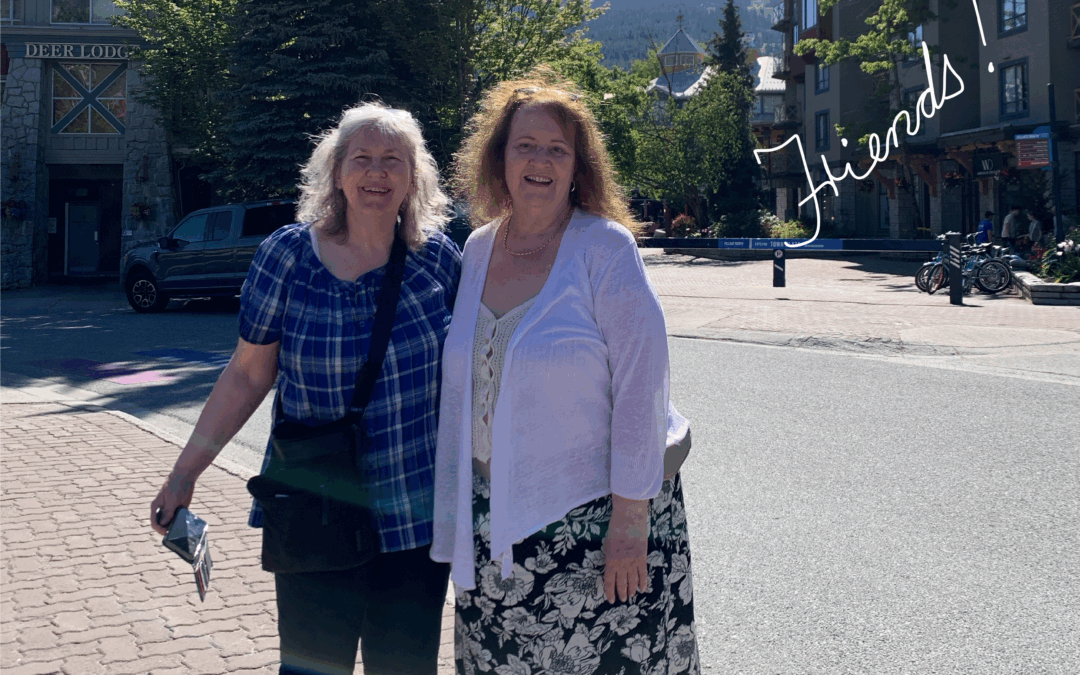
Relections on our Wrirng Retreat for Artists taken in the summer in Whistler, BC, Canada with friend. Alison Hazel Art.
The page you requested could not be found. Try refining your search, or use the navigation above to locate the post.
Author: Alison Hazel – Updated: May 2025
You may know that I live on the west coast of Canada and I’m pretty close to the beach which I get down to probably once or twice a month. I have sketched many seascapes and features around the coast my most recent one being the concertina sketchbook, but I also did an acrylic over painting of English Bay.
A few months ago, I was working in my grid art sketchbook and on one of the topics I started drawing was of an intertidal pool. An intertidal pool occurs when the high tide comes in and it fills up pockets of water along the beach in amongst the rocks. Then as the tide goes out, the ocean water remains and there are some sea creatures that are caught there, and they must wait in the pool until the next high tide if they want to escape.
Of course, many of these animals live in this beach area anyway. You get organisms like crabs and sea stars, little fish and all sorts of things within these intertidal pools. They are sometimes in amongst the rocks in a small pocket of water along the beach where boulders are as well.
So, back to my sketchbook…
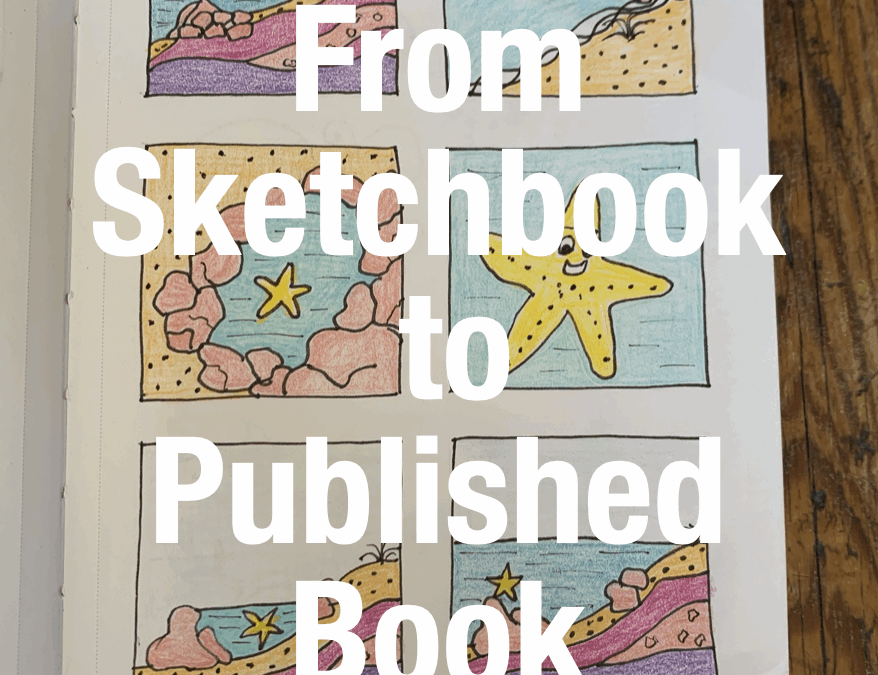
I did six little grid sketches of an intertidal pool. One with a cross-section through the whole thing to see how its lies on the beach. Next, a couple of other views from above and to the side. Then I added a little tangerine sea star.
And if you don’t want to sea star is, it used to be called a starfish, but these days apparently, they are now called sea stars. Which is the correct way to refer to this little 5-pointed (or more) friendly little animal. I continued in my grid art sketchbook doing some more pages, but I kept coming back to this sea star page. Then occurred to me that I could perhaps write a story and make a little children’s book about this little sea star.

I did a little research and discovered that with children’s books, you have to be in the right age category. For my idea of creating a picture book with perhaps one sentence on each page, I would be in the kid’s age group of three- to seven-year-olds. Now in this clutch, mom is reading to them, and she shows her little darlings the words by pointing with her finger, so it has to be pretty simple. It needs a simple vocabulary, but with a delightful story to it.
I probably spent about three to four weeks working on my story. It’s pretty straightforward from an adult perspective, but from a child’s view, it is actually a story about friendship. And to be quite clear, I’ve never done anything like this previously. I’ve never written children’s stories or any fiction whatsoever, but being a hobby artist and creative person, that didn’t stop me.
So, I worked on my story.
Once I had my story 95% completed, I began the layouts for the artwork that would go in the picture book. Now I knew I was going to self-publish this on Kindle Direct Publishing (KDP) with Amazon. They have some specific criteria for sizes of the pages and the number of pages which have to be in the book of that size and so on.
To be honest, this is quite a complicated topic, but the instruction are all laid out there on their website and you’ve just got to plow your way through it all. I decided to work on a book that would be 21.5cm by 21.5cm (8 ½” x 8 ½”) which is actually a square.
I was required to have at least 48 pages. This meant that I had to do 48 original art pieces, one for each page in the book. Once I had drawn the individual art pieces for each page, I could then add the words, on top of the image.
To draw my digital images, I used Procreate on my iPad. This is a hugely popular art app and you can draw things with your Apple pencil which is where I drafted these initial images.
I worked the pages back and forth for quite a few times. Then I decided I need to stabilize my palette to make sure that I was using the same family of colours and repeating things from page to page to page. This is a simple story set on the beach and an intertidal pool.
I didn’t want all of the view points on the pages to be exactly the same, but many of them would be. So, I laid out a few basic backgrounds for myself, with the sky at the top, the sea in the middle, and the beach at the bottom.
Then choosing from my selection of colours I was able to lay in those three main horizontal features of the sky, sea and beach. Next, I did a few more close-ups where I was going to zoom in on my sea star and the things that were going on within the story. At this point I still did not know what I was doing, but I pressed forward anyway. I continued tinkering with the images for the story and by this stage I was adding the one sentence to each page or each double spread.
As not every single page has words on it for example, on a double spread, the words could either be on the left-hand page or the right-hand page. I worked on the words of my story to make sure that it made sense and flowed forward. And I’ll tell you, this process really took a while. I was probably four to six weeks working on this.
Laying out of the whole story, fiddling with the images and making sure that the words were telling the story took time. I wanted to get my tone right and for the story to be friendly, easily read and understood by the children.
I then turned my attention to work on what they call the front matter. This is all the stuff that goes at the front in the book. There are specific things that you must have on this page.
I did an optional “This book belongs to…” page because children love to write their names in their books. In time, when they become beloved books, the readers continuously return to them even later in life.

It has to be the name of the book that matches the listing on Amazon.
You can add a copyright statement if you choose. For my book it says, “© 2024 Alison Hazel all rights reserved.”
An International Standard Book Number (ISBN) is the number of the book, and here you can let Amazon give you a number or you can get your own. My ISBN is 978-1-7389045-1-8. Note: Research this yourself as there are some strings attached to a KDP ISBN number. I got my own ISBN number for this book from Libraries and Archives Canada, but you will no doubt have an institution in your own country that handles ISBN numbers. For example, in the USA it is Bowker for your ISBN numbers.

At the back of the book there are a couple of pages because there is typically a double blank page at the end of a KDP book anyway. You need to make sure that your book ends correctly.
Once the story had completed, I added another fun page which listed all the characters who appeared in my book. This page says, “Meet Your Rock Pool Friends.”
My main characters are:
Here I did a little sketch for each of the characters and wrote their names next to them so the children could learn their names in a different context. It’s a way for the kids to be reminded of who are the creatures in the story. Then the moms can ask things like, “Can you find the crab, can you find the fish?” and it’s another way for the little readers to interact with the book.

I had planned to finish off with an author’s page listing myself and any other books that were in the series. It suddenly occurred to me that I could do a series of children’s books and maybe have three or five other books related to Sandy, the sea star. Still waiting… The blank page is ready and waiting for additional books to be listed if I ever do any.
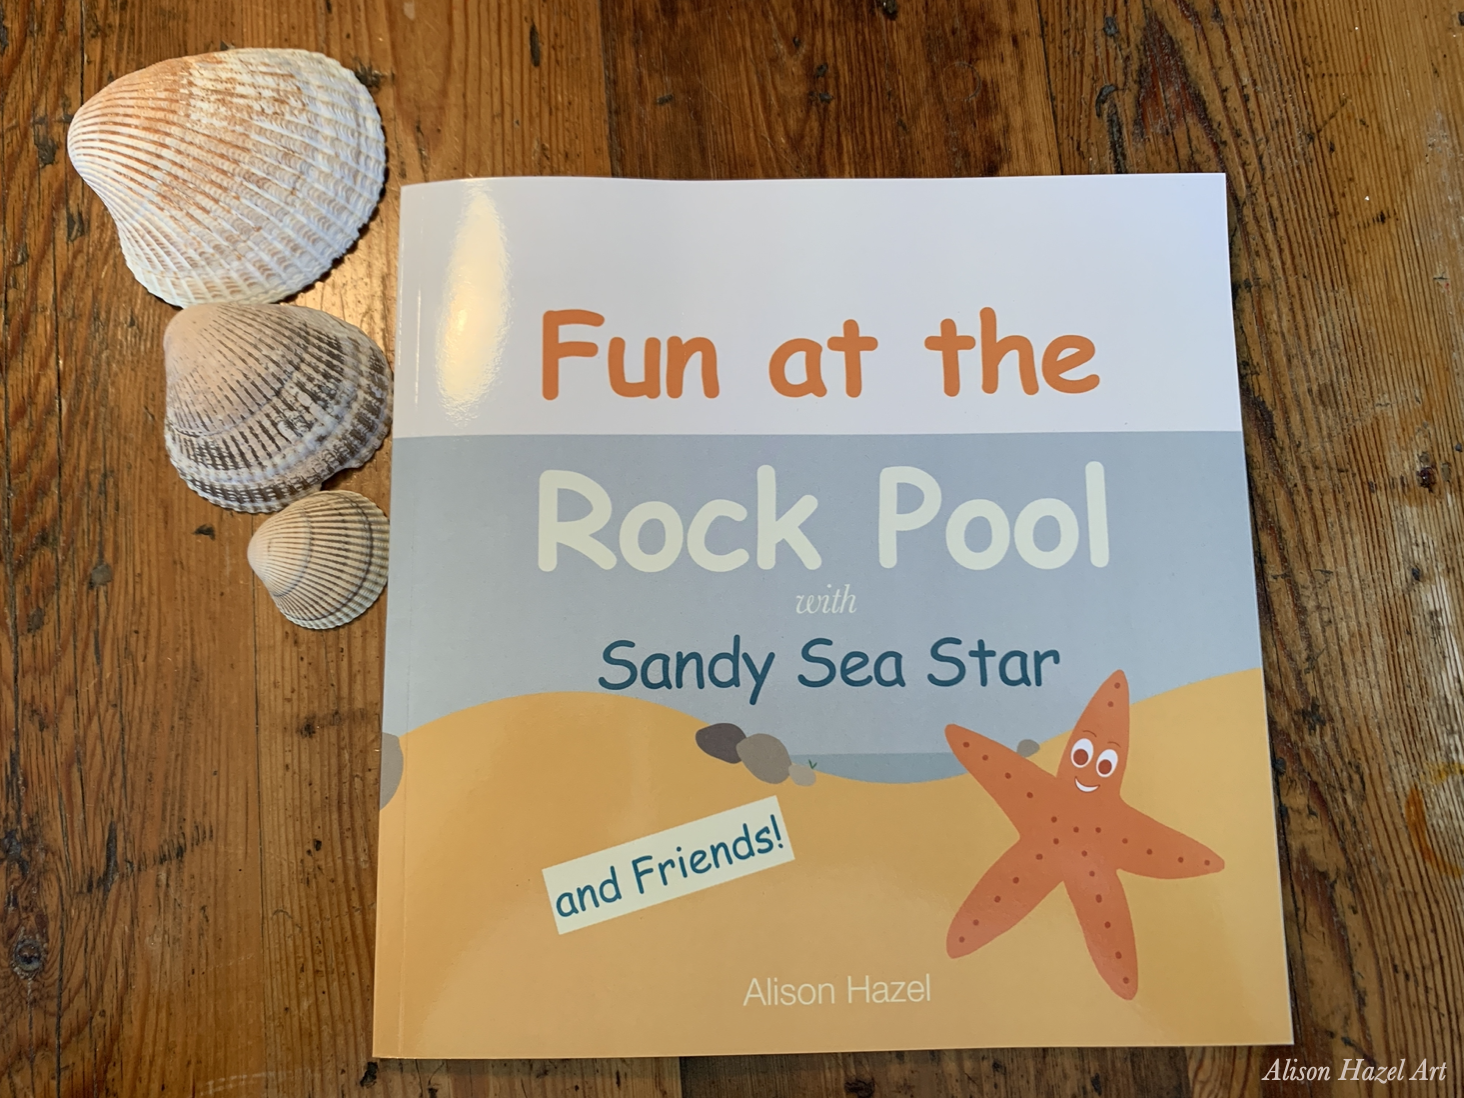
The cover must be one large image as a PDF that covers the lot. The spine is down the middle, and the front cover part on the right and the back cover section is on the left. There are specifics that are required for your cover. On the front cover, I had the title and a nice friendly image of the star of the story, Sandy the sea star.
The author’s name on the front is optional with KDP, so it’s up to you if you display it or not. I chose to have my name, Alison Hazel.
On the back cover (left side) you must leave a white space for the bar code that Amazon will put on by itself automatically. I wrote a little blurb about what’s in the book, this is a little preamble if you will, a little taste about what’s going on in this book. Next, I had a paragraph about who the book is for which is really for the person who buys the book, i.e. parents, friends, aunts and uncles or bookstore owners. This information is crucial for someone who wants to know if the book will be suitable for little Alex who is turning five next week.

When you upload your book, you need two files.
So first I uploaded the body of the book. It took a couple of goes because Amazon is very strict about bleed on the edges. Bleed is making sure that the colour goes right to, and beyond, the edge of the page, and here I had to make some adjustments as well. Additionally, I made a few modifications to the actual placement of the words on the page because the cut was very tight. But these are things you learn as you go along.
The cover upload was something different too. It is difficult to know how thick the book is going to be, and therefore how wide the spine will be and therefore, how to place to the words on the front cover center justified. Now this took quite a bit of fiddling, particularly to align the title of the book on the front cover in the middle.
It took, I don’t want to say how many goes I had, to get this right, but it really depends on how many pages you have, how thick the book is, and therefore how wide the spine is, and consequently how to align the words on the front page as well. So, it was not as tricky on the back (left side) because I have things left justified there and it’s easier to move that text block around.
This will take time. Every time you upload a manuscript, Amazon chunters through it all and it’s like you’re putting things in a meat grinder. You can go away, make a cup of tea, come back and it’s still working at it. Now obviously they’re overwhelmed with lots of people trying to upload their books at the same time, but really it takes time to get it uploaded. Once I had finally got my body pages file uploaded and I had the cover accepted by the gatekeepers, that was a big step forward.
The next thing was to put all the other information like the pricing, what have you and where you want to sell it on Amazon. You have to click all the buttons and make sure you’re the original author and it’s non copyrighted and all of those little pesky details that Amazon needs to know. So that also takes a little while to get sorted out.
At this point you’re also adding your blurb which will show up when people search for children’s books on Amazon. This is a paragraph or two as selling copy.
When you’ve entered all that information, you can then click through and say, publish. Now, the very first time your masterpiece goes through to publish, it takes at least 48 hours for any approval or comments to come back from Amazon. And I understand that when you are uploading for the first time, as a new author, or when you are uploading a new title such as this was the first time, they actually have a human look at it.
Amazon doesn’t want me to say I’m doing a children’s book about sea stars and inside there’s something about how to make a bomb or something nasty like that.
I believe, they do get a human to go over, or flip through, what you’ve written, what the story is about, what images you have within your book and the actual content of it, which then gets clicked for approval. Finally, you will get an e-mail saying yes, your book was published and it’s all good. Or yes, we checked your book, and you’ve got errors here and there because your pages aren’t right. Or you need to fix the colours going over the edge or something. Or you didn’t choose the right paper, or they can’t do this in glossy or something like that.
Every time from here on in, when you make an adjustment and reupload the book for approval, it takes at least 48 hours to hear back from them. Now the first time it got approved, I flicked through it online and made sure everything was lining up, that I had my words the right way up and the pictures went back to front and everything like that.
I wanted to make sure that my double page spreads were spreading at the right point and not going over the edge to the next page. This all took time. On it went, I uploaded and edited, uploaded and edited and on and on the saga went.
When I thought I’d finally got it right, I was fine. I was flicking through then lo and behold, there was a typo. I had made a spelling mistake, which I hadn’t picked up. So once more I had to get the spelling correct. On the page I’d written sea start, not sea star. I mean, it’s an easy enough error to make and of course my spell checker wouldn’t pick it up because start is a word, even though it was supposed to be star. Then I did a second double check on my spelling, punctuation and the grammar and I went through it with a fine-tooth comb at this point because I couldn’t have it uploaded publicly with a spelling mistake.
I mean, really?

Finally, it was uploaded to my approval and once it is live you can order an author copy. Now the benefit of ordering author copies straightaway that you don’t get charged any profit. It goes on at the at the basic rate, so you get it as cheap as possible at all you’re paying for is the cost for Amazon to manufacture it and the shipping. It gets delivered to you, if you’re lucky, within 10 days.
But I’ll tell you a trick. If you do order an author copy, there’s a big flag printed across the front of the book that says author copy right across the book, so you can’t really see. Although it’s cheaper and it’s for you to check for your spelling and what not, I find that I don’t like doing it that way. I actually prefer to order a full-blown copy the exact same as a customer would order and see what arrives from Amazon. I ordered my customer copy, sat back and waited. And kudos to Amazon, I would say I had it within three days because you know once they get going, they can get the stuff out to you.
The book arrived.
Once I got it, I realized that my colours were slightly too faded. I really needed to step up my colour palette, the sky, the sea and the sand were rather muted. That was the one thing.
The second thing was that the paper that Amazon prints on is rather thin and there’s not much you can do about that because that’s the paper they are using. So, I thought, I’d have to live with it, what can I do? I made the book as a softcover, a paperback, and that was fine.
The cover was fine, it was smooth and glossy and everything, but again the colours were quite muted. Now, if I wanted to step up these muted shades to a more vibrant colour palette, I would have to go through every single art piece for every page for all the 48 pages and adjust the colours. I asked myself, “Do I want to do this?” I hummed and hawed and I thought, well, yes, I need to fix it because it wasn’t working.
I had to go back to the drawing board and adjust all the colours for all 48 images in Procreate. Then once more I uploaded each page image into my master PDF document. This took time. When I was ready with the final colours, I once more reuploaded the manuscript, a new cover then I ordered another customer copy. The book duly arrived, and I was quite delighted with it.
When I got the second book in hand, I was able to show it to my daughters because they knew I was working on something, but they hadn’t seen it. They were amazed that their old mom had done this and honestly, so was I. Fun at the Rockpool with Sandy Sea Star is never going to be a best seller, it’s not that sort of book. What it did do was offer another creative outlet for me as a hobby artist. It’s an extra way for me to put my art and my ideas out into the world.
Will I make a little series of these books? Well, to start with I thought that was exactly what I would do, but as time has gone on, clearly, I’m not going to create another one soon. Honestly, I don’t see my future in children’s books.
But what I want you to take away from this long story of my process is that it all began in my sketchbook. As you perhaps know, I have multiple sketchbooks which I use for different things, but this is the first time any image from one of my sketchbooks has developed into something else. It grew into a children’s coloured picture book.
If I had of spoken to you about this before this ever began, I would have suggested that I might have done a sketch and then made it as the basis for a painting. So, here’s the sketch in the sketchbook. I think, “Yes, that’s my concept art. Let me now move on and do the actual painting.” That’s what I thought would have happened. But what did occur was that I took my six grid art journal page and used it almost as a storyboard. I was able to flesh out the grid into a story for my children’s book.
I think it just goes to show that, even as a hobby artist, you never know where your art is going to go. You never know where the journey is going once you start putting pen to paper and you’re sketching, painting, creating or collaging to create something beautiful. I mean, do you have to kiss 1000 frogs to find your prince?
The point is that with daily art practice and working in your sketchbooks, as I encourage you to, something beautiful could grow from one of your images as well. I don’t know what it will be, and I had no idea I was going to do a children’s book. It was not on my horizon at all when I started, but it developed, it seemed the logical thing to do and once I started, I just pushed on.
I’ve showed you several images from this book.
Just a reminder, this book is called Fun at the Rockpool with Sandy Sea Star by Alison Hazel. It is available on Amazon, and you can see the type of work I have done as my very first children’s picture book. Who knows what the future will bring?
I encourage you to use sketchbooks, do your art as often as you can and lean into your creative life. I believe all humans are creative and it’s good for the soul. I’d be interested to know if any of your sketches from your sketchbooks have leaped off the page to become something unique in their own right. I would love to hear from you.

Save this pin to read later.
To see past editions of Artzlife, read the library.
Alison Hazel is a hobby artist and she shares her ongoing journey about becoming an artist later in life. She creates simple art that anyone can make. She hopes to inspire you to reach your creative potential in the area that suits you.
The page you requested could not be found. Try refining your search, or use the navigation above to locate the post.
Join me as I sketch, draw and paint a weird autumn themed knobby gourd using colored ink as a hobby artist.
The page you requested could not be found. Try refining your search, or use the navigation above to locate the post.
Author: Alison Hazel – Updated: April 2025
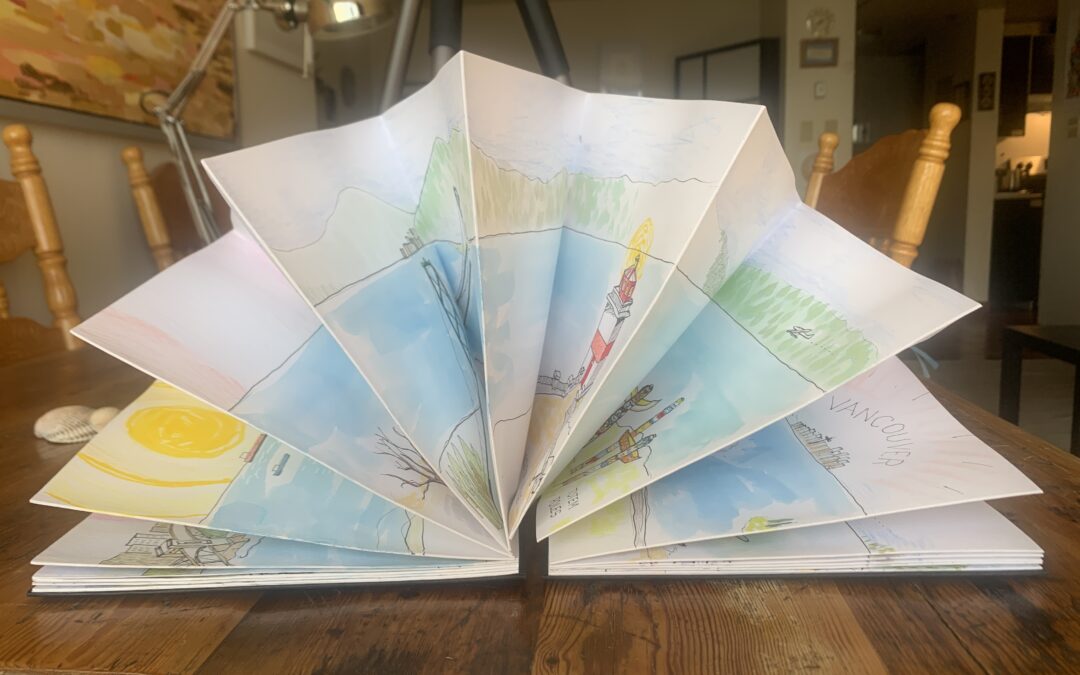
There are many types of sketchbooks and I’ve spoken about a few here. This week I’m chatting about a fabulous architectural sketchbook which I’ve recently completed and that is a concertina sketchbook. This is not likely to be the first sketchbook you get, but it is definitely a fun one.
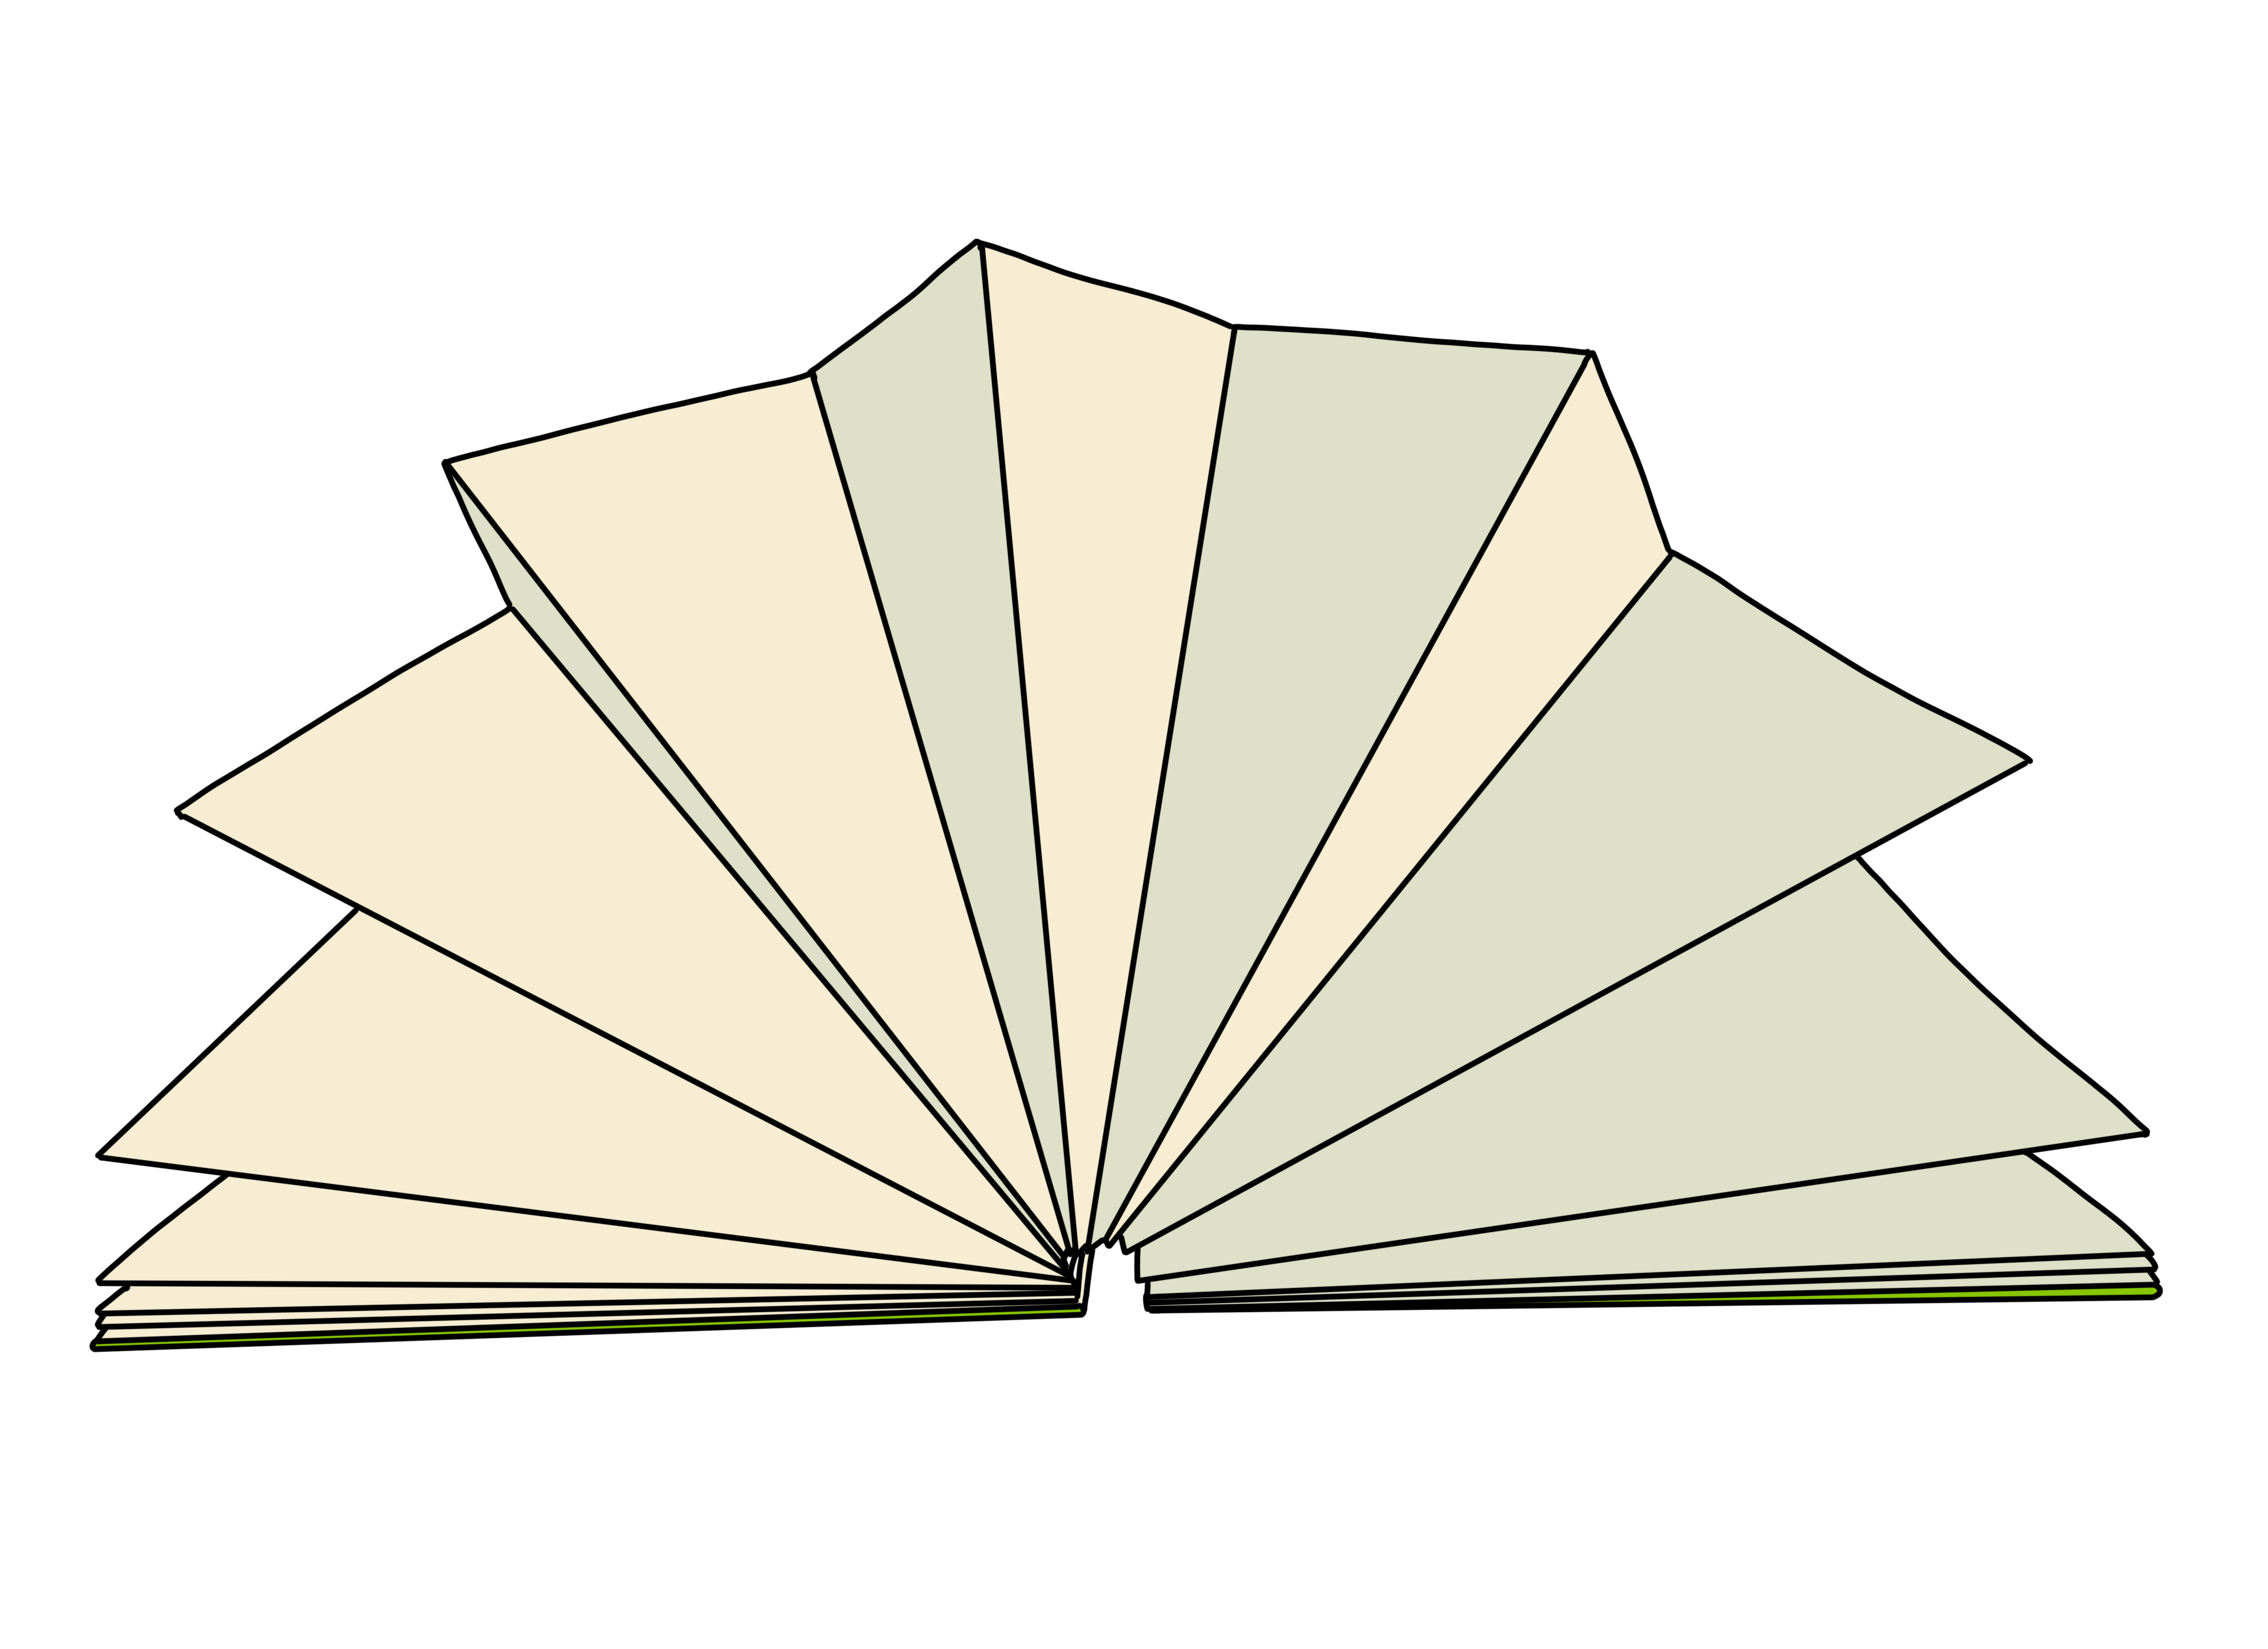
A concertina sketchbook is one long continuous page folded into a concertina fashion. It has a hard cover at both ends. They are also called accordion sketchbooks, zig zag sketchbooks or continuous sketchbooks.
You can see the process video below .
This is where I talk you through everything that I did to create this special concertina sketchbook.
I ordered my A5 concertina sketchbook from Seawhite on Amazon. It was shipped from the UK and arrived in about four weeks. To be honest, I’d forgotten that I’d ordered it until it arrived. But when it did, oh my…
It has two pages sandwiched together back-to-back and you can draw on both sides if you want to. The paper is watercolor quality so it is super robust for most applications. It comes in a handy dandy cover to contain the spring of it all.
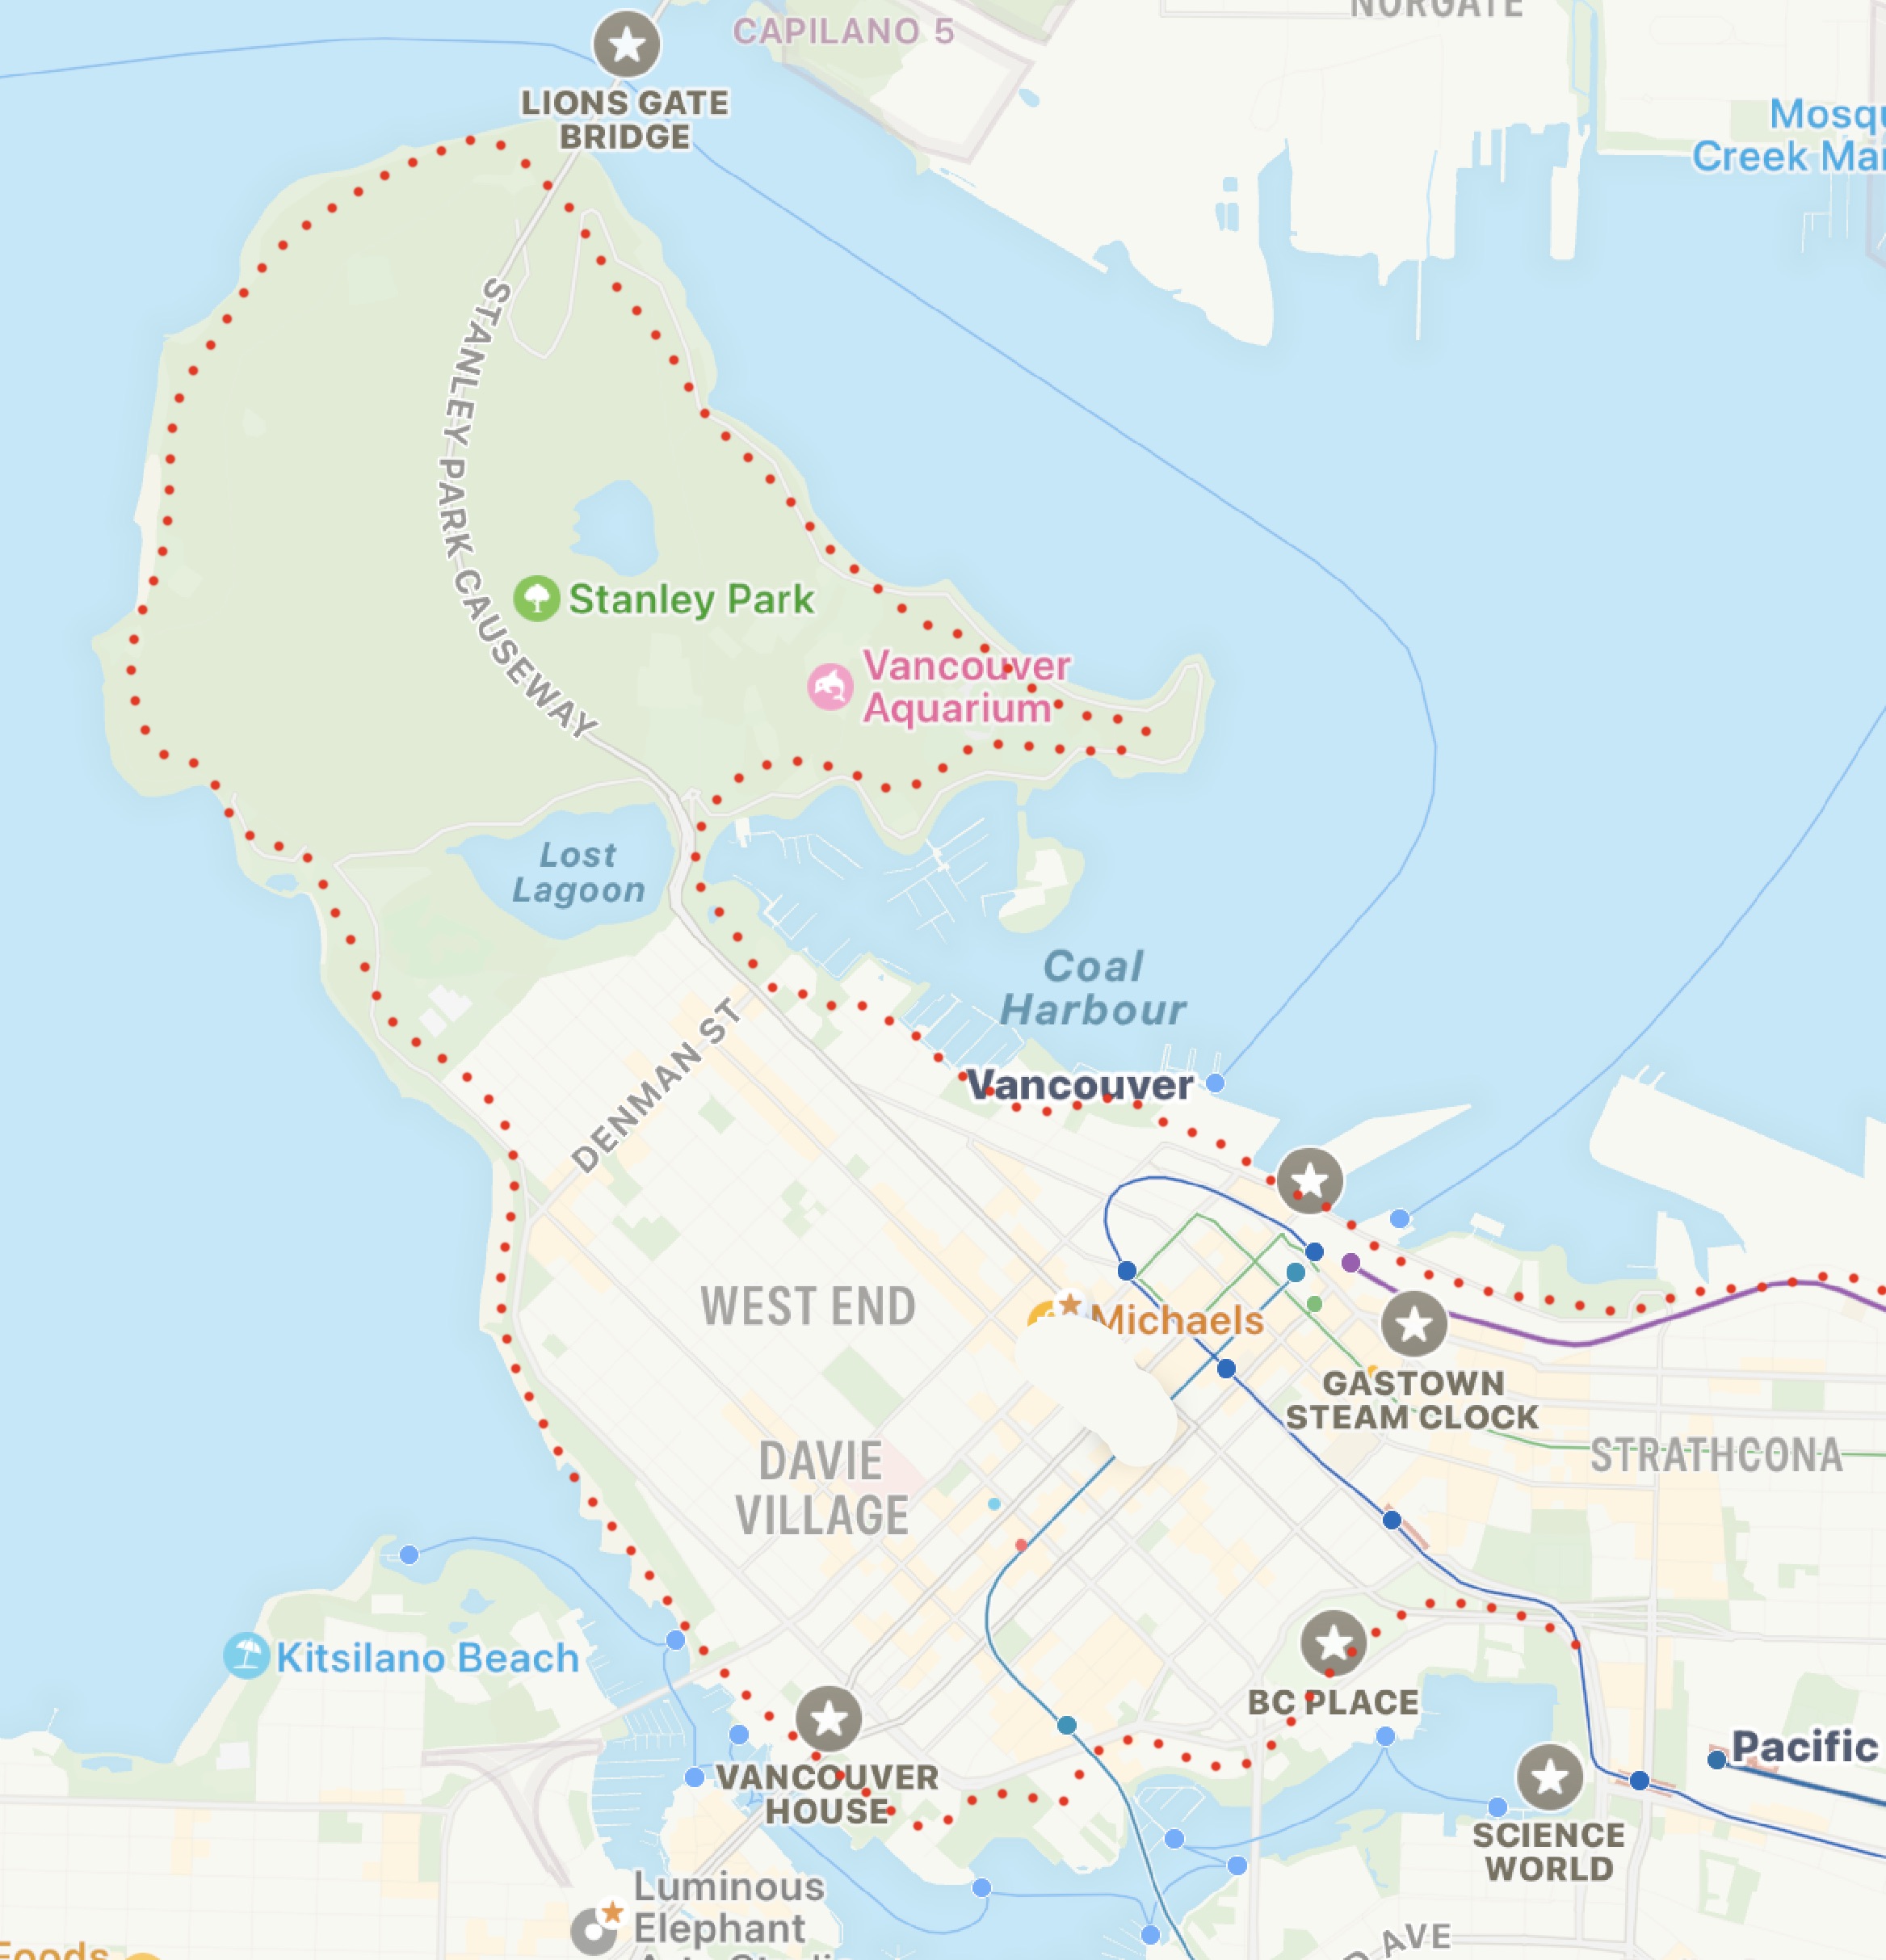
There may be other ways of using this type of sketchbook, but I’ll tell you how I did it. I live in Vancouver and the city lies on a peninsular with water on 60% of the sides. To help you understand what I sketched, here is a map of the Vancouver city peninsular. You can see that there is a lot of coast that wraps around the downtown core. The rest of Vancouver and the suburbs is south or below.
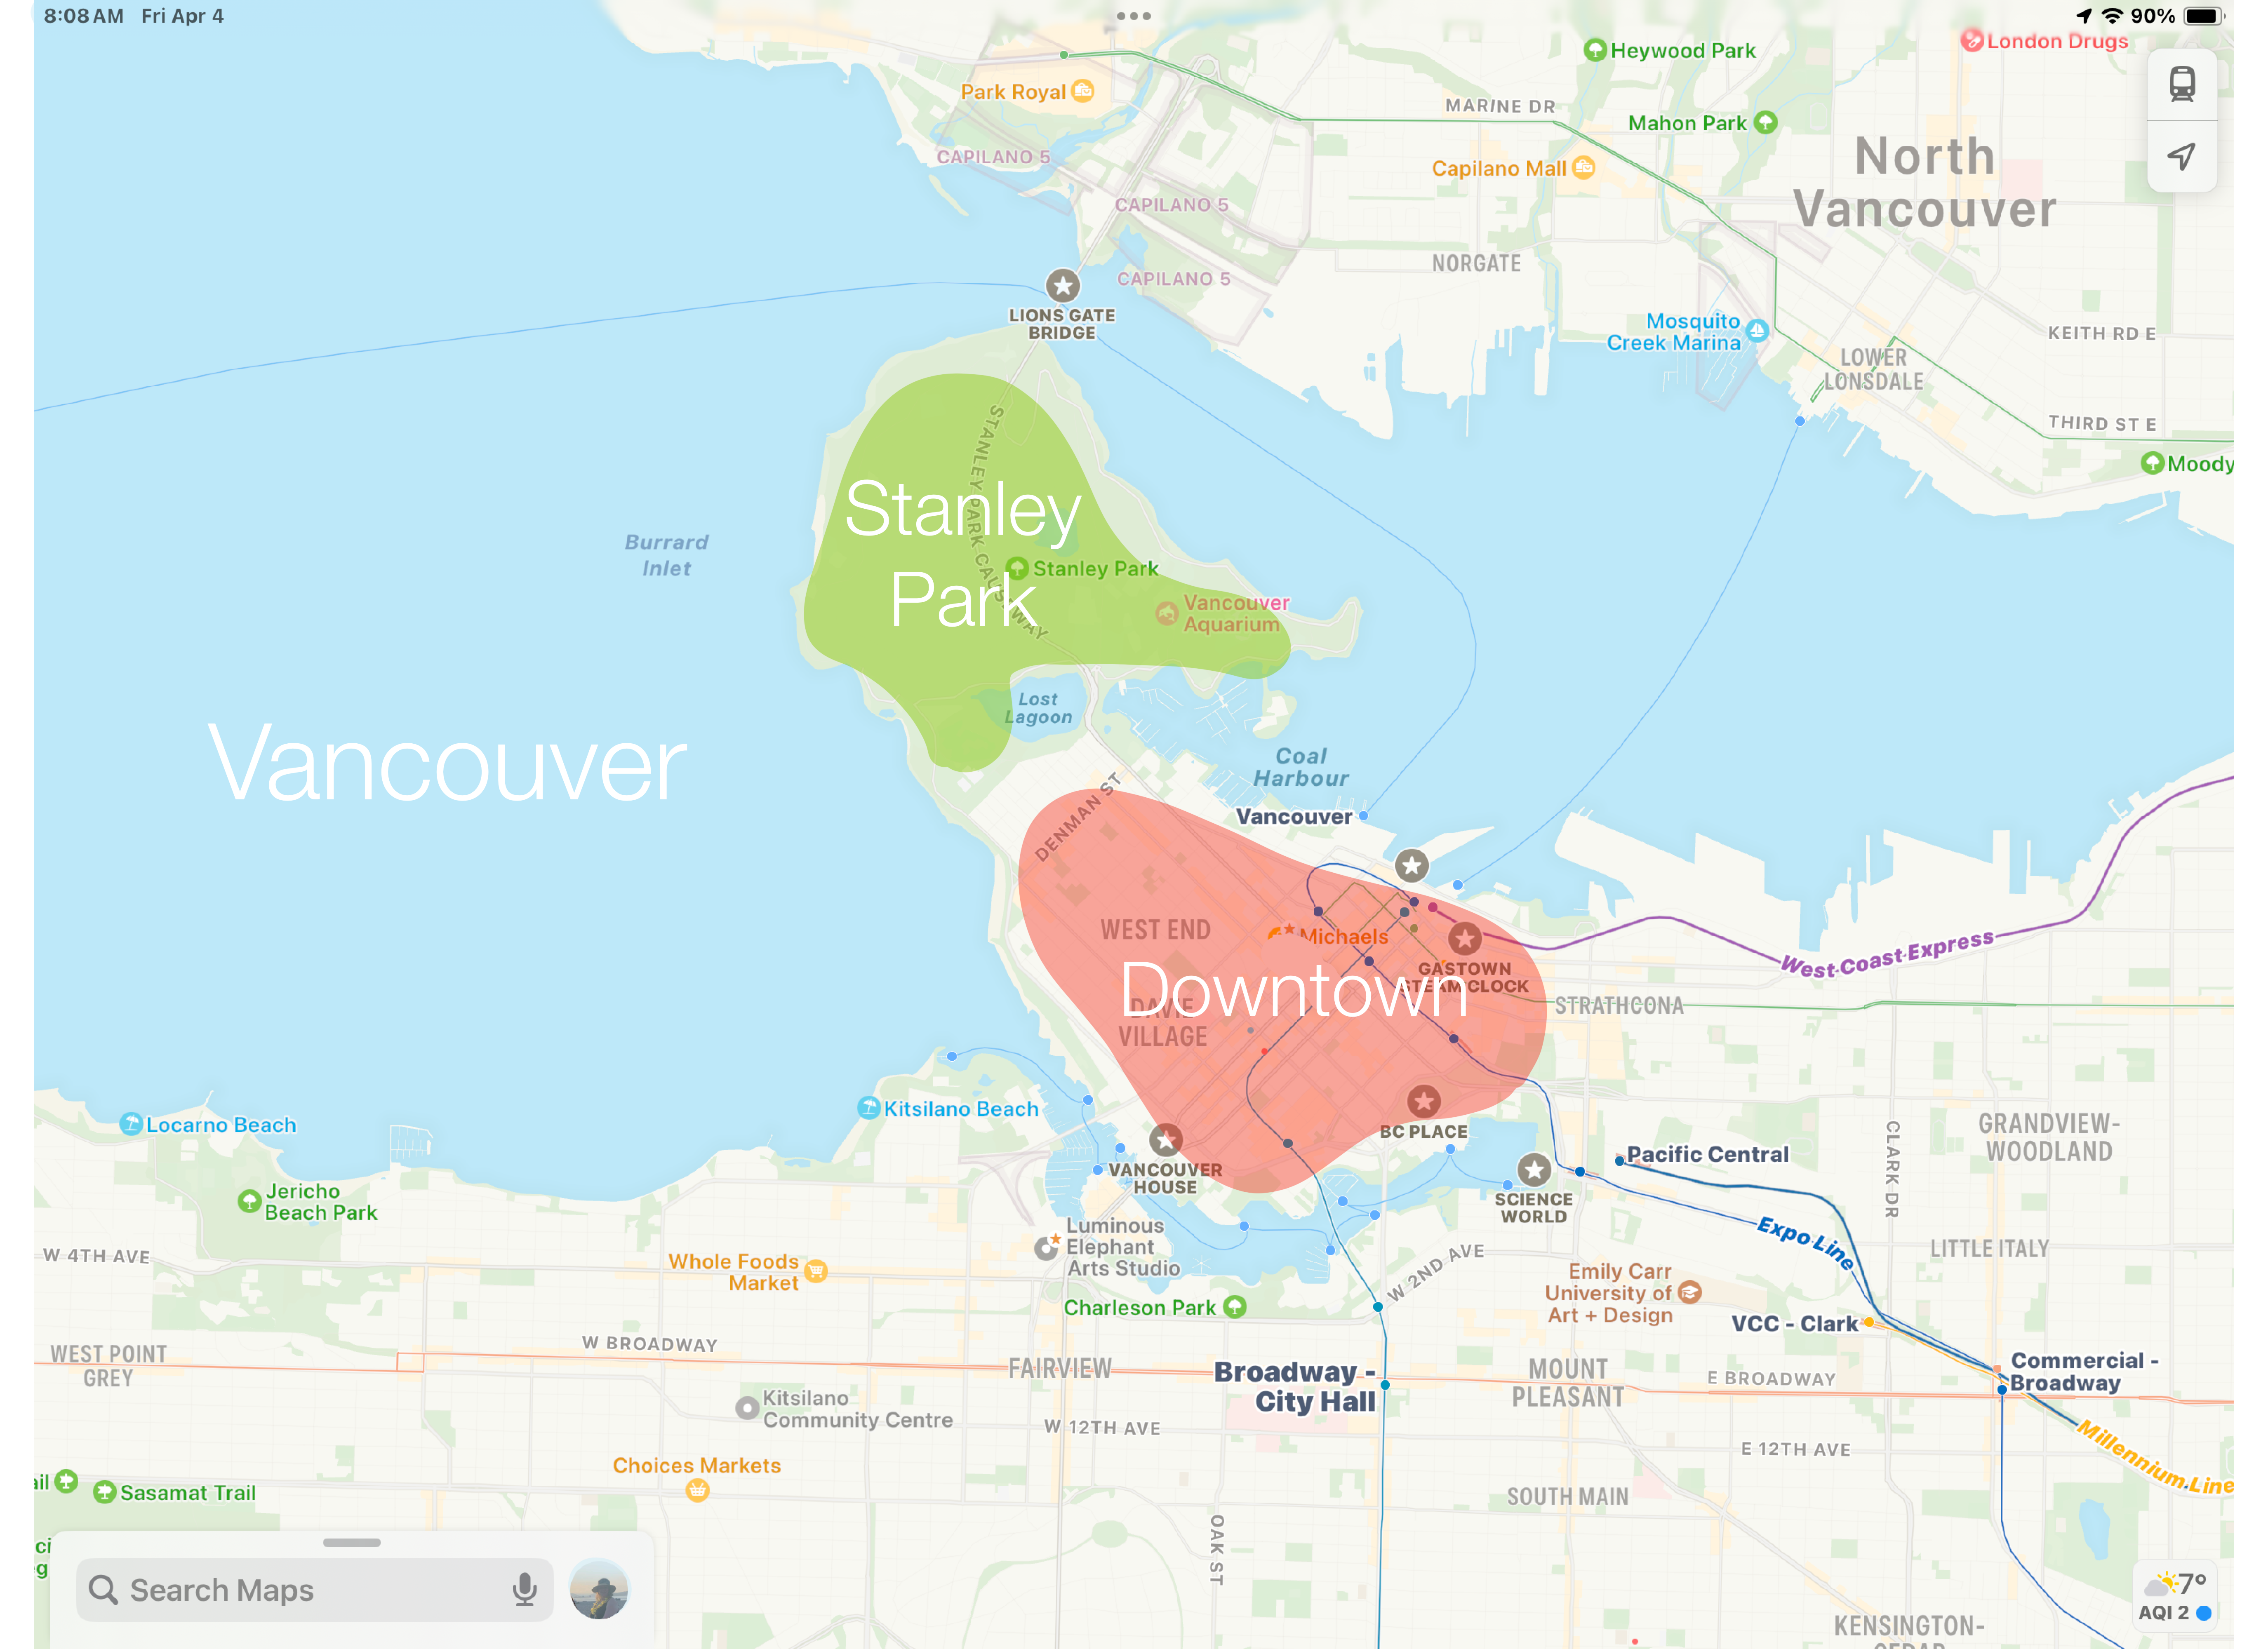
I decided to draw the whole sea scape, sea wall and or promenade of the coast looking outwards as seen from the city side of the water. There are multiple bridges and these were how I initially paced the pages in the layout. I’m drawing it clockwise from the Science World sphere and choosing only certain features to add. The arrangement of the pages took some time as I wanted the flow to be as balanced as possible.
The red dotted line shows the path that aligns with the concertina pages. I’m on the mainland looking out towards the sea.
First, I sketched out the layout for the coast with my 2H pencil.
I left room for an open page at the front, like a frontispiece page, and here I wrote the year I started it, 2024.
I only finished it in 2025 so I wrote that date there. I still have some more thoughts to write and these ideas will go on the back page.
When I was happy with the penciled layout, I began inking the drawing. I started with a very thin 0.1mm pen to lightly get the outline of horizon and the hills across the water. Then I moved onto a 0.3mm pen for the foreground bridges, the lighthouse and the other main structures along the coast. For some buildings very close up I used a thicker 0.5mm pen.
The penning took ages and I did it over several weeks as I was not rushing at all. After I was happy with the inking, I erased all the pencil marks.
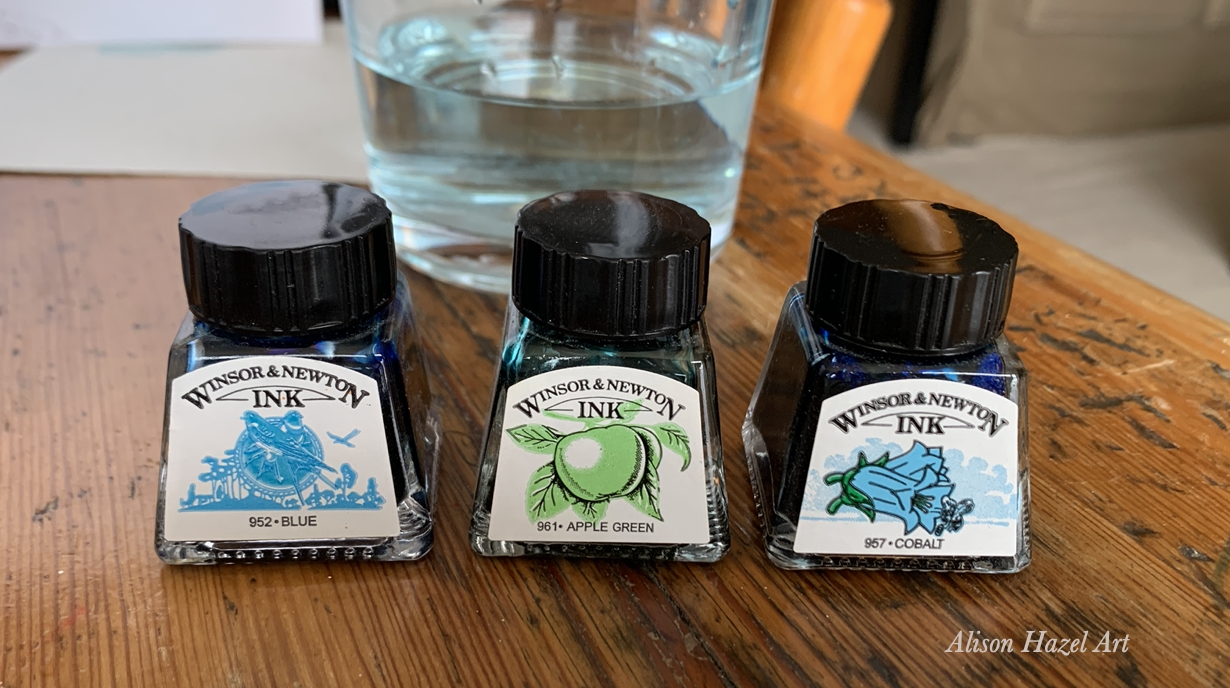
I began with colored acrylic inks. I used my Windsor and Newton inks. Inks are less forgiving than watercolors, but I wanted to practice more with this medium. I’d done other ink sketches and swatches before. I began with the lightest colors first and I began on the sea.
I used:
I thinly washed the whole book on the sea part using a combination of the three inks colours which I have, emerald, cobalt and blue. Then I spread the whole thing out to dry.
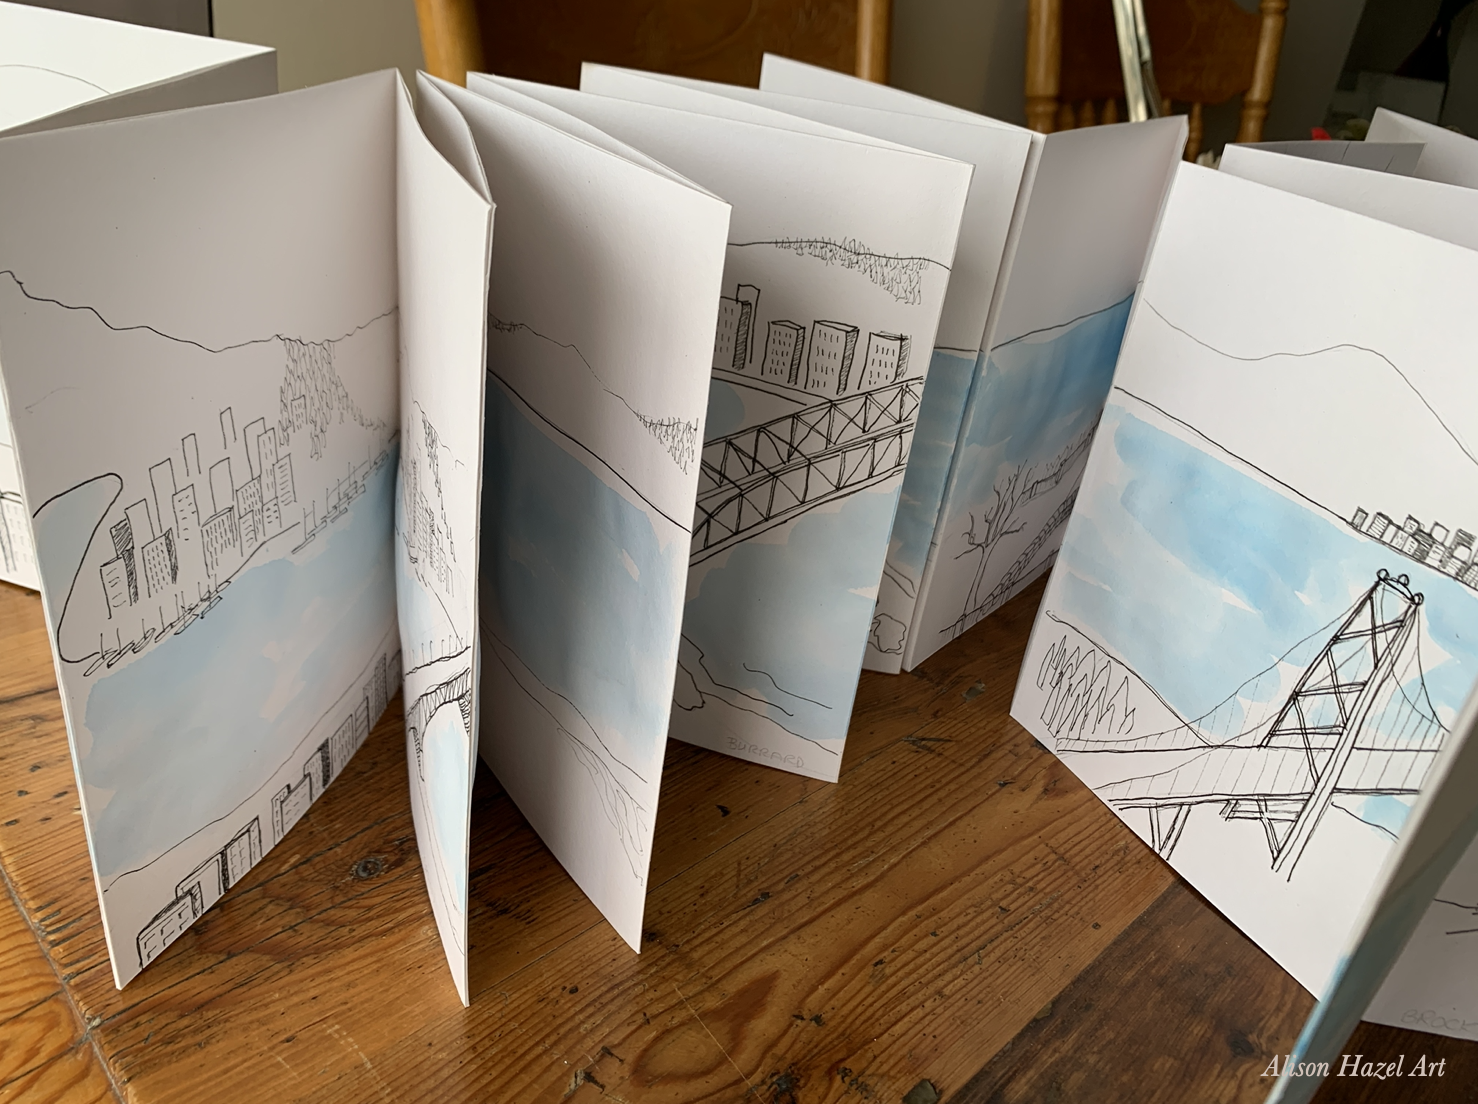
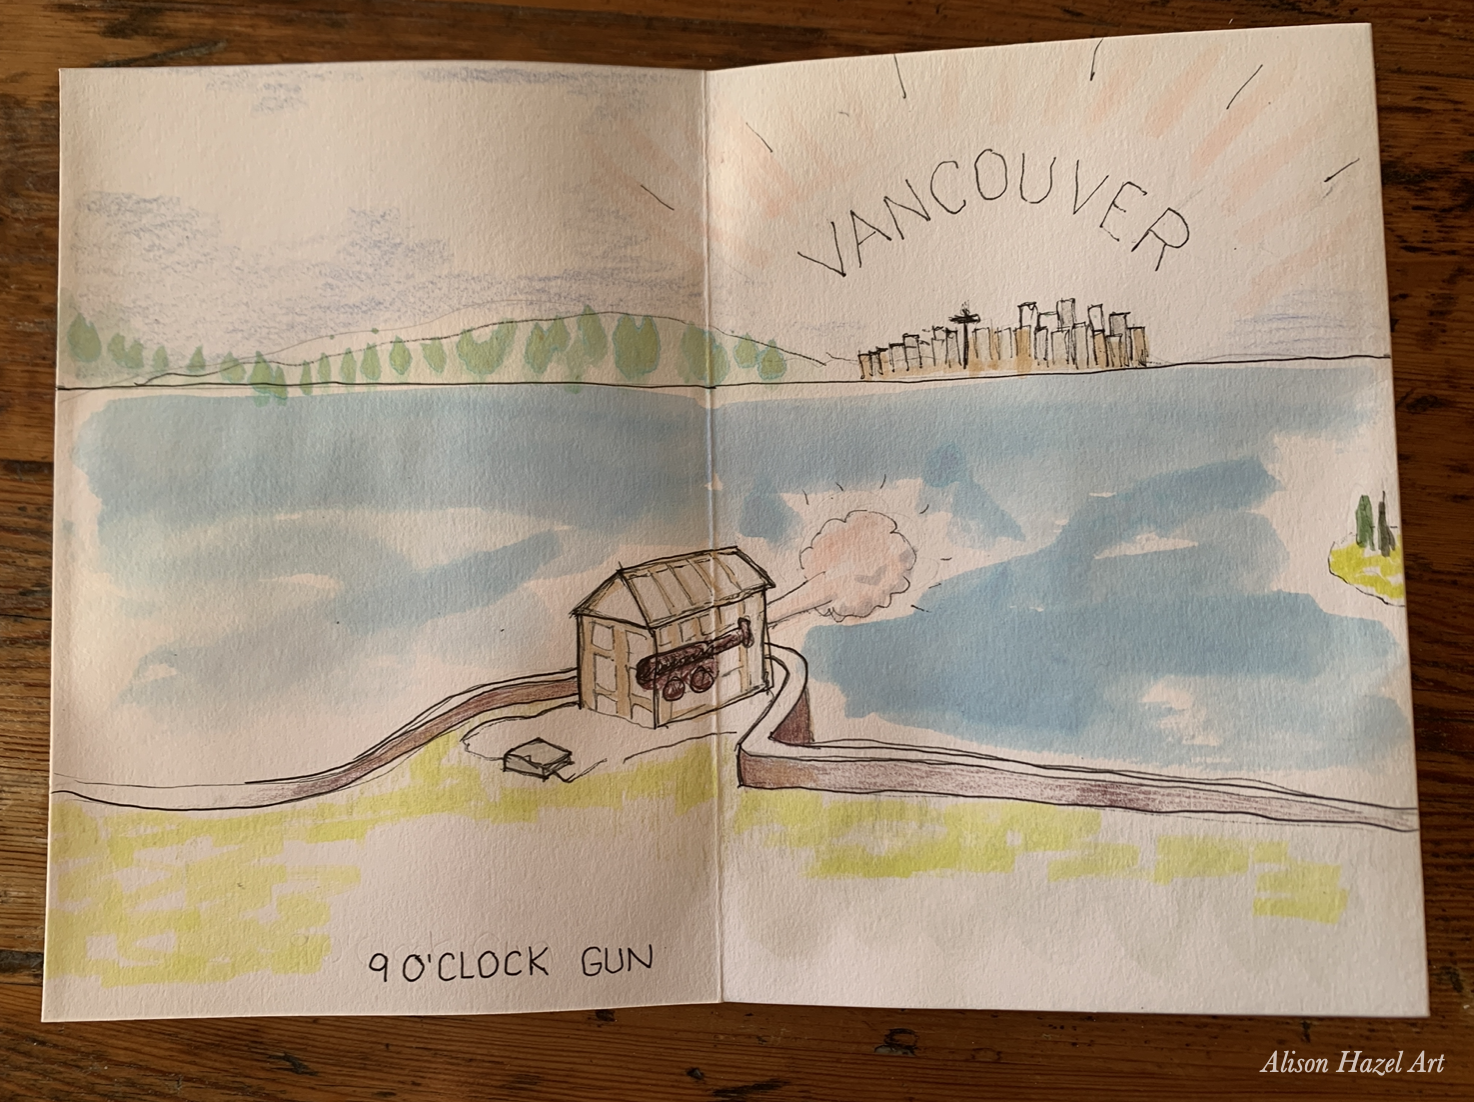
In my sketchbook, I designed it so that each open double spread contains one specific feature be it a bridge, boat, the lighthouse or the nin o’clock gun. I made sure to run each double spread image over the edge of the page, so you are encouraged to turn the page or indeed open up the concertina to see the whole picture. In this way it become an interactive book and like an adventure.
Ideally a concertina sketchbook lends itself to a long horizontal drawing. Some examples of this are:
Use the concertina sketchbook to capture the changing seasons throughout the year. Start in January and divide the book up before you start into twelve months so you can add the natural changes as the seasons develop. Like a nature journal,
You can tell a story. Perhaps tell the story of your family and your life or a more well-known story from a part of history that interests you. For example, the Bayeux tapestry tells the story of the events which led up to the invasion of England and the Battle of Hastings in 1066.
If you are going on a long journey, or a one-off world cruise, your concertina sketchbook can be a record of your activities. As a timeline, you can use the length and divide it up into the days or weeks of your great travel adventure. Note what you did and where you went on separate double page spreads. The story of your epic voyage will be from the start to the end.
Perhaps you decide to go to New Zealand for a fortnight on your honeymoon (as my friend did), then you can capture the main highlights of the trip in your concertina sketchbook. This then becomes a part of your wedding memories and can be enjoyed in years to come by your kids and other family members.
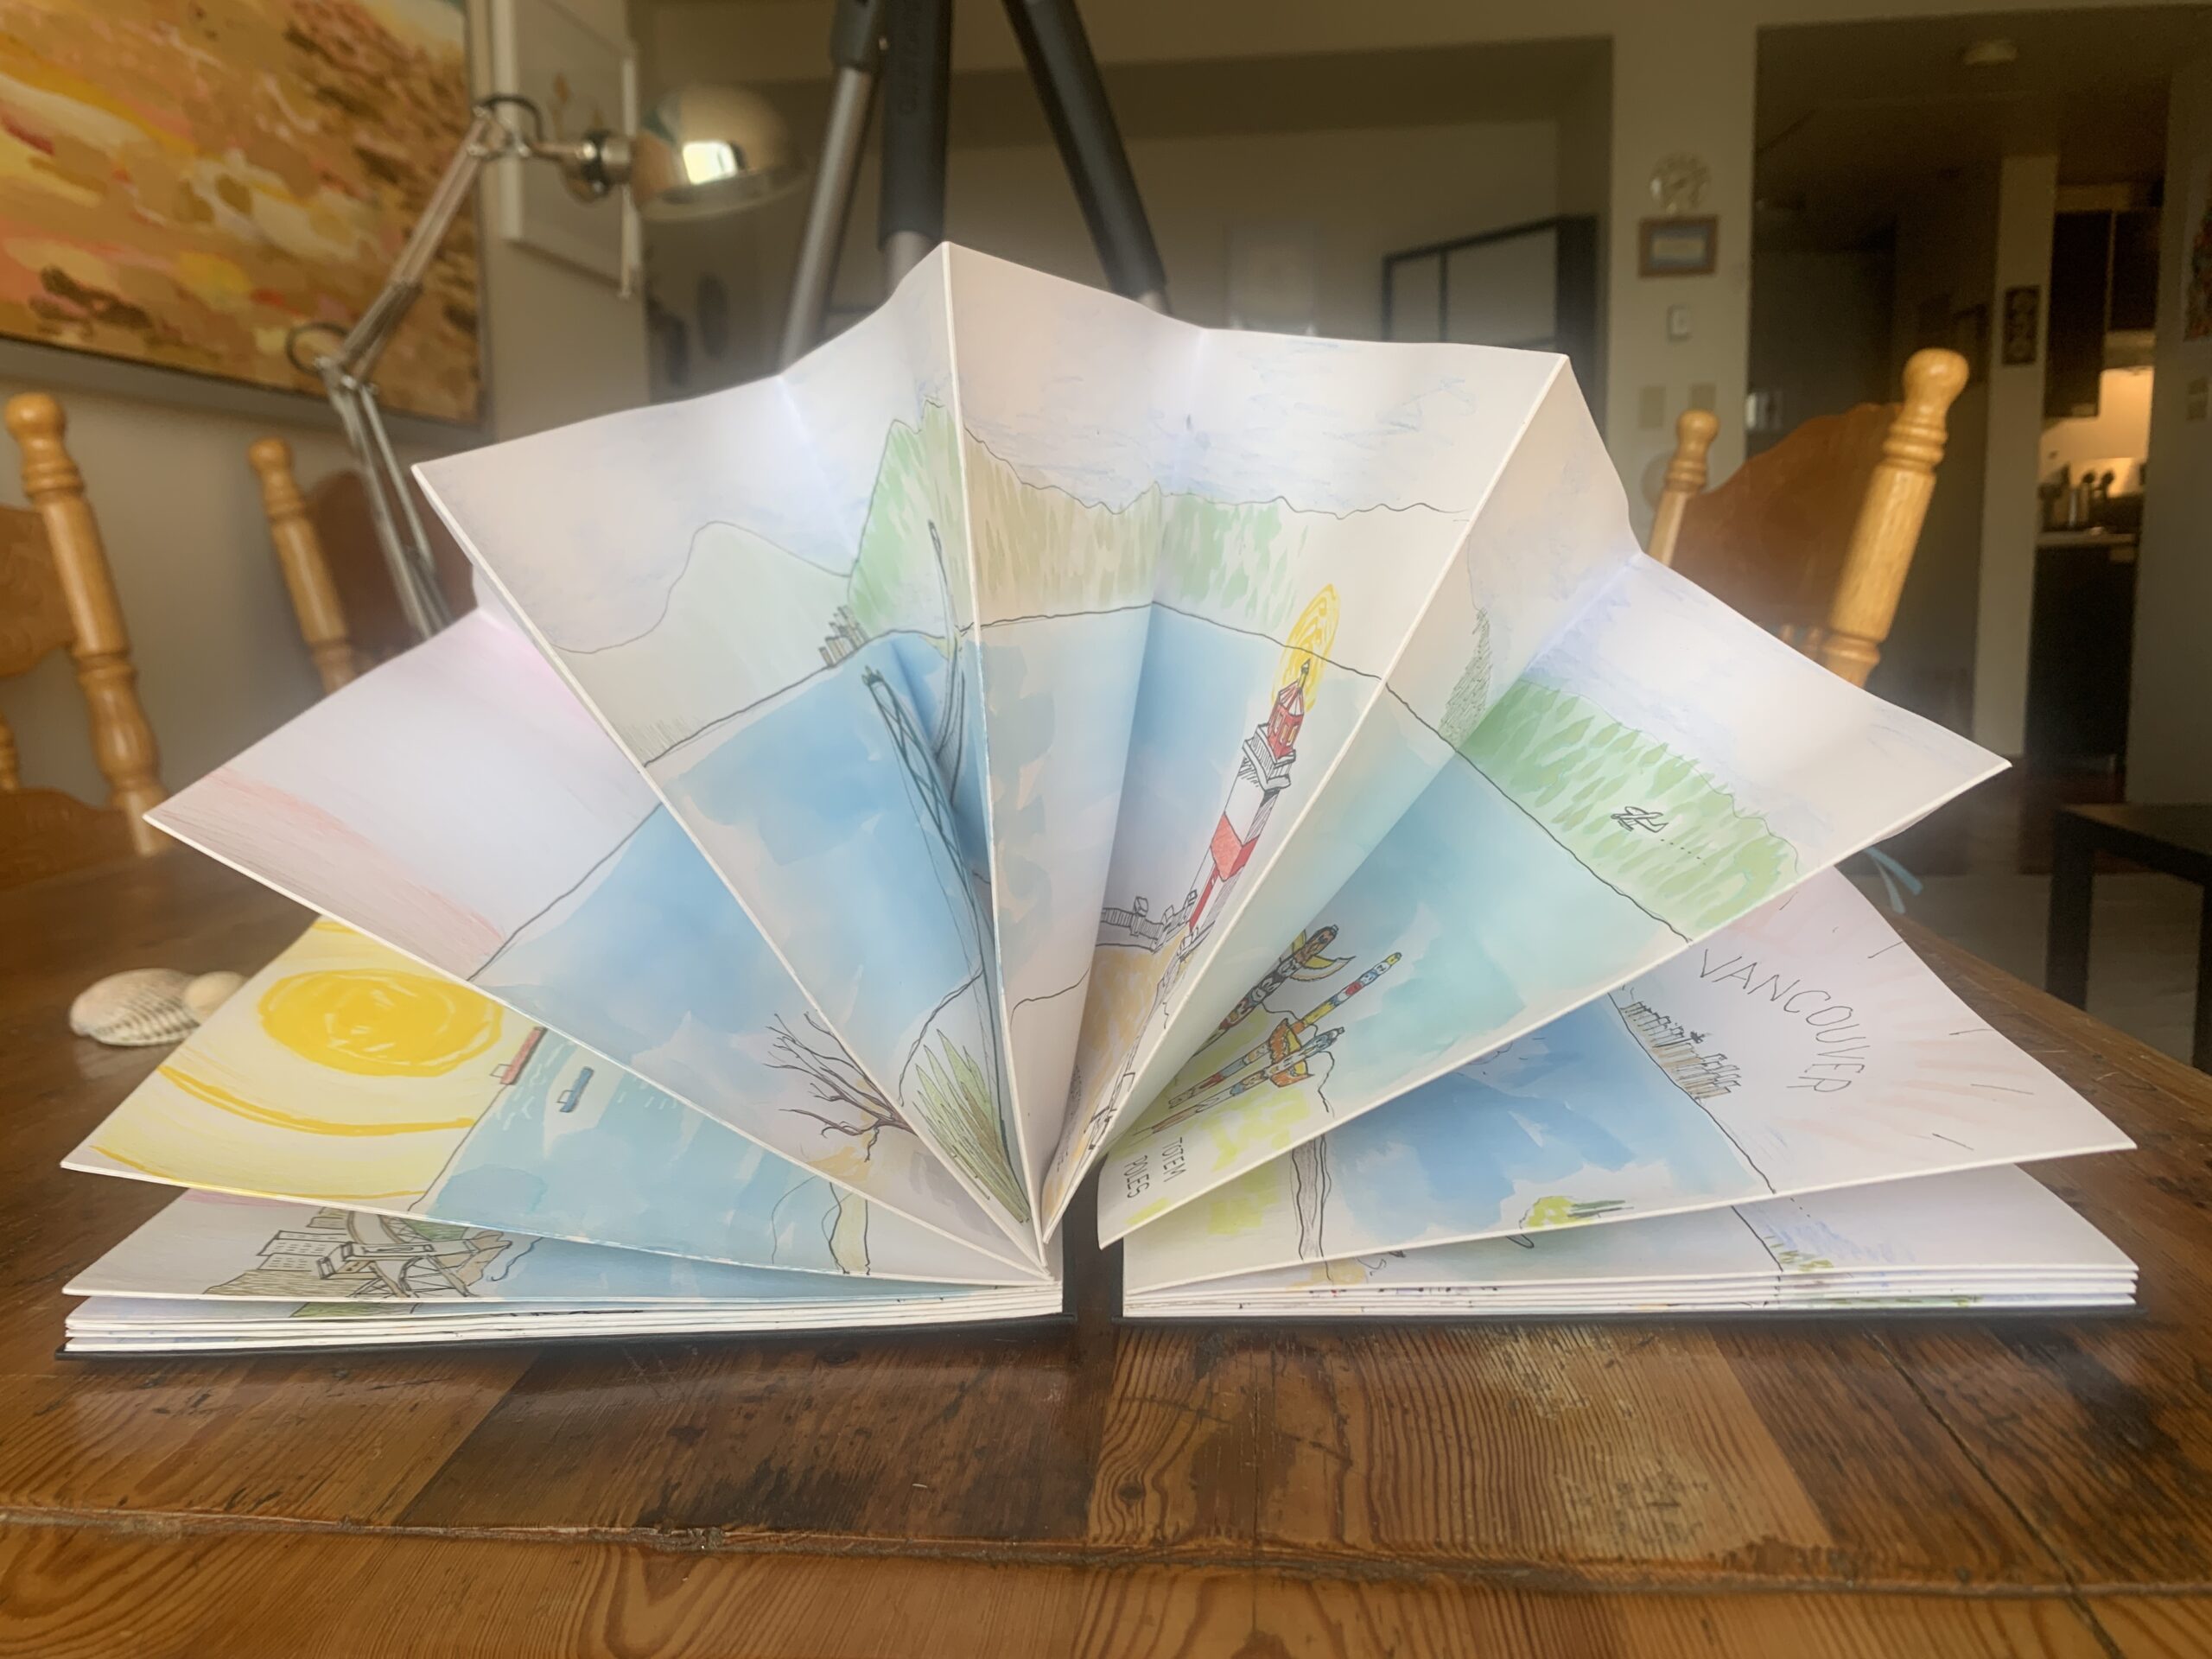
Over the next few days, I started to use my Faber Castell polychromas coloured pencils. I started really with the buildings in shades of grey, cool greys and warm greys and some beiges. I went through the concertina and did all the buildings first. Then I started on the trees and used several different colours of green to work through the trees as I flipped through the sketchbook.
Once I’d picked up one colour of green in my hand, I went through the whole book with that colour. Then I started back at the beginning and took a lighter green and continued on in that way. It took a while. Quite a while.
Wanting to bring some other features into higher focus, I chose to use some of my Tombow markers to add definition to some of the actual features. Features like the lighthouse, the Totem poles and The Drop and some of the boats and so on. I want to say it was sparingly that I went through and added richer colour with markers. I spent several days tinkering away with details and in some places going back in with my black ink pen to more clearly defined the foreground features as I thought best.
I did originally create the Sun in yellow as it was setting over English Bay. The reason I colored the Sun in that way, fading onto shades of pinks, mauves into blues, was that I just didn’t want the whole sky just to be blue from one end to the other. I was trying to show a little bit of interest, changing the sky as well as I had done with the sea, working with the different colours of inks. I attempted to show some clouds as well just to add extra interest.
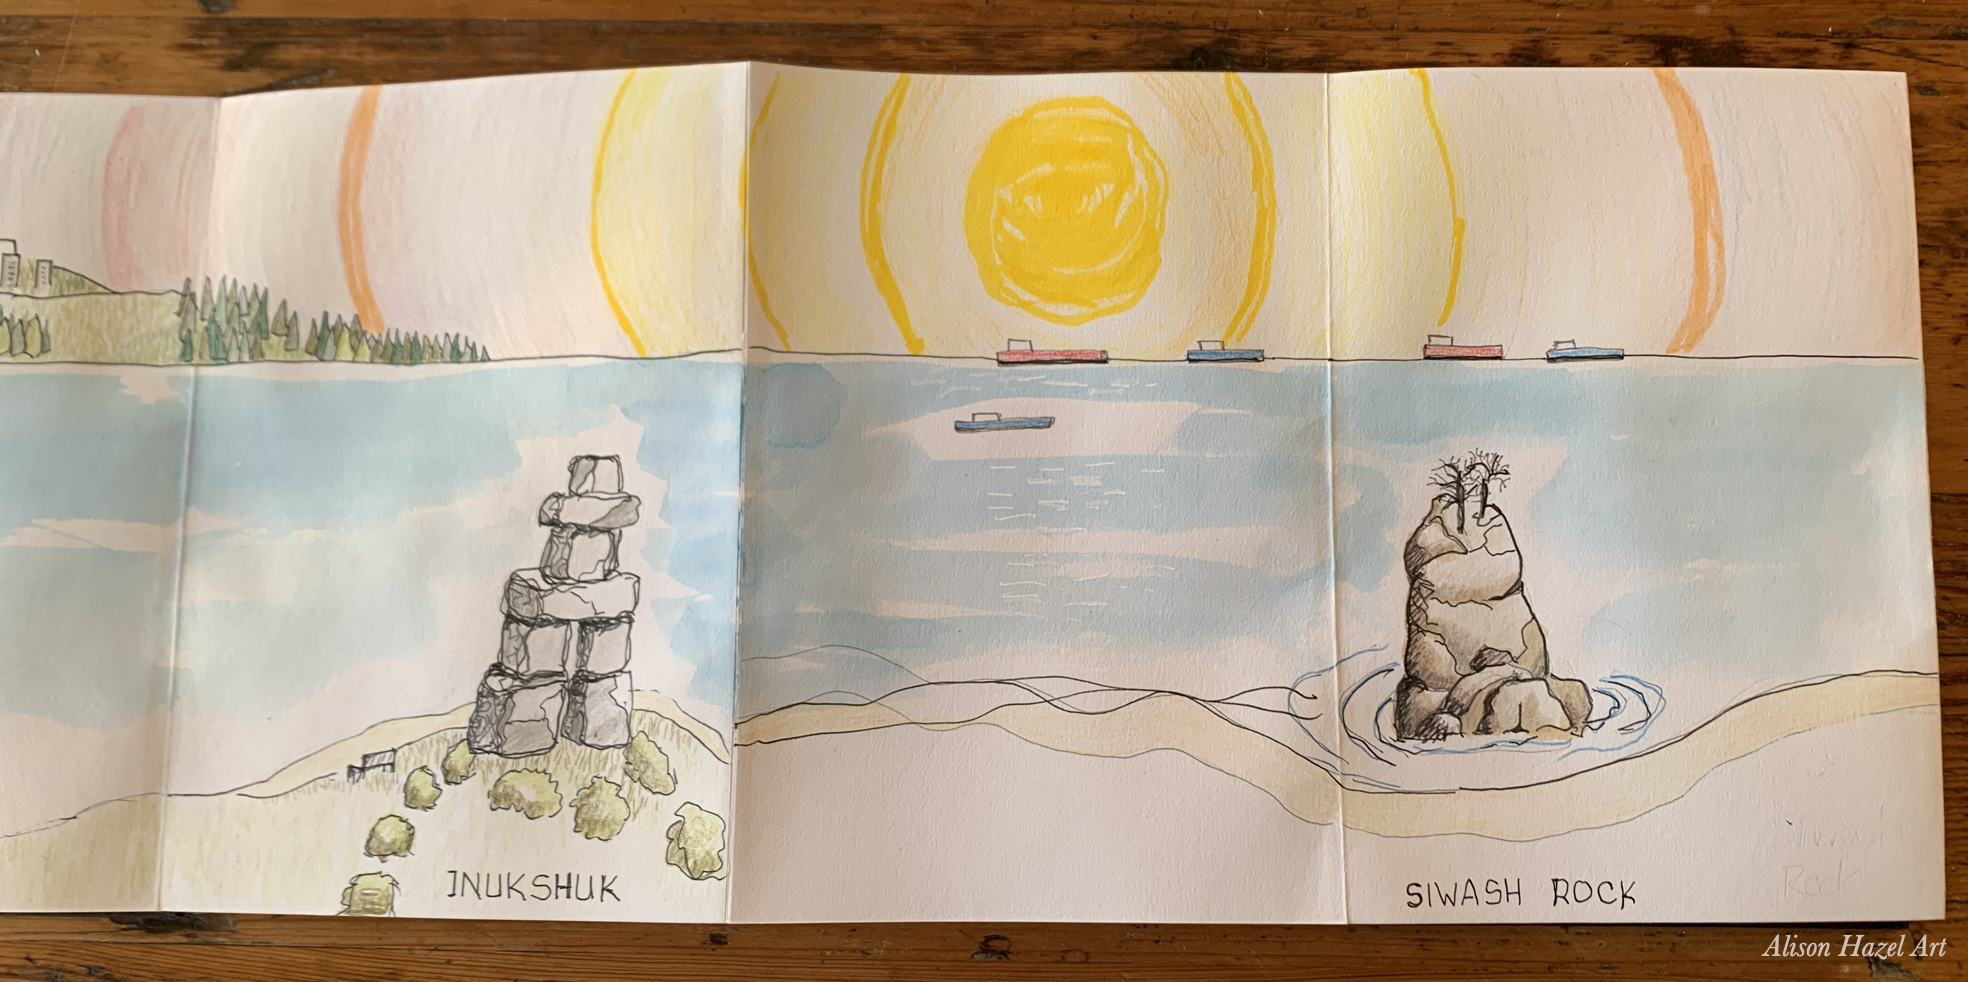
Now when I got to this stage, I was pretty happy with how this sketchbook was looking. It did occur to me that I will probably tinker with this concertina sketchbook of the Vancouver Seawall. I may perhaps even fiddle for a few more weeks, adding bits and bobs, bringing more features to life and adding a bit more colour here and there.
I think the real question is when is an art piece finished? This concertina is not quite finished yet. I realize that, but I wanted to show you how I’ve created it and the potential for using concertina sketchbooks overall.
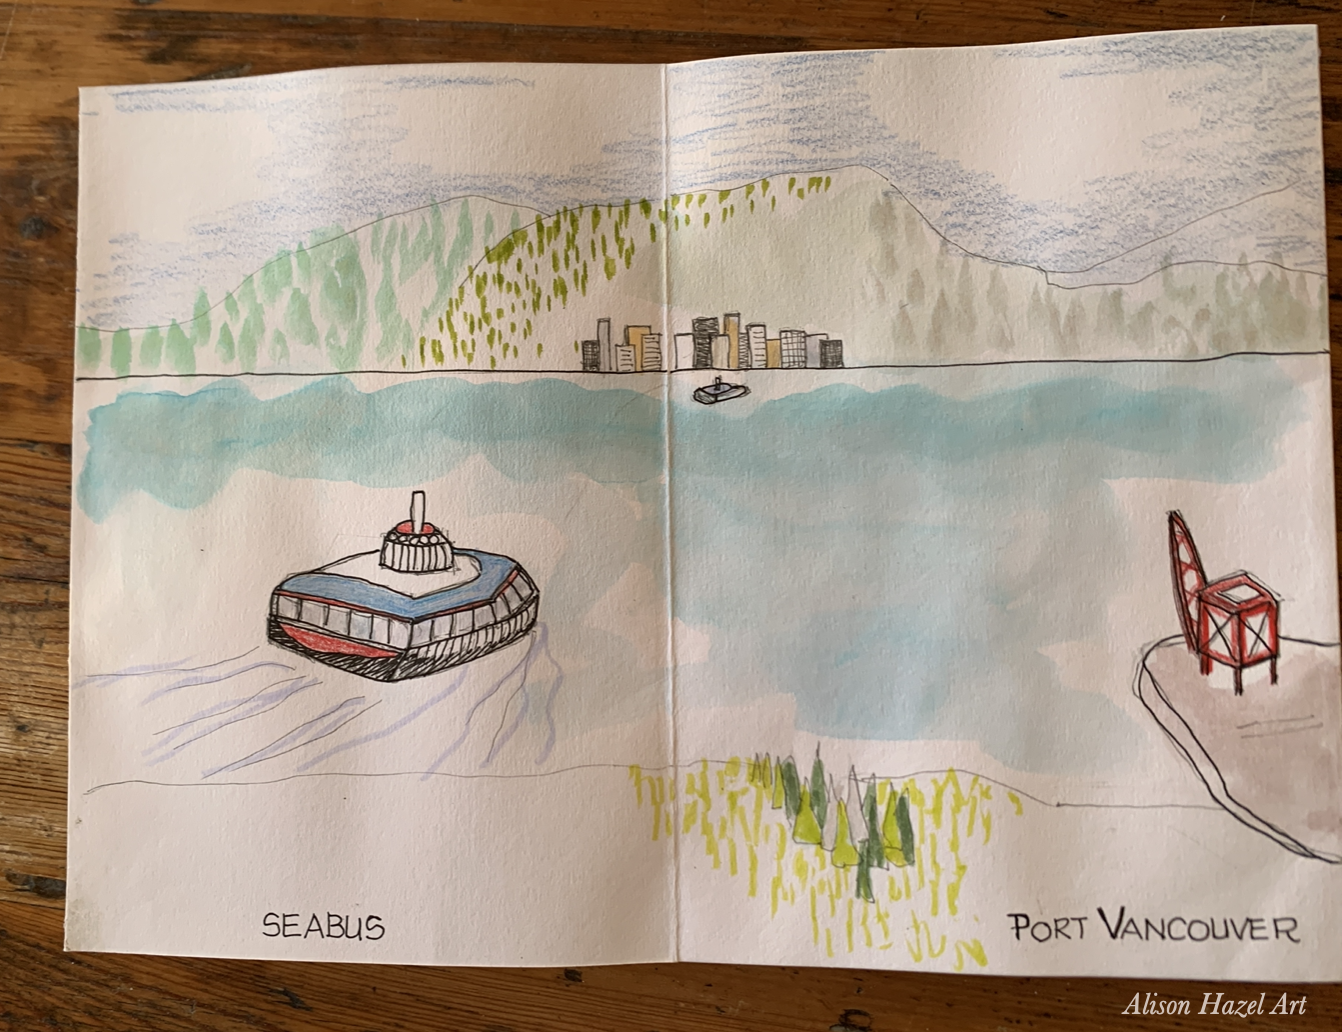
Using a concertina sketchbook is not likely to be something that I will do all the time. I perhaps will do another one next year if I find a suitable subject. Overall, I love how this Vancouver seascape has turned out. Not everything in the sketchbook is to scale, but rather there is a good representation of the whole seaboard that surrounds the city.
I’ve already ordered my next concertina sketchbook, so I’ll have it ready for when the urge presents itself. I can’t wait…
Have you used a concertina sketchbook? What would you draw in one? I’d love to hear from you.
Lions Gate Bridge photo by Priscilla Du Preez 🇨🇦 on Unsplash
Granville Island photo by Mia de Jesus on Unsplash
Burrard Bridge photo by Jorge Ramirez on Unsplash
Siwash Rock photo by Brandon Brown on Unsplash
Brockton Lighthouse photo by Willian Justen de Vasconcellos on Unsplash
Totem Poles photo by Itsuka Iwaki on Unsplash
9 O’clock Gun photo by Albert Stoynov on Unsplash
Float Planes photo by Aditya Chinchure on Unsplash
The Drop photo by Pascal Bernardon on Unsplash
Port Vancouver photo by Ronin on Unsplash
Canada Place photo by Lauren Kan on Unsplash
Save this pin to read later.
Alison Hazel is a hobby artist and she shares her ongoing journey about becoming an artist later in life. She creates simple art that anyone can make. She hopes to inspire you to reach your creative potential in the area that suits you.
The page you requested could not be found. Try refining your search, or use the navigation above to locate the post.
Join me as I sketch, draw and paint a weird autumn themed knobby gourd using colored ink as a hobby artist.
The page you requested could not be found. Try refining your search, or use the navigation above to locate the post.
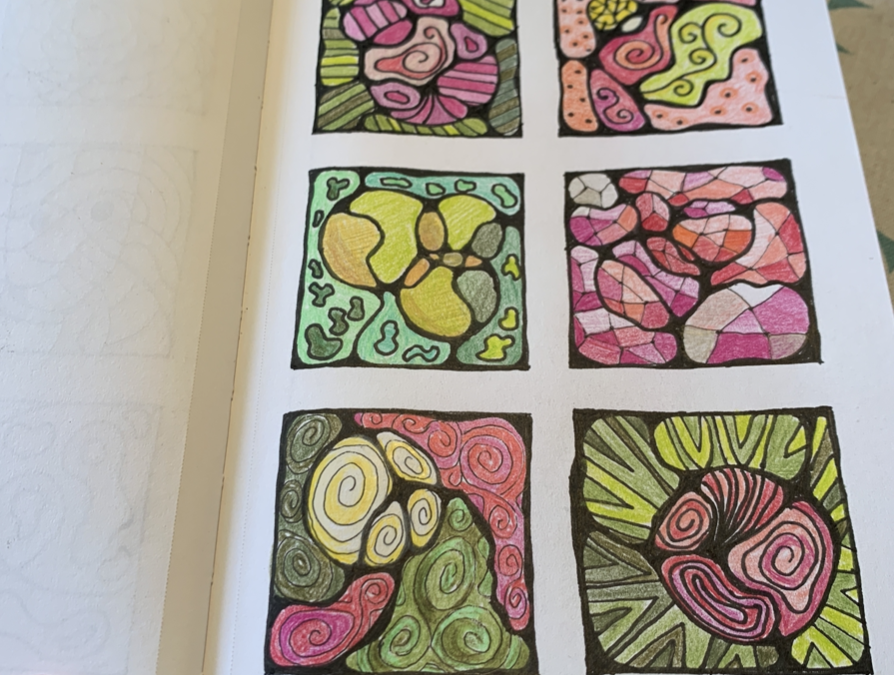
Author: Alison Hazel – Updated: March 2025
About three years ago I came across the technique of neurographic art. When you see neurographic art you’ll realize that we’ve been doing all along, but since Pavel Piskarev coined the phrase and put it out there, it became clearer on how to use neurographic art in your art practice.
For a quick overview, neurographic art is a practice you can do which brings focused thought to the art piece on which you are working. In a way, it’s almost like a meditation or therapeutic art piece. Neurographic art can be as simple or as complex as you like, and you can add embellishments as well to the piece. I created a basic neurographic art explainer video if you need a little more.
Around two years ago I did some work with artist trading cards and I used the neurographic. method for them which was quite a lot of fun. I still have some of these cards and because they’re trading cards, you trade them with other artists. Since then I’ve probably traded five or six cards, but I still do have half of the full twelve pack with me.
Then towards the end of last year, I started working with grid art journaling, where you get six blocks on the page, or different shapes on the page, such as hearts and so on. This week it occurred to me that I should do a neurographic grid art journal page, so that’s what we’re doing this time.
One of the benefits of doing neurographic art is that it calms your mind. This is done if you have a troublesome question or decision that you have to make. Say for instance, your question maybe, “Should you move and downsize to a smaller apartment?”
Moving house is a huge decision to be made of which there may be many permutations, such as:
Life’s questions can be complicated, but these are the ideal ones to pose as you do neurographic art in any form. Your question doesn’t have to be complicated and in fact, it doesn’t have to be a question at all, but it could just be something that you are ruminating on. Perhaps it’s about what happened yesterday or a conversation you had last week and you’re just trying to clear your mind. This is the time to do some neurographic art. Let’s get started.
If you do have a question or something you’re ruminating on or something that’s been worrying you, before you start, write this down either at the bottom of the page or on the back of the actual artwork. It doesn’t have to be complicated. You could just put the words “move?” or “new job” or anything which is troubling you for which you want to try and find some resolution.
I’m not saying that you’re going to have the answer at the end of it, but your thought processes of creating this neurographic art and the alignment of the synapses that occur in your brain as you think will possible provide fresh ideas for you. The idea is that this neurographic art technique will ease your mind and benefit your mental health.
For this grid page I went back to basics and chose the two by three (2:3) 5cm or 2-inch squares in my A5 sketchbook. As a reminder, you can check out how to set up a grid art journal page with six blocks in this manner.
Start with some circles and you can use a template for this or do it freehand. As I wanted to lay them out in some type of compositional form within the block I did each of the circles a different size. In each of the blocks, I sketched one or two circles lightly with my 2H pencil.
Inside each of the blocks, I drew one or two neurographic lines going from one edge through to the second edge as by now you know that neurographic lines never dangle. These lines break up the six blocks into smaller sections, as we will see later.
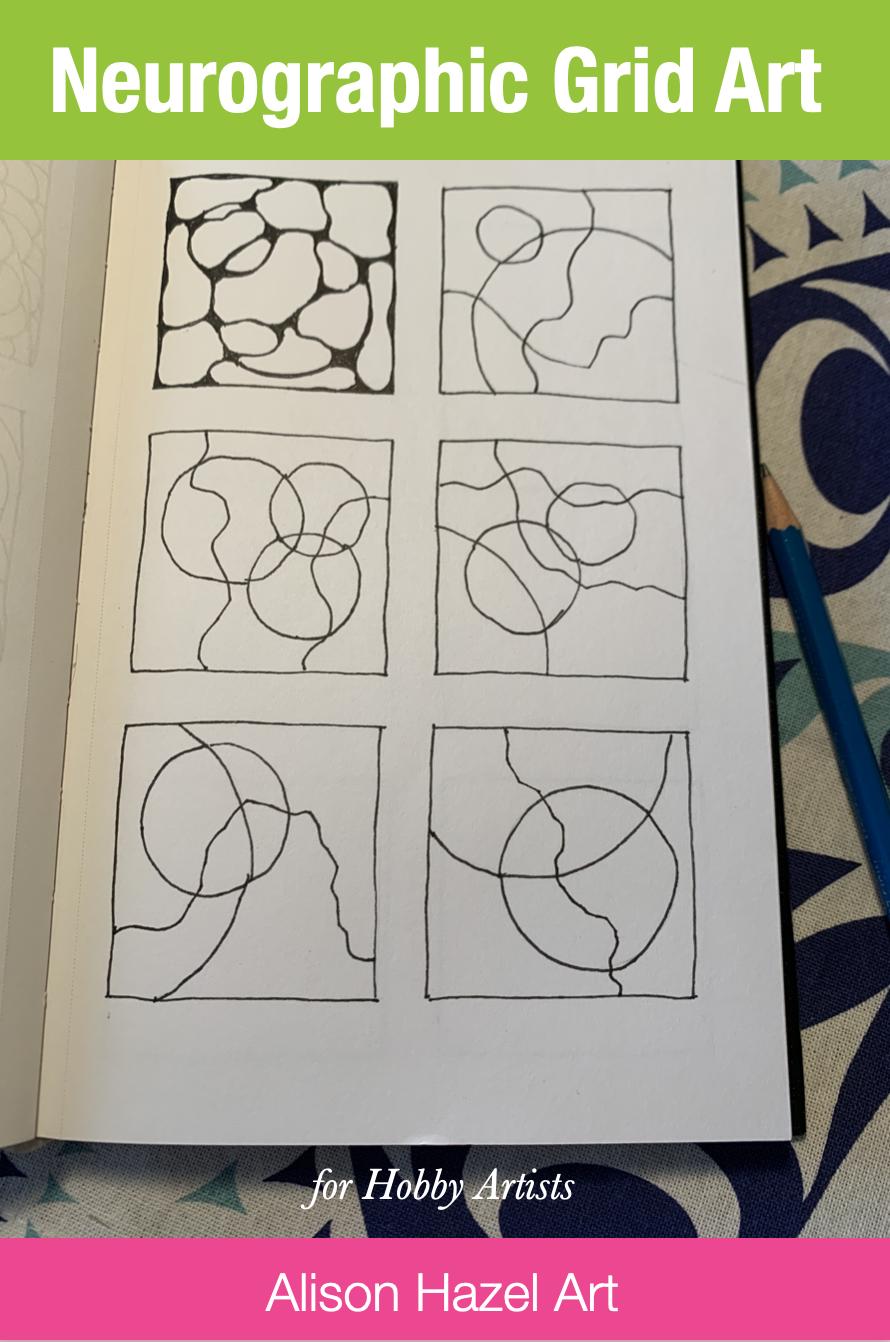
Next comes the fun part where you start with your black ink. I used a 0.3mm black pen, but you can used whatever pen you have to hand and it doesn’t have to be black. Curve in each of the corners and so for the four corners on each block I curved them in. I used about a 3mm radius here for each corner arc. If the curves are too thin the piece looks kind of spindly. So those are the four corners neatly rounded.
Then I turned my attention to the intersections where two lines cross, or where a neurographic line overlaps with a circle, or where two circles meet. Anywhere where two lines cross each other will be an intersection, and every crossing needs to be curved. If your lines are very close together, you will end up with a very small blob shape and that’s okay. Depending on the angle at which the two lines come together, the junction might be quite whopping as well, and that’s acceptable too.
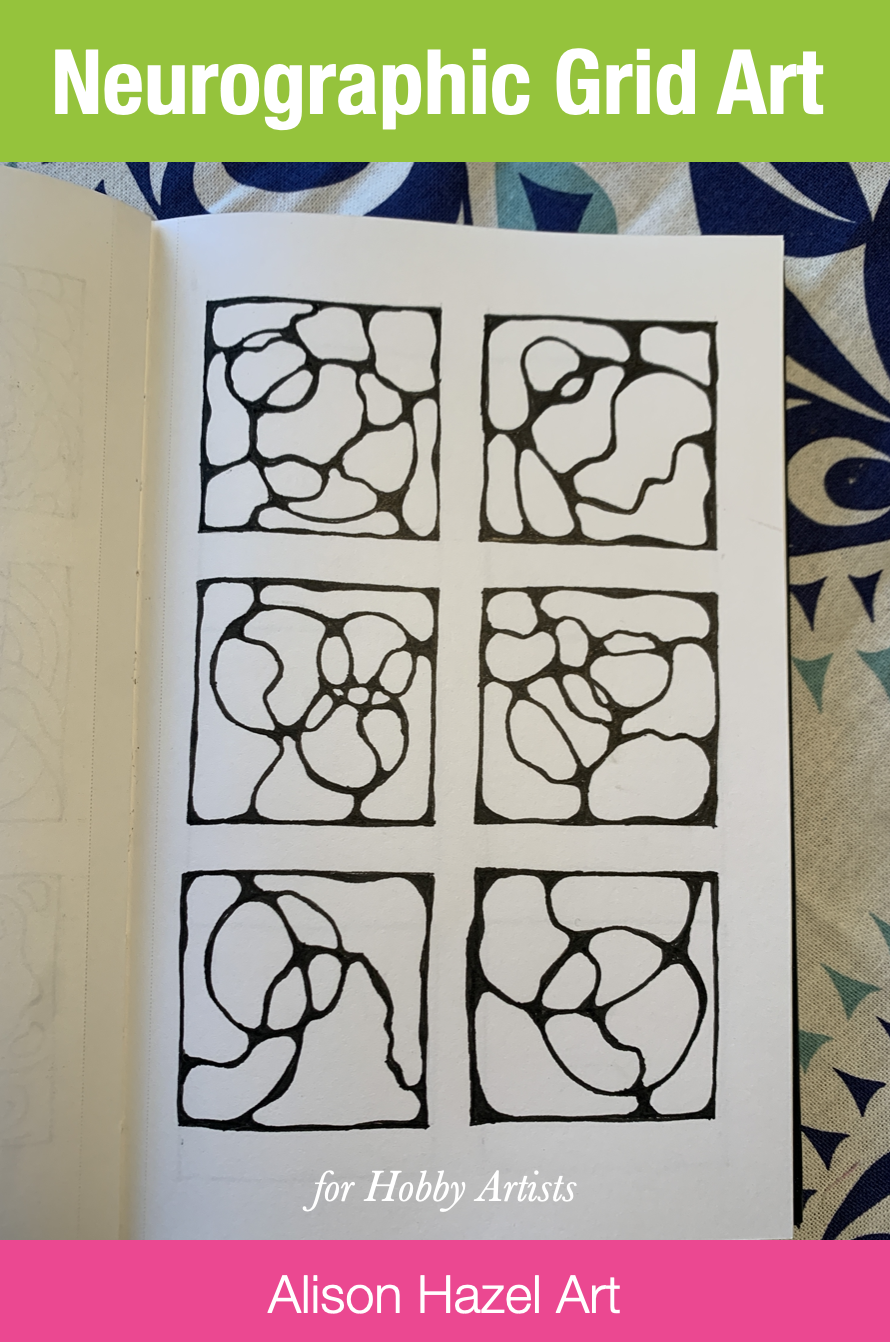
Inking the intersections is the stage where you are mentally getting into the zone, finding your flow state and contemplating the question or issue which you put before yourself earlier. Take your time here, there is no rush. In fact, I took a full day from starting the curves on these corners and intersections and then I left my sketchbook overnight.
Returning to it the next day I could see the page with fresh eyes and was able to find the bits I wanted to smooth out further. I really didn’t like some of the pointy looking corners I had, so I smoothed out my curves even deeper and in this way laid down more black ink on the sheet.
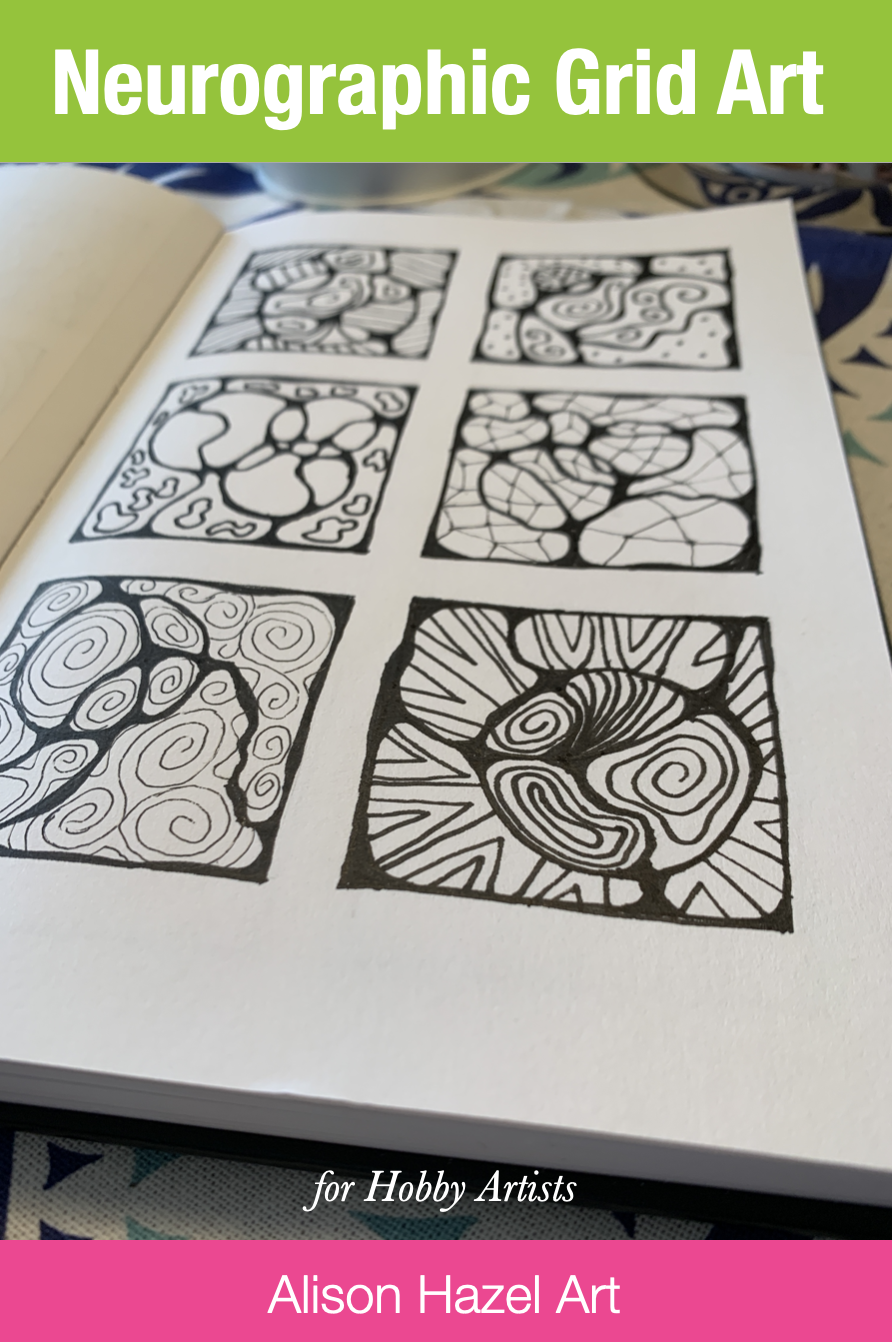
Now you have a page with several open squidgy areas, also known as blobs, and here you can definitely get creative. You can add patterns like swirls, zigzags or waves as you see fit. For guidance use your intuition and don’t feel the need to overdo it. To have one focal point (blob) in each block is a good idea. Try to think back to the issue you posed before you began and let your thoughts run on that path and create new tracks.
The next step is to add some color in the open shapes. Only as your art piece evolves can you decide on color. If you make the page too busy with multiple patterns and colors it can become somewhat of a blur overall. I like to use a limited color palette when I’m working on such small sketches like in this grid art journal page. This time I chose pinks and greens.
But wait, there’s more! Now you can add some embellishments if you like. I typically add some flourishes of gold pen here and there and that seems to be enough for me, but you could collage some sequins, ribbons or other trimmings if you like. It’s up to you.
I think that the practice of creating grid art journal pages in your sketchbook has two main benefits and it could have more if I thought about it longer.
The first benefit is that it gets you doing daily art practice and you keep sketching your art in your style. I do like the idea of doing the weekly or daily art practice. This is why I love using my grid art journal sketchbook and you can get a peek inside.
The second reason to work on your grid art journal pages is as micro concept art ideas. In general, concept art is a form of visual storytelling used to convey ideas before the final work is developed and is a process which allows creators to experiment with ideas quickly. With concept art the goal is to capture the essence of a concept, ensuring a clear and cohesive vision. It’s a way that something which evolves in one of your blocks, in one of your grids, on one of your pages, may one day be the genesis for a larger drawing or painting piece which you can later develop further. Clearly, not everything you doodle in our grid art journal is going anywhere, but some of it can.
Last year I took one of my grid art journal pages and developed it into the illustrations for a children’s book which I’ll explain more about one day. And to be perfectly honest, of all the sketches I’ve done in my grid art journal pages, only the sea star page did develop into something further. Although I have taken a couple of the sketches that came through my grid art journal page earlier and created larger images which I’ve used on greeting cards and you can check out more of those in my art shop.
Let me know if you’ve tried grid art journaling or if you tried neurographic art at all and how you are getting on.
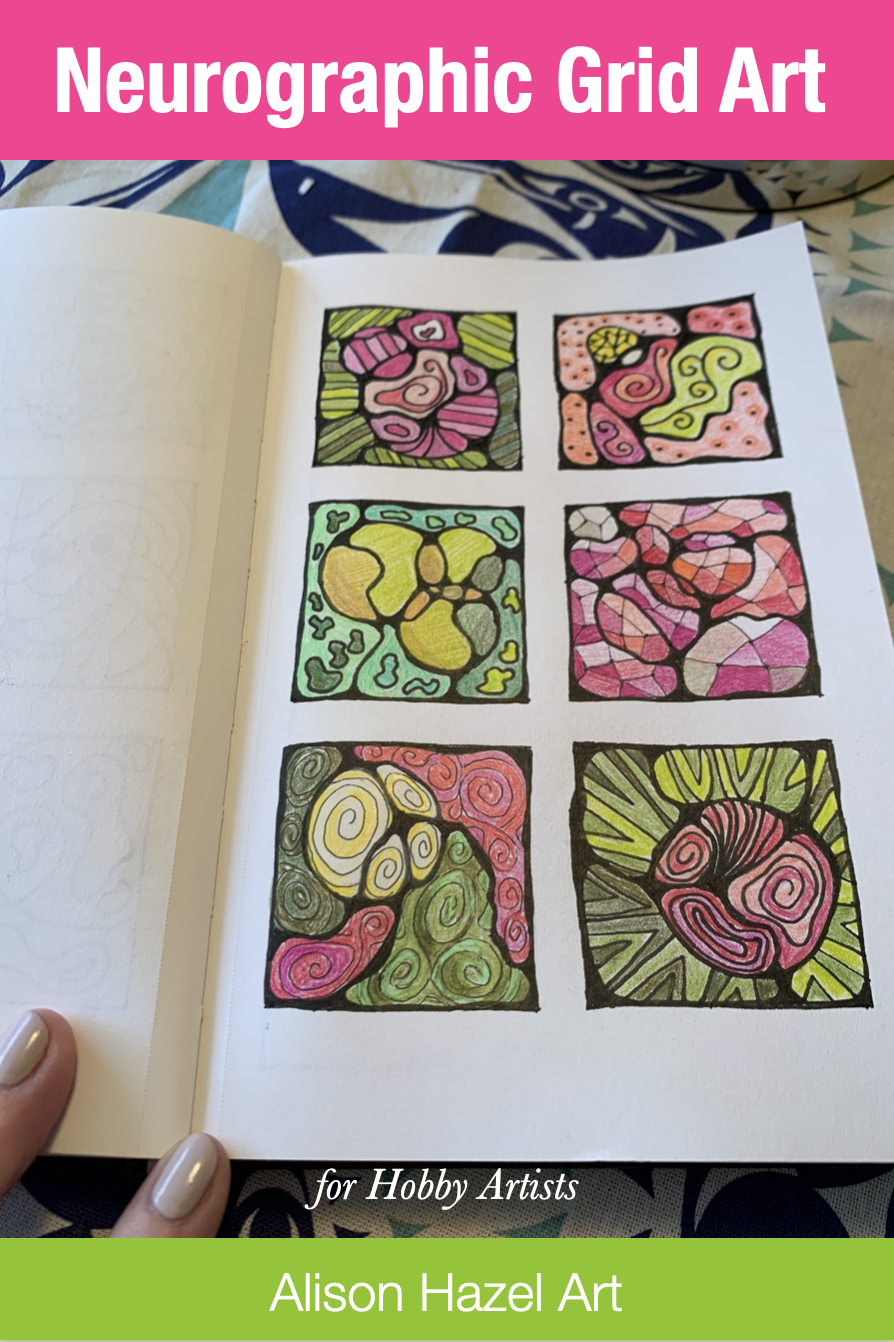
Save this pin to read later.
Alison Hazel is a hobby artist and she shares her ongoing journey about becoming an artist later in life. She creates simple art that anyone can make. She hopes to inspire you to reach your creative potential in the area that suits you.
The page you requested could not be found. Try refining your search, or use the navigation above to locate the post.
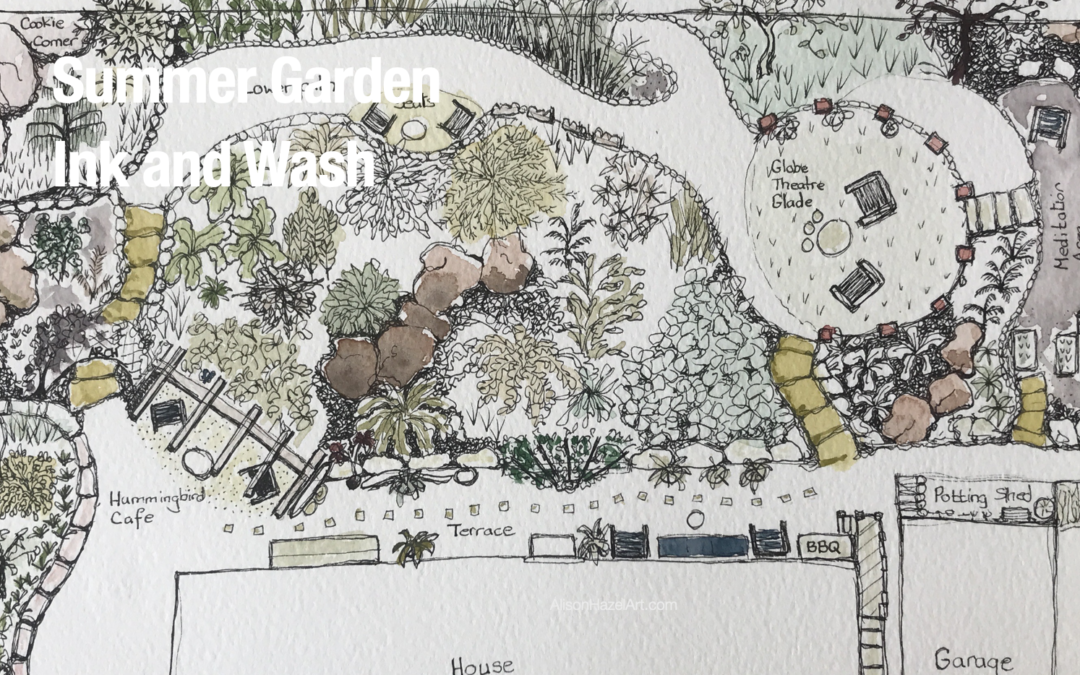
How to draw an interesting plan/elevation view of an artist’s visit to a friends’ delightful private garden with pen and wash.
The page you requested could not be found. Try refining your search, or use the navigation above to locate the post.
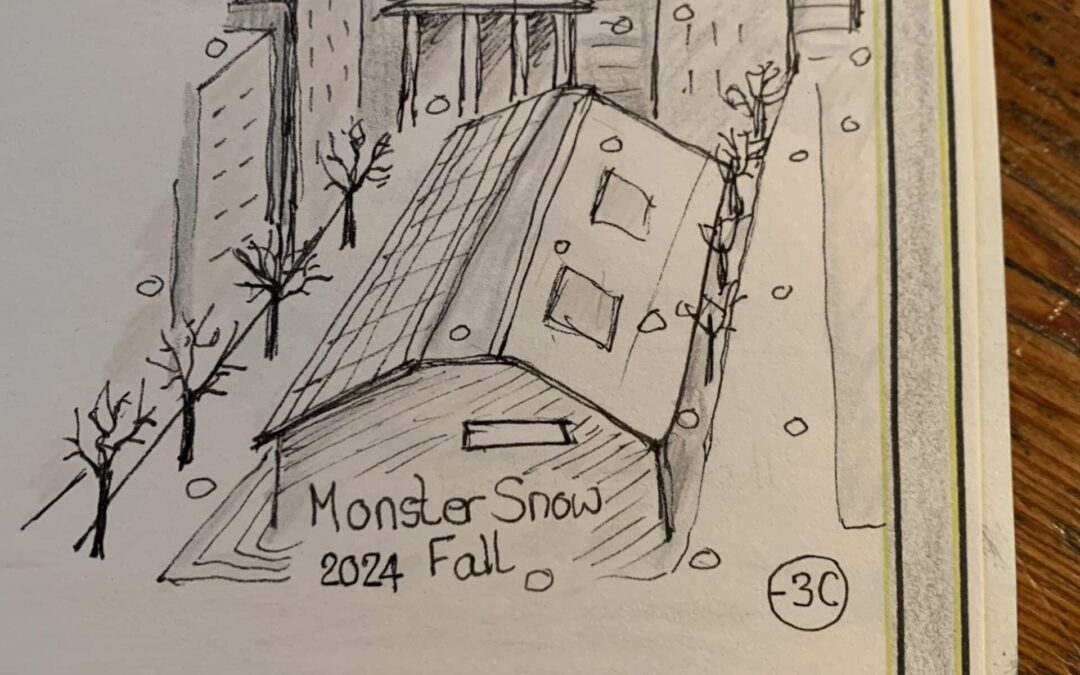
Author: Alison Hazel – Updated: February 2025
As someone who tends to spend a lot of time sketching and writing and making a combination of the two through sketch journaling, grid art journaling and travel journaling, I now find myself wanting to share with you my perpetual sketch journal, which is something that I began last year. I happened to receive a blank A4 art sketchbook (similar to this one) from one of my daughters last Christmas.
Obviously, I was thrilled because the potential in a blank sketchbook makes my heart sing. Then I wondered what to do with it. As I flicked through it, I noticed that there were more than 52 pages, so immediately I thought gosh, I could do 52 sketches, one for each week of the year.
Then it occurred to me that I could do a perpetual sketch journal, very similar to my perpetual nature journal which I’ve spoken about in the past. So, I converted this new blank, pristine journal into my perpetual sketch journal.
.
A perpetual sketch journal is a unique way to record your life, one small drawing at a time. Unlike a regular sketchbook, that you fill up from the front to the back, this journal is structured to record little weekly illustrations over multiple years, allowing you to later revisit and reminisce over past moments.
Imagine flipping back to the same page next year and seeing what you were doing on that exact week in previous years. It is a way to create an almost visual time capsule of your artistic and personal journey.
Select a durable sketchbook with enough pages to last multiple years. You need a journal that has at least 52 double spreads. A double spread is when the book is open and there is a left-hand page and a right-hand page. Choose a book with thick, high-quality paper that works well with most mediums including watercolor if that’s what you use.
Avoid thin and see-through paper as those pages won’t stand up to the test of time. This is not the time for a newsprint or tracing paper book as that type of paper is way too thin. I mean, let’s face it, ideally you will keep this journal for years to come and maybe even for the rest of your life, so you need pages with paper that can take it.
When I started, I just happened to have the gifted A4 size sketchbook and that was the one I used. But if I had to choose again, I may probably select an A5 (5″ x 8″) size because they are easier to handle and they sit better on the shelf, but I mean, that’s no criteria for choosing your sketchbook. Or is it?
About art supplies, I’m always of the opinion that you already have what you need. There is never the requirement for anyone to go out to buy more art supplies, but of course we as artists love doing so. I believe you already have all the pencils, pens, markers, crayons and paints that you need to start working in your perpetual sketch journal.
And let’s not use the excuse that, “Oh, I don’t have a red marker, therefore I cannot begin!”
No, no, no, reach for your pen, there’s bound to be one somewhere so check in the kitchen drawer, and start with your creative sketching straight away.
These are the art supplies that I use in my perpetual sketch journal.
So you’ve got your blank sketchbook. There is at least 52 double spread pages available and now we’re going to divide the book up. There are two ways (well actually probably many more ways) of doing this. In general, you can either do it weekly or monthly.
With a weekly layout you would go through the year, going week one, week two, week three, week four. For instance, on your week one double spread you would write there January the 1st to 7th. The next double spread will be January 8th to 14th and the next one will be January 15th to 21st. In this way you get through all 52 weeks and each week has its own double spread. I started off this way and then moved on to naming the months.
The second way of dividing your book if you have slightly more than 52 double spreads is to divide it into 12 months. So here for example, you could open five double spreads per month. So that would be 5 x 12 which is 60 in this case if you had 60 double page spreads. You could definitely work the months and give each month 5 double spreads each because some months will have 4 weeks and some will have 5 weeks and each year is different.
Another way to get around this is just to count out four double page spreads per month. So that would be 4 x 12 which is 48 double page spreads and you could just squeeze the last week on the half a page. But either way, you need to get your book divided before you start. One benefit of segmenting the book into months is that you can then do a special monthly introductory page and colour it in say, April, May or June and make a whole embellished monthly page if you like.
The way I’ve been using my perpetual sketch journal is just by drawing a small sketch for the week. I’ve simply plonked these drawings about the spreads as I’ve gone through the book. However, if you want to get more organized, you could grid the whole page out and say this is 2025 and that’s 2026 and that’s 2027. But I think that might be a little rigid, but it may work for some of you.
So just to be clear, you don’t have to fill the whole page with a sketch for the week. You need to leave space on each page for the multiple years of sketches still to come. Then in time, you can look back over your sketchbook, perhaps to a particular week and you can see, “Oh, last year I was doing this, the year before I was doing that, and five years ago we were doing the next thing.”
Each week, draw a small, simple mini sketch which is a snapshot of something that stood out to you in that week. It could be:

If you’re unsure what to draw, you can use prompts to guide you. Here are a few ideas:
Don’t overthink it! Your journal is a personal record, not a masterpiece. Focus on small, meaningful details from your life.
I recently came across a video on YouTube about an artist, Helen Houghton, who drew tea, tea sets, teacups and teapots all year. I’ll put a link to her video here so you can see that tea was her subject for her weekly art.
The idea is that looking back over the years you can not only see what you were doing, but also how your artistic style and skills have developed. You can reflect on past sketches that will reveal how your drawing skills and techniques evolved over time. I believe it’s a rewarding way to witness personal artistic progress without the pressure.
Bearing in mind that, I’ve only been doing this for just on 14 months, I suppose in a way the ideal will be that it will be your legacy.
I think it may be like a visual diary of my life, very much like nature journaling can be, and I’m particularly thinking about The Country Diary of an Edwardian Lady by Edith Holden whose marvelous book has inspired me no end. Not that I’m saying I’m in Edith’s class at all, but what I’m saying is that yours and mine works will live on after you and I are long gone as our legacies.
Your perpetual sketchbooks can be left for your family or your grandchildren to say, “Hey, this is what she was like, this is what interested her and it’s so interesting that we still have some records of her work.”

I always like to use the example of how Leonardo da Vinci’s sketches have stood the test of time. We can still see what he was doing and thinking about at the time, and this, from an artist who was sketching over 500 years ago. Each sketch holds a memory, making your journal an invaluable visual diary. Unlike traditional written journals, your sketches capture feelings and experiences in a way that words sometimes can’t.
By committing to just one small drawing a week, you’ll establish a sustainable creative routine that doesn’t feel overwhelming, but keeps your artistic practice alive.
I suggest that you choose a set time each week to sketch, perhaps on Sunday evenings with a cup of tea. Treat your mini sketch as a mindful, enjoyable practice rather than a chore.
No guilt, just keep going. Life happens. If you miss a week, don’t stress, rather just move forward. During last year I was quite ill for a while, and I missed several weeks, but that doesn’t matter because this year I’ll be able to capture my weekly images and move forward. You can always leave the space blank or add a quick doodle to fill the gap.

It’s only over time that your perpetual sketch journal will become a rich tapestry of past experiences. The longer you work at it, the better it becomes. Revisiting old pages can spark new ideas, remind you of forgotten moments and serve as a visual representation of how much you’ve grown artistically.
A perpetual sketch journal is a low-pressure, rewarding way to track your artistic journey while capturing moments from your life. Even if you don’t do other types of sketch journaling, nature journaling, travel journaling or bullet journaling to have a perpetual sketch journal where you only do one sketch a week might be a great entry level sketchbook to help you develop your artistic habit.
This practice can bring joy, creativity and mindfulness into your weekly routine. Start today, and in a few years, you’ll have a beautiful collection of full color memories and artistic growth to look back on!

Save this pin to read later.
The page you requested could not be found. Try refining your search, or use the navigation above to locate the post.
Join me as I sketch, draw and paint a weird autumn themed knobby gourd using colored ink as a hobby artist.
The page you requested could not be found. Try refining your search, or use the navigation above to locate the post.
Author: Alison Hazel – Last updated: January 2025
Over the years, your creative energy and passion for art will no doubt ebb and flow. Hopefully it will evolve as well. Sometimes it’s hard to stay motivated. You might not have any creative aims, or if you do, you may simply not concentrate on your artistic goals. One simple yet powerful practice to help reignite your creativity and help you stay on track with your art, is to make anart-themed vision board.
I believe that we all benefit from having visions and let’s be clear, I don’t mean seeing ghosts or having déjà vu. What I mean is raising your sights to the horizon and wondering what’s over there? Considering where can your life journey can take you and speculating if there be dragons?
What you could do if you didn’t have to work your day job, work your two day jobs, look after three kids, shop, cook and clean for your family and be a supportive wife to your aging guy who seems to be becoming a hermit himself, not to mention the constant wrangling with your mother-in law…
You get the idea. That if it was only you, what would you aim for in life? That’s what I’m getting at. Your vision for your life.
I’ve created myself vision boards on and off over the past ten years. Personally, I use a vision board and like to refresh it every year. My current one is a large piece of cardboard (50cm x 90cm or 20″ x 35″) cut from the side of an old Amazon delivery box. It hangs on the wall with some ribbon I had lying around. It used to hang in the bathroom, as I’d see it every day both morning and night, but then my sister said to move it away from all the drains as the energy could disappear literally with every flush. So now my current vision board hangs proudly in my bedroom. It is directly opposite my bed, so I see it first thing in the morning and last thing at night. This is a much better placement.

In general, a vision board is a visual representation of your hopes, dreams and aspirations. It can act as a constant reminder of what you want to achieve and can encourage you to stay motivated on your artistic journey. If you have just begun exploring your creative side, a vision board can help you clarify your intentions and reignite your creative spark.
In this article, I’ll take you through how to set up and use an art-themed vision board, especially designed for hobby artists like yourself. I believe these ideas will help you stay inspired, organized and motivated to create more original art this year.
As a third-age hobby artist, your creative expression may be deeply connected to personal experiences, nostalgia and a desire to express yourself in new ways. An art-themed vision board allows you to visually organize and reflect on what you want to achieve in your art practice.
A vision board will help you define what you want to achieve. Perhaps you want to start a grid art journal, have a go at artist trading cards, try a new art style, master a different medium, or simply rekindle your joy for painting, drawing, sketching, journaling or creating.
A vision board can serve as a daily reminder of the things you want to explore. You create a visual reference for artistic ideas.
Keeping your goals front and center can help you stay focused and motivated. Even on days when creativity feels elusive, your hand-crafted vision board will be a reminder of your why.
Before you start, gather the supplies you’ll need to create your vision board. This can be as simple or as elaborate as you like.
Here and a few things you might need:

Before you start cutting and pasting images, take a moment to reflect on your artistic journey.
Ask yourself:
Write these thoughts down in a journal or on a separate sheet of paper. This will serve as your guiding theme for creating your vision board.
Now, it’s time to search for images and quotes that represent your artistic goals and dreams. Personally, I have a collage box where I keep all cut outs, tissue papers and words that speak to me and which I can use at times like now. I’ve always been someone who has an art journal and I like to embellish it with images. When I buy physical art magazines, instead of keeping the whole thing. I cut out images, words and process steps that speak to me for later use. I keep my collage papers in an old flower delivery bag.
Please consider the following:
Find images of art supplies, tutorials, or paintings that showcase techniques you want to master.
Look for pictures that capture the art style you’re drawn to or want to explore. These could be watercolor florals, realistic portraiture, or abstract designs.
Find or write down quotes that inspire you to keep creating. Quotes like, “Art is the only way to run away without leaving home” or “Creativity takes courage” can be great reminders of why you make art.
Add personal images or mementos that resonate with your artistic journey. These can be photographs of places you’d like to paint or symbols that represent your creative aspirations.

Once you’ve gathered your materials, start arranging your images on your board. There’s no right or wrong way to do this. It’s all about what feels visually appealing and motivating to you.
You might want to organize your board by categories, like “techniques,” “inspiration” and “goals.” This can help you focus on different aspects of your artistic practice at various stages.
While you’re arranging your board, keep some empty space for adding new ideas or inspirations over time.
Once you’ve found the perfect layout, it’s time to glue or pin your images onto the board. Feel free to be creative with the way you position the items. Add interest by overlapping images or layering visuals as this can add a dynamic, artistic feel to your board.
Use colored markers or pens to write down any personal affirmations or specific artistic goals which you want to achieve. For example: “Master watercolor florals” or “Create one new piece of art every month.”
Now that your vision board is complete, find a place to display it where you’ll see it regularly. Ideally, it should be somewhere near your art supplies or workspace, so it becomes a daily source of inspiration. It could be in your studio, on your desk, or even in a dedicated corner of your home where you relax and reflect.
Now that your vision board is set up, it’s time to actively use it to stay inspired and motivated. Here’s how you can incorporate it into your daily life as hobby artist:
Spend a few minutes each day reflecting on your vision board. Look at the images and words and reconnect with your artistic goals. Use it as a source of inspiration before you start your art practice, especially if you’re feeling stuck or uninspired.
Break down your bigger artistic goals into smaller, manageable milestones. For instance, if your main goal is to “learn watercolor,” set smaller milestones like:
As you achieve goals and evolve as an artist, update your vision board.
This keeps the board fresh and aligned with your ever-changing artistic practice.
Every few months, look back at your vision board and evaluate your progress. Celebrate the achievements and take note of what’s still a work-in-progress for you. This will help you stay accountable to your goals and recognize how far you’ve come.
An art-themed vision board is an incredibly personal and powerful creation that can keep you focused and inspired as a hobby artist. It allows you to visually express your dreams and aspirations while providing a tangible, daily reminder of what you want to create. Maybe you are dying to get started as a hobby artist, improve your art skills, explore new mediums, or simply make more time for your art – a vision board can guide you every step of the way.
Now it’s your turn to create your own art-inspired vision board. Gather your materials, reflect on your goals and start crafting a vision that will inspire your artistic journey for years to come.

Save this pin to read later.
The page you requested could not be found. Try refining your search, or use the navigation above to locate the post.
Join me as I sketch, draw and paint a weird autumn themed knobby gourd using colored ink as a hobby artist.
The page you requested could not be found. Try refining your search, or use the navigation above to locate the post.
Author: Alison Hazel – Last updated: January 2025
This week I have something really special for you my dear reader. I was recently honored to meet with and interview an outstanding artist and good friend of mine, Arwynne O’Neill from Vancouver, Canada. Arwynne creates a lot of strong female figurative artwork. She explores many mythical and fantasy themes in an irreverent, pinup style.
She blogs about art, books, movies, nostalgia, sociology and anything that interests her. Her favorite medium is pencil drawings, finished and colorized in Photoshop but recently she’s been experimenting with colored pens and colored pencils for a faster turnaround, with more organic results. Arwynne attended the Maryland Institute, College of Art in Baltimore, MD, USA and majored in illustration.

Alison: Welcome, Arwynne. What initially drew you to participate in art challenges like Pinktober and Drawcember? Can you tell us a little about your first experience with these contests?
Arwynne: Well, to be perfectly honest (and I think you know this), it was you! My good friend Alison, dear readers, inspired me to participate in the Inktober/Pinktober challenge.
I hadn’t created any new art since Covid shut down my favorite drawing class, Dr. Sketchy’s, which had been my monthly source of inspiration for nearly a decade. In that time, I created a series of “Zodiac Pinup” calendars starting in 2014. In 2018, I started a series of Badass Goddess calendars. Despite Covid, I had enough material to publish a calendar in 2021, but then I ran out of steam…
In late 2022, a friend discovered my website and gave me a good natured harangue that shamed me into action. I pulled together a few drawings I had been working on but never completed, and added several of my favorites from previous years to publish a sort of “best of” calendar with about five new pieces for 2023. But then I stopped again, until this past summer.
When Alison told me about Inktober, I decided to give it a try, and it ended up being one of the best things I did all year! By the end of October, I had 31 new drawings, more than enough material to print a 2025 calendar, and the desire to start up another challenge in December (Drawcember)!

Many artists find it difficult to maintain a consistent creative practice. How has participating in daily art challenges helped you develop a regular artistic routine?
Maybe it’s because I’m a Virgo, but I find I really need an “assignment” or a deadline to get me motivated, until something becomes a daily habit. I can’t just wait until I feel like doing something new because I’m never going to want to do it.
There are all kinds of books that advise writers to do “morning papers” or some kind of journaling, just to keep the writing muscles warm and limber, so I’m coming at art the same way. Not all of my drawings will be good, but I’ll feel good that at least I created something, instead of spending that time scrolling Instagram or YouTube.

Many artists speak about the mental health benefits of regular creative practice. What changes have you noticed in your mood and or wellbeing since committing to daily art?
Honestly, drawing every day is a lot like working out every day. I may not always want to do it, I just resolve in my mind that it’s something I have to do every day (or almost every day, because life happens). Then just do it. With exercise, even on days when I don’t want to, I change my clothes and put on my headphones, cue up the latest audiobook or podcast and get moving.
With art, I pull out my pencils, pens, sharpeners, etc. and get started. I know I’ll feel better once I’ve done it, whether it’s a workout or a drawing challenge. To paraphrase a quote from Joe Rogan, I don’t know anyone who works out regularly and is depressed.
It’s the principle of creating healthy habits through repetition. If you don’t start somewhere, you’ll never get anywhere. Just commit to making a tiny change, walking around the block or taking the stairs instead of the elevator or carrying a bottle of water with you to remind yourself to hydrate.
Do a quick drawing every day. If structure helps you, do it at the same time every day, right after your morning coffee, or on your lunch break. If you’re a procrastinator, find ways to reward yourself. No lunch break until the drawing is done, or whatever works for you!
If you’re a perfectionist, set a timer to take the pressure off deciding when it’s good enough to stop. It’s all about tricking the body/hands into carrying out what the mind wants to accomplish. Don’t think about it, just do it. Set up a space in your home where you can sit down and draw without any preparation.
You’ve returned to making art after some time away, what role did these daily art practices play in you reconnecting with your artistic passion?
I hadn’t done any drawing for over a year, aside from a couple of months in 2023, when I attended a drawing class in Vancouver, but I didn’t love the fact that you never know what the model is going to look like. While I appreciate the idea that drawing any model is great practice and all body types, genders, shapes and sizes can be beautiful, my preferred subject matter has always been fantastical women.
I really loved the Dr. Sketchy’s concept, where burlesque dancers would pose for three hours in a series of exciting, often heroic poses. They had great themes and costumes, spanning the gamut from traditional pinup outfits, lingerie and feather boas, to famous characters from books and movies, to more outlandish fantasy/sci-fi and horror movie inspired themes.
One of my favorite models, Little Miss Risk, was always a delight to draw. She’s a bona-fide B-movie actress, having starred in a number of independent films under her “real” name, Tristan Risk. Some of her more memorable costumes were inspired by Mad Max, Aliens, Predator and Quentin Tarantino’s Deathproof. She posed with her pet snake once and those drawings inspired Kadru, the Indian goddess of serpents.

Anyway, this past October, I committed to the Inktober challenge (calling it Pinktober because my pseudonym and website are “Ms. Pink”) and set up my sketchbook with 31 mythological prompts, including goddesses like Eris and Aphrodite, creatures like mermaids and sirens, and strong female characters from popular culture like Elektra and Furiosa.
Like I said, I didn’t know if I’d be able to complete the challenge, but having an assignment worked so well for me that I found myself drawing every day of October, then turning around and doing it again in December.

I understand you’ve just created a calendar from your art project pieces. Could you tell us about this thrilling project and how it emerged, like a phoenix, from your daily practice?
As soon as Pinktober was over, I decided to print a 2025 calendar from my twelve favorite drawings. I had been disappointed with myself for failing to pull one together in 2024, but I wasn’t sure if these daily challenge sketches were up to my standards for a calendar.
My preferred style is a combination of fantasy painting and digital collage, so these new drawings seemed very unfinished to me. But I managed to bridge the gap between the fresh, spontaneous style and a more polished look by scanning them in and cleaning them up in Photoshop.
The fact that I had a very limited time to produce a calendar between November 1st and the end of the year prevented me from getting too picky with the details. I was able to get all twelve drawings finalized and the PDF sent to my local printer (MinuteMan Press, highly recommended!) and they were ready before the end of November.

Some artists feel intimidated by large projects or blank canvases. How have these daily art activities, with their smaller scope and size, affected your approach to creating art?
I bought a small (6″ x 6″) sketchbook for Inktober and Drawcember, which was not only perfect for posting to Instagram but also kept me from getting intimidated by a larger blank page.
In addition to using some of my previous drawings and photos of myself and my mother as inspiration, I combed my Instagram feed for great images of burlesque dancers and other heroic babes as a way of finding much-needed reference models.
The big difference between now and a few years ago is Artificial Intelligence (AI). When I was creating my list of prompts for December, I asked ChatGPT to provide some inspiration with a list of winter-themed goddesses.
It returned a lot of names I was familiar with, and had drawn in the past, like Sedna, Marzanna and Yuki-Onna, the Japanese Snow Woman, but also a number of goddesses and creatures I never thought of, like Winter Dryad, Skadi, the Norse goddess of winter, and Perchta, the winter goddess of the Northern Alps.
Even better, when I found myself staring at an empty page and not knowing where to begin, I could ask Meta AI (the free one that is now bundled with WhatsApp) for inspiration. I would start out by saying something like, “imagine the goddess Arachne in comic book style” and it would create an image for me.
It usually took at least three or four refinements, and about half the time, it failed to return anything I liked. But other times, I got a great reference image, and the AI is getting better every day.
AI is already a huge game changer in so many aspects of our lives, and art is no exception. There are pitfalls and controversies to be sure, but if artists can use it to generate ideas, we can at least benefit from this technology that is throwing so many creative industries into chaos.
My advice is to experiment with the free AI tools as much as possible. Ask it for ideas, reference models, different poses, different costumes, backgrounds, whatever you struggle with imagining on your own. Brainstorming is one of the things it does best.

What advice would you give to other hobby artists who might be hesitant to even start art again or participate in daily art challenges?
Just do it. Commit to doing something every day, no matter how small. When I started the Inktober challenge, I thought I would have trouble drawing every day so I set myself a 20-minute time limit. I never actually needed it, but that was a way of tricking myself into getting started. Who can’t commit to 20 minutes?
Draw something… anything. Draw your pet or a plant, or anything you can see out your window. Copy a drawing by a favorite artist or a picture you like in a magazine. Ask AI for inspiration and reference material for your drawings. Get your hands moving every day (or once a week, whatever works for you). Once you trigger that muscle memory, your body will remember what it’s like to create.
In time, just like any form of exercise, it will get progressively easier and easier. You’ll start to feel a strange guilt or emptiness when you don’t do it. On those days, you can brainstorm for ideas and write them down as prompts in your drawing journal, which will make it easier to start your next drawing.
This applies to any medium, by the way. My grandmother was a gifted artist who drew and painted all her life. In her 60s, took up clay sculpture and filled her home with tiny nude figures and familiar celebrities. I would open her fridge to find half-finished fairies and elves between the eggs and yogurt cups being serenaded by the torso of Jimi Hendrix. So it’s never too late.
How can my readers find you and support your creative work?
I invite your readers to find me at www.mspink.net.
Subscribe to my weekly newsletter, which I publish every Saturday.
Visit my RedBubble art shop to find Badass Goddess prints, coasters, clothing, stationery, notebooks, home decor, phone cases and more.
My Badass Goddesses book, which explores the art and myths of 50 of the fiercest female deities from around the world, is in full color and available in paperback, hard cover and digital format from Amazon.

Here are a few more artists whom I’ve interviewed to inspire your art practice.
If you know an artist who’d like to be featured here please email me at alisonhazelart@gmail.com.
In this artist interview, meet ARWYNNE O’NEILL an artist and writer from Vancouver, Canada. Arwynne creates fantasy art with goddess themes.
The page you requested could not be found. Try refining your search, or use the navigation above to locate the post.
The page you requested could not be found. Try refining your search, or use the navigation above to locate the post.
Alison Hazel is a hobby artist and she shares her ongoing journey about becoming an artist later in life. She creates simple art that anyone can make. She hopes to inspire you to reach your creative potential in the area that suits you.
The page you requested could not be found. Try refining your search, or use the navigation above to locate the post.
In this artist interview, meet ARWYNNE O’NEILL an artist and writer from Vancouver, Canada. Arwynne creates fantasy art with goddess themes.
The page you requested could not be found. Try refining your search, or use the navigation above to locate the post.
I’d like to talk about how many sketchbooks you actually need as a hobby artist and let me be quite clear, when I started out, I didn’t have even one sketchbook, but that was a few years ago. I picked up my first sketchbook when I happened to be in Walmart one day. I found myself going down the art supplies aisle and I saw a Strathmore sketchbook nestled on the shelf. I thought, “Let me take that home and see how I do.” This was the very first sketchbook I had ever owned in my life. Ever…
I joined Vancouver Urban Sketchers, group and I went to a couple of their meetings with my brand new shiny sketchbook in hand. The other people there had their sketchbooks. They began sharing and thumbing through each other’s sketchbooks to look at the type of work that each of the artists were doing. All I had was blank pages. It was weird. I felt quite behind with my art.
I carried on for several months and then decided to do some what I’m calling “on location” sketching where I went outside and down to the beach. For this coastal adventure, I purchased an A6 sketchbook which is a size that you can put into your pocket as I traveled on the bus down to the beach. I didn’t want to take a big sketchbook because it’s quite windy and the pages can flap about, so I grasped my small A6 sketchbook in my hand.
As the months went on, I realized that as I started to work with both watercolor and coloured inks that these mediums needed a sketchbook with more robust paper in the pages. That’s when I purchased myself a watercolor sketchbook where the leaves are almost like cardboard. They’re very thick and can absorb all the extra moisture so the sheet doesn’t buckle as much when you paint.
I started my grimoire probably three years ago. A grimoire is a sketchbook, or journal if you will, to do with more spiritual practices such as paying attention to seasonal shifts looking into New Age topics which interest me like crystal readings, Moon phases, the Tree of Life and things like that. A grimoire is more of a way to tune into the unseen in life with a little bit of Wheel of the Year and astrology thrown in as well.
The next journal that I thought about getting was one which I’m calling my annual sketch journal. These annual sketch journals are wonderful for each year. I started one in 2024 and there’s going to be one for 2025. I use my annual sketch journal for casual sketching here and there. With this sketchbook I don’t necessarily fill all the pages, but I will have the opportunity to go back and see how my art skills have evolved from say, five years ago. My annual art journal is A5 because this is really the size that I love.
I’m currently working towards the end of the annual sketchbook for 2024. This year I’ve not only got sketches in it, but also ideas about where I want to take my art journey, layouts for artworks or some concept art, as in the grid journaling or artist trading card layouts, for example. I also make notes of hex color and Pantone numbers for specific shades that I want to work with in the future and general things like that. In this book I list the artists I admire and some creators whom I follow on YouTube.
Two years ago I started my nature journal and this is actually a perpetual nature journal, which means that you can use it year after year. My perpetual nature journal is divided into twelve months, and the idea is that you track what happens in nature during the course of any month each year.
The concept is to note, for example, when the first cherry blossoms bloomed, when the first fruit came, when the ice melted, what the high temperature was or things like that. If I had a garden, I would be able to use this nature journal a little better and follow the development of some plants over the course of the year, but I don’t have a garden. I live in a high-rise apartment and when I look for nature, I go into the city to visit the beaches and walk in the large public parks here in Vancouver.
Now my perpetual art journal is something slightly different. This is a larger A3 size sketchbook. What I’m doing in this one is that it’s more of a sketch journal where every day, or at least once a week, I do a mini sketch. Each double page spread covers one week of the year of the 52 weeks. For example, December basically has four weeks and the first seven days of December will have their own double spread.
I’m just drawing what you would call a daily sketch journal piece. This is where I sketch what I did in my day. I’ll add maybe what I had for lunch, coffee I shared with friends, a new book I bought, a movie I saw, where I went, or even art related exercises that I practiced. I don’t always have something for each week, because I mean, one is not busy every minute of every waking day.
This is a sketchbook which I began in January 2024 and so far, not every page has a sketch in it yet…
In the future I can, because of the perpetuality of it, go back over the years and see what I was doing that same week in years gone by. When we get into 2025, I will be able to go back to the beginning and look at the first seven days of January and create a sketch of my daily life, what I was doing, whom I met, things we did, what I saw and things like that.
Now this is the biggest sketch journal I own and it is the one I am least likely to complete a sketch in each week. I do get to circle around to it often, but not all the time. The sketches I put into my perpetual annual art journal are usually small, four inches, or 10cm, square. The mini sketches are just little vignettes, if you will, of what I did as I went about my day. It’s really nothing special. It’s more of a memory of how I live my life and what I found interesting that week.
Somewhere along the line, I got myself an art business journal. But let me be quite clear, I am a hobby artist, I’m not technically an artist running a business. However, once I started putting some of my artworks for sale through my art shop, it then made sense to have an art business journal where I pay attention to money coming in, money going out and that sort of thing. And to be honest, there is way more money going out then there is coming in. Overall, the software and systems you have to have in place, such as website hosting, Procreate and tech things like a laptop and pencils and what have you are where the money goes.
Let me be quite clear that I’m not an artist in business. My art business journal is more a point of tracking micro, nay nano, growth which may happen as my art gets better. Perhaps in five- or ten-years’ time this will make more sense, but at the moment I want to make sure that I am paying attention to what it is really costing me to do my hobby art.
The most recent sketchbook that I set up is my travel sketchbook. This is one where, if I go and visit someplace, I do a drawing and some sketches of the area and the experiences I had and mention how much fun it was. So far, I think I only have two sketches in this book, one was a visit to Victoria, BC and the second one was a visit to Mexico earlier this year.
This is not a sketchbook which I’m using all the time, obviously, because I don’t travel all the time. And honestly, I’m not much of a traveler either, so I don’t know when the next time is going to be that I’ll use this sketchbook, but it’s nice to have. It’s a great way to remember where you were, what you did and travel sketchbooks are fun.
I like to do art challenges of which AHAtober is but one. In AHAtober, the AHA is the initials for Alison Hazel Art and then the “…tober” is just because Inktober occurs in October. AHAtober is like Inktober for hobby artists, and for a few years now I’ve been creating my own prompts for AHAtober. I usually have one small sketchbook for each year of AHAtober, and they’re piling un on my shelf.
My grid art journal is the latest one I have in my collection. I have one which is an A4 size and this is my larger one and then the A5 size which is the one I do prefer. You can see more of what I’ve been creating in my grid art journal in this video and some inspiration for your art practice.
Please don’t get me wrong, I’m not saying that you need to go out and create yourself multiple sketchbooks. What I am saying is that as I started to lean into my hobby artist journey three or four years ago, I realized there was a place for different sketchbooks and journals with diverse papers, dissimilar sizes and where each of the sketchbooks have their own special purpose.
If you are just starting out as a hobby artist, I urge you to work with what you have at hand today. If you just have some plain paper at home, start there.
Probably one of the first things you will purchase on your hobby journey is a sketchbook. If you do, I recommend the Strathmore A5 size sketchbook because they’re just great. To have a sketchbook will encourage you to start being creative on a regular basis in your life.
As far as I can tell, all the great artists of the past, had sketchbooks. Even today, the modern artists whom we know and love, work from sketchbooks.
The sketchbook tends to be a place where ideas originate. It is where you get your first strokes down on the paper and the first mark-making occurs, Your ideas may survive, to become something great later on, or they may just end up being part of you practicing your techniques, shading, colouring or whatever. Either way, I do think as a hobby artist, you will benefit to have at least one sketchbook if not many more.
I’d love to know how many sketchbooks you have and whether you have sketchbooks which are designated for different types of sketching, such as I mentioned in my every expanding sketchbook collection.
Save this pin to read later.
Alison Hazel is a hobby artist and she shares her ongoing journey about becoming an artist later in life. She creates simple art that anyone can make. She hopes to inspire you to reach your creative potential in the area that suits you.
The page you requested could not be found. Try refining your search, or use the navigation above to locate the post.
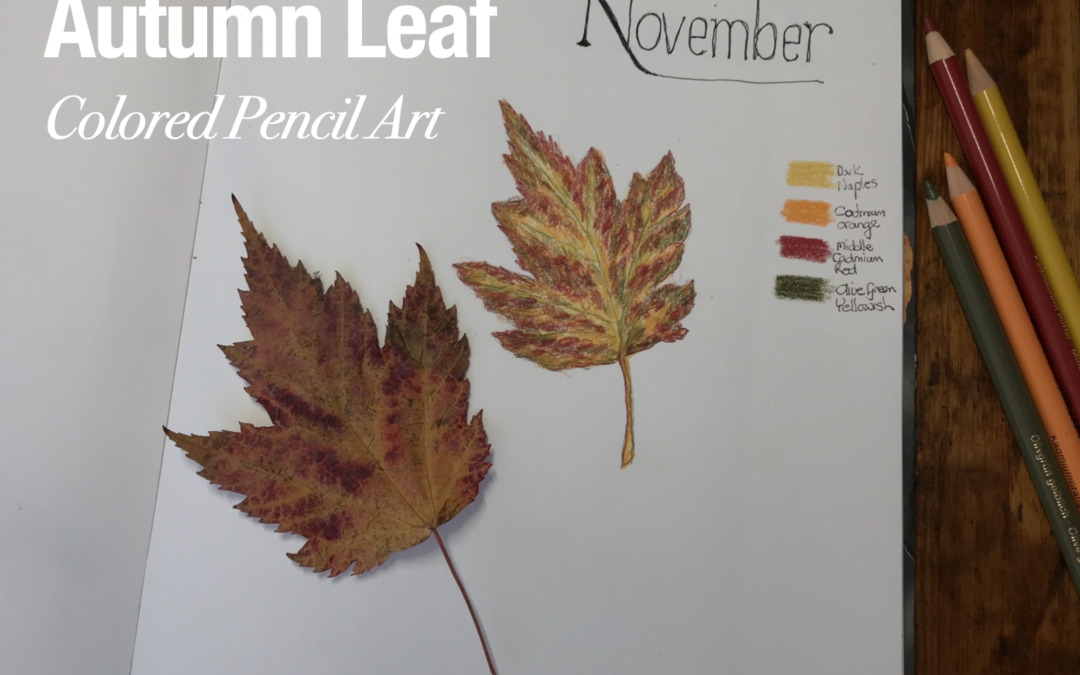
Autumn Leaf colored pencil art in my Perpetual Nature Journal sketchbook. Great for hobby artists and beginners.
The page you requested could not be found. Try refining your search, or use the navigation above to locate the post.
This time I’m sharing with you some of the types of things that I’ve been putting in my grod art journal pages, as a hobby artist. I believe this will inspire you to get started. I’ll show you how to set up a grid art journal page in an A5 sketchbook.
Earlier this year, I came across a couple of videos about grid art journaling. And the main idea for grid art journaling is that you have multiple small blocks on your page. So, you can do several different mini sketches of the same topic.
For instance, when I first started with my grid art journal page, I just put some simple words in the first few blocks.
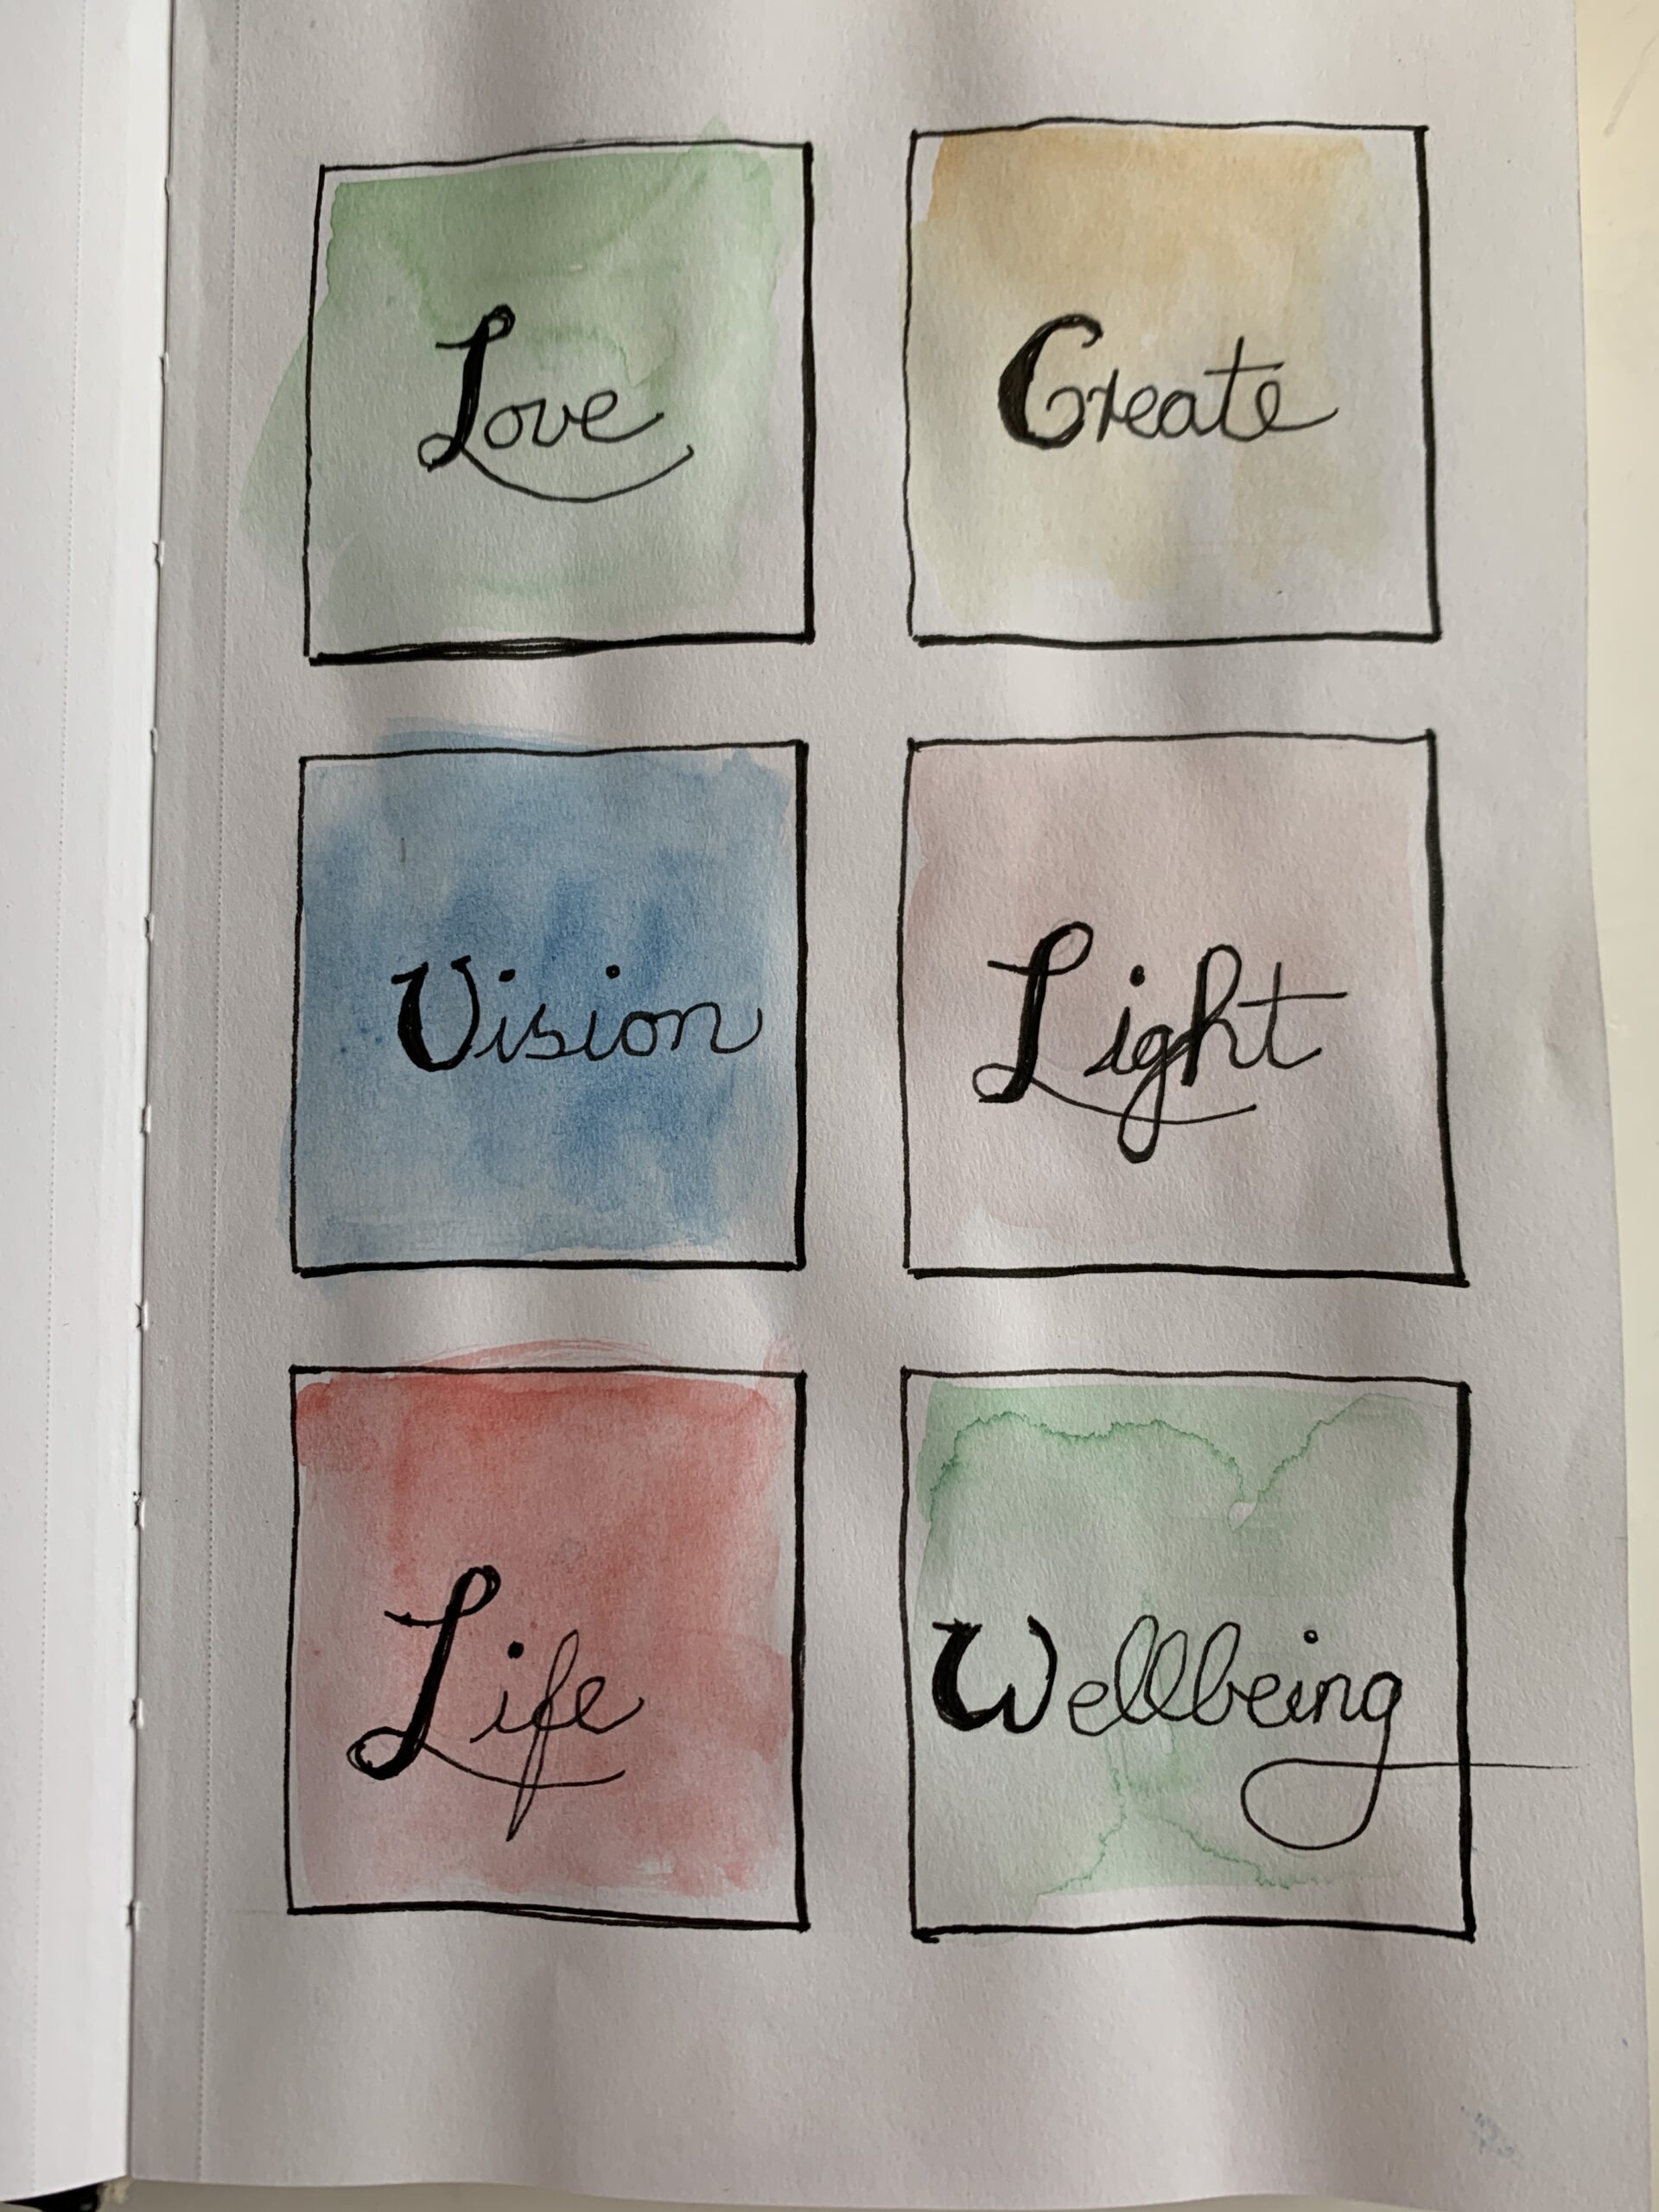
My next attempt I drew the coast near my city of Vancouver at English Bay. This is a subject I’ve frequently painted and on a side note, I’m beginning to think I might just be a seascape sketch booker but we’ll see. But within the six images I drew, each one showed a different mood for the actual subject, but really the topic was the same. In my early grid journaling art pages, I did watercolor washes first on the page and then went back over with the pencil sketch and then the black pen.
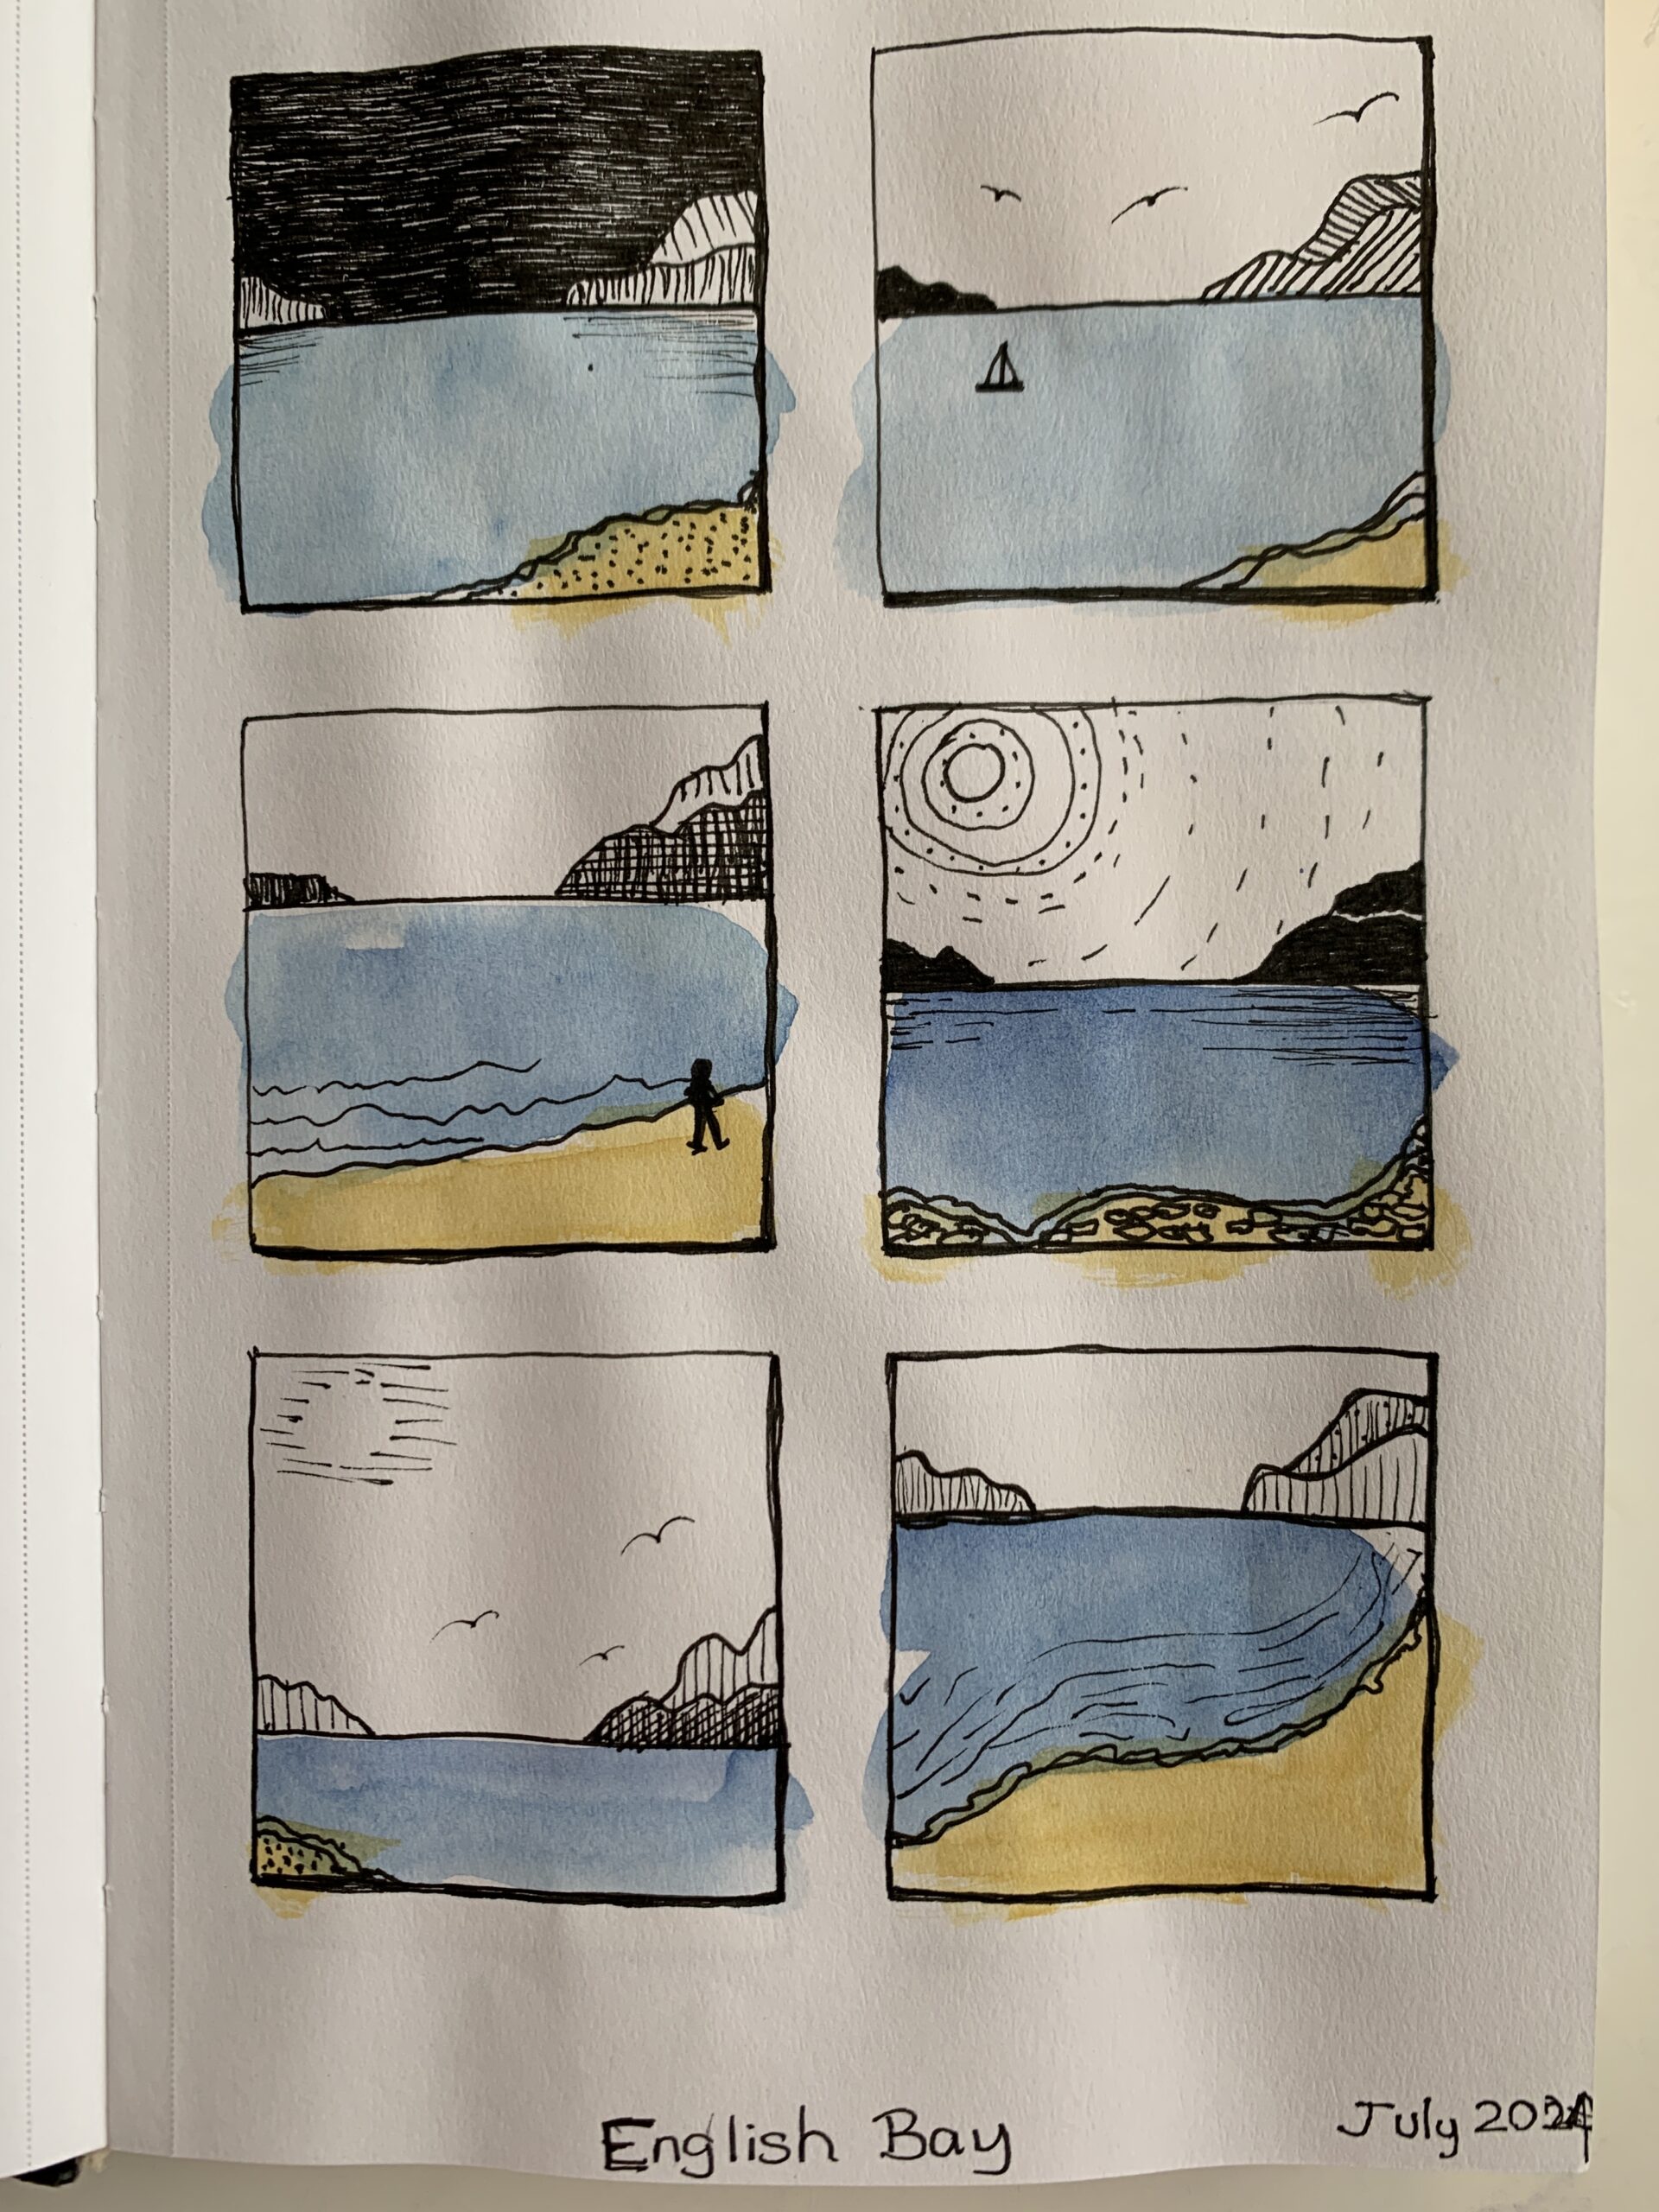
I’m really quite keen on nature journaling as well. I like working with shells. I drew six different shells on my shells grid journal page. I do have a small collection of shells, so this is always an inspiration for me. Then I colour them in with coloured pencil as well.
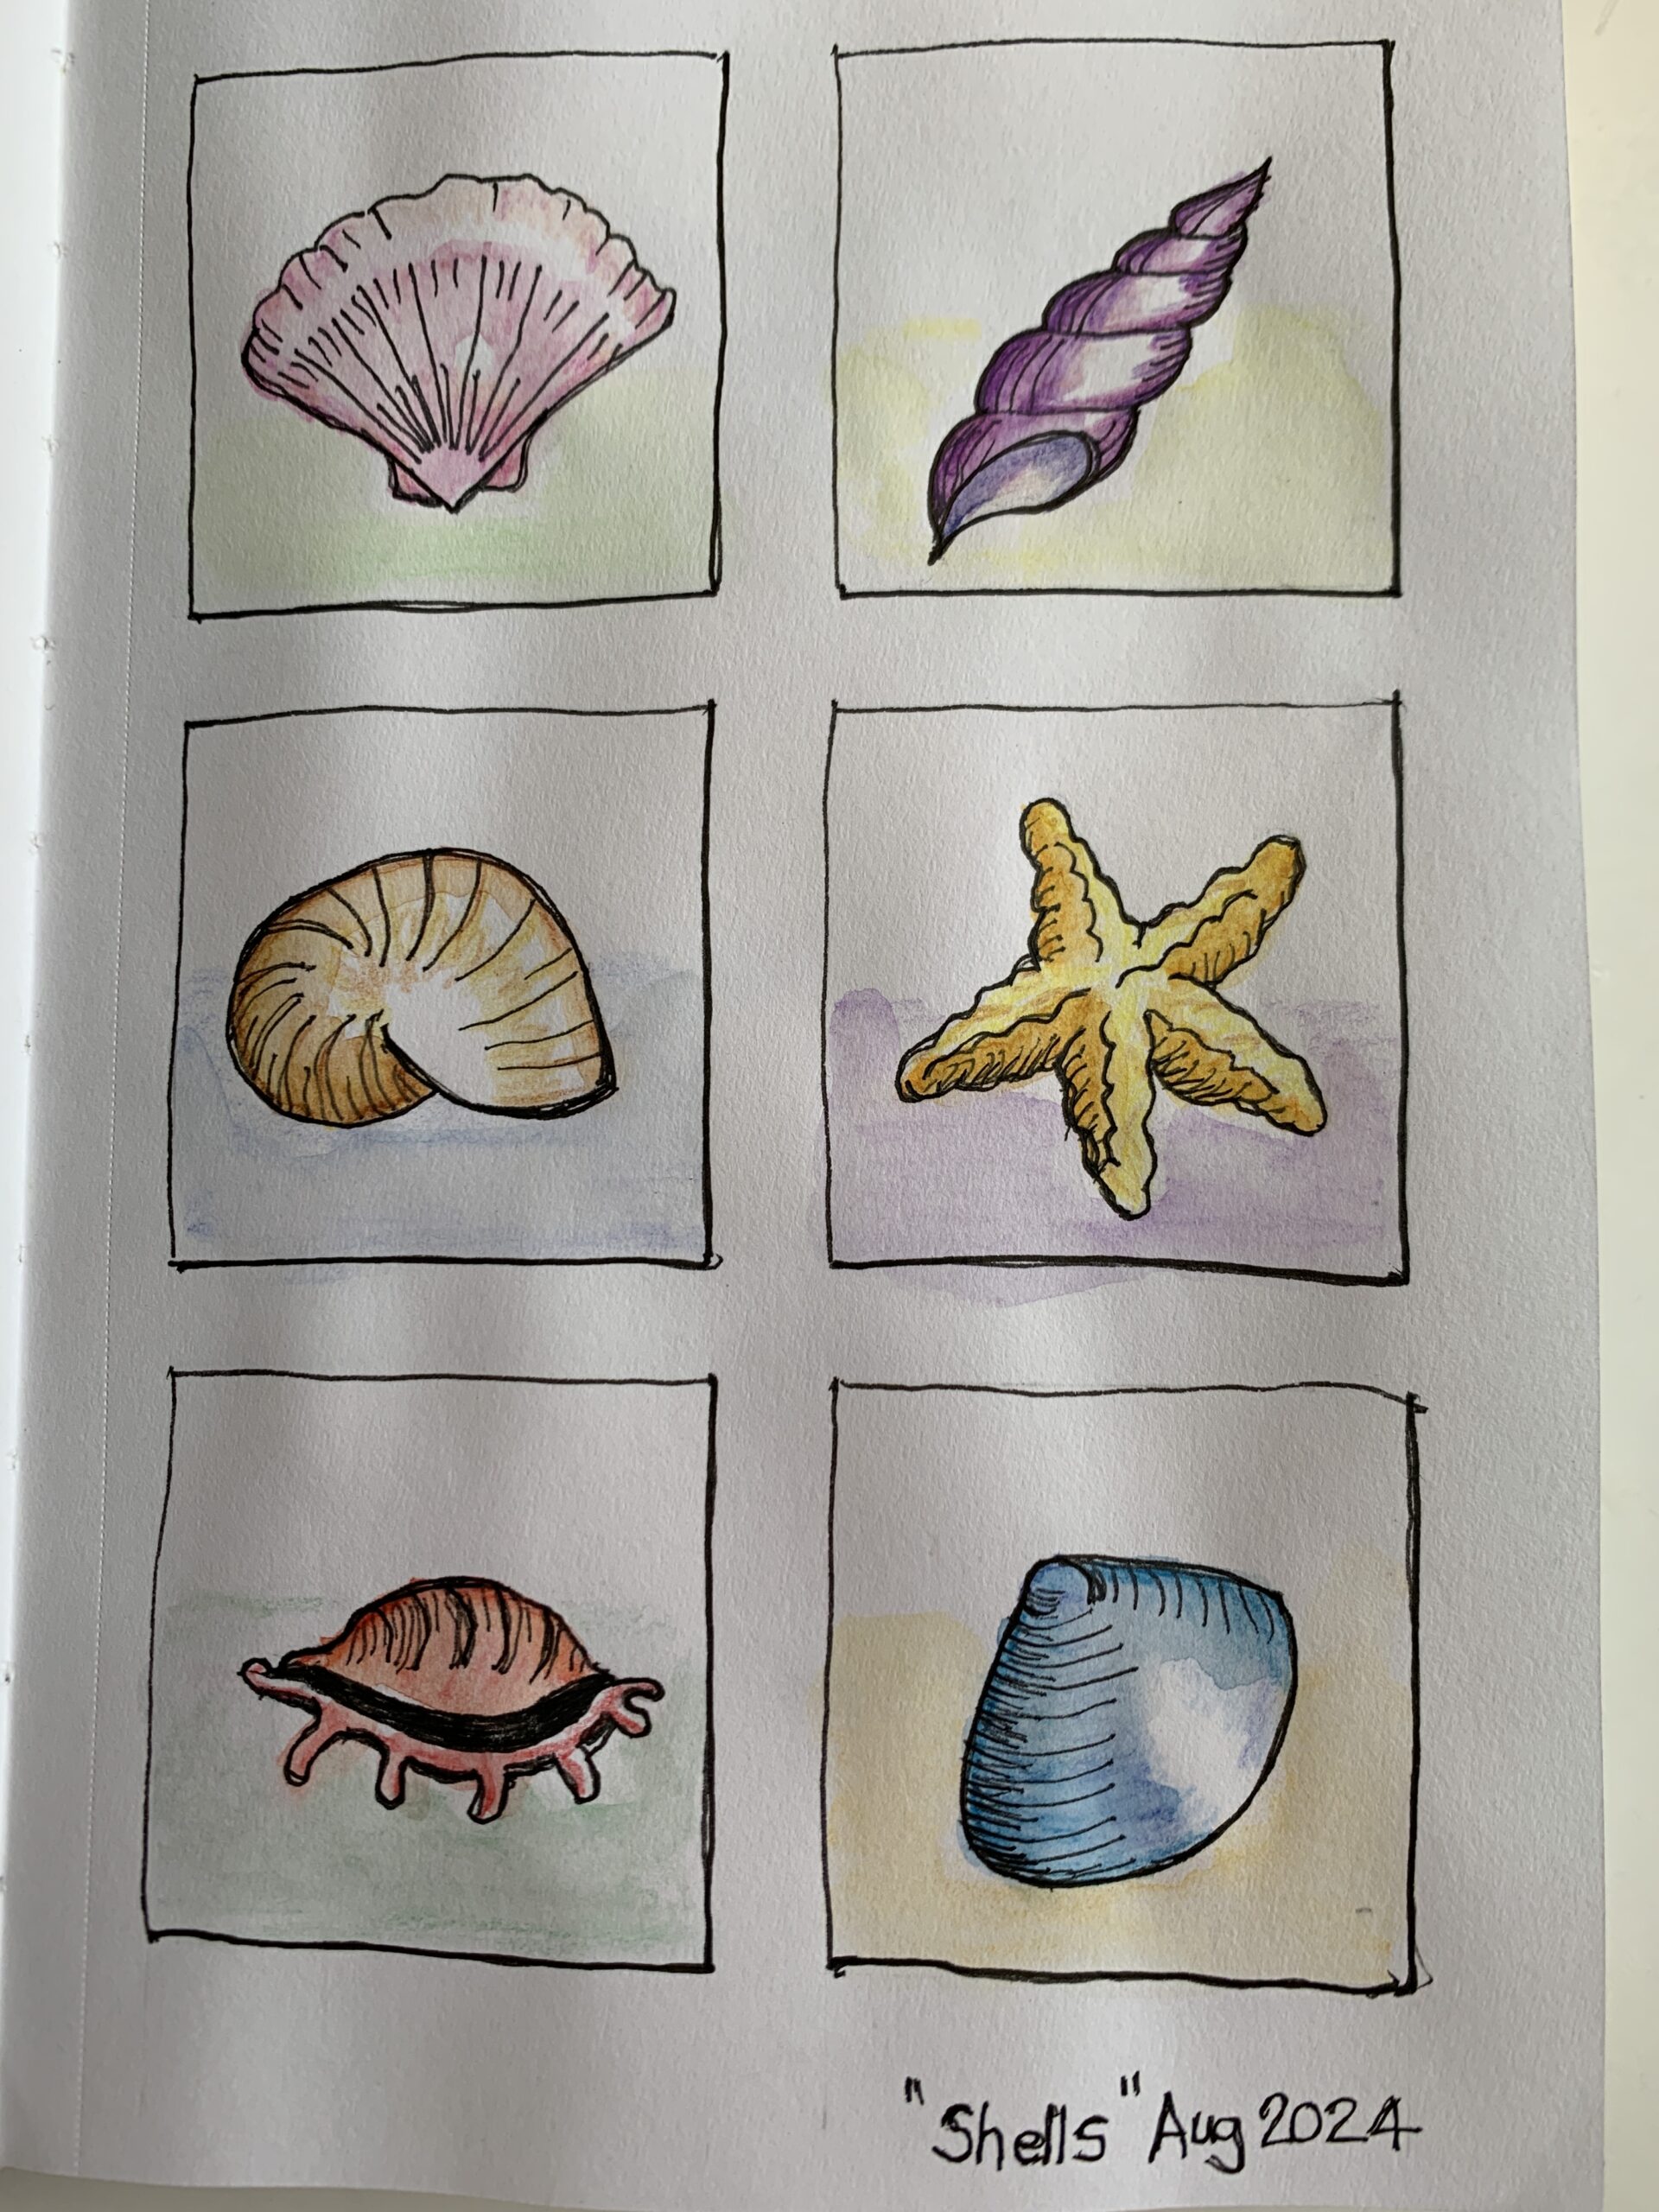
On the next page I only have three blocks. And I wrote some sayings that I like to you have about me as uplifting words to look at during the course of the day.
The first one is, “There is a tide in the affairs of men, which, taken at the flood, leads on to fortune”. This is a quote from Shakespeare.
The second one is, “Don’t live someone else’s dream.”
And the third one is, “Fortune favors the brave” which my father used to say.
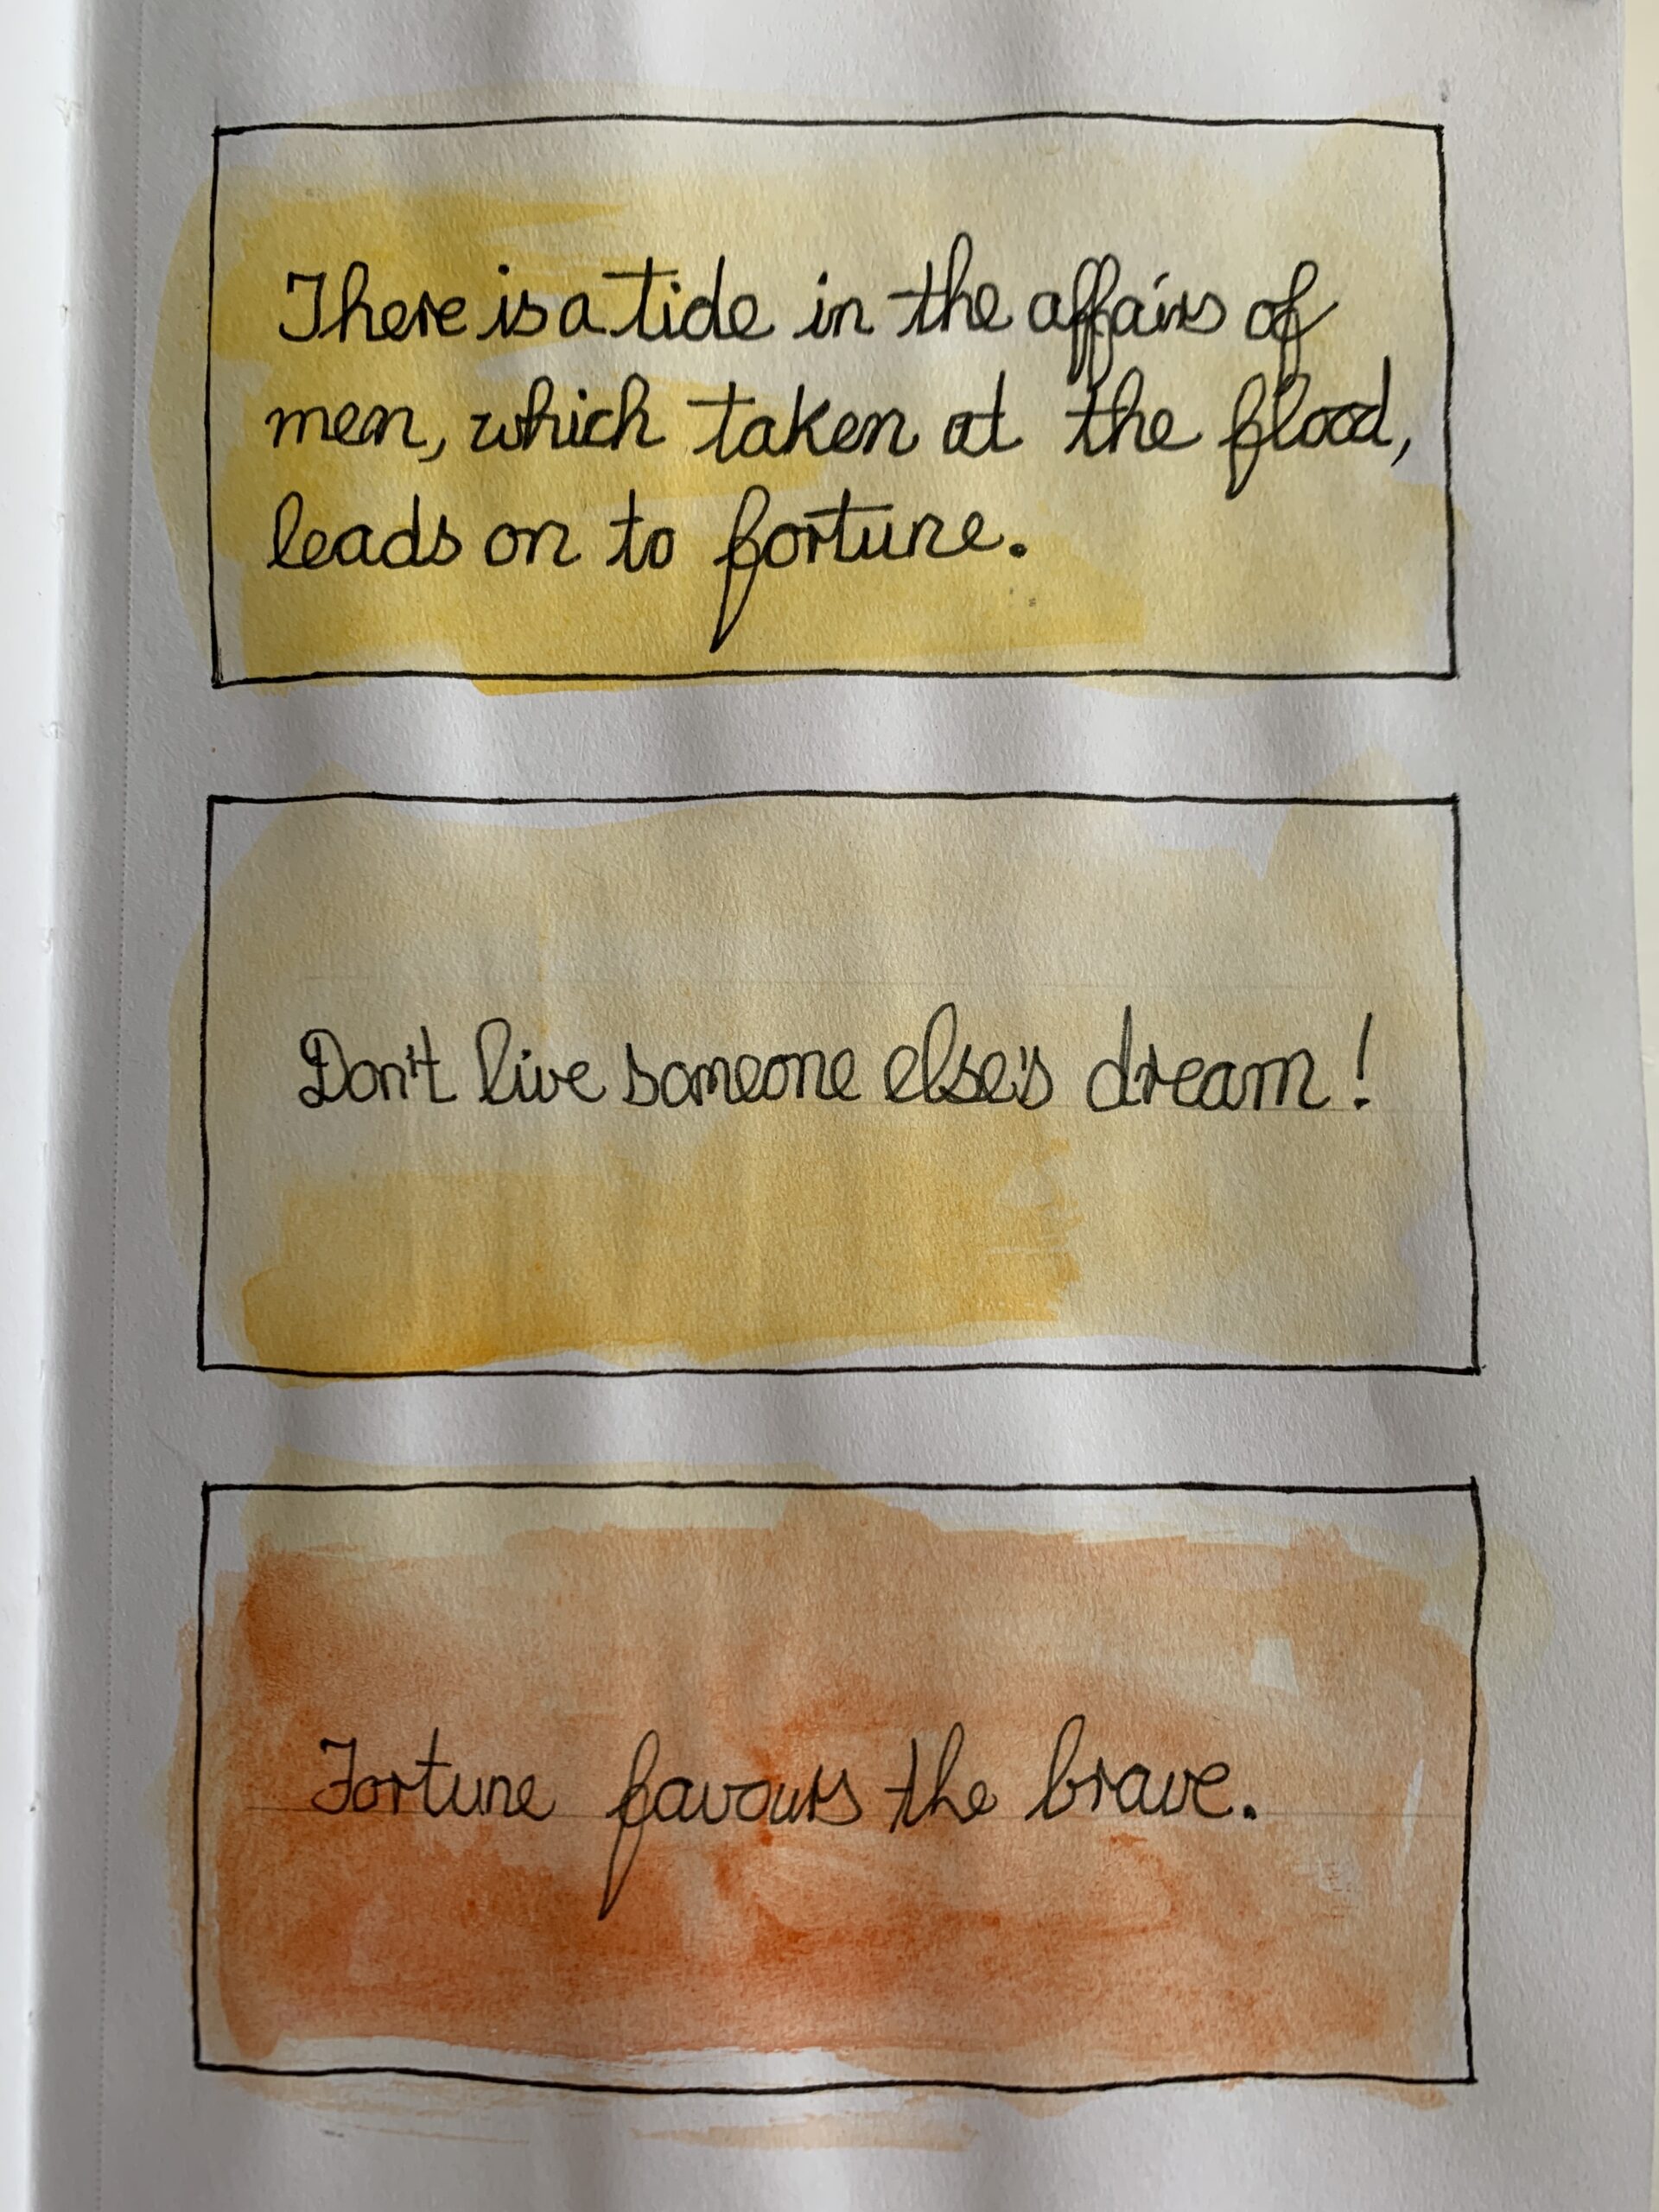
My next grid sketch was of seed pods, and I had a few selections here. I don’t know all the names of these seedpods and I did draw them from memory because I do have a bit of a collection of seeds and pods, and I’ll show that to you one day.
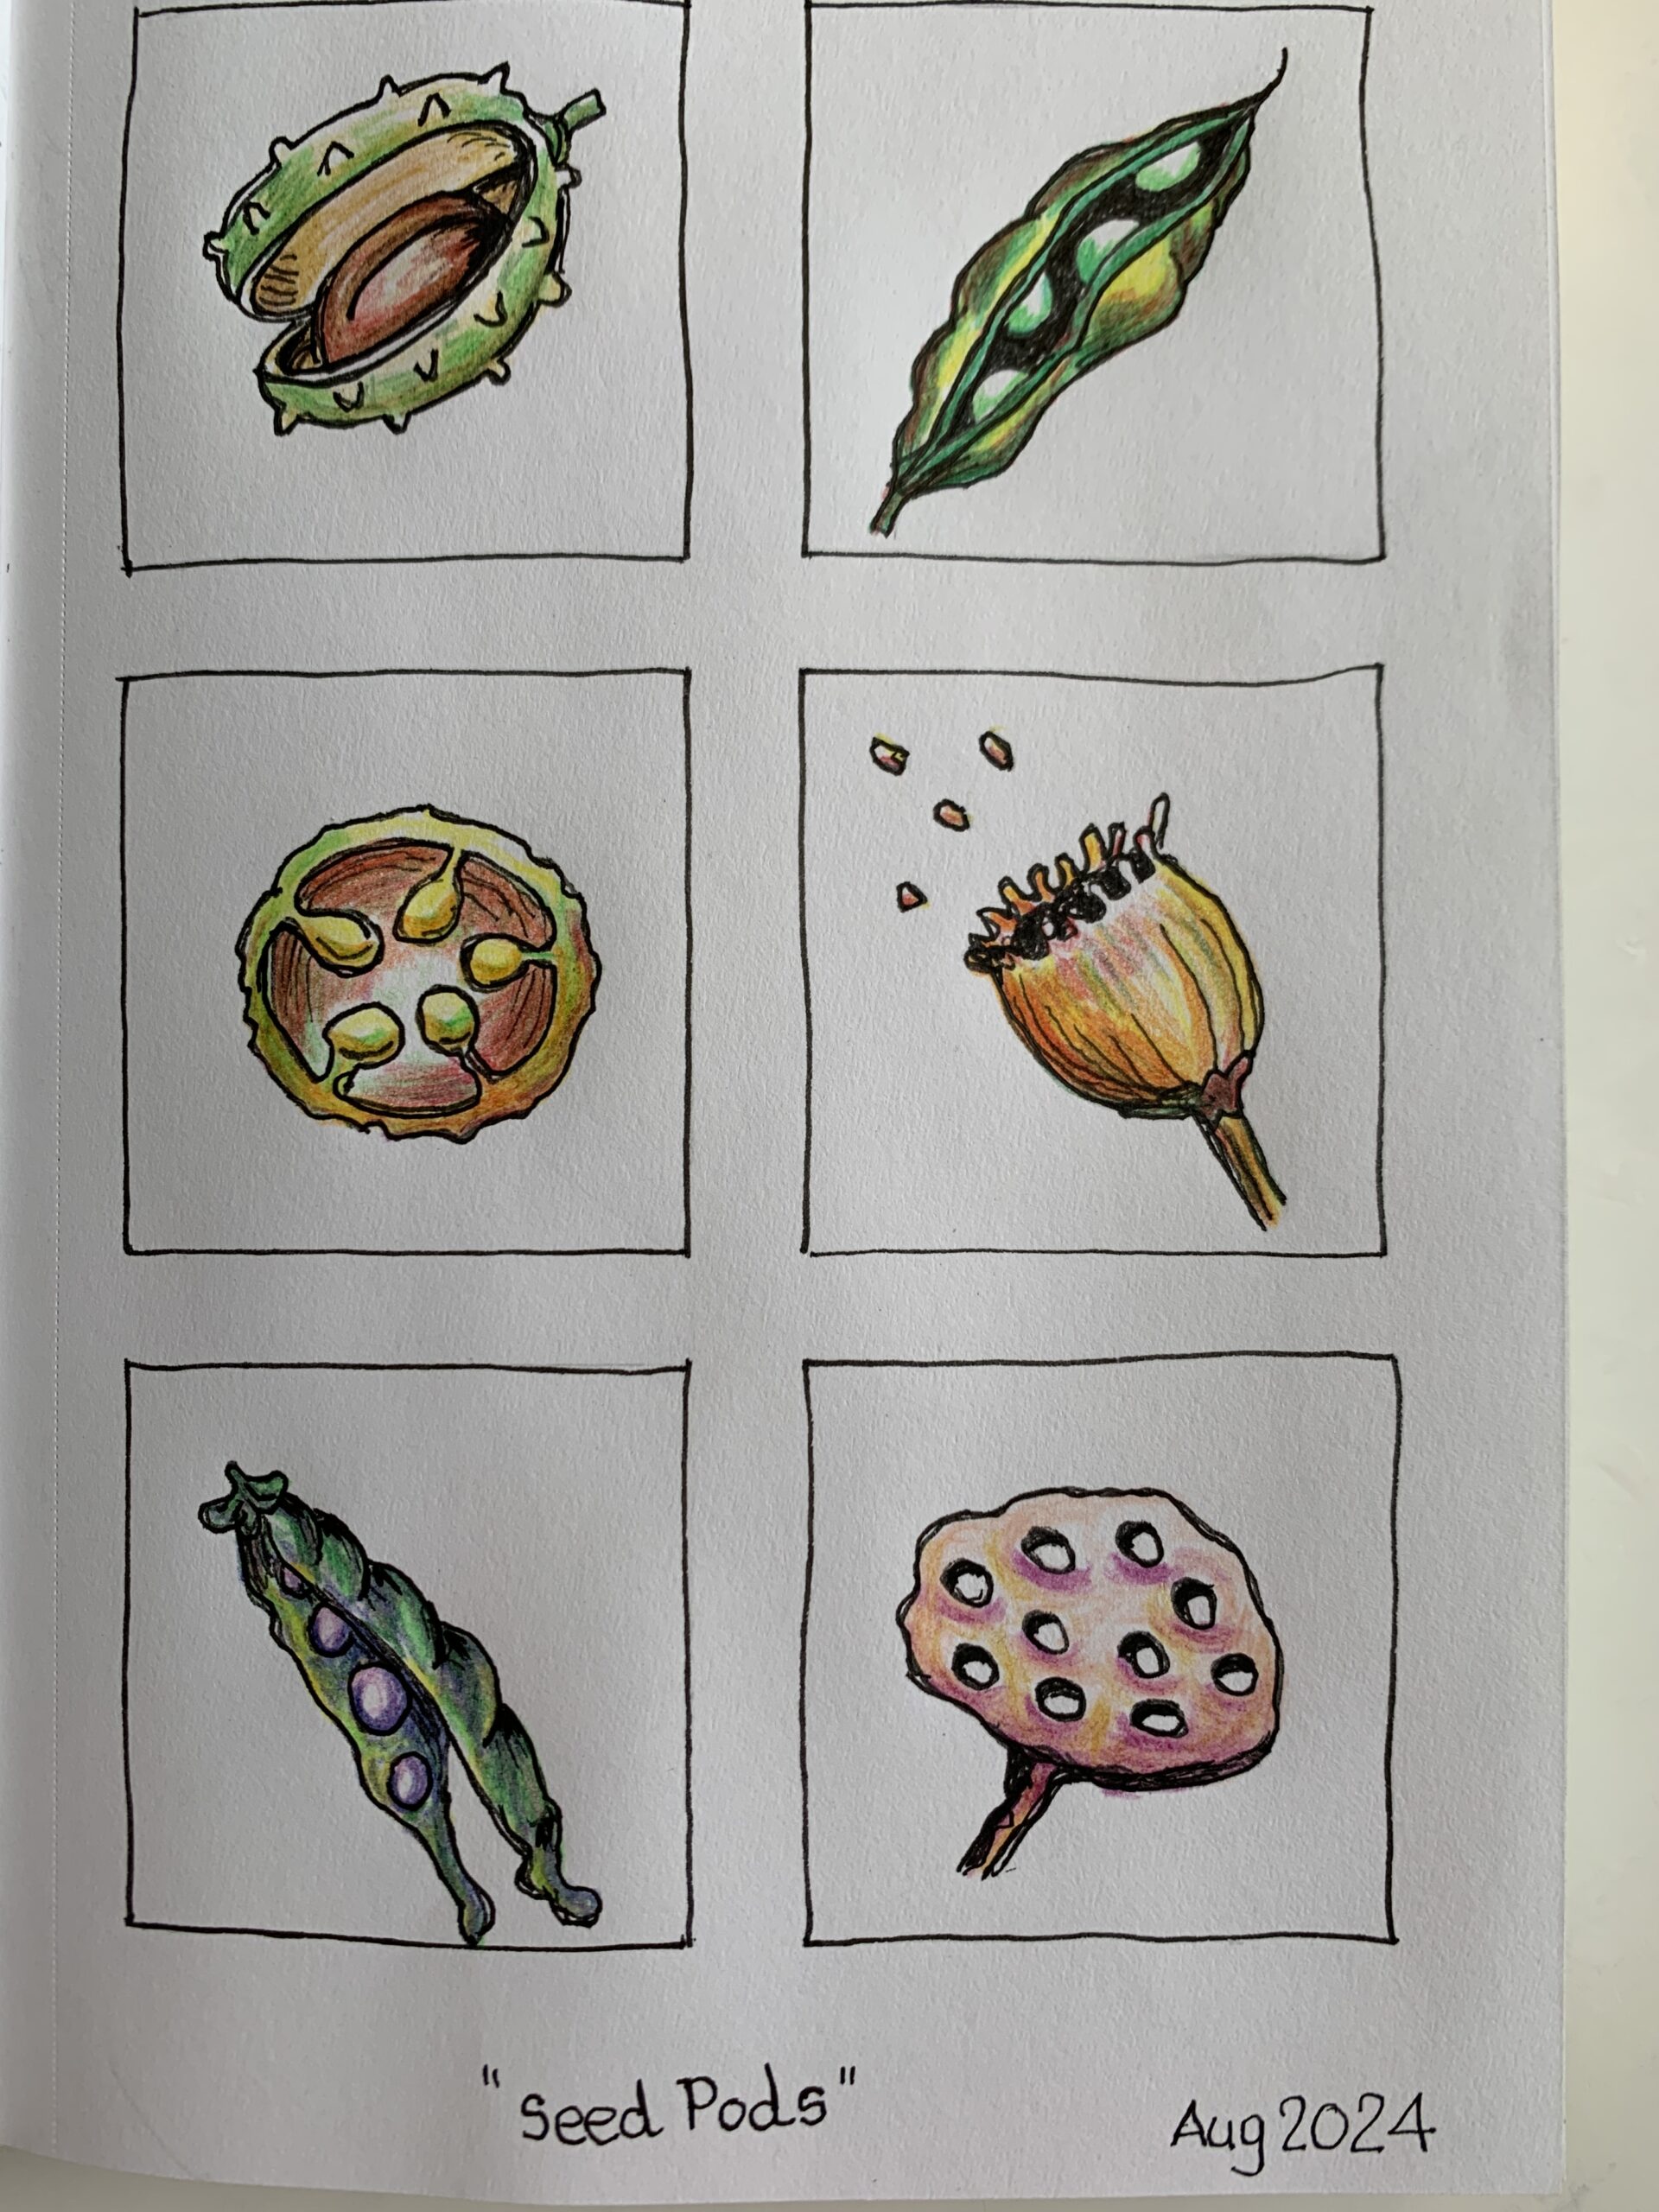
Next came “Fruity”, which is watercolor. First, I penciled it in, then I did an ink over with a black pen, erased the pencil marks, and then went in with watercolor. And finally touched it up with a little bit of markers.
.
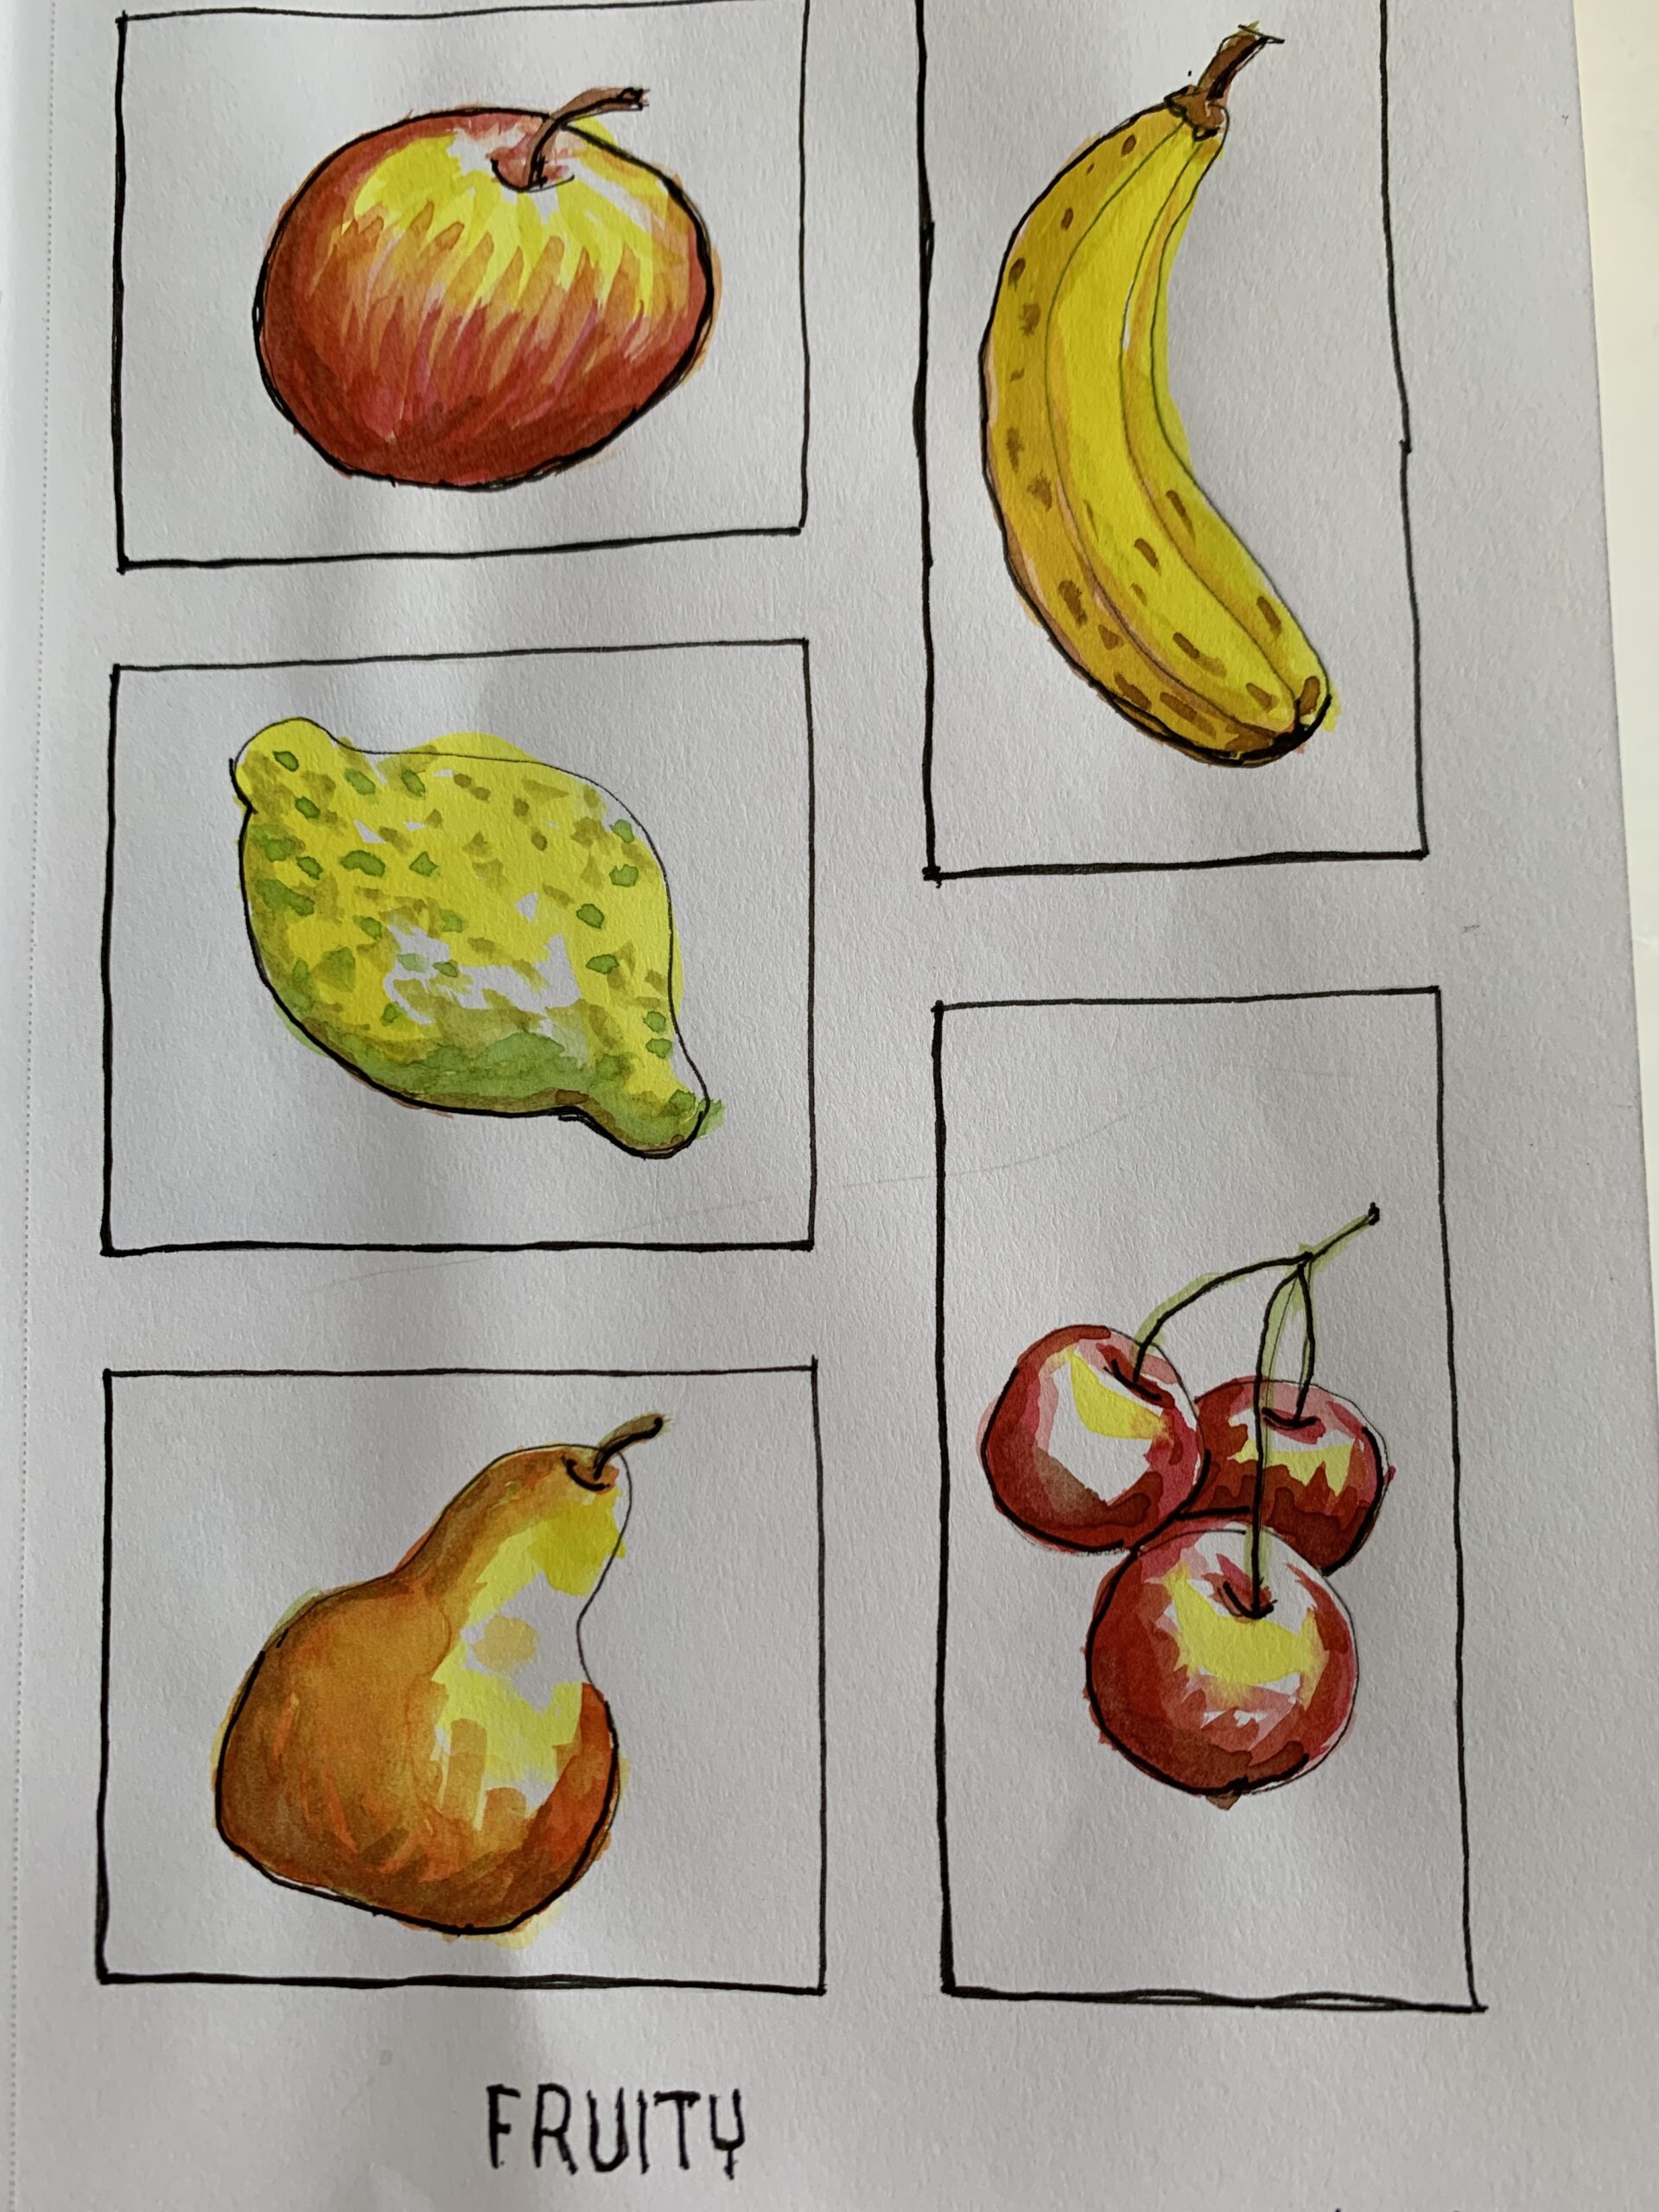
On my sunflowers page, I drew many drawings of sunflowers looking at them from different angles. Some are single heads some are side on views and others are close ups zooming in on the actual sunflower seeds.
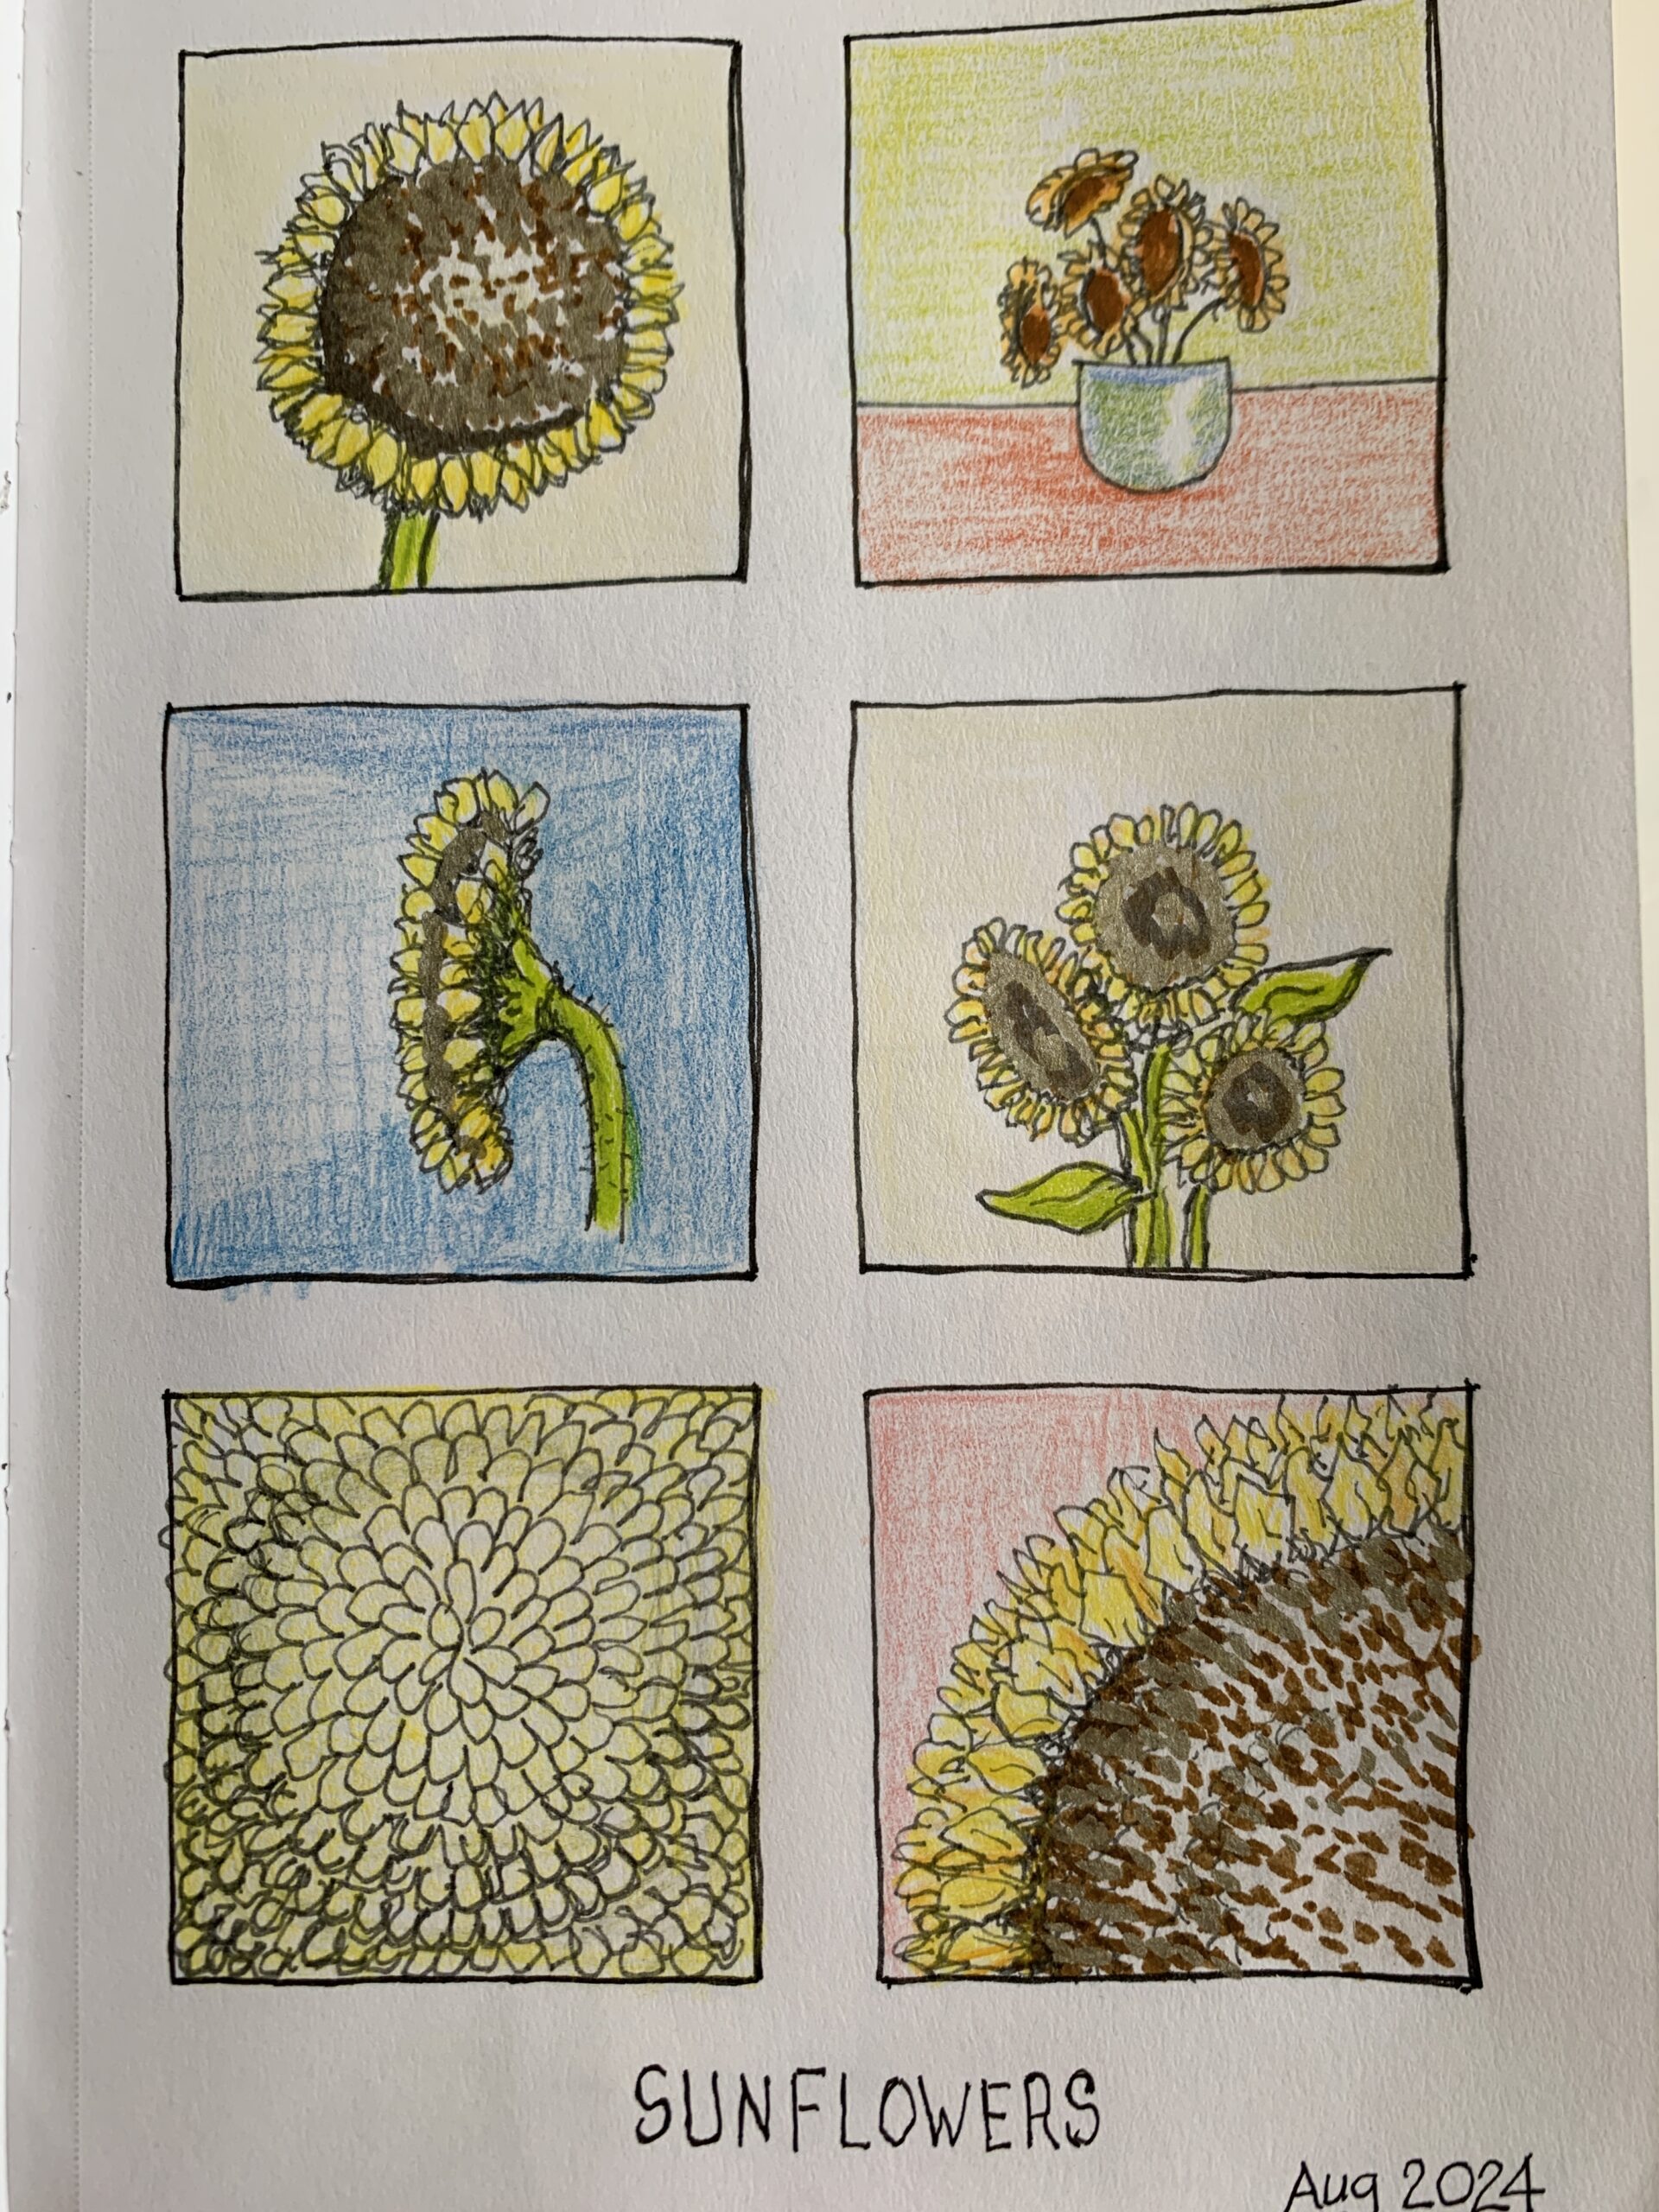
When I divided my grid into four rectangles, it occurred to me to draw some tarot cards. I just selected for the Magician, the Empress, the Star and the Sun. Once more with pencil, then going in with a black pen and these were then coloured in with markers.
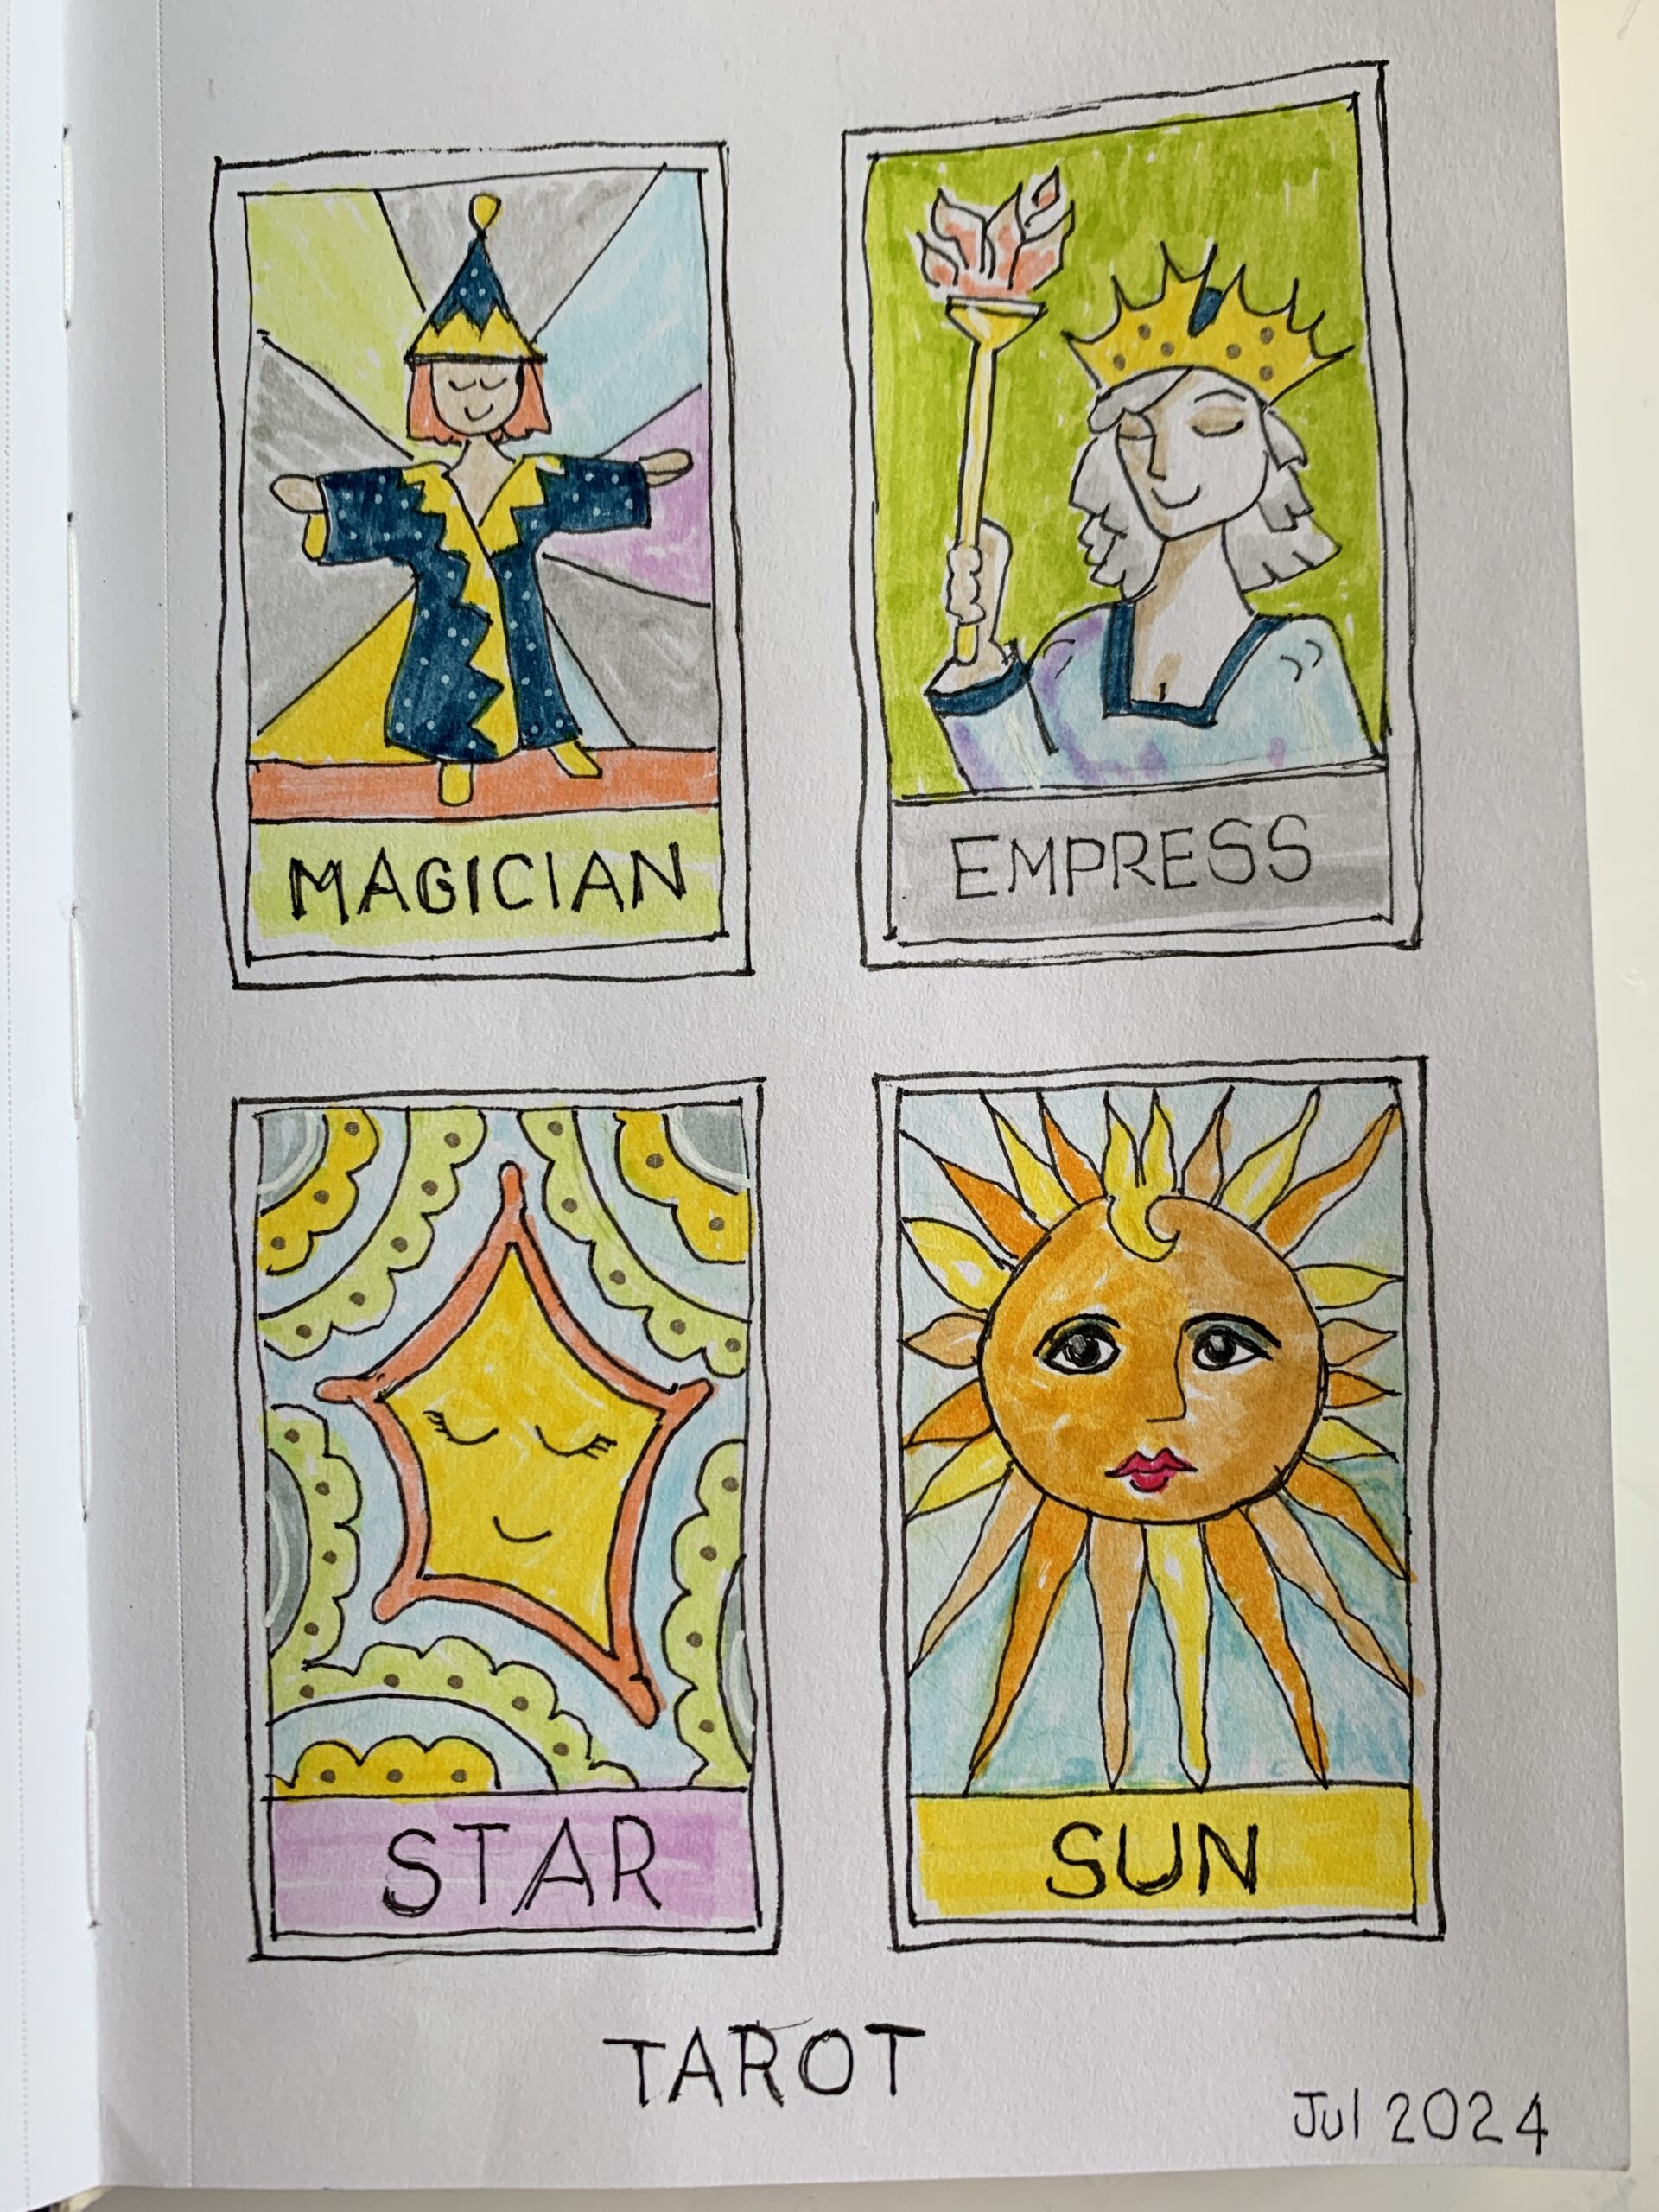
For my creation spread, this is the double page spread where I have eight grid segments. The first being the title which is Genesis 1: 1- 28. This is the first writing in the Bible starting at, “In the beginning, God created heaven and earth.” I then go on to show the seven days of the creation with mini sketches of what happened on each day of the creation.
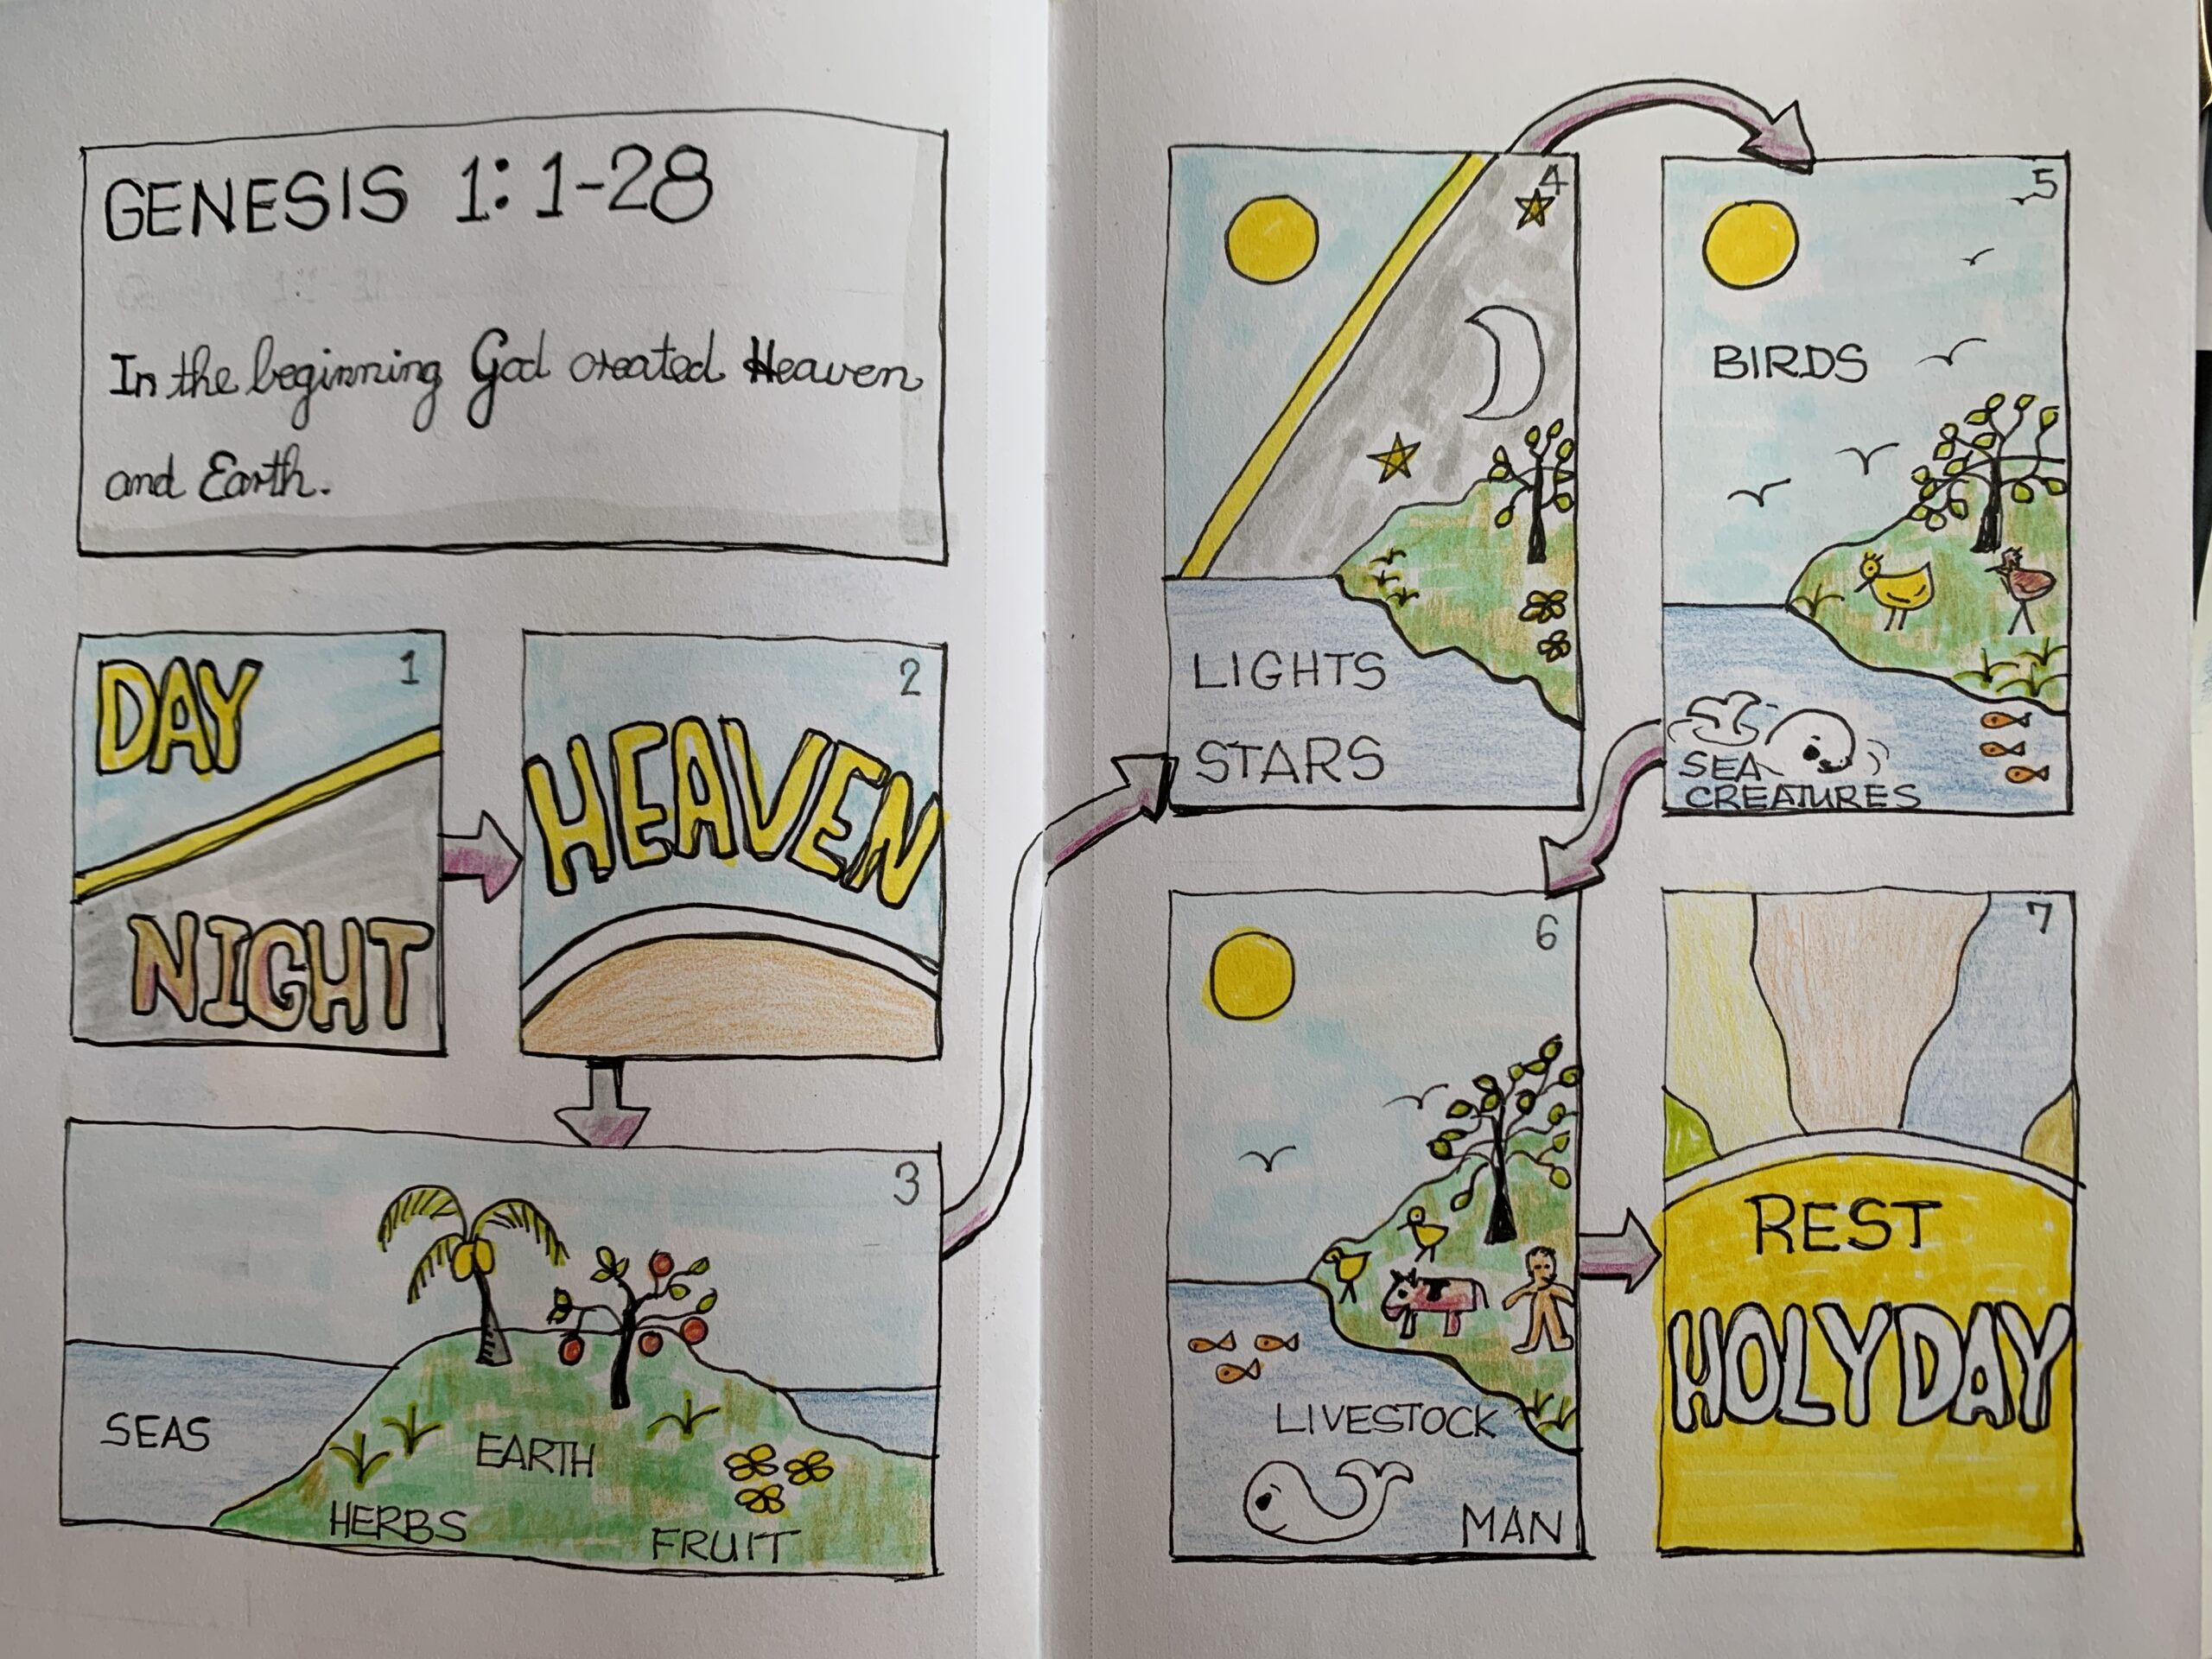
At this point I was gifted a book from my son-in-law called, “The New Beachcombers Guide to the Pacific Northwest” by J. Duane Sept. This is a book that has lots of images of shells and other interesting creatures that actually live here on the coast in Vancouver.
This was brilliant because it gave me different shell shapes to draw. And on this particular page, I have named the shells because I happen to know what they are. They’re not just my imaginary shells that I’m working on. A lot of these shells have what I would call fancy names, but my favorite is the Money Wentletrap which I believe is a great name for a shell!
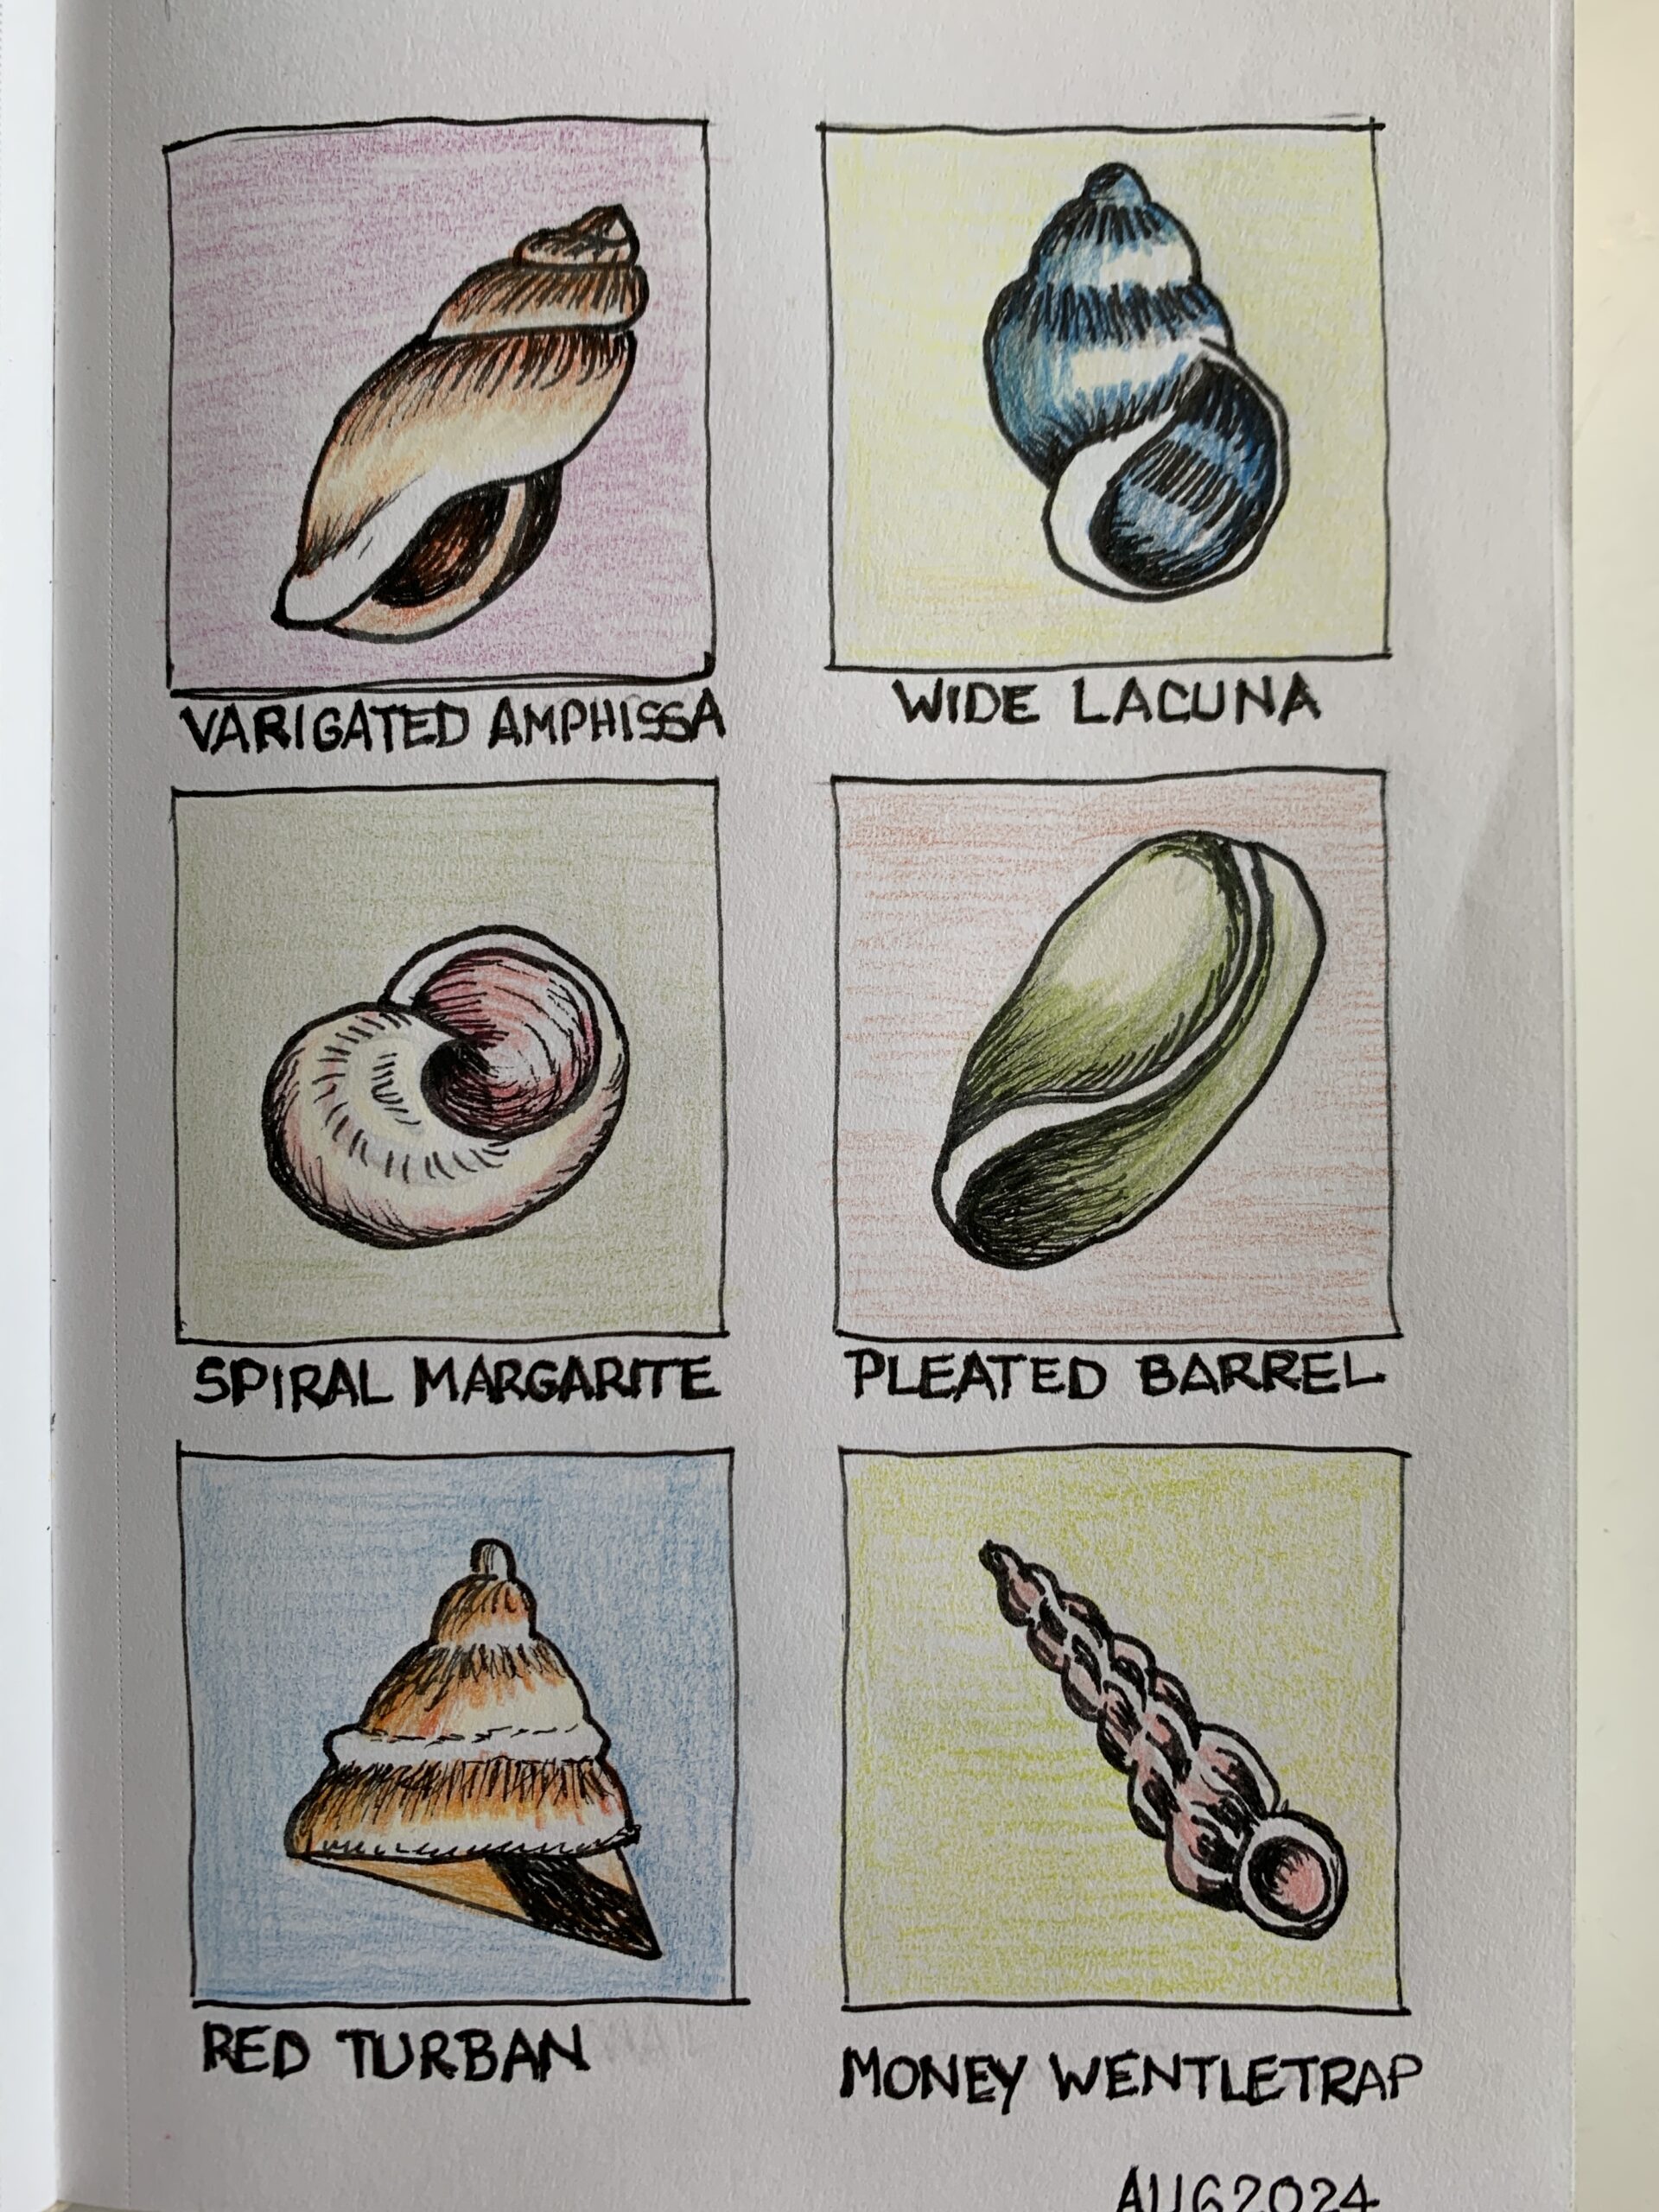
The next page I attempted I called my Rockpool adventures. Here I drew six different views of an intertidal rock pool that I would imagine would be in the coast here at the beach. A rock pool is created when the tide comes in, it fills up a pool and the tide goes out and some animals get trapped within the water and they can’t get out again until the next tide comes in. These are called intertidal rock pools and. I ended up drawing this sea star to which I added a face.
Now these sketches became the beginning sketches of a children’s book which I recently published. Before I did this grid sketch, I had no idea that I was going to create a children’s book. The idea only came to me once I’d done the drawings of the rock pools on the sea star, but I’ll tell you more about that project in in another video.
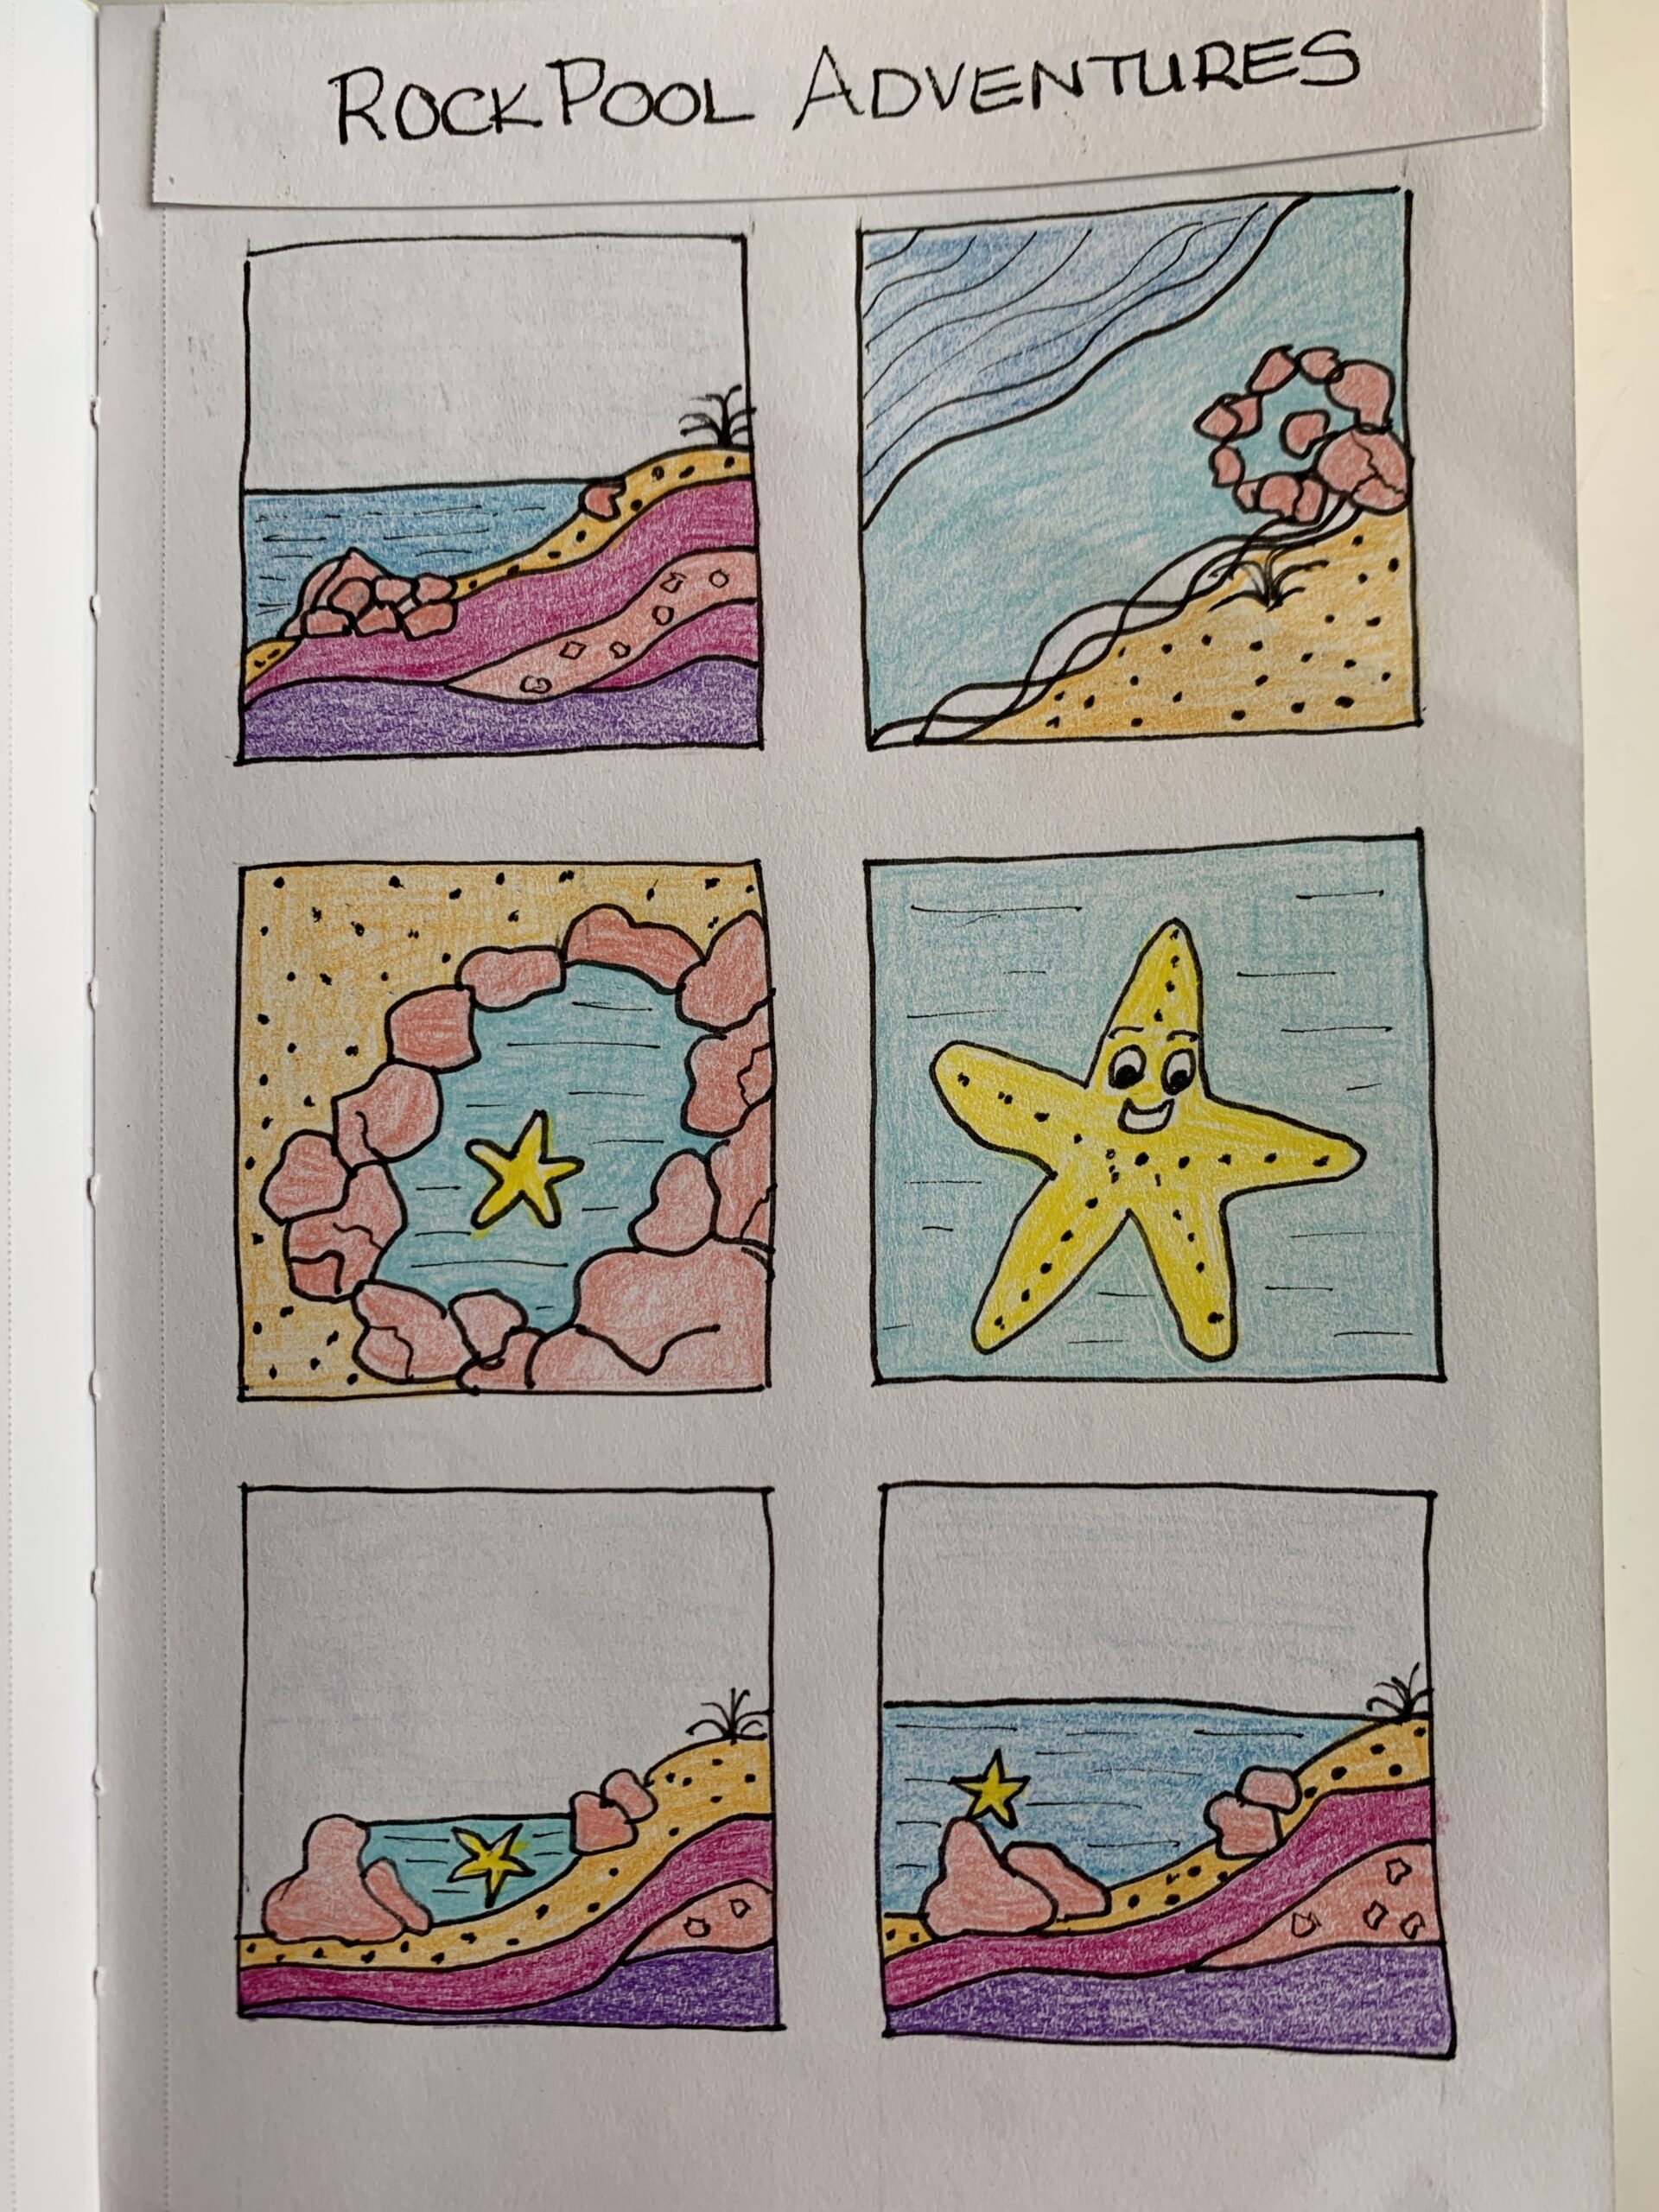
For my next grid sketchbook page, I penciled in the actual box, but I didn’t draw it in ink. Then when I drew the leaves and vines with the black pen, they are in the shape of a box, but there is no line holding them in. This was a different way of working with the space.
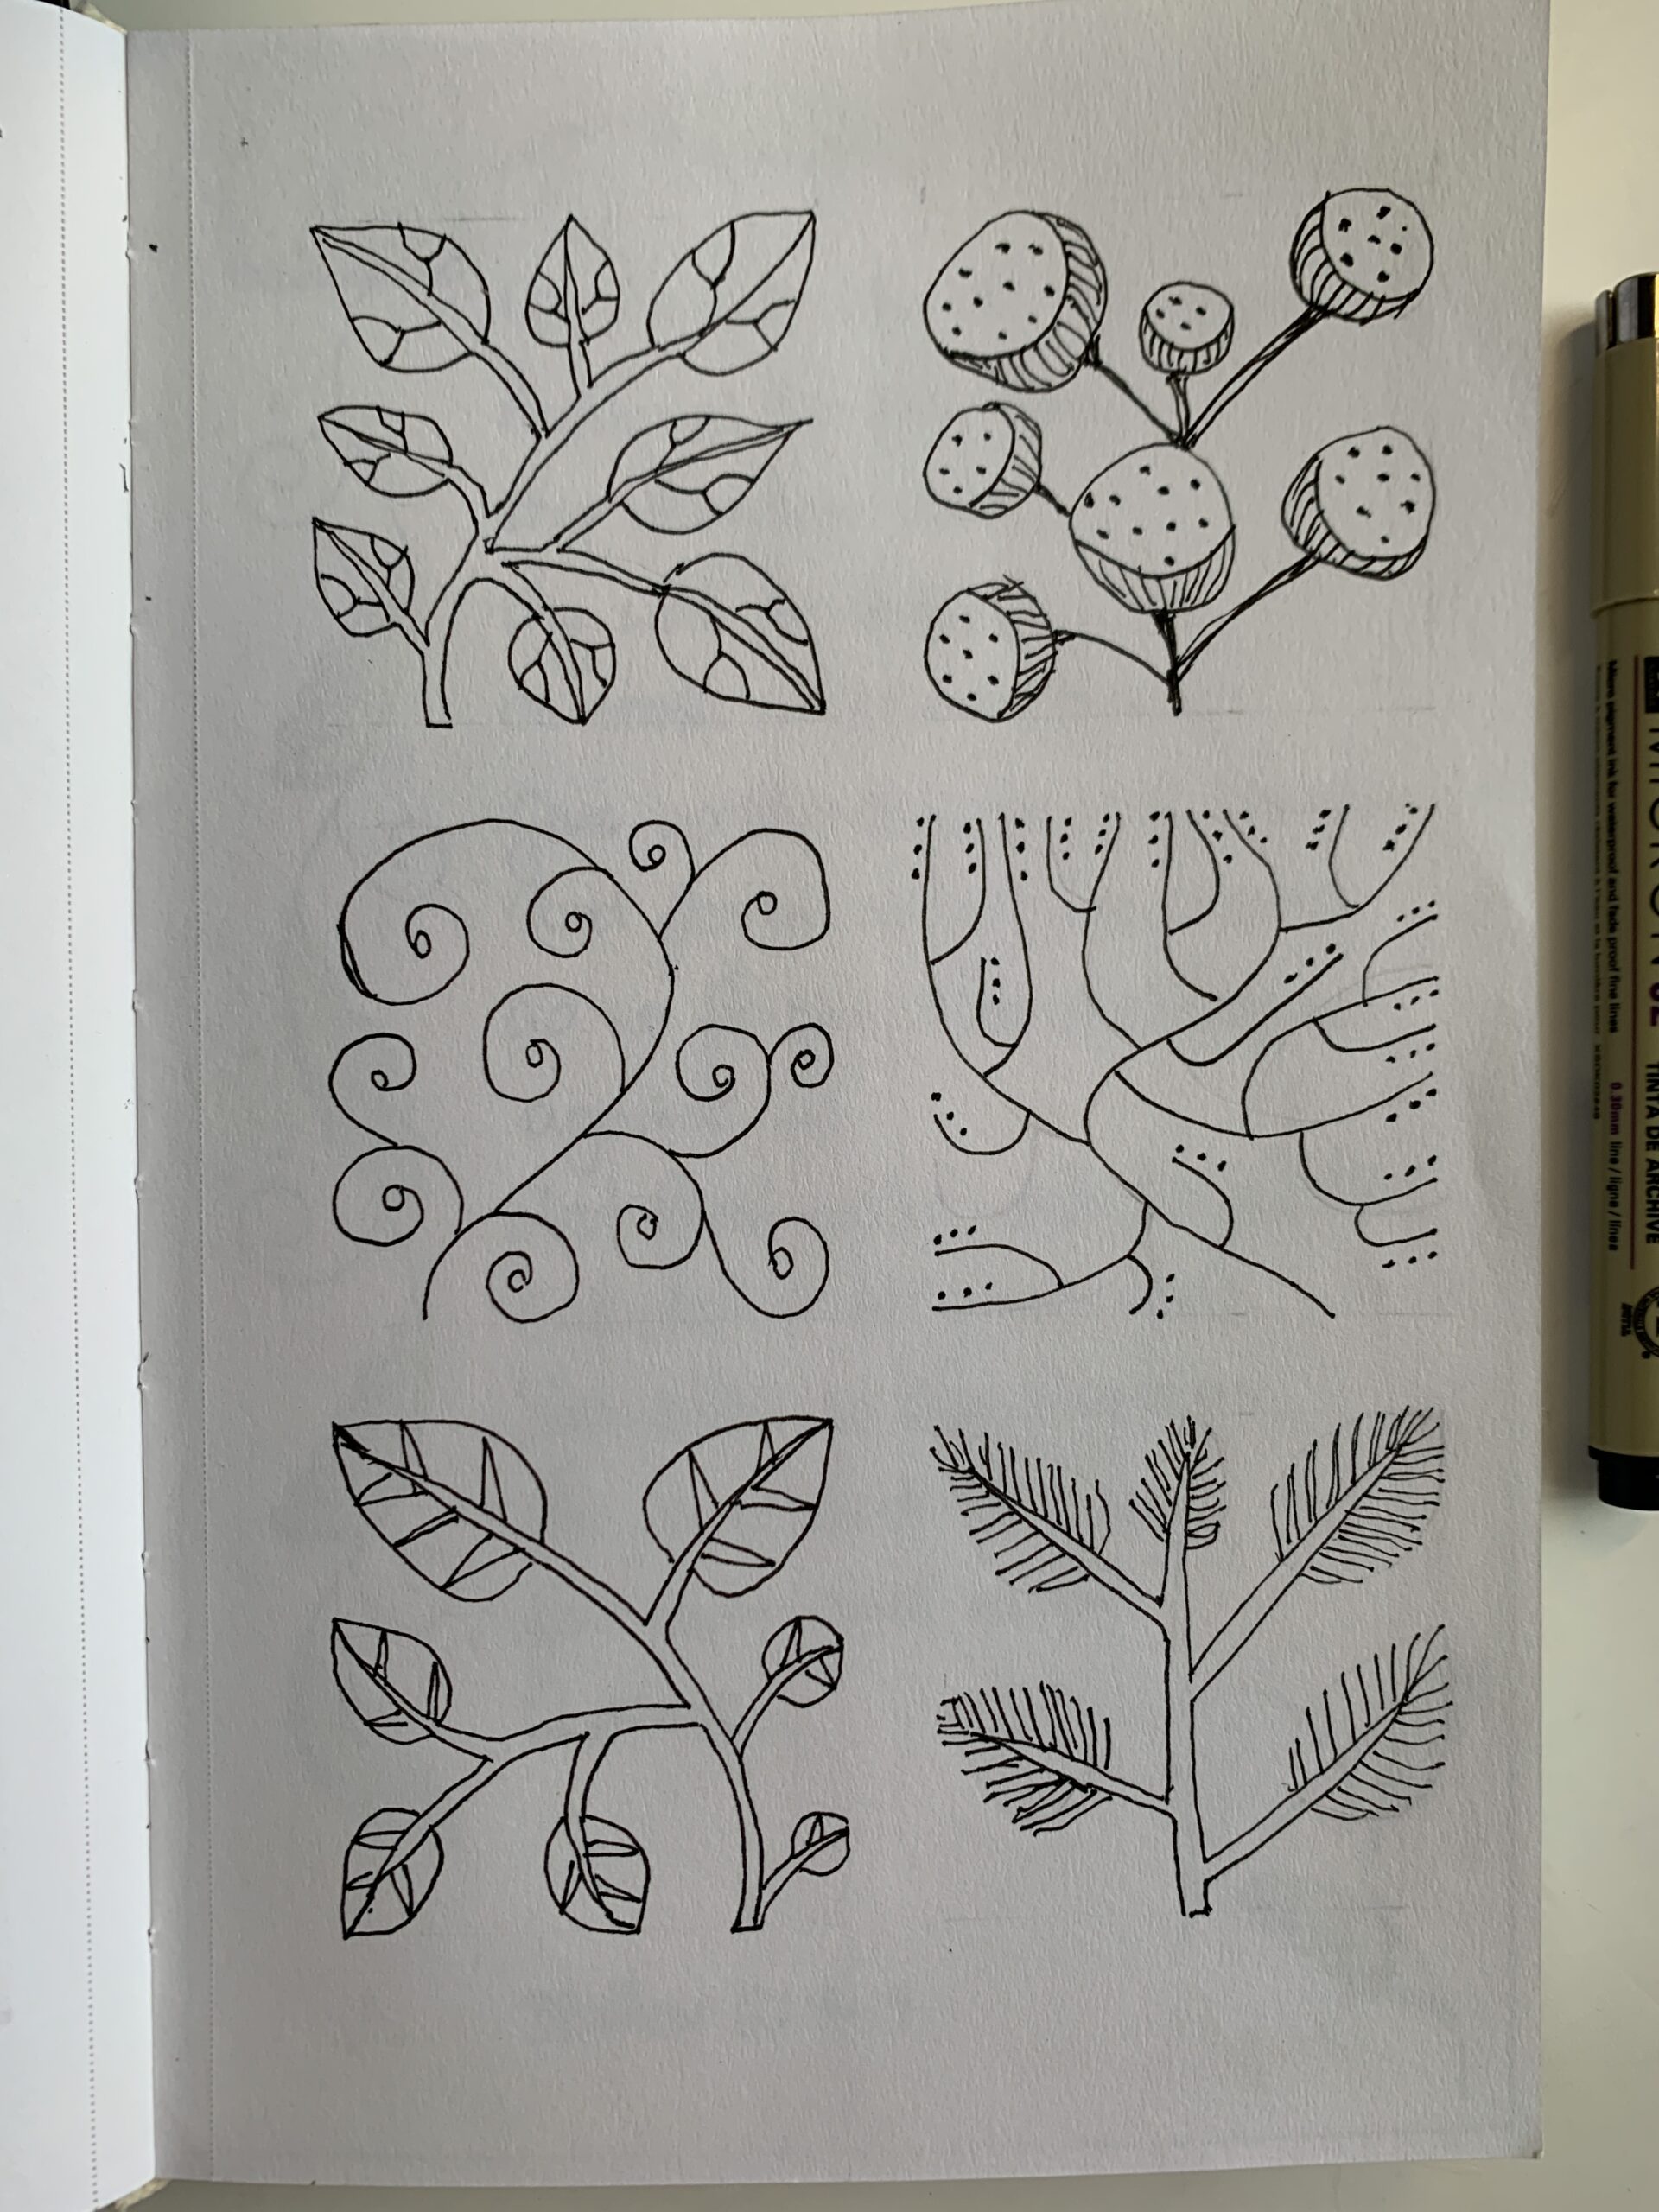
The next page in my sketchbook I gave over to a prayer. I was feeling a bit low as I was having some surgery that week and I wrote these words down to let me be able to concentrate on this prayer.
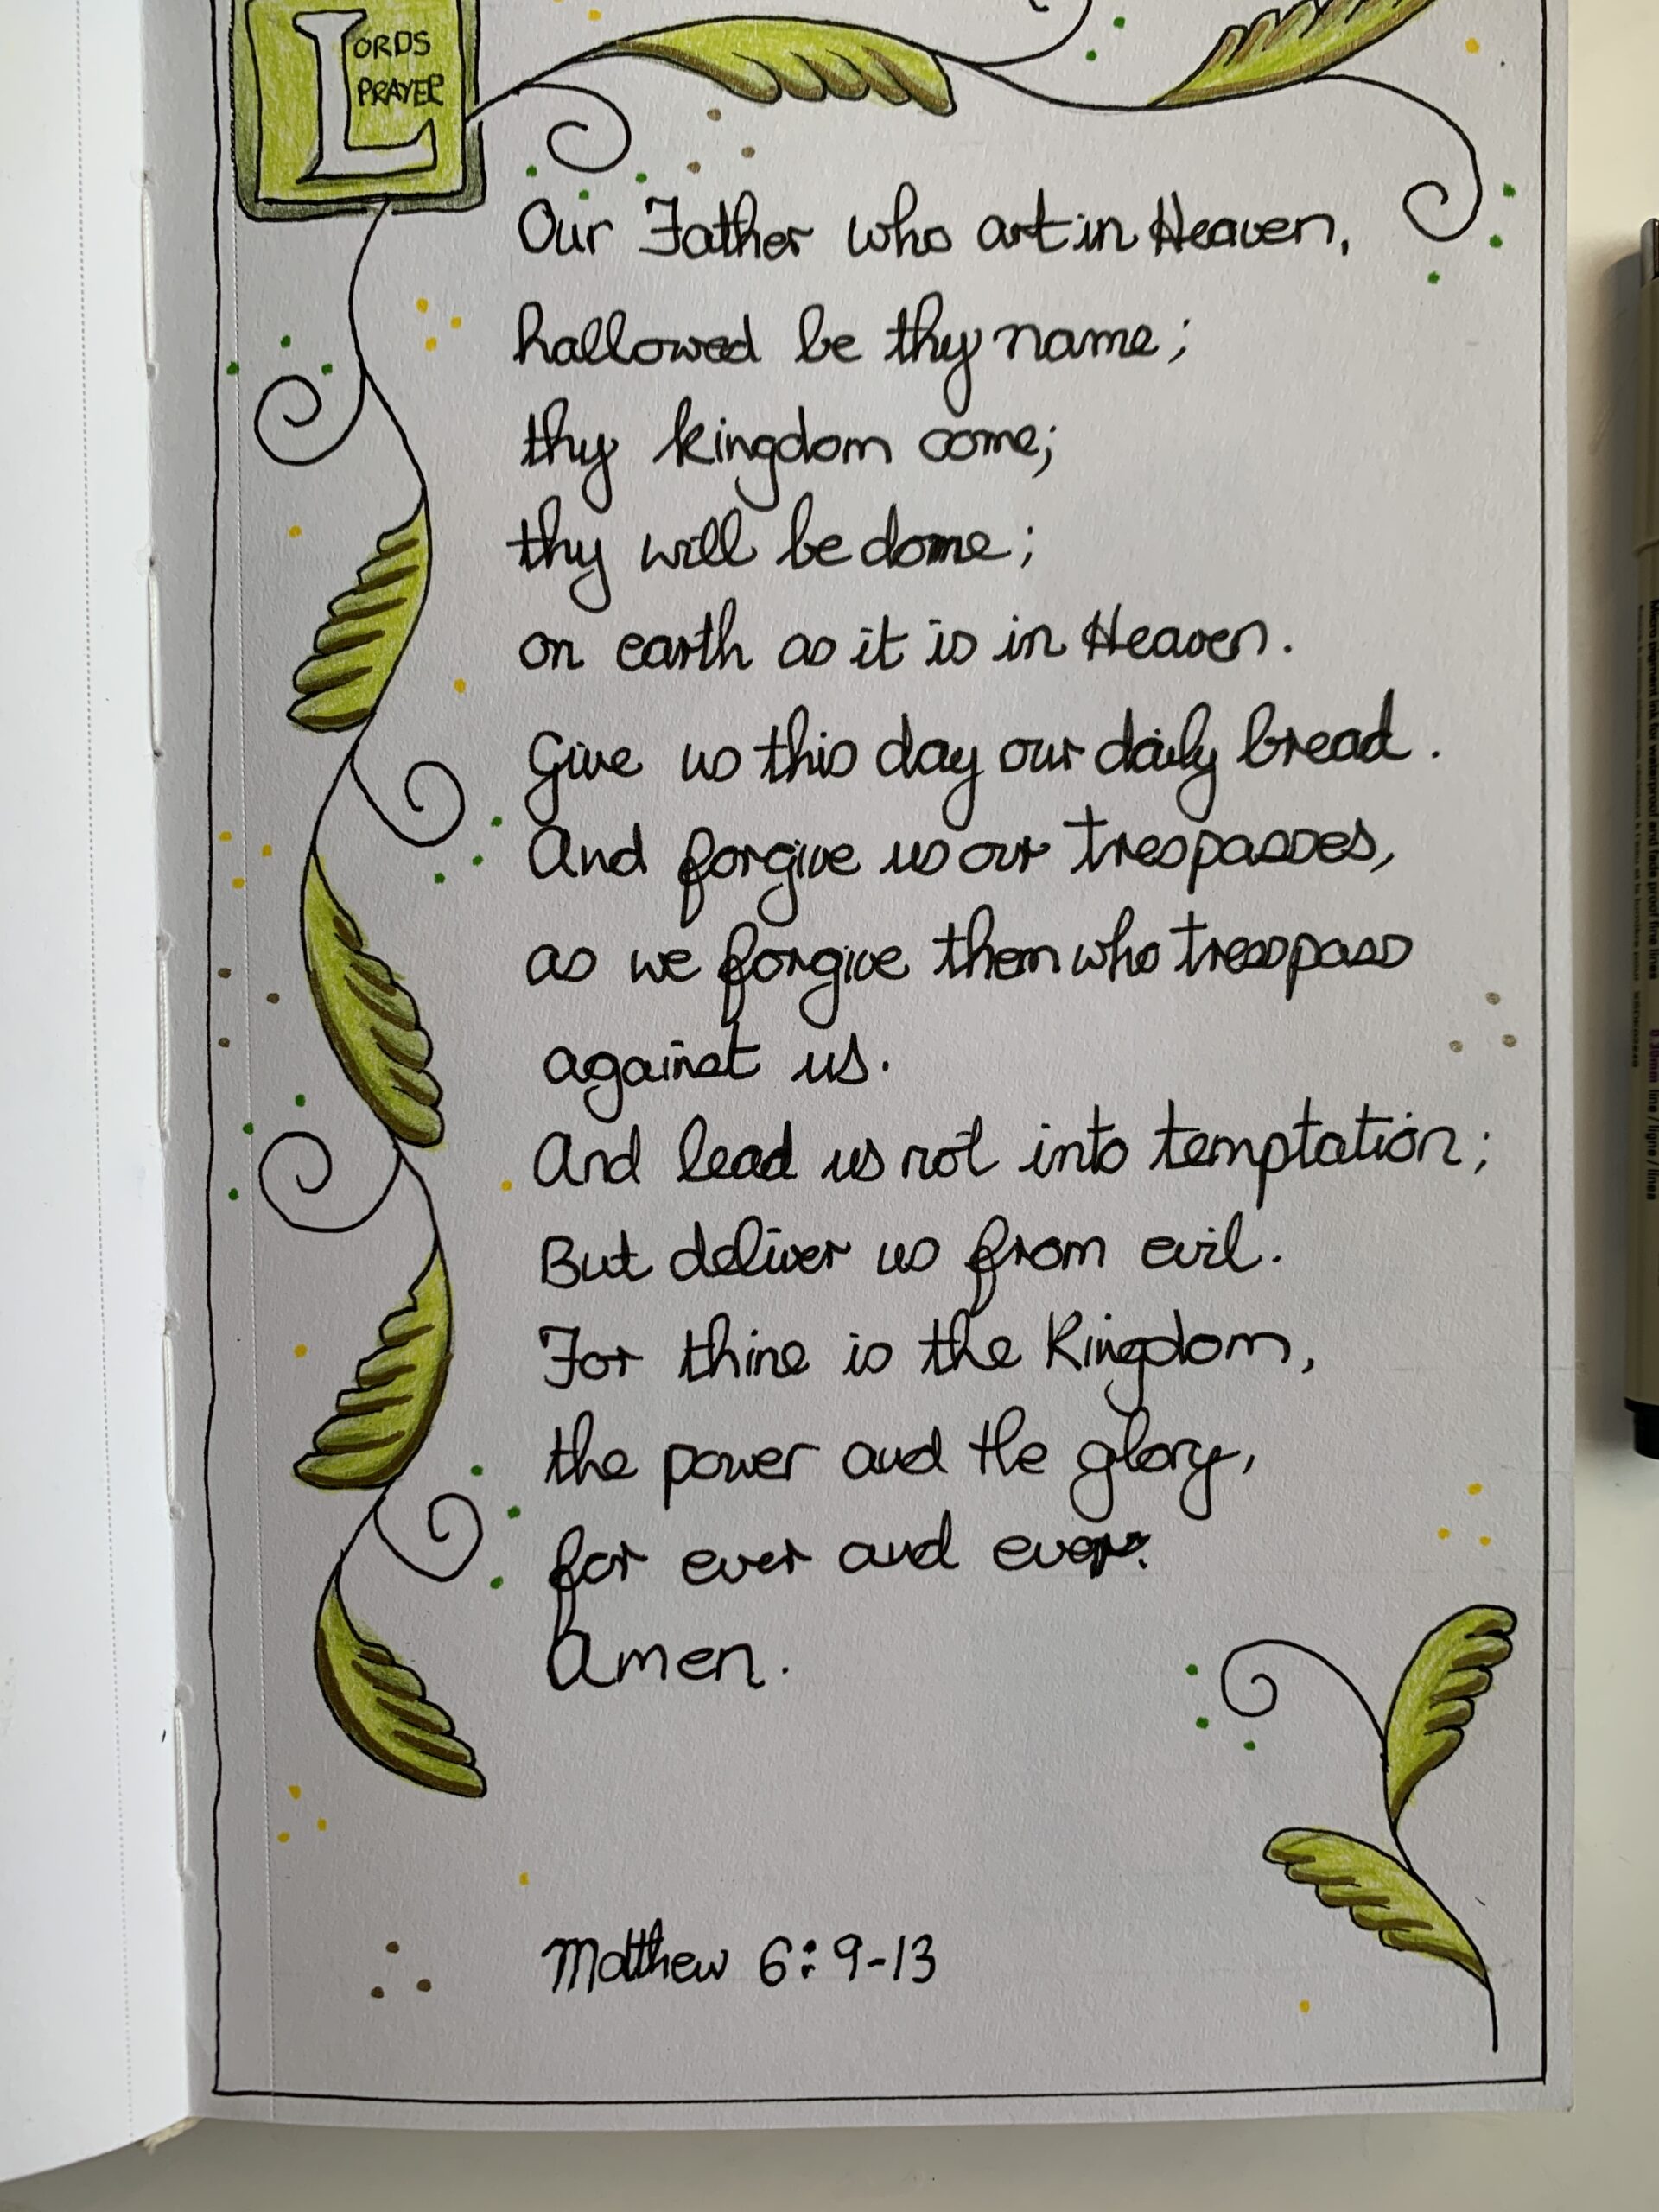
This next one I had six blocks, but it was a combination of squares and rectangles in a sort of windmill shape on the page. I was trying to break away from just straight up grid of two blocks by three blocks and going with a different kind of shape of grid. Within these squares and rectangles, I have some more seeds, seed pods, peapods, acorns and whatnot.
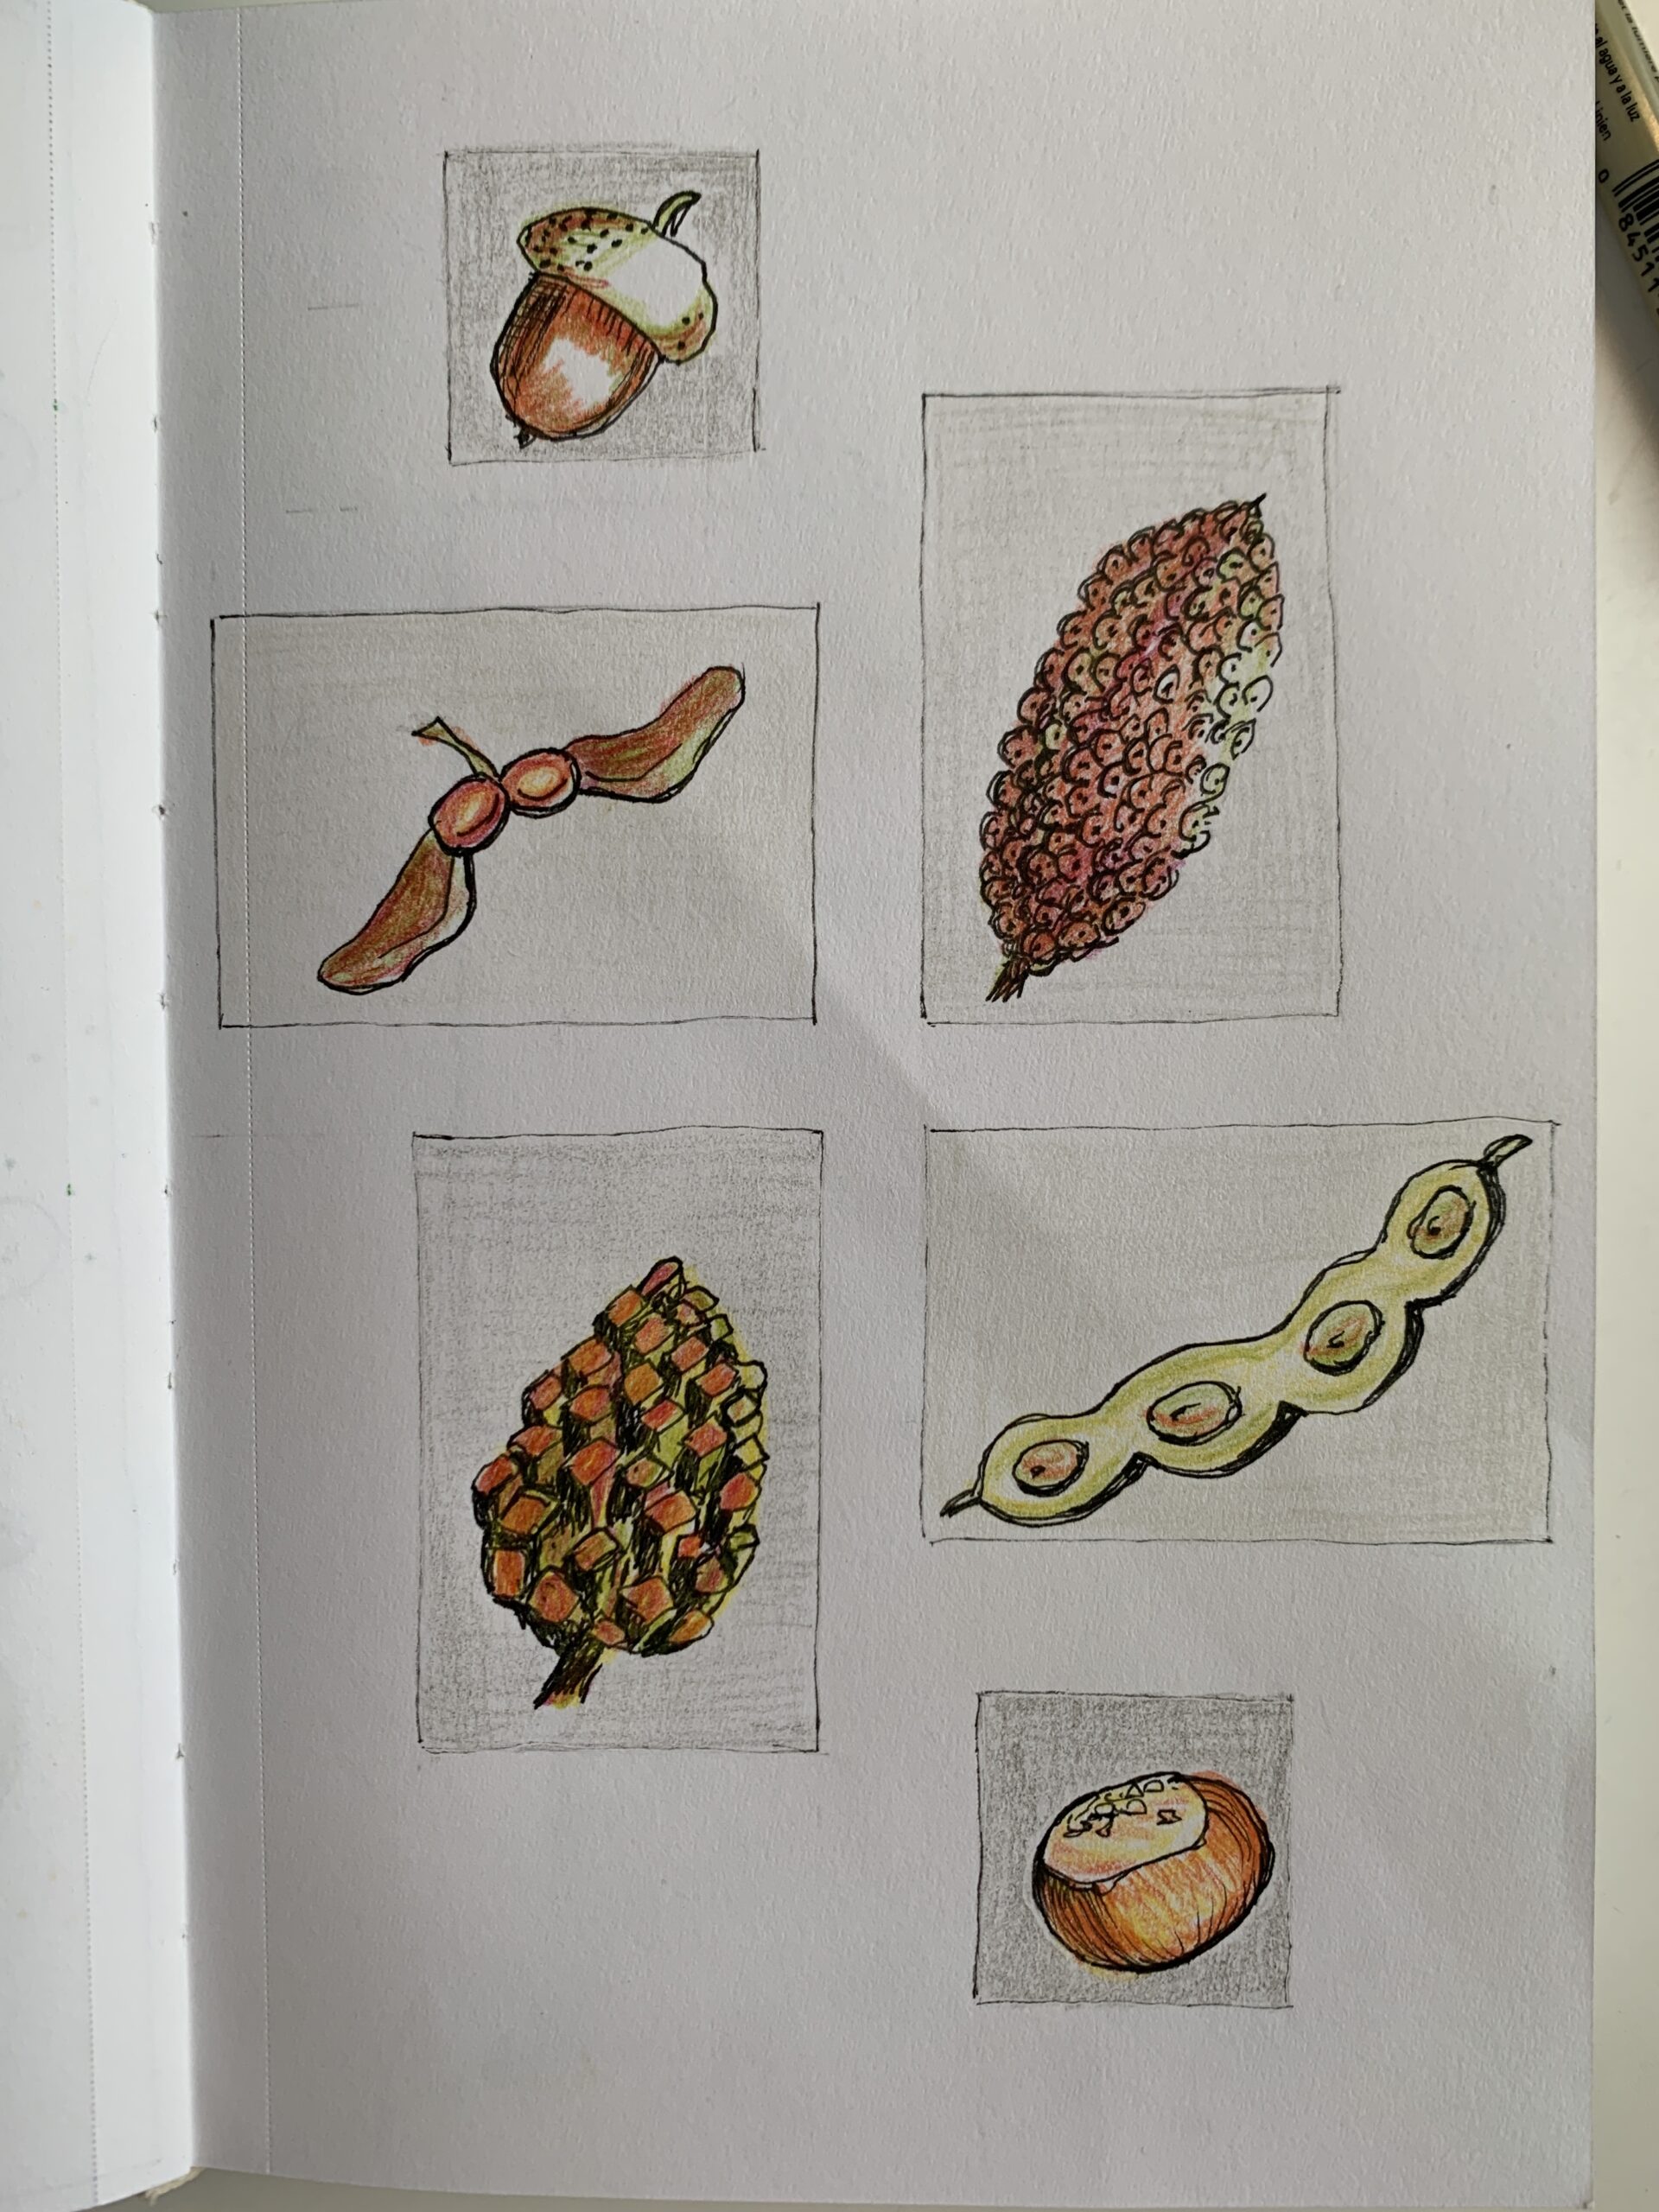
When I sketched this page, I was doing some recovering healthwise and it was taking a long time. This saying popped into my head, “A well woman has many wishes, an ill woman only one.” And this really did hook into how I was feeling at the time that really all I wanted to do was get better.
We’re seeing it was a well woman so I thought, well, I might as well draw a woman at a well although the image it really is slightly different to what the actual saying is about, but there it is. Of course there’s always a cat somehow creeping in.
Next, I have a page with grace because I was struggling still, as I say, with some medical issues, struggling to eat and just about managing to get down some bone broth. At this time, I started to appreciate what I was eating, so I wrote a page for grace.
This ABC page is still a work in progress. I’m not very happy with the number two and the number three. I don’t think it’s working, and this is still in pencil, so I’m likely to erase it and not take it further. And that’s fine.
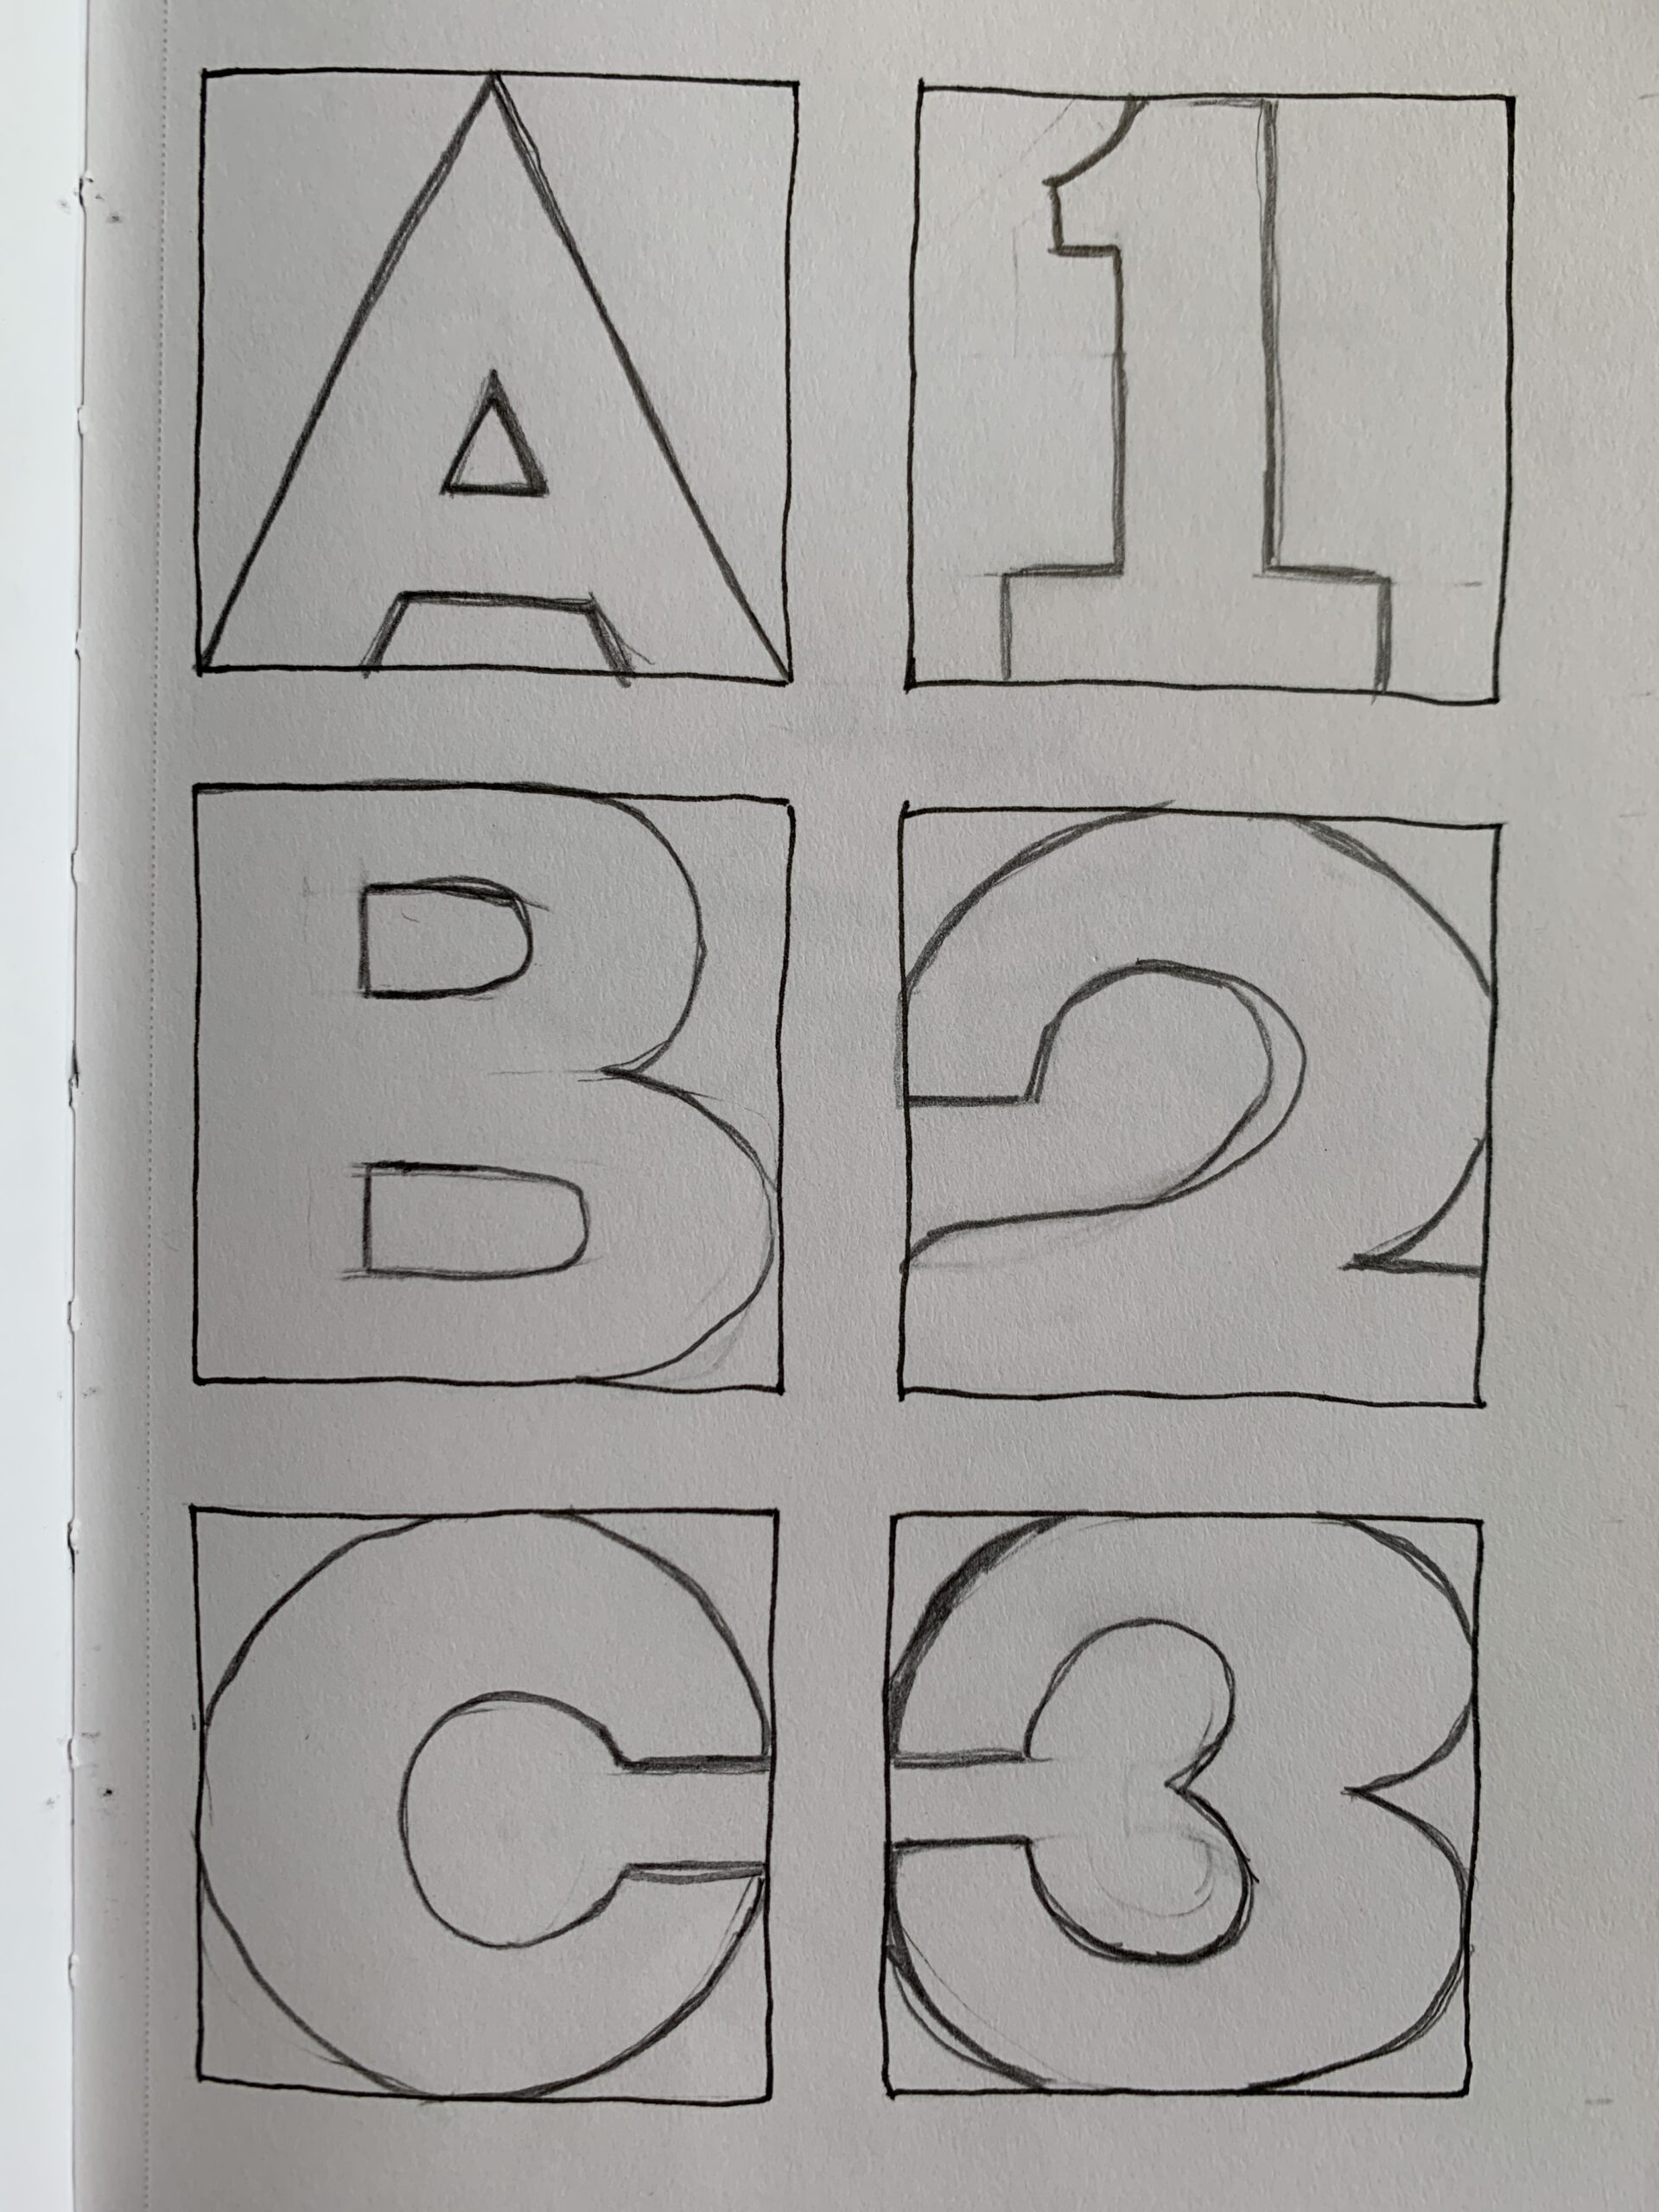
Next up I have a single page with one grid box, and I drew the lambis lambis shell, which is a shell that I actually own. It’s very tricky drawing shells with all the curves, but I do enjoy them.
Next, I did a six-grid page with some seahorses. This was the time when I’d published the Sea Star book and was considering the second book in the series, which would then introduce a seahorse. Now I found this was a particularly difficult animal to draw. I did give it several ways of working with it because there are many curves and the nose itself is quite tricky, but anyway. I created six different ways of looking at seahorses. This page I haven’t taken any further, but it’s still something that’s percolating in my mind.
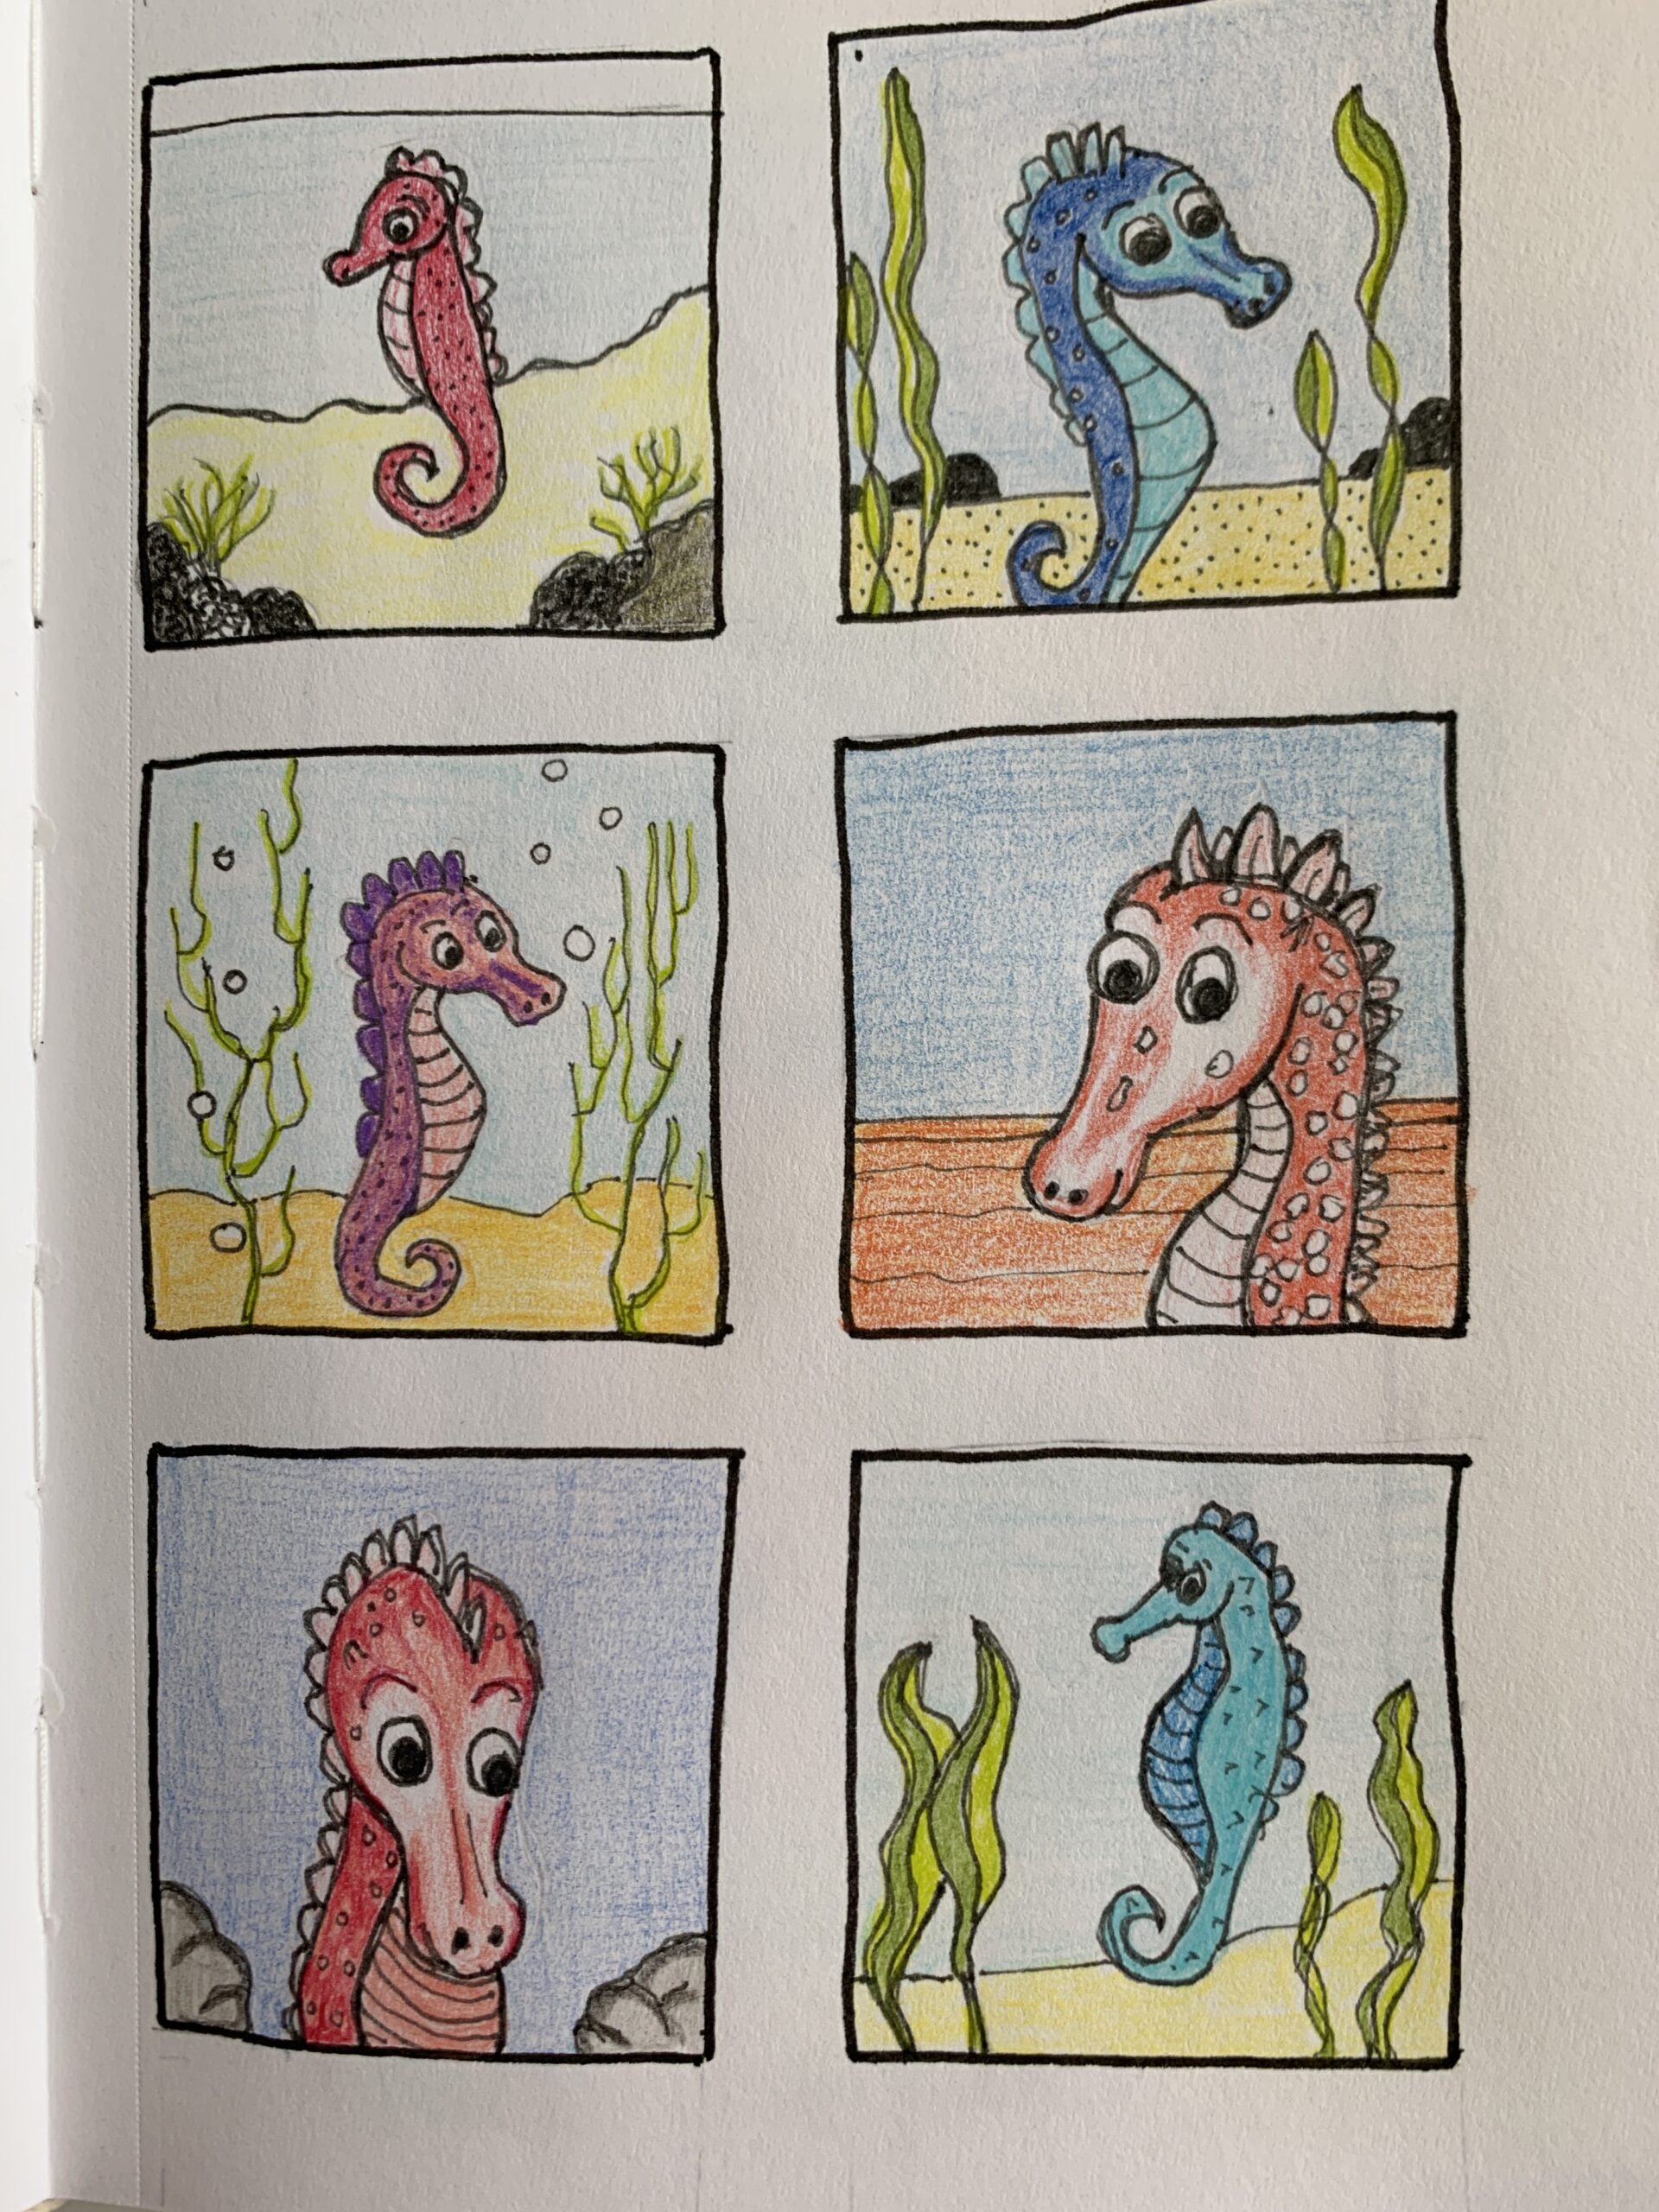
With this image I started with one large frame and then decided it would make a good window. So it becomes a window frame and I lightly shaded walls in cream to give it prominence. I’m calling this one, “Sown the garden path” because from where we’re standing, we’re looking out of the window down the path to endless possibilities.
There are some birds in a birdbath and a bench to sit on, there’s a pond with ducks and then you can go through the gate, continue on up into the mountains, past the sheep and to who knows where.
It’s one of those drawings where it’s taking you somewhere, but you don’t quite know where it’s going to take you, so I quite enjoyed drawing that one as well. And yes, I see there’s another cat snuck in there.
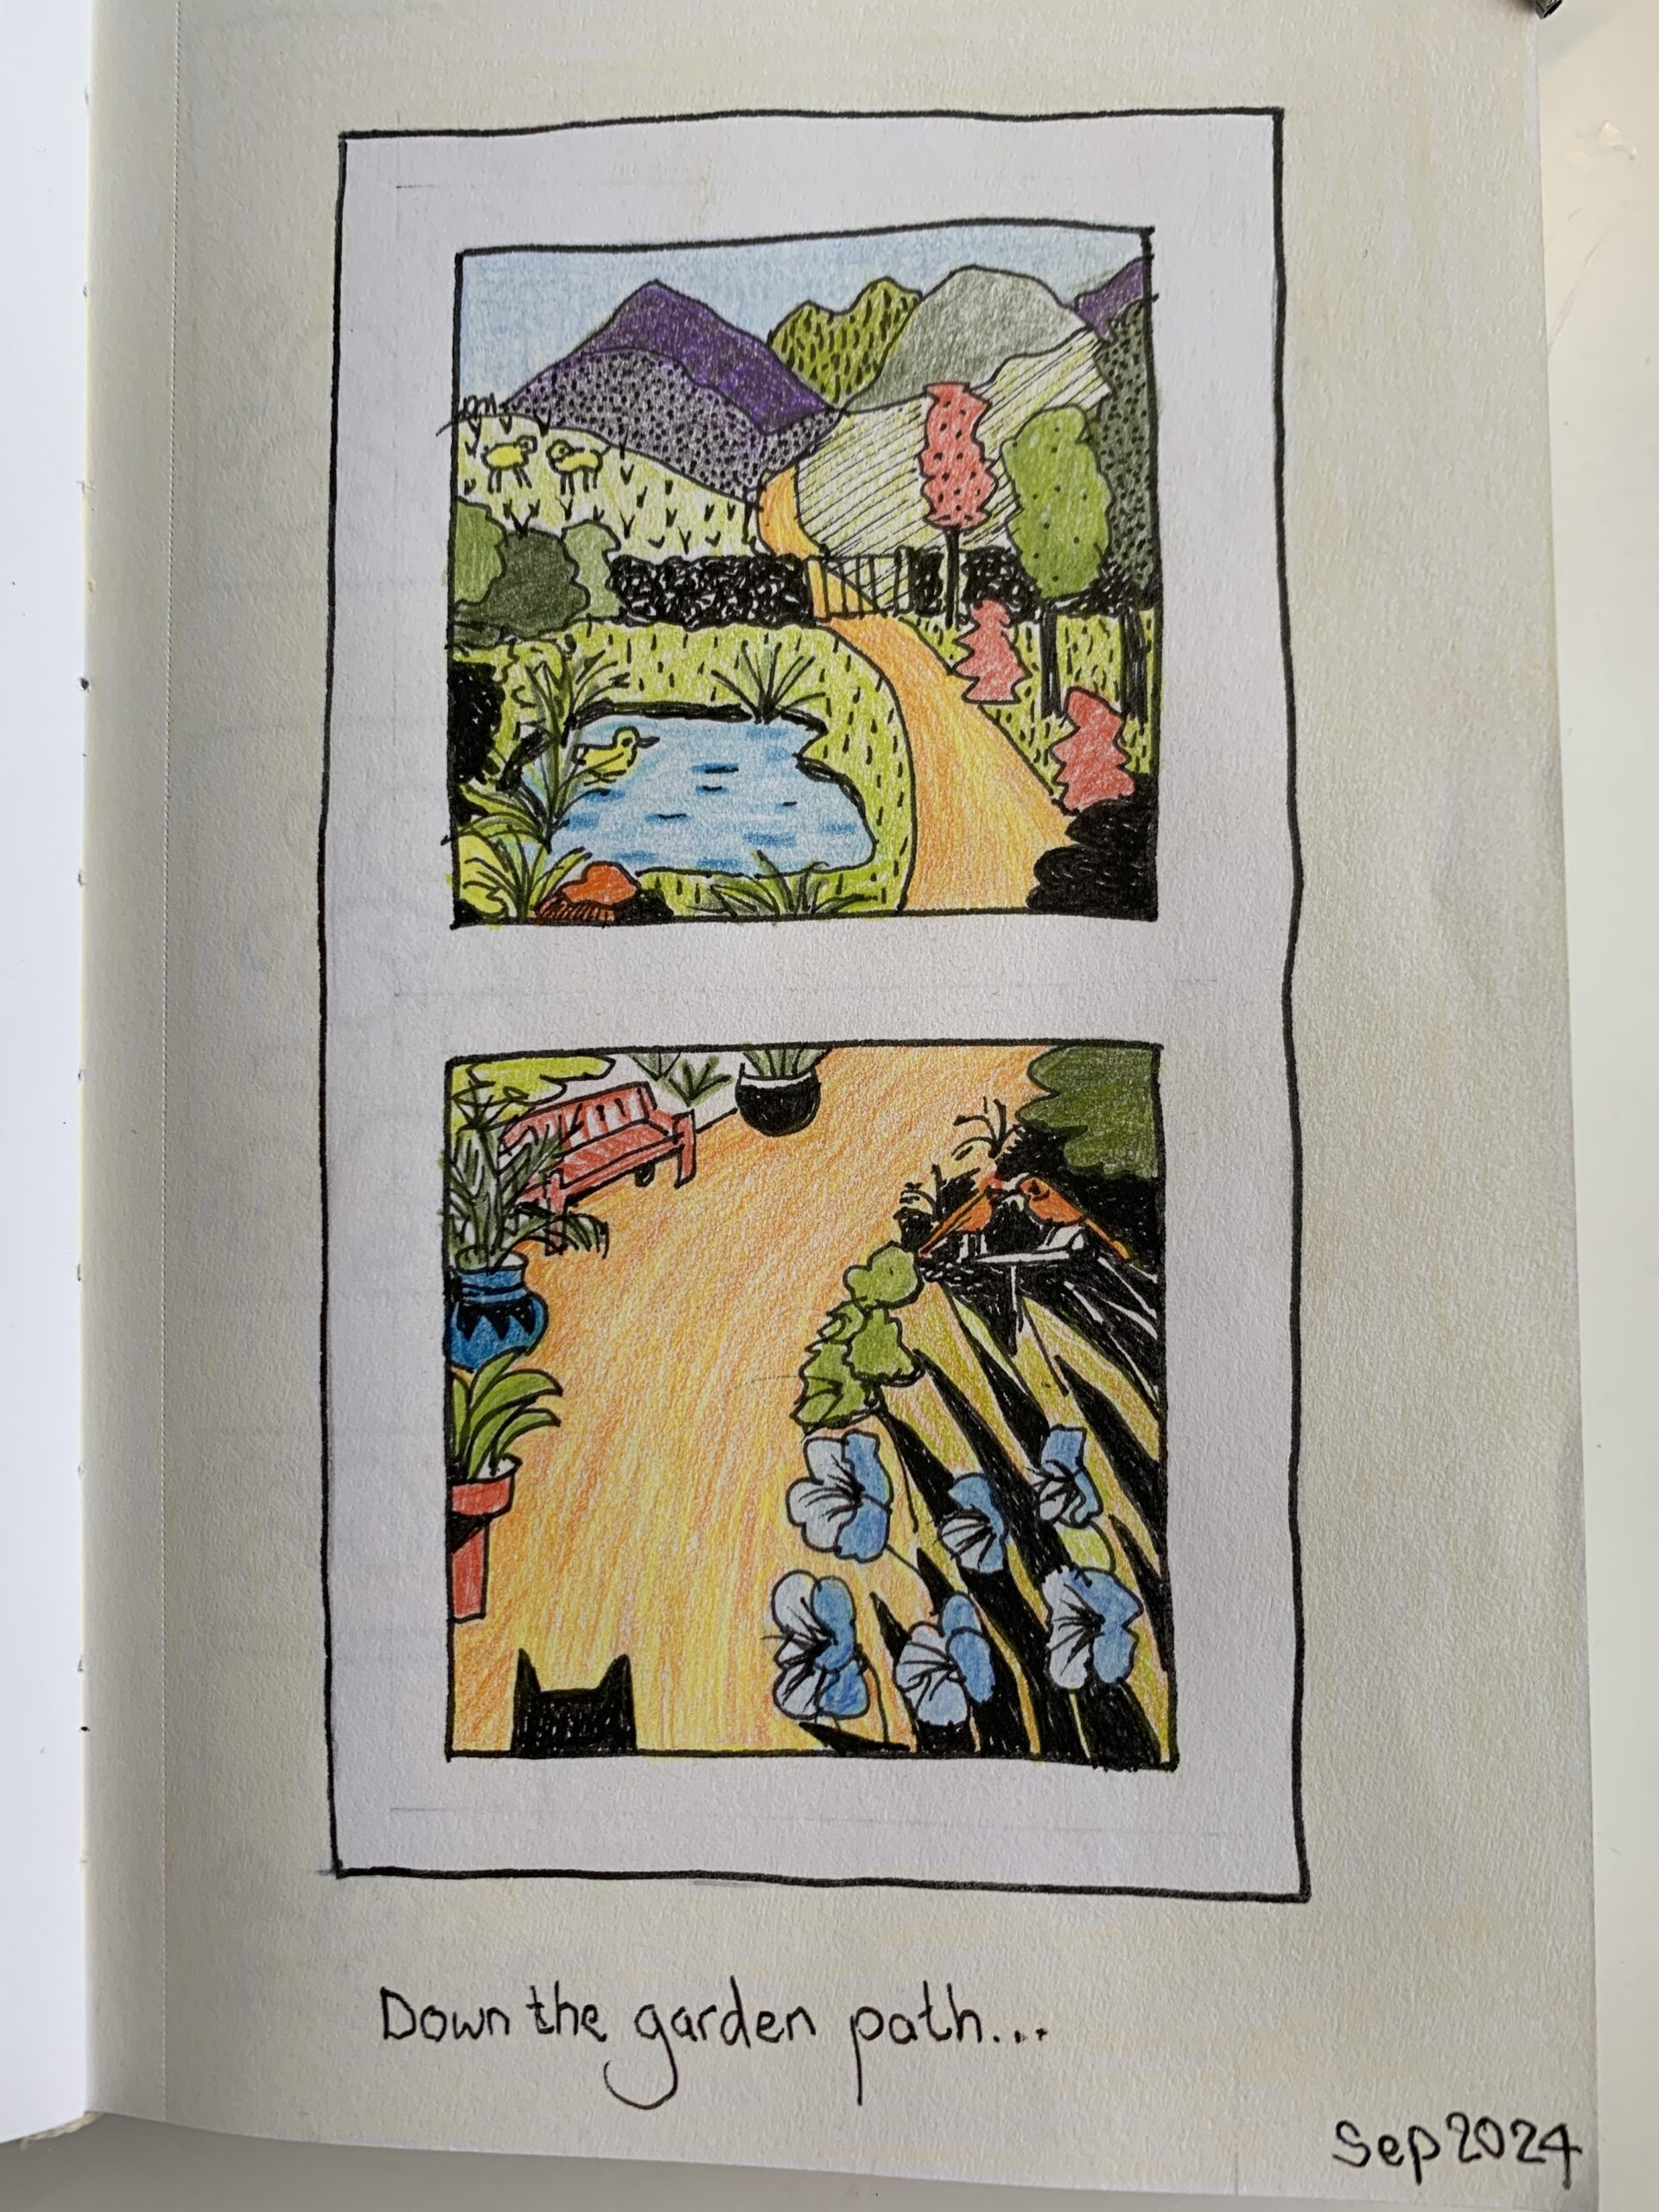
The one with vines is a grid drawing that’s going across several of the grids. I’ve got five or so vines rooted in the two bottom squares and they are developing and unfurling as they go up. This sketch is still just in pen and I may or may not colour it in.
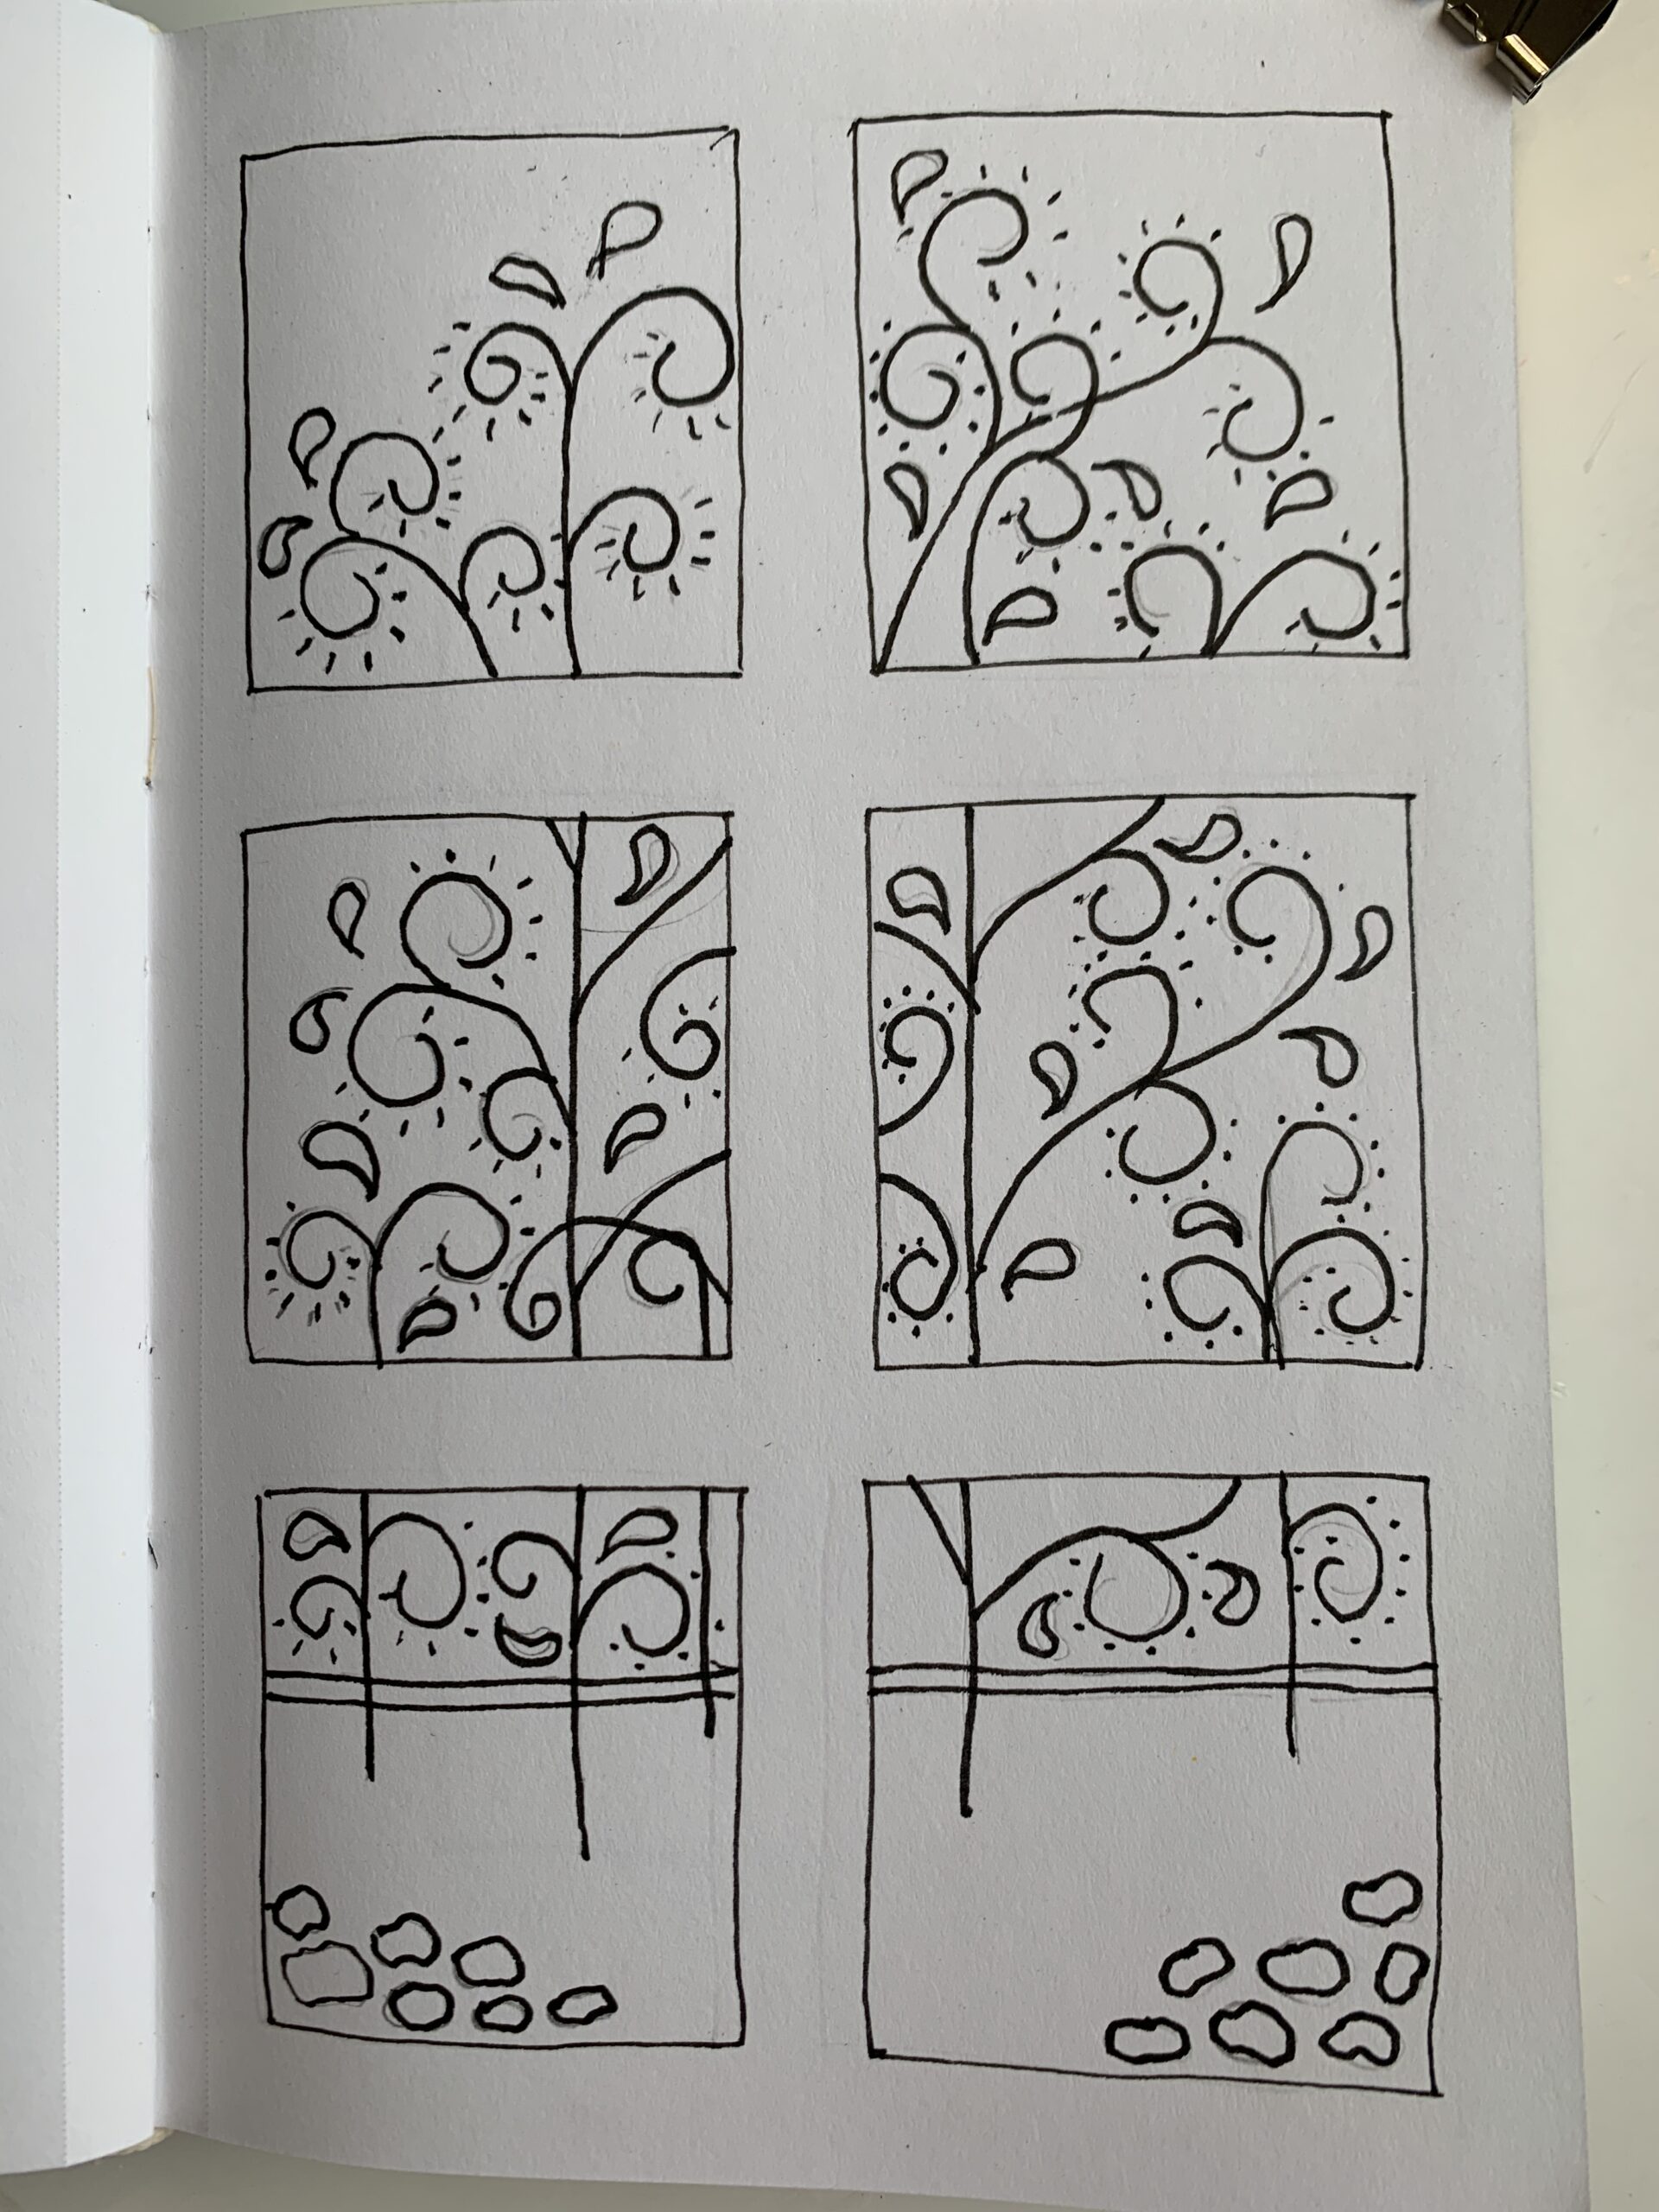
In my grid sketch for, “The plant cycle” I’ve got a narrow ribbon arrow running behind to show you which way to go. You follow the arrow as the plant develops leaves, grows, buds, flowers and so on and then eventually the leaves drop off. It depicts a plant cycle. This one is still in a sketch. I haven’t quite finished it yet because it’s an imaginary plant and I’m not quite sure if I’m happy about the two middle drawings, but that is something I can still think about and mull over.
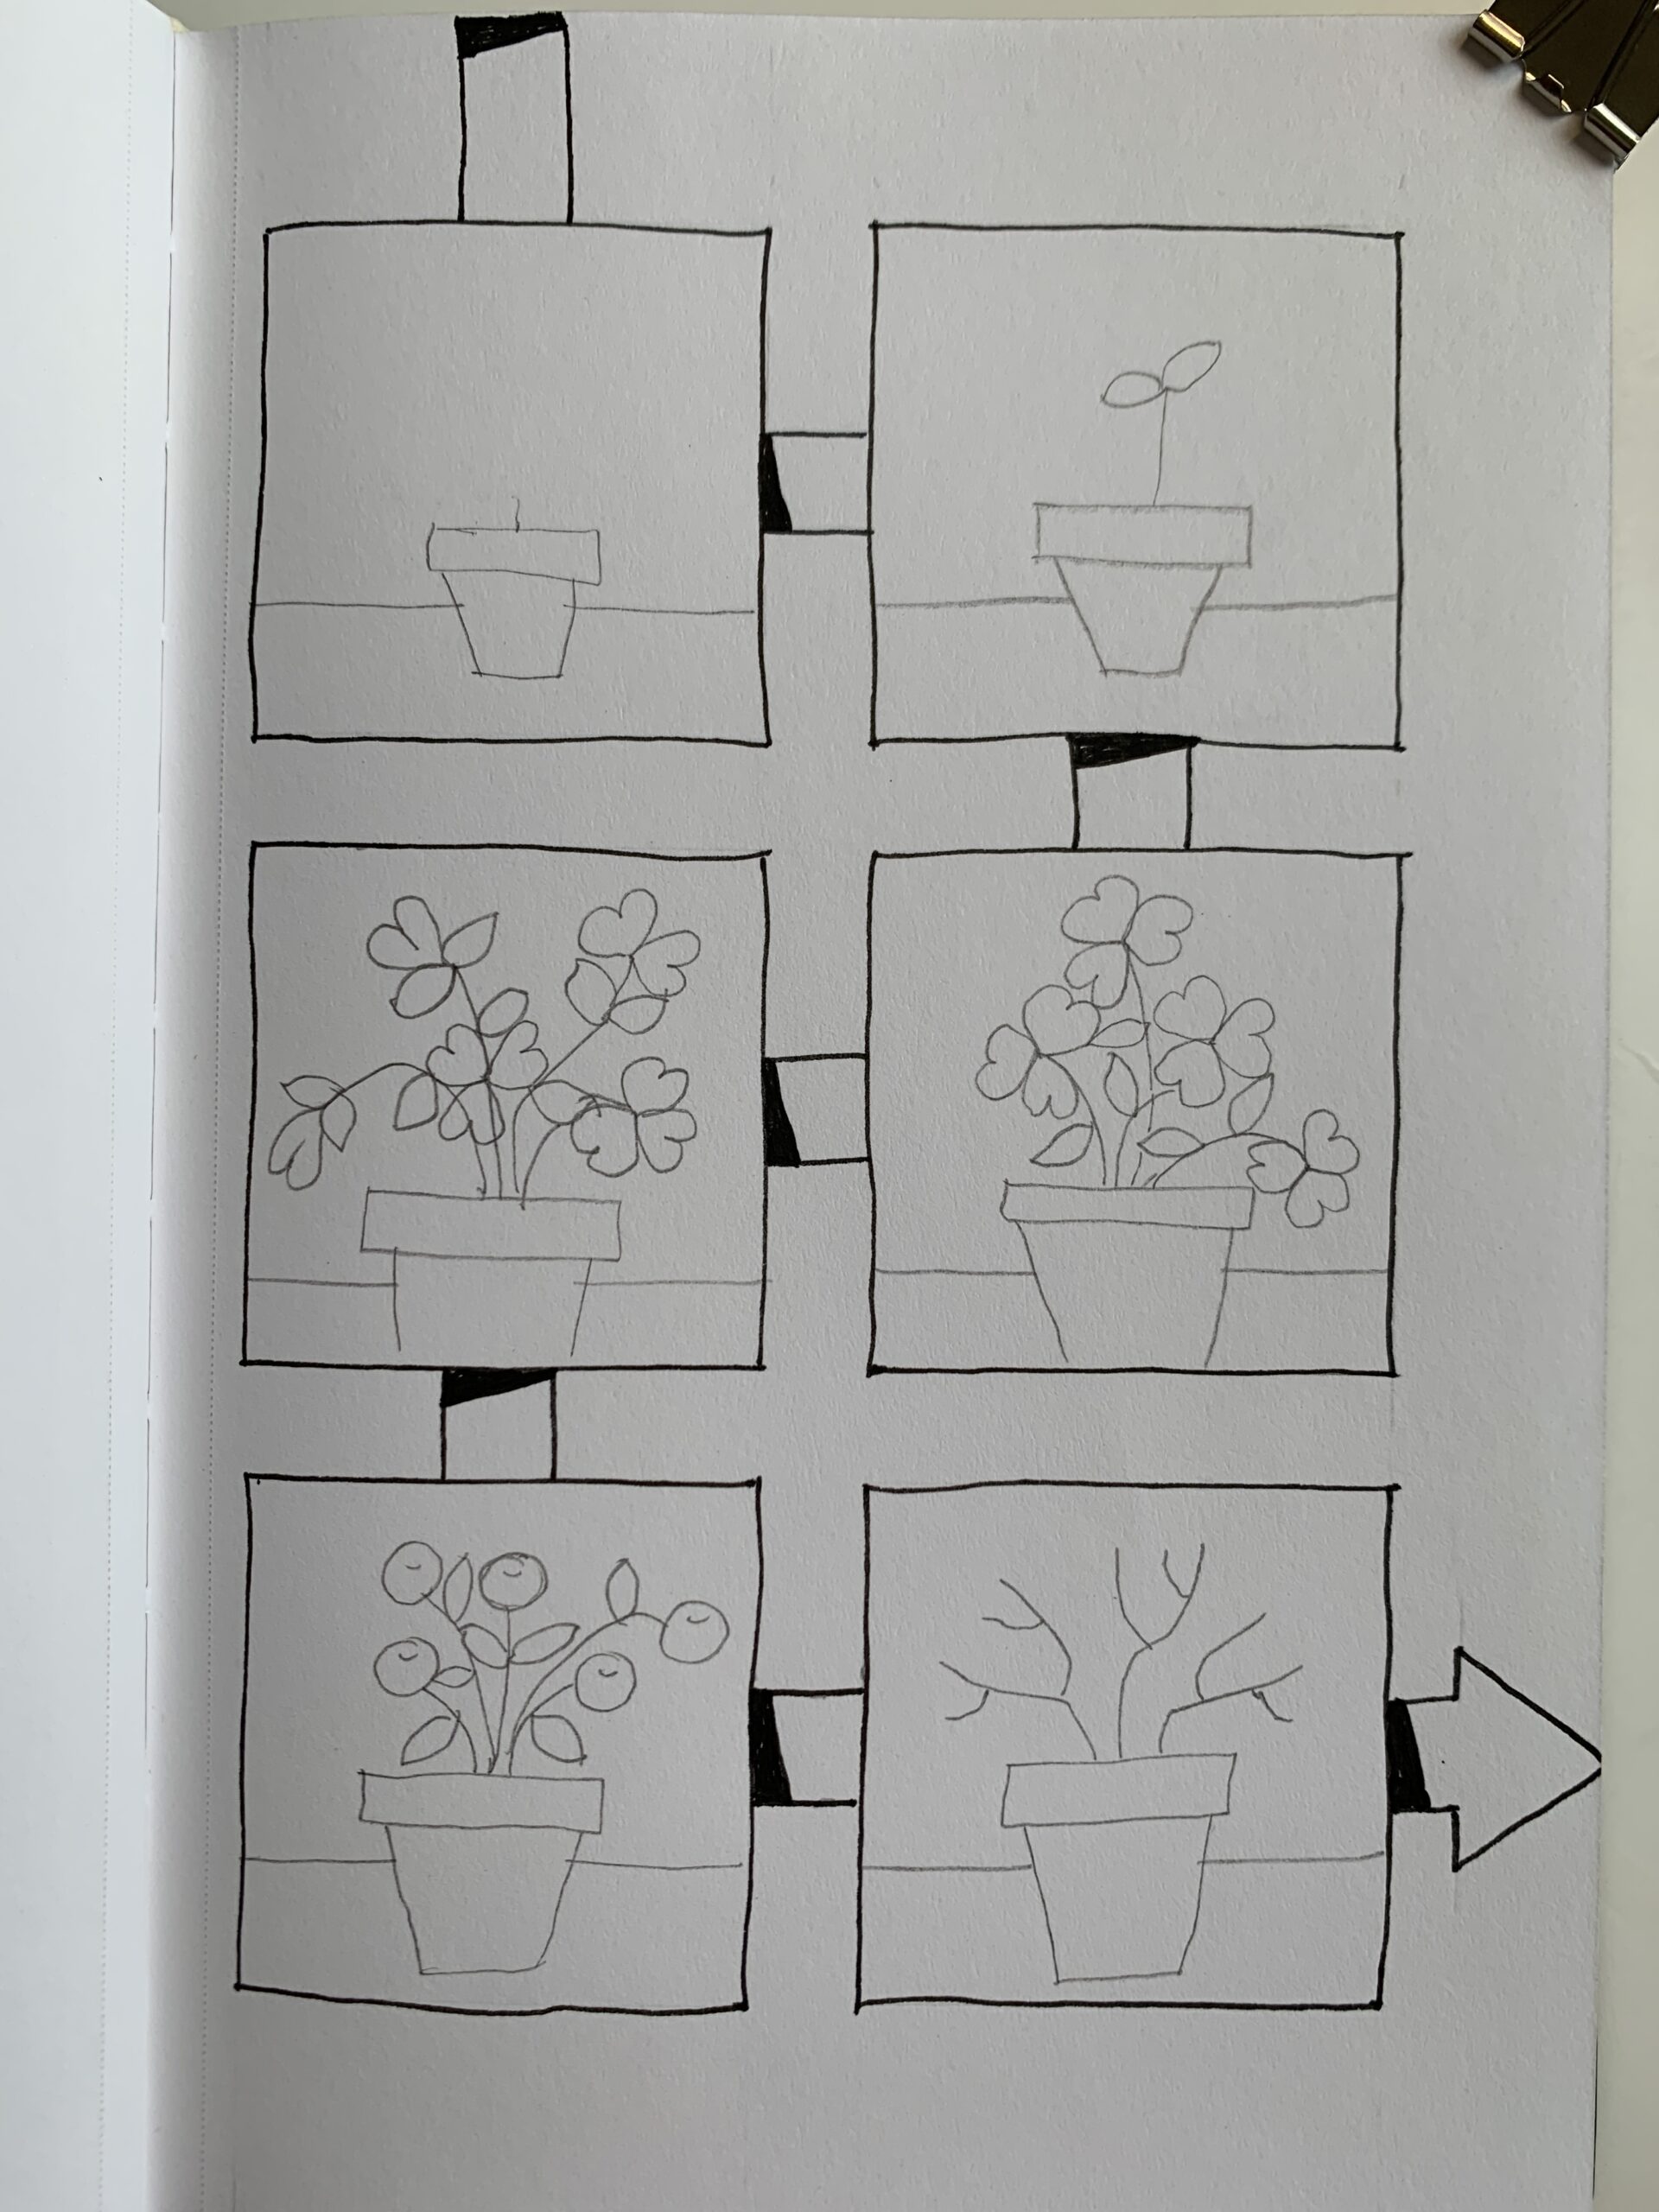
Now I’m just going to tell you how I actually draw these grids in my A5 sketchbook. My sketchbook contains pages are 14cm by 21.5cm (5 1/2 inches by 8 1/2 inches.)
From the right-hand edge, I measure 2cm in and put a mark and then count 5 centimeters across a put another mark, and then 1cm and another mark and then over to the last five-centimeter marks.
If you are doing this is in inches, my squares are about two inches wide with half an inch in between.
So, if you start with the ruler 5 inches on your right hand edge, you would put a mark at 4 1/2 inches, 2 1/2 inches, 2 inches and 0.
You would then get two columns of two inches wide with half an inch in between, and then coming down the page from the top you would measure it down 1 inch and then have a 2-inch square, half an inch for the gap, two inches of rthe middle grid block, half and inch for the gap, and two inches for the bottom squares.
I draw my grid squares lightly, usually with a 2H pencil, although in the video I’m using an HB because I want you to be able to see what I’m doing. Once I’ve lightly sketched out the squares, I will go from there.
This is how you set up an A5 grid art journal page.
Now you can get started on your grid art journaling.
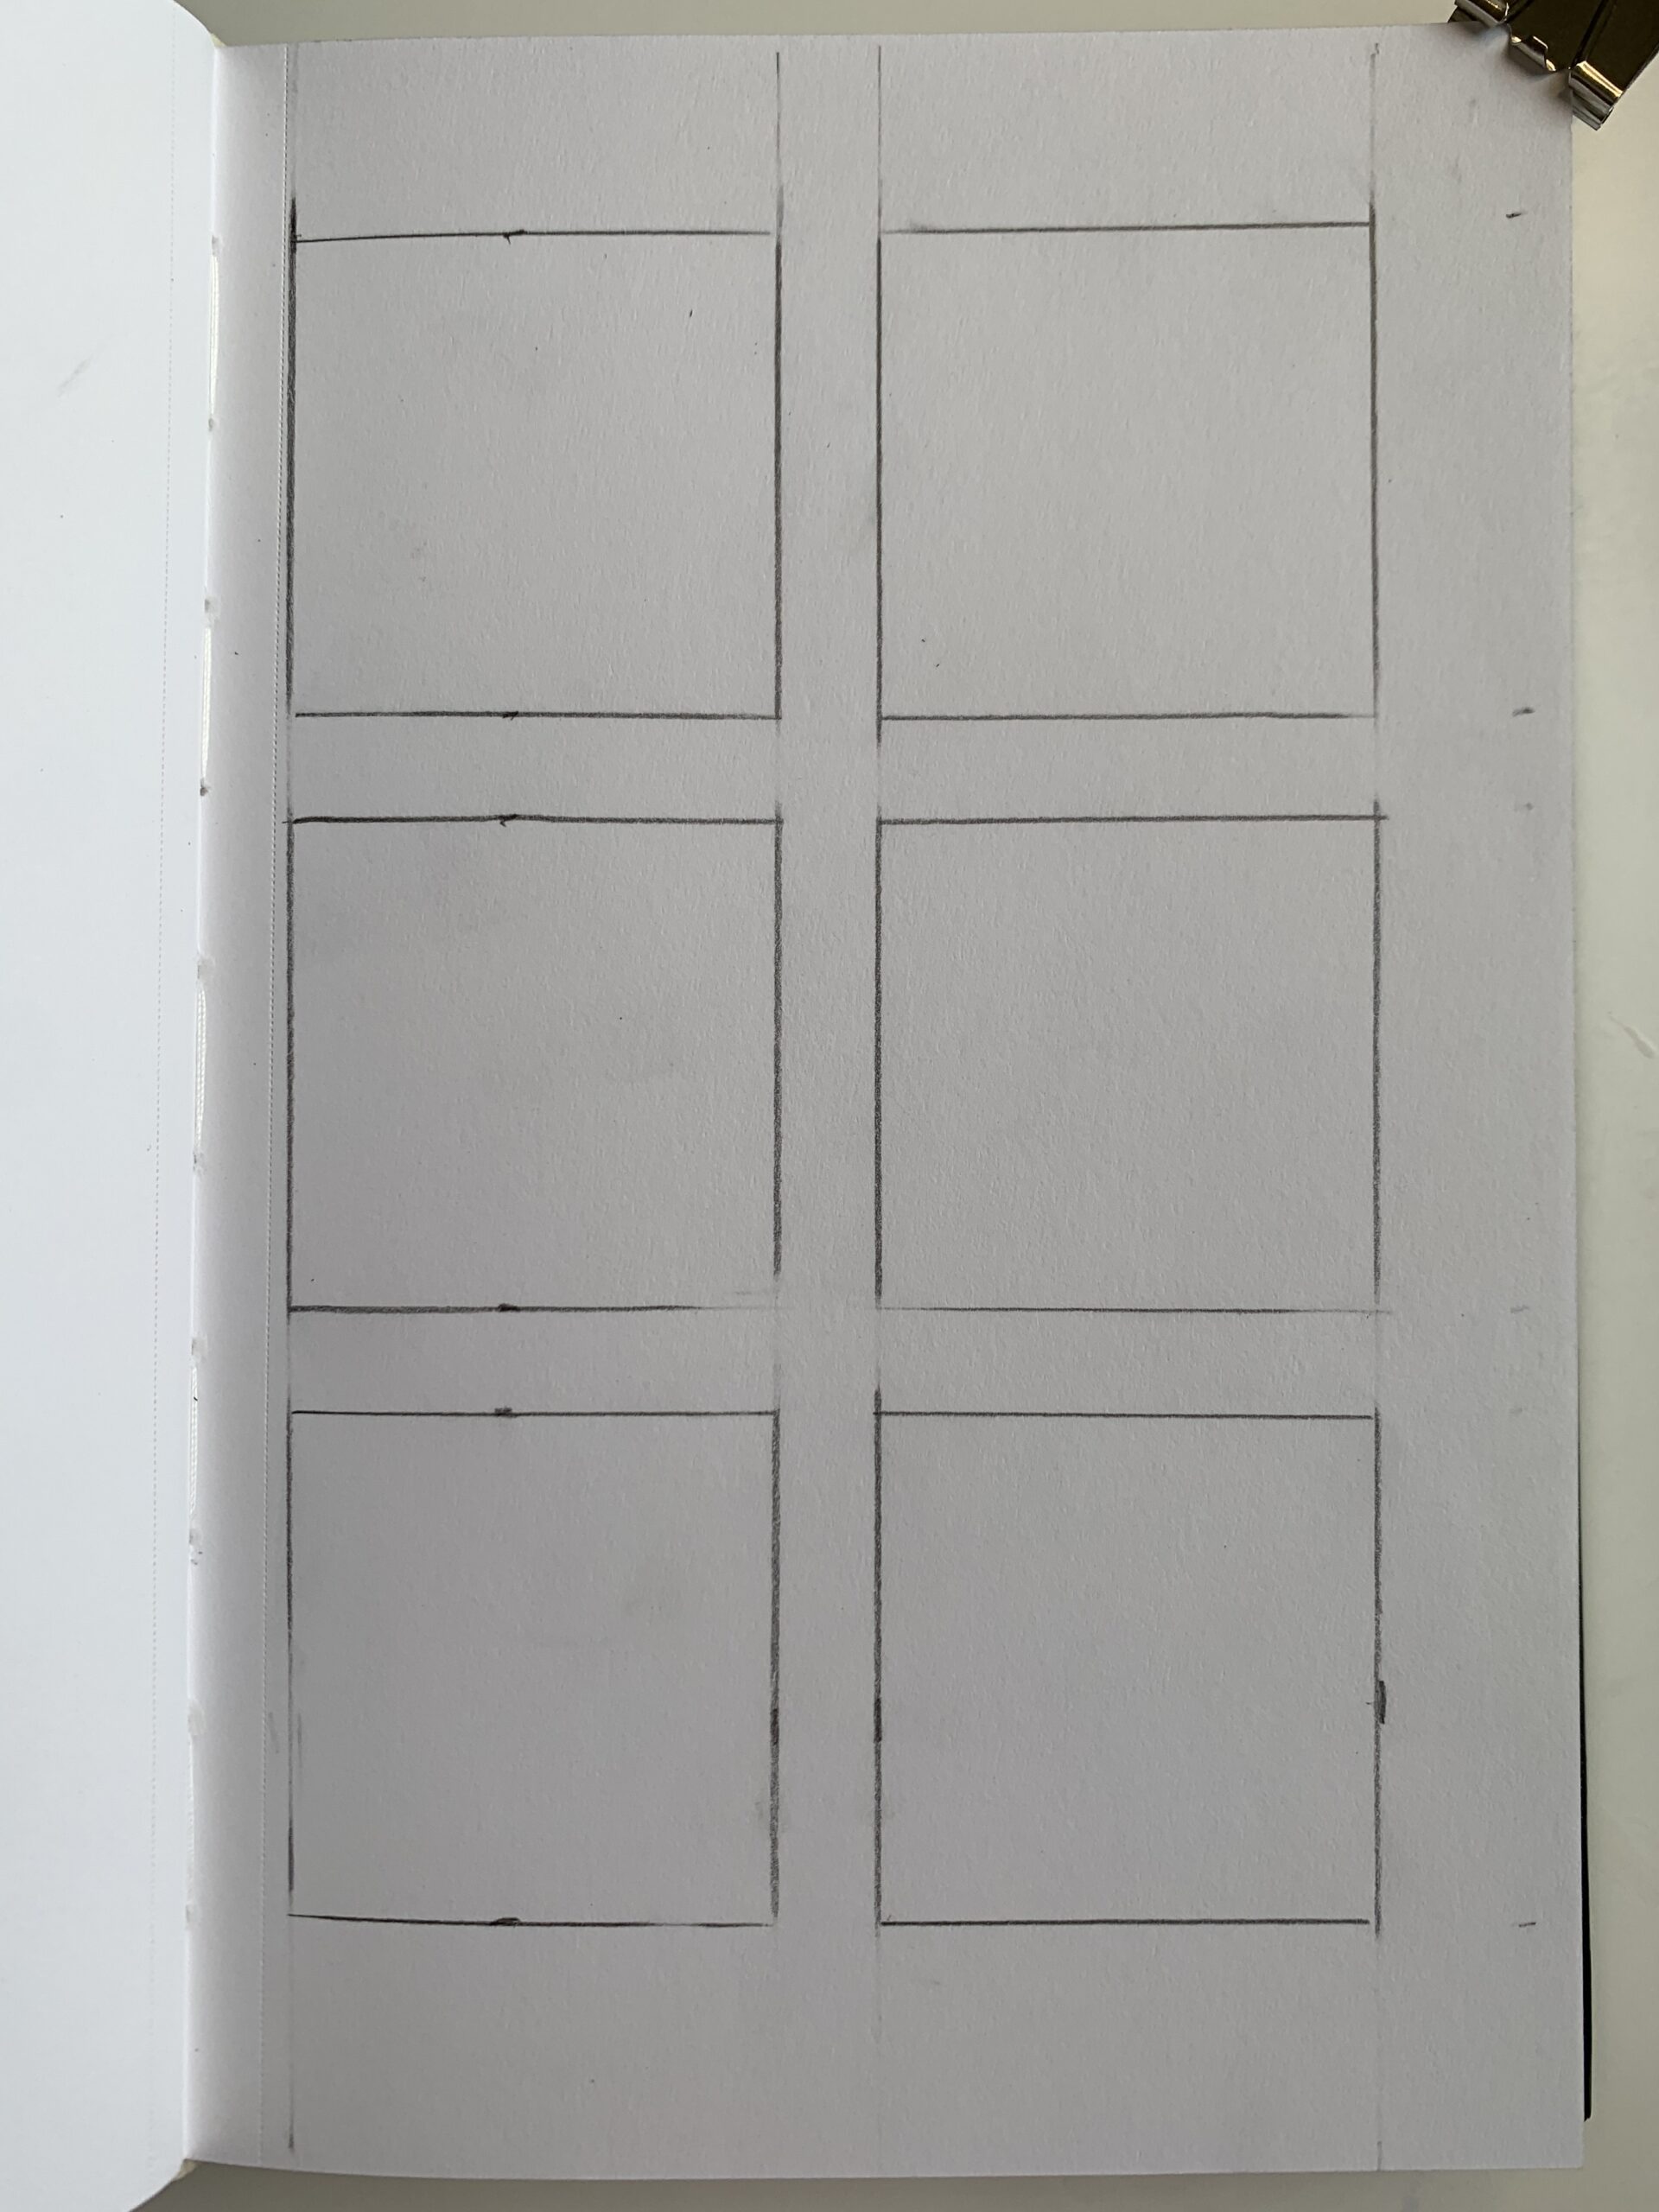
Alison Hazel is a hobby artist and she shares her ongoing journey about becoming an artist later in life. She creates simple art that anyone can make. She hopes to inspire you to reach your creative potential in the area that suits you.
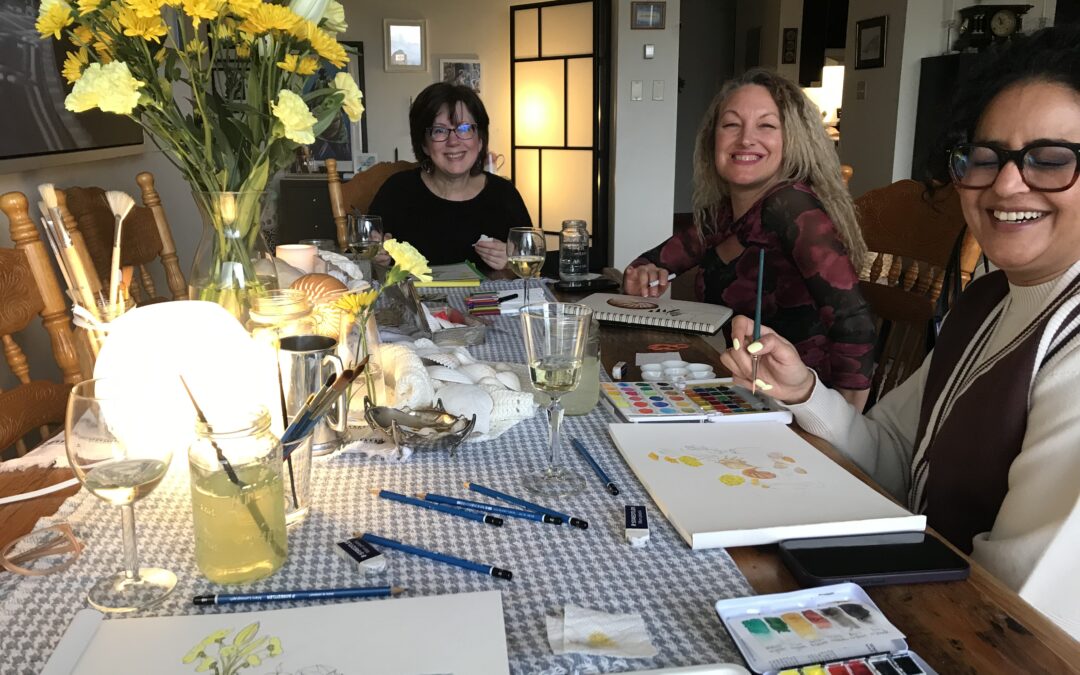
Seasons of Art: Spring 2023 Group Meeting Learn more about the recent Seasons of Art group meeting. See more about the Seasons of Art group here. Satvvir's Artwork Below is Satvvir's artwork (Instagram @theambivertsbb). She used watercolor and combined orabges...
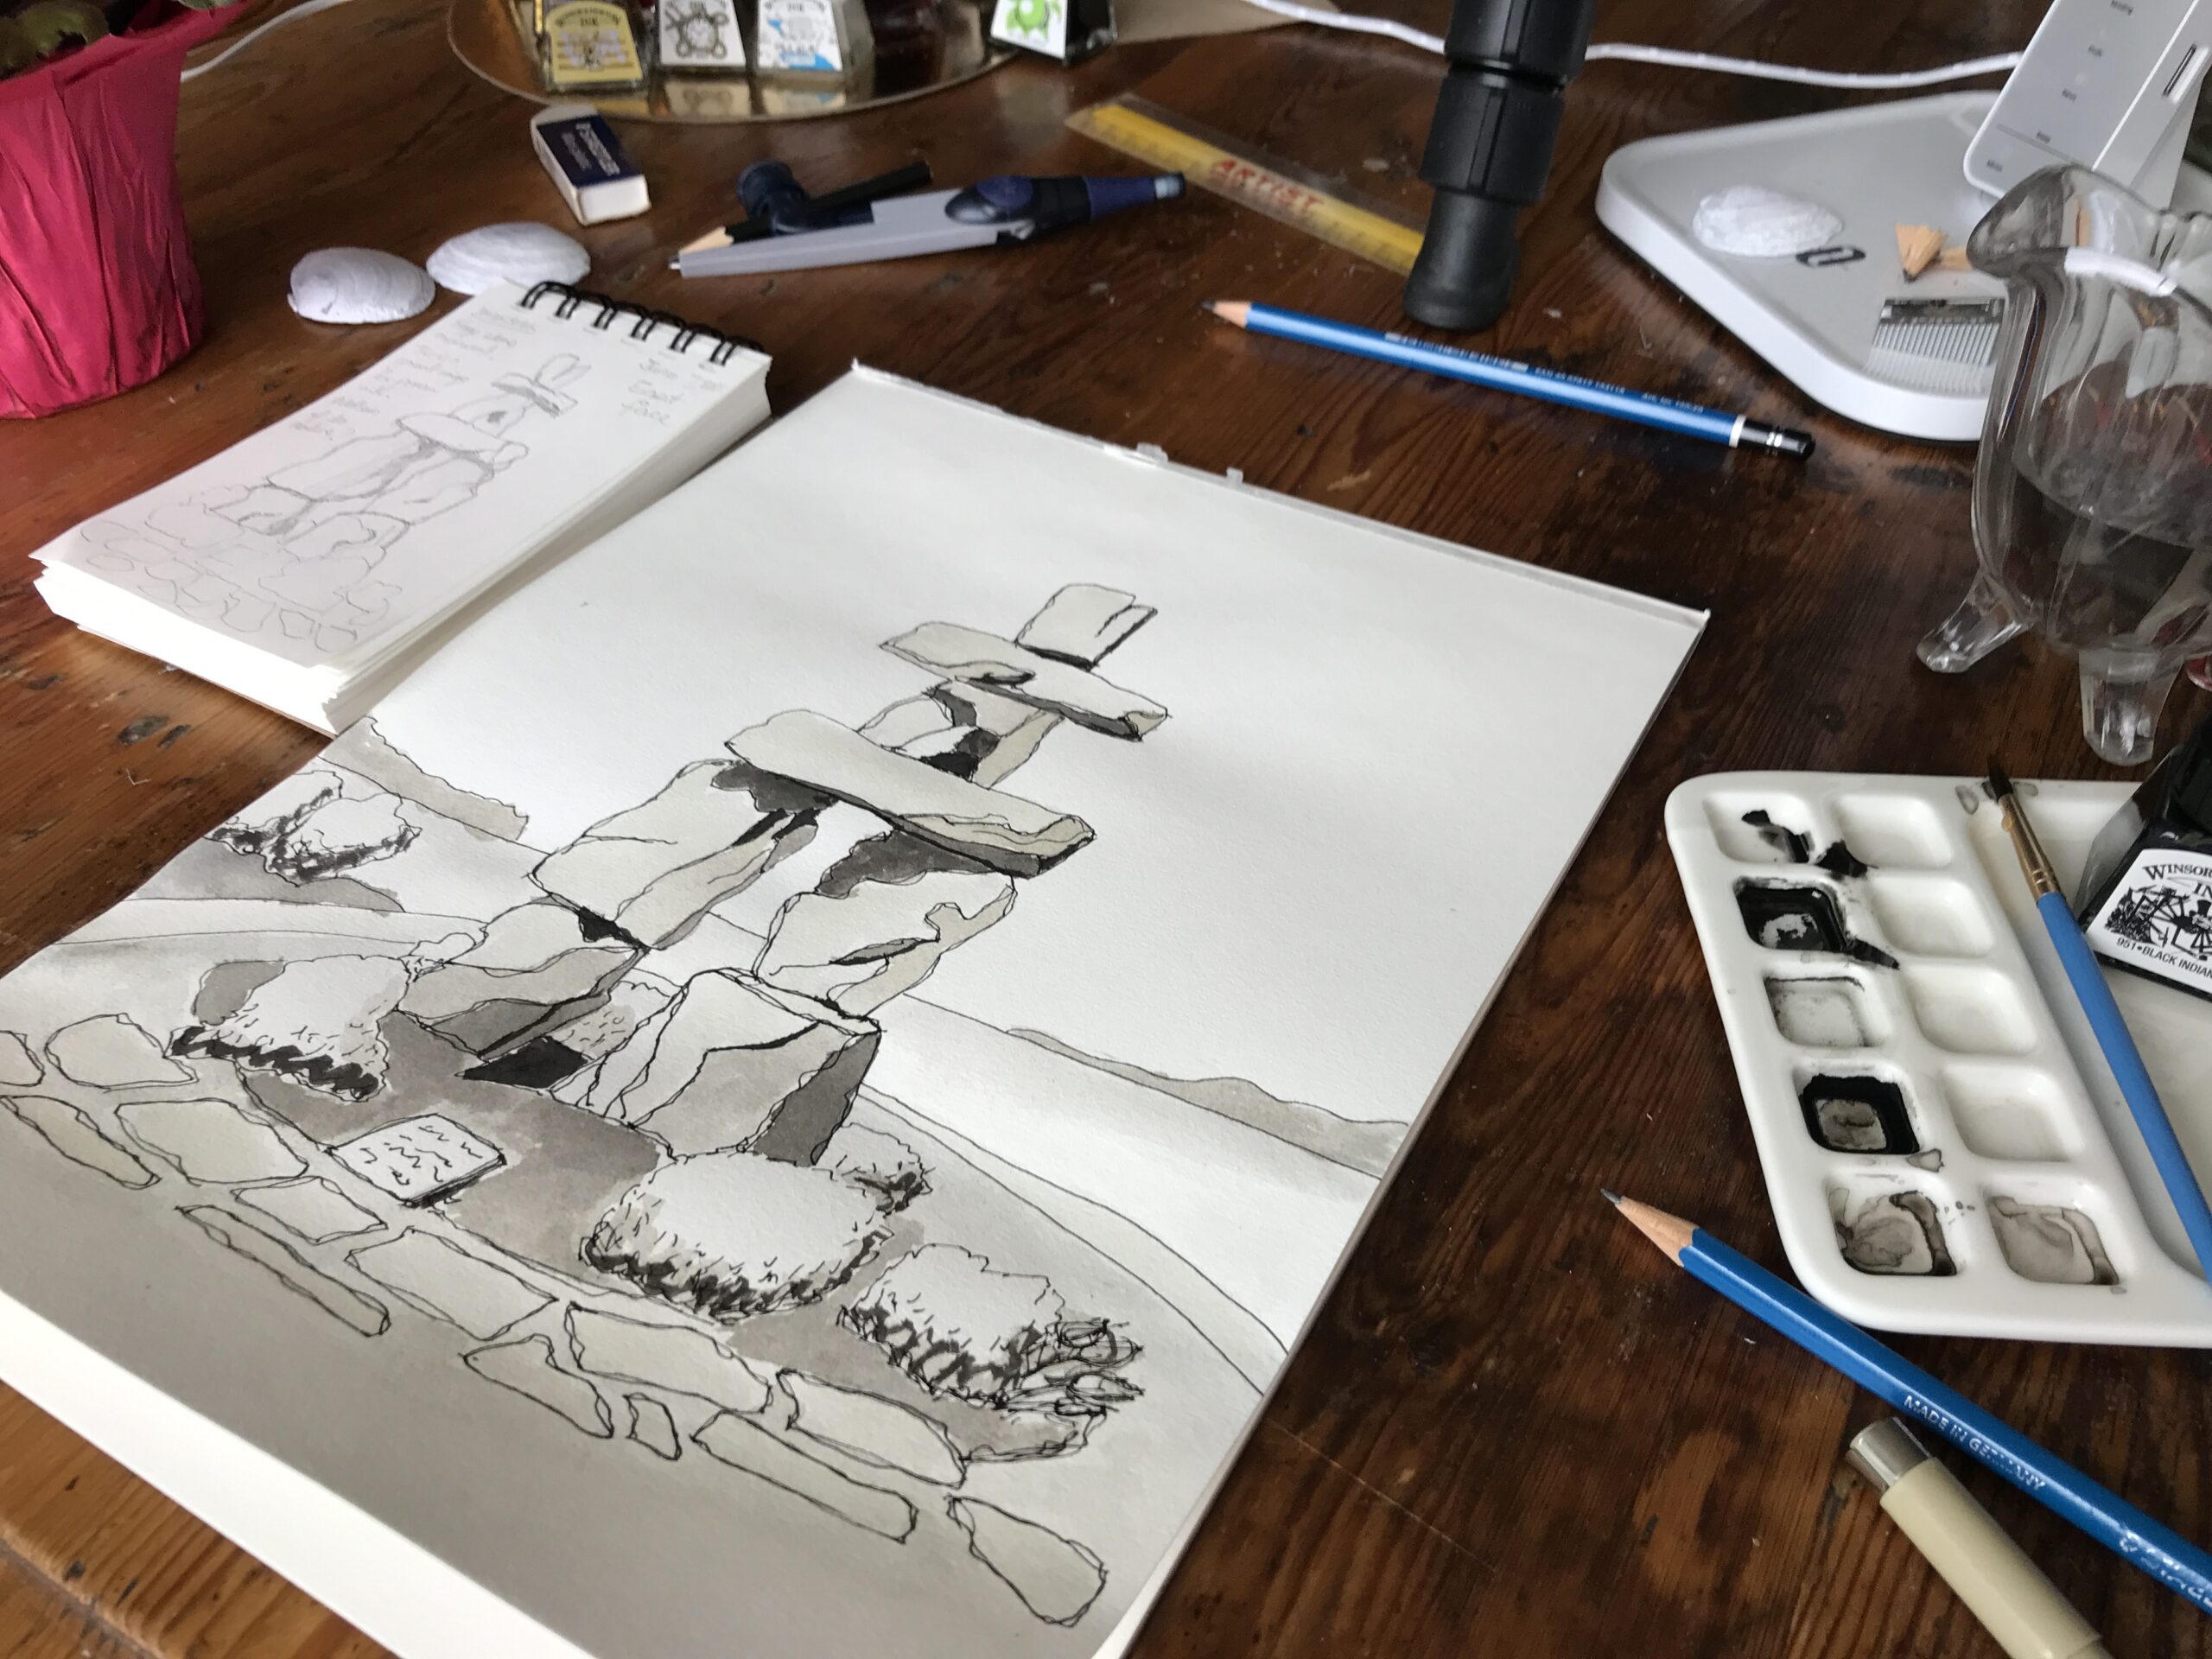
How to draw the Vancouver Inukshuk with black and grey scale drawing inks. Nature Journal. Hobby Artist
The page you requested could not be found. Try refining your search, or use the navigation above to locate the post.