Creating your own artspiration cards is a fun and quick practice for any hobby artist. These little cards give you a spark of inspiration whenever you need it. They are simple to make, deeply personal, and can become a playful tool to guide your creative journey.
Travel Journal Pages: Mexico
Mexico Travel Journal Pages
I recently went to Mexico with my daughter for a week in May.
We stayed at an all inclusive resort on the Riviera Maya, that is the Caribbean sea side of the country on the east coast.
I had been to Mexico twenty years ago and at that time I had four kids and a husband so it was quite hectic.
This time it was grown ups only.
There was a steady cadence to each day.

Breakfast
Around 7am we went for breakfast with lovely fresh fruit and cooked eggs, meat and pastries.
The coffee was excellent.
Poolside
After breakfast we moved to the poolside and chose a different spot each morning.
The pools were sparkling and cleaned every day.
The water was warm and inviting.
Lots of lounging around…
Lunch
For lunch we could take a walk back to the restaurant.
Alternatively, we could choose from a cheeseburger and all the fixings tomato, lettuce, chili, pickles and a side salad.
That was available at the poolside burger grill kiosk so you didn’t have to walk far.
Dinner
For our evening meal we chose a different restaurant within the resort each night.
They had Mexican, Thai, a steak house, Spanish, Teppanyaki, American Country and Italian.
Each eatery was its own experience.

Entertainment
The after-dinner entertainment was varied.
Some evenings were singing and dancing and on others, jugglers and a fire show.
I was not up to the late-night events every night and I frequently turned in early at around 9pm.
My daughter stayed out later for some shows, but that is youth.
There was a fabulous Full Moon gracing some of the early evening skies.
Travel Journal
I took my travel sketchbook with me as I had plans to make a sketch journal of the trip.
The book is an A5 size that’s about 5 by 8 inches.
The pages are plain with no lines or dots.

Travel Art Supplies
I took a few art supplies, but not too many.
These days I never check a suitcase and everything I need for a week’s vacation fits into my cabin overhead bag.
Pencils and Pens
I had tree pencils an HB, 2H and 4H.
Eraser
A small eraser.
Faber Castell Pitt Artist brushs in grey, beige, light blue, dark blue and a dull green.
Travel Paint Set
A travel watercolor paint set by Schmincke. It has twelve color pans.
Paintbrushes
Three paint brushes:
- A fat number 16 for water only.
- 2 x number 4 brushes, one with a red handle (for warm colors) and one with a blue handle (for cool colors).

Layout
For my sketches I wanted to simply capture what went on in the day.
The drawings did not need to be everything we did, but just the essence of what happened, the mood and the highlights.
I thought I’d do about five small sketches on each page which then grew into three two-page spreads.
Each page has a little story block with a small sketch.
I like this idea because then you can do micro and the macro views.
First you zoom in for a closeup of something and then pull back for a wider landscape view.

Subjects
I tried to have one sketch for each of the seven days that depicted what we did, ate and experienced.
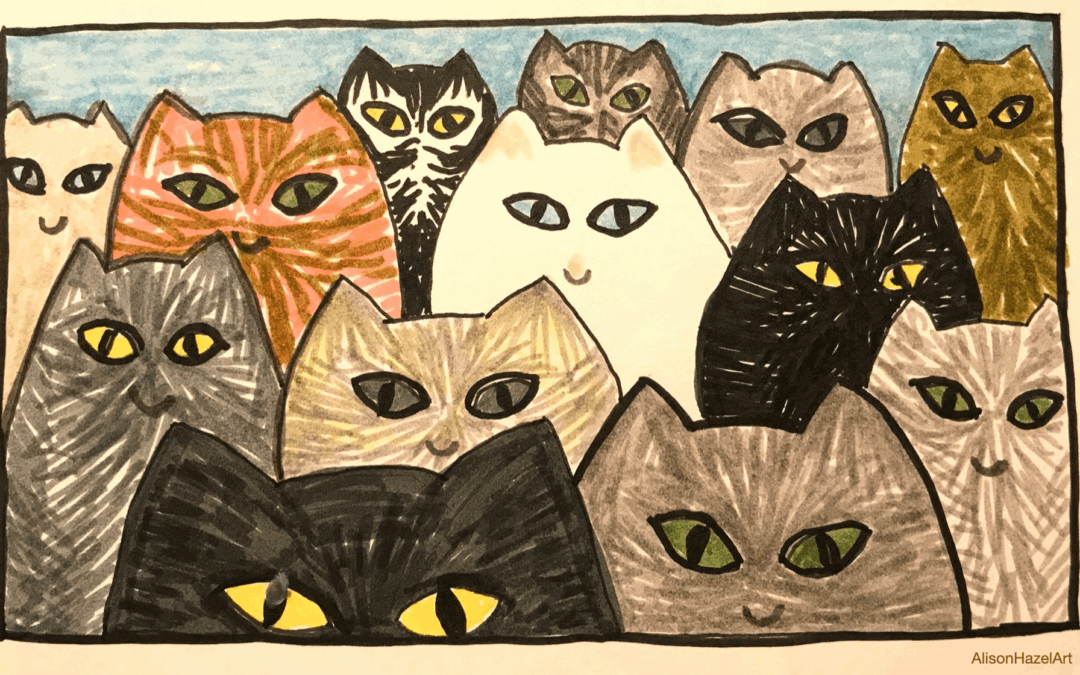
Wildlife
There was far more wildlife that I had expected.
So, a few animals popped up in the journal.
I’m not good at drawing animals, or humans for that matter.
The creatures we saw were:
- Cats.
- Coatis.
- Lizards.
- Alligator signs, but thankfully no actual snappy sightings.
- Woodpeckers.
- Big birds.

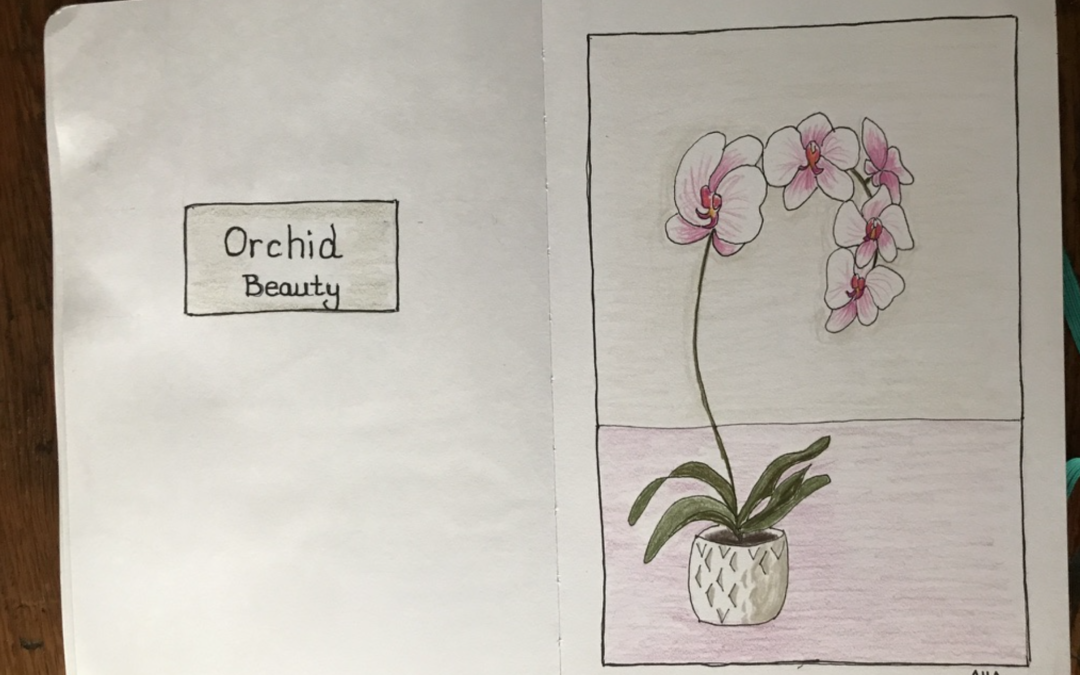
Foliage
In the gorgeous rolling gardens were planted forests of palm trees.
I believe they were coconut palms, but I’m not sure.
The flowers on the shrubs were bright red and pink, bold and huge. This was a hot place and the plants reflected their environment.
No wishy-washy pale blues and pinks here as we often see in Vancouver.
The broad leaves were tropical, shiny, emerald, large and flat.

Weather
It was hot with around a high of 32C each day. On one scorcher it went up to 34C.
The UV (ultraviolet) index was through the roof at UV12.
I’d not paid much attention to this number before as back home it is only ever UV3.
The days were filled with sun, sun, sun and not a cloud in the sky.

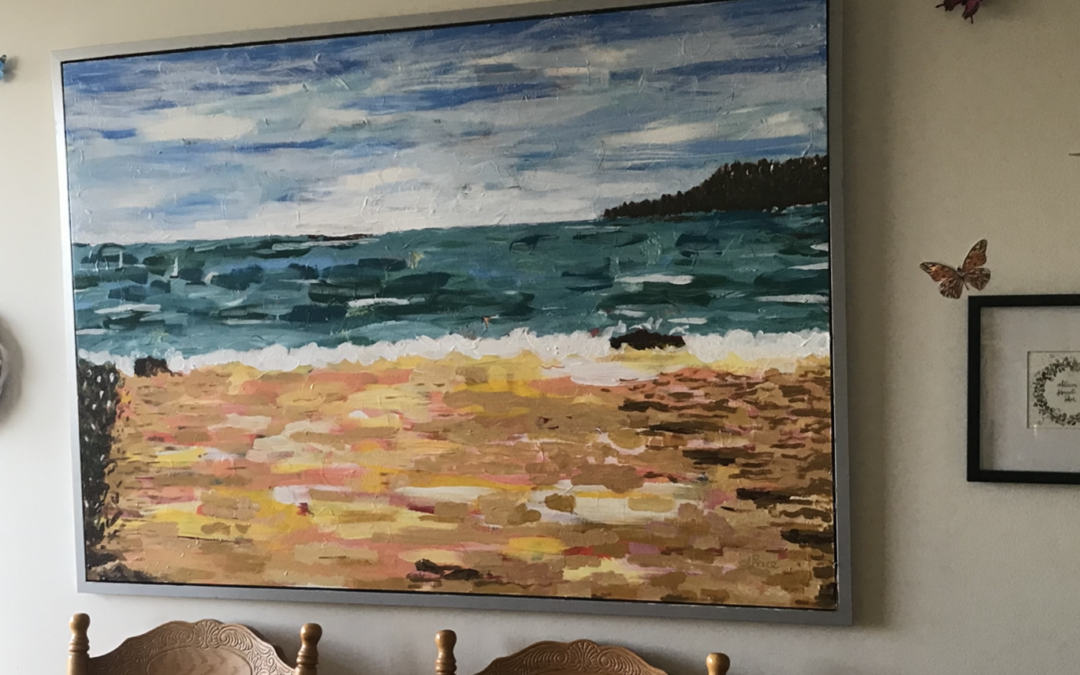
Sketch Spreads
Below are the sketch pages I made.
I am simply a hobby artist and my goal is to capture some of my life through my art.
I hope this inspires you to make a travel sketch journal for your next trip.

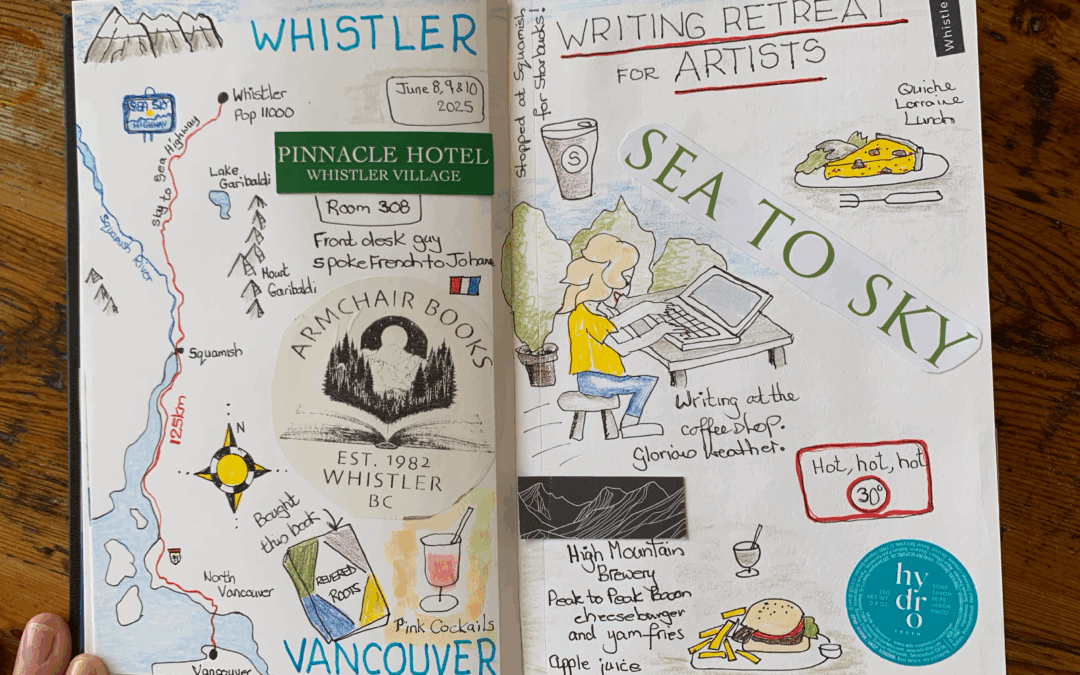
Left Page
Top to bottom.
At the airport, the swim-up rooms at the pool, a map of Mexico, temperature 32C and a coati.
Right Page
Mexico name, rooms they moved up to, ice cream, poolside, thermometer, drinks and burger lunch.

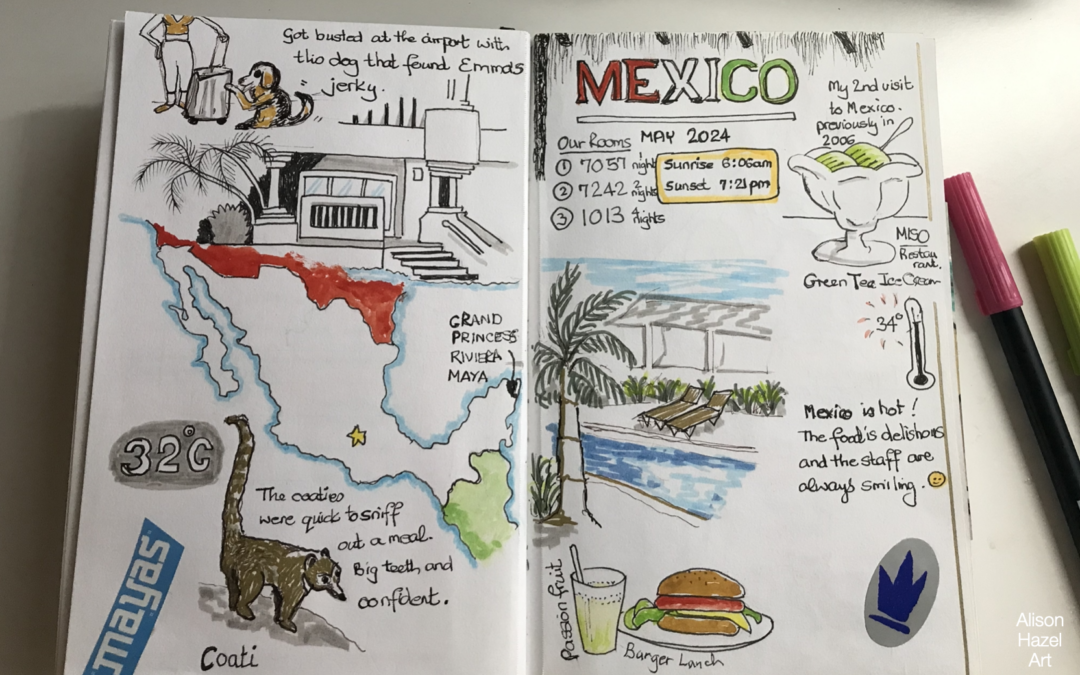
Left Page
Blue drink, lizard, lazing by the pool gazebos and palm trees.
Right Page
Evening’s entertainment a Fire Show, Mayan sculptures, we watched an online stream for a friend’s graduation at UBC (congrats Marco) and the Air Canada airplane tail logo.

Left Page
Teppanyaki dinner show with my daughter and I, a blue sticker from resort, a stray cat we called Senor Pickles and another Mayan sculpture.
Right Page
Large leafy palms, fancy cocktails, the UV index number and the Caribbean sea beach with a “beware of the alligators” sign over the river.
Final Thoughts
I’ve done a few travel journal pages before.
The thing is that I don’t travel much really.
But now, as I develop my hobby art lifestyle whihc includes a sketchbook almost every day, I’m looking forward to capturing some more memories in my travel sketch journal.
Extend Yourself
If you are interested, you can make some travel journal pages too.
In your travel journal please do the following.:
- Prepare a two-page spread for your next weekend away or vacation.
- Write the name of the place you visited at the top.
- Draw a map of the city, country or how you got there.
- Draw the transport that you got there.
- Write the to and from dates for your trip.
- Draw a circle and write in the high temperature.
- Draw an animal you noticed.
- Draw a plant or tree you saw.
Extend Yourself Further
Continue adding and embelishing your travel sketch jurnal pages as follows:
- Draw a meal you ate on the plate. Perhaps add the name of the restaurant.
- Draw a drink you had. It could be coffee or a more exotic concoction.
- Write the name of the hotel or guest house or retreat that you stayed at in fancy lettering or use their own logo.
- Write the name of some people you casually chatted with in passing.
- Write the names or draw the faces of the good folks you went with, your travel companions and anyone who shared the experiences with you.
- Sketch your luggage.
- Draw your sun hat and sunglasses or snow goggles and skis.
- If there is any space left on the pages create a themed border for the page. This can be a full margin or just a partial edging to show off the inner doodles.
- Write one word in bold lettering which represents the whole experience.

Author Bio: Alison Hazel
Alison Hazel is a hobby artist and she shares her ongoing journey about becoming an artist later in life. She creates simple art that anyone can make. She hopes to inspire you to reach your creative potential in the area that suits you.
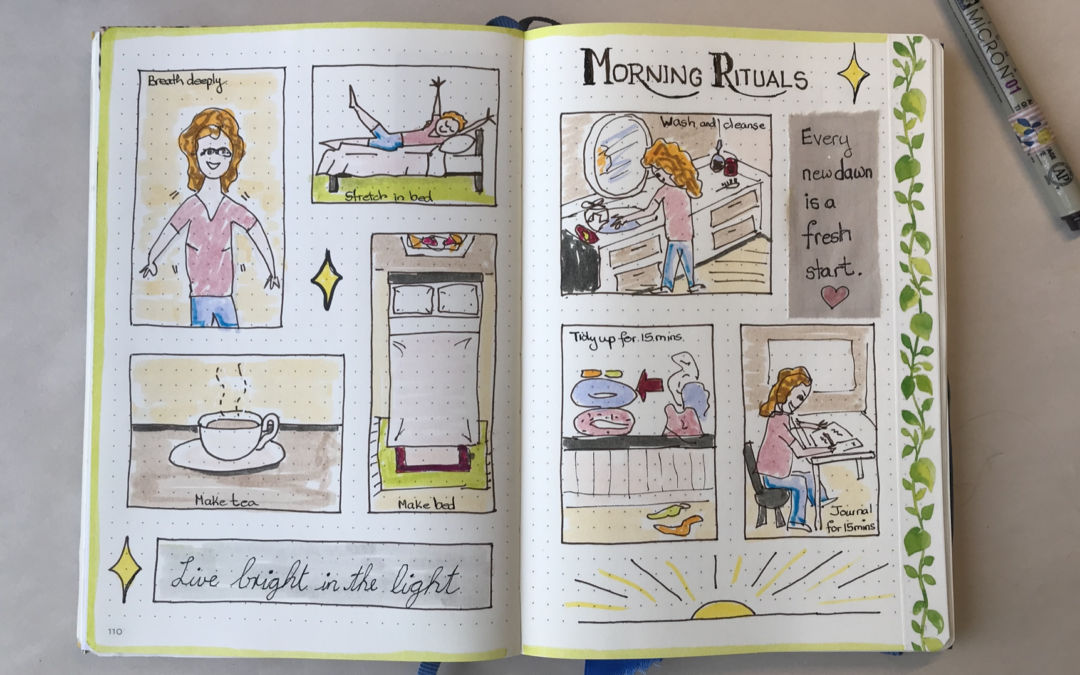
7 Morning Rituals for Artists and Creative People
Get a glimpse into how one woman gets organized mentally, physically and spiritually for a creative and artistic day.

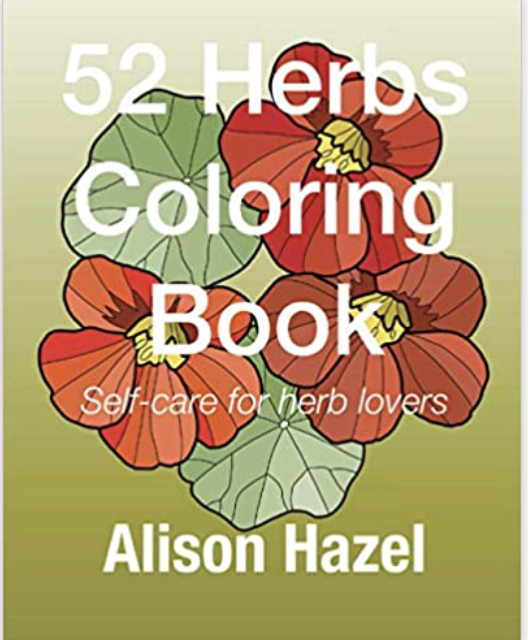
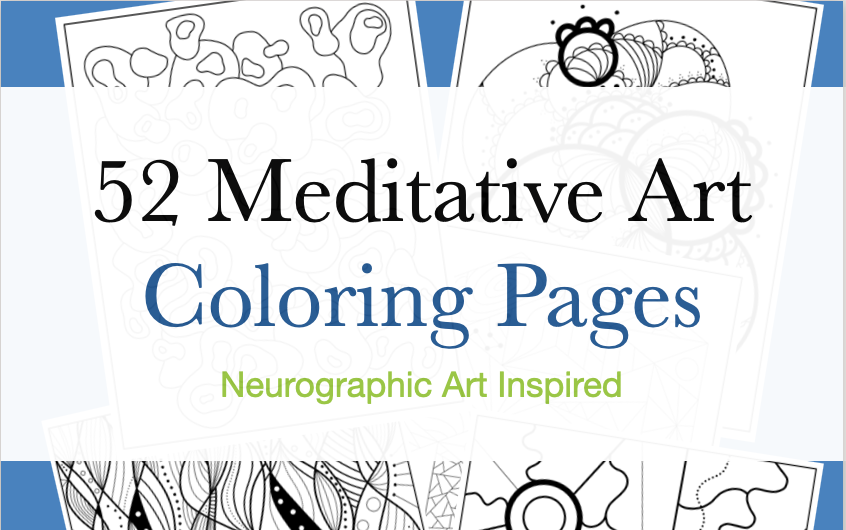
Meditative Art Coloring Book: Neurographic Inspired for Self-care
Meditative Art Coloring Book (Blue) I am delighted to announce that I have published a meditative art coloring book with 52 original artworks crafted by myself. I have enjoyed creating each artwork for you and this has been a labor of love. This is now available at...