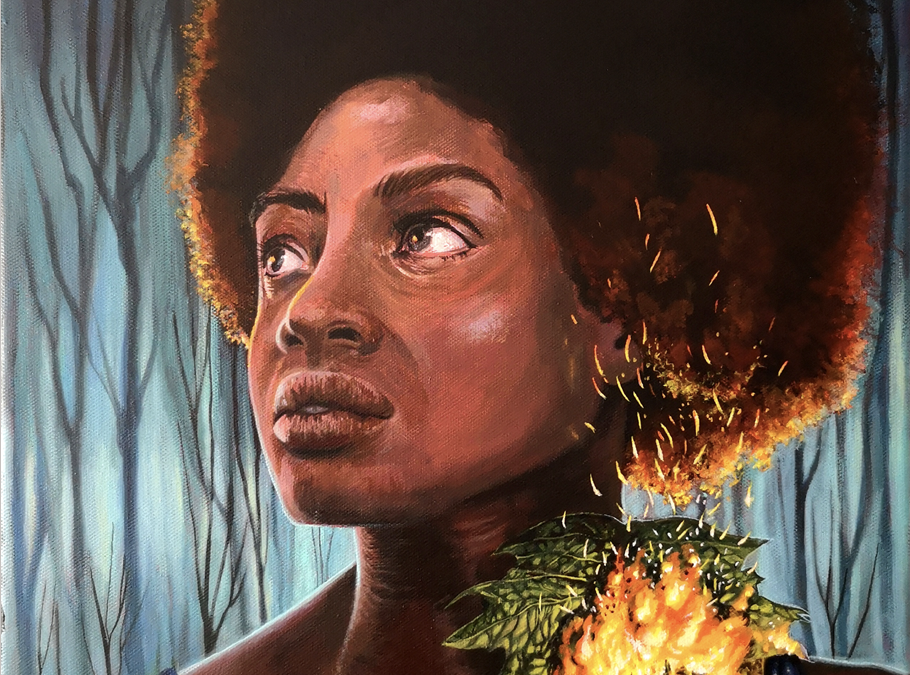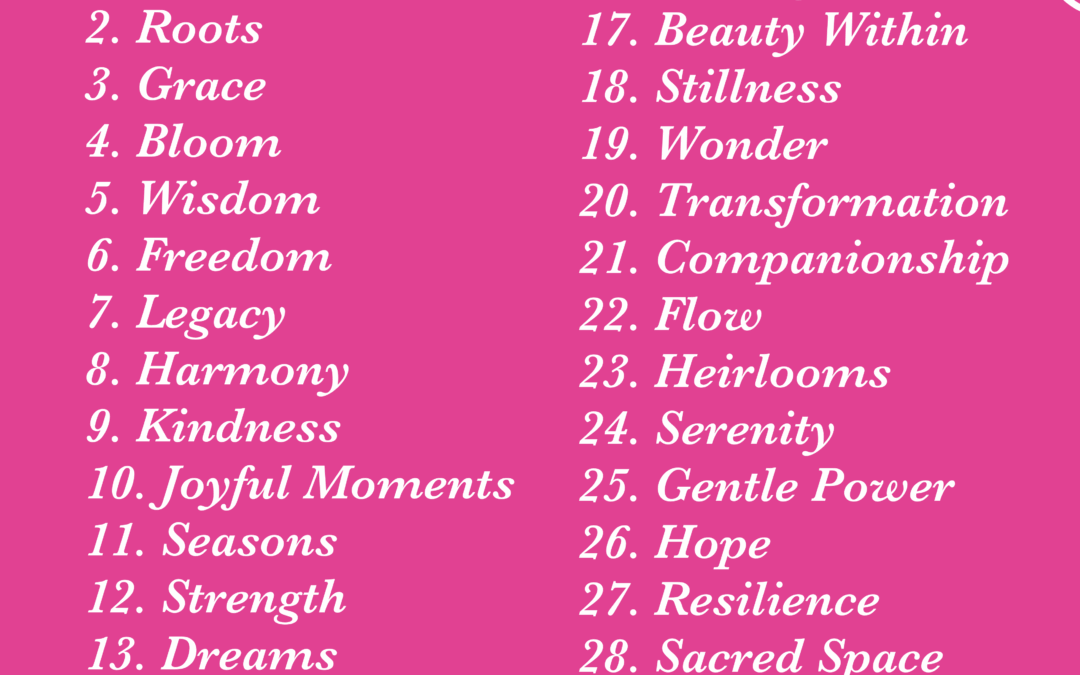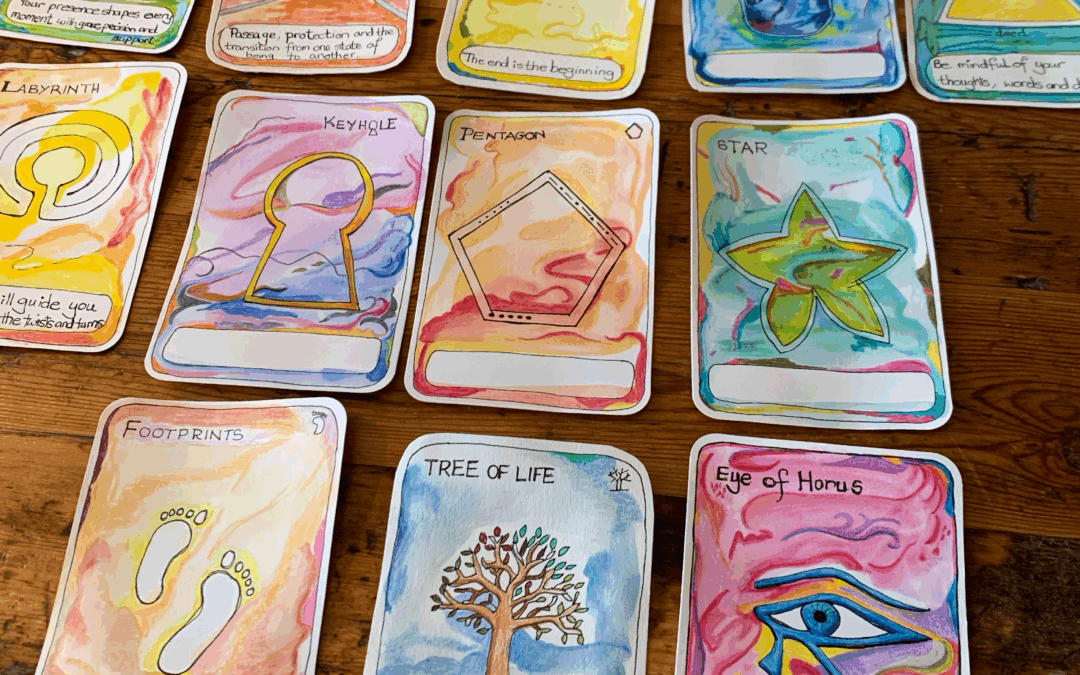
Creating your own artspiration cards is a fun and quick practice for any hobby artist. These little cards give you a spark of inspiration whenever you need it. They are simple to make, deeply personal, and can become a playful tool to guide your creative journey.
Perpetual Nature Journal
Perpetual Nature Journal: Start Here
Start here with your Perpetual Nature Journal. I’ve gathered all the relevant posts from my Perpetual Nature Journal here on this page so you can find them all in one place. Many of you have asked to see the development of this journal, and while my Perpetual Nature Journal is still pretty new, it is growing and developing quietly in the background of my seasonal art practice.
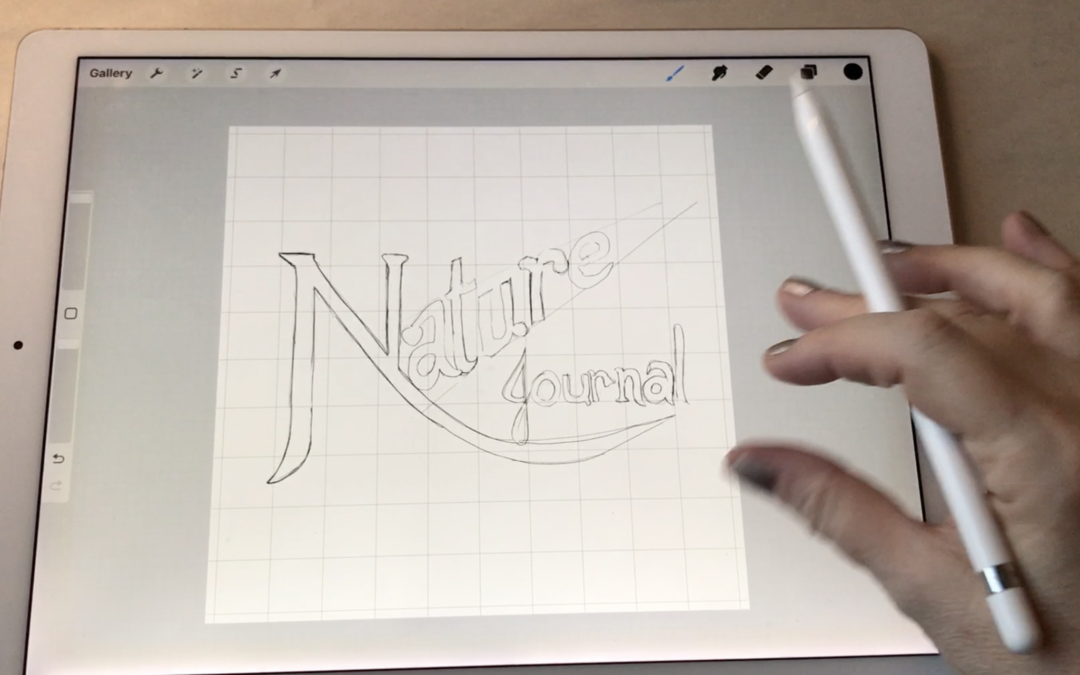
Perpetual Nature Journal: Initial Setup
Here is more information on how to set up your Perpetual Nature Journal. Once you have a journal you can create the cover page.

Each Month’s Pages
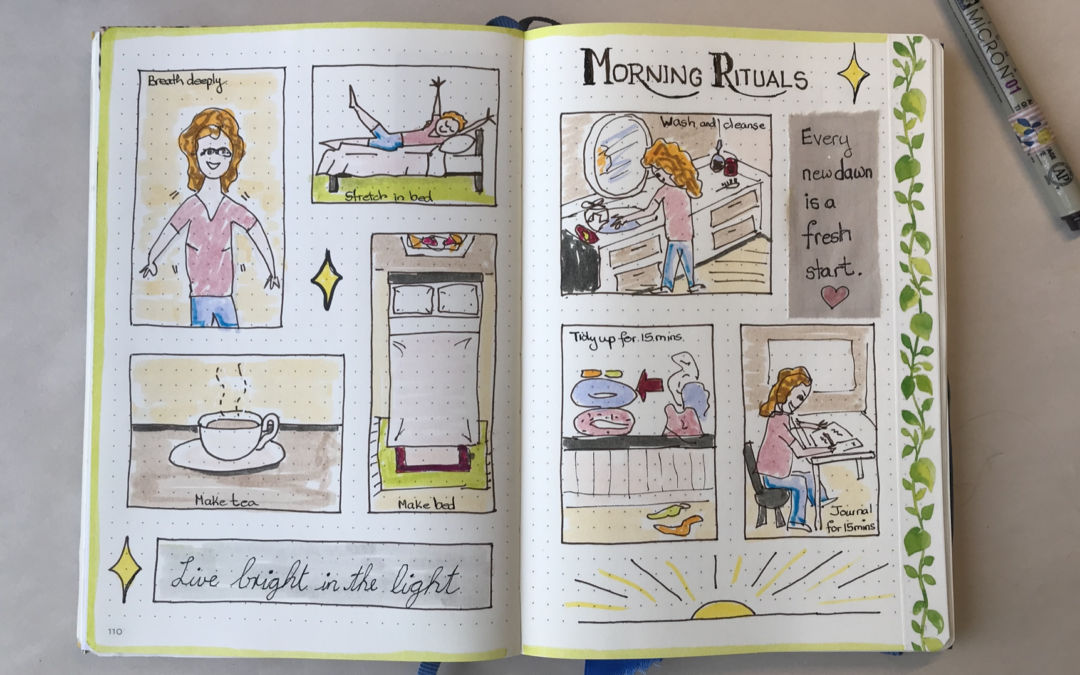
Every month has its own page or pages in my Perpetual Nature Journal. Below are the images I have drawn so far. I’ve grouped them by month as that is how the sketch book develops. Over time more and more images will be posted here.
May
In May 2022 I drew the Canada Geese at the coast. This was my very first sketch in my Perpetual Nature Journal and at this stage I was not sure where I was going with this art initiative.

June
In June 2022 I drew the Inukshuk in monochrome inks at the coast. This was my second sketch in my Perpetual Nature Journal.

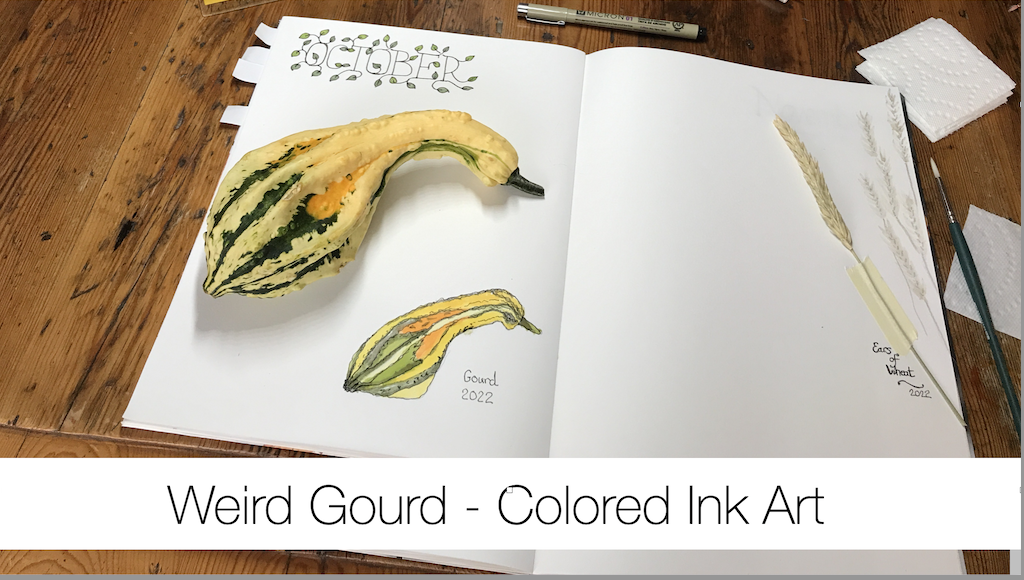
October
In October 2022 I drew the Weird Gourds in my studio. This piece was with colored inks and was quite messy in the kitchen.


Author Bio: Alison Hazel
Alison Hazel is a hobby artist and she shares her ongoing journey about becoming an artist later in life. She creates simple art that anyone can make. She hopes to inspire you to reach your creative potential in the area that suits you.

Art for Self-care
Read my journey on Art as Self-care. Get some tips and ideas on how you can add some journaling processes to your day.
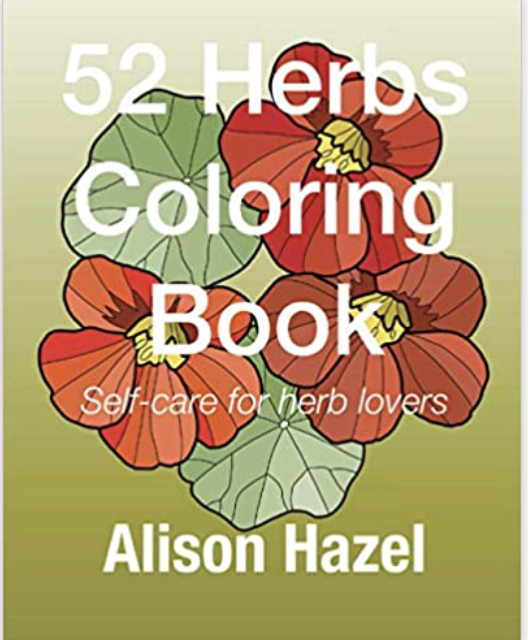
52 Herbs Coloring Book – Self-care for Herb Lovers
Get your 52 Herbs Coloring Book – Self-care for Herb Lovers with original artwork by Alison Hazel Art available from Amazon.